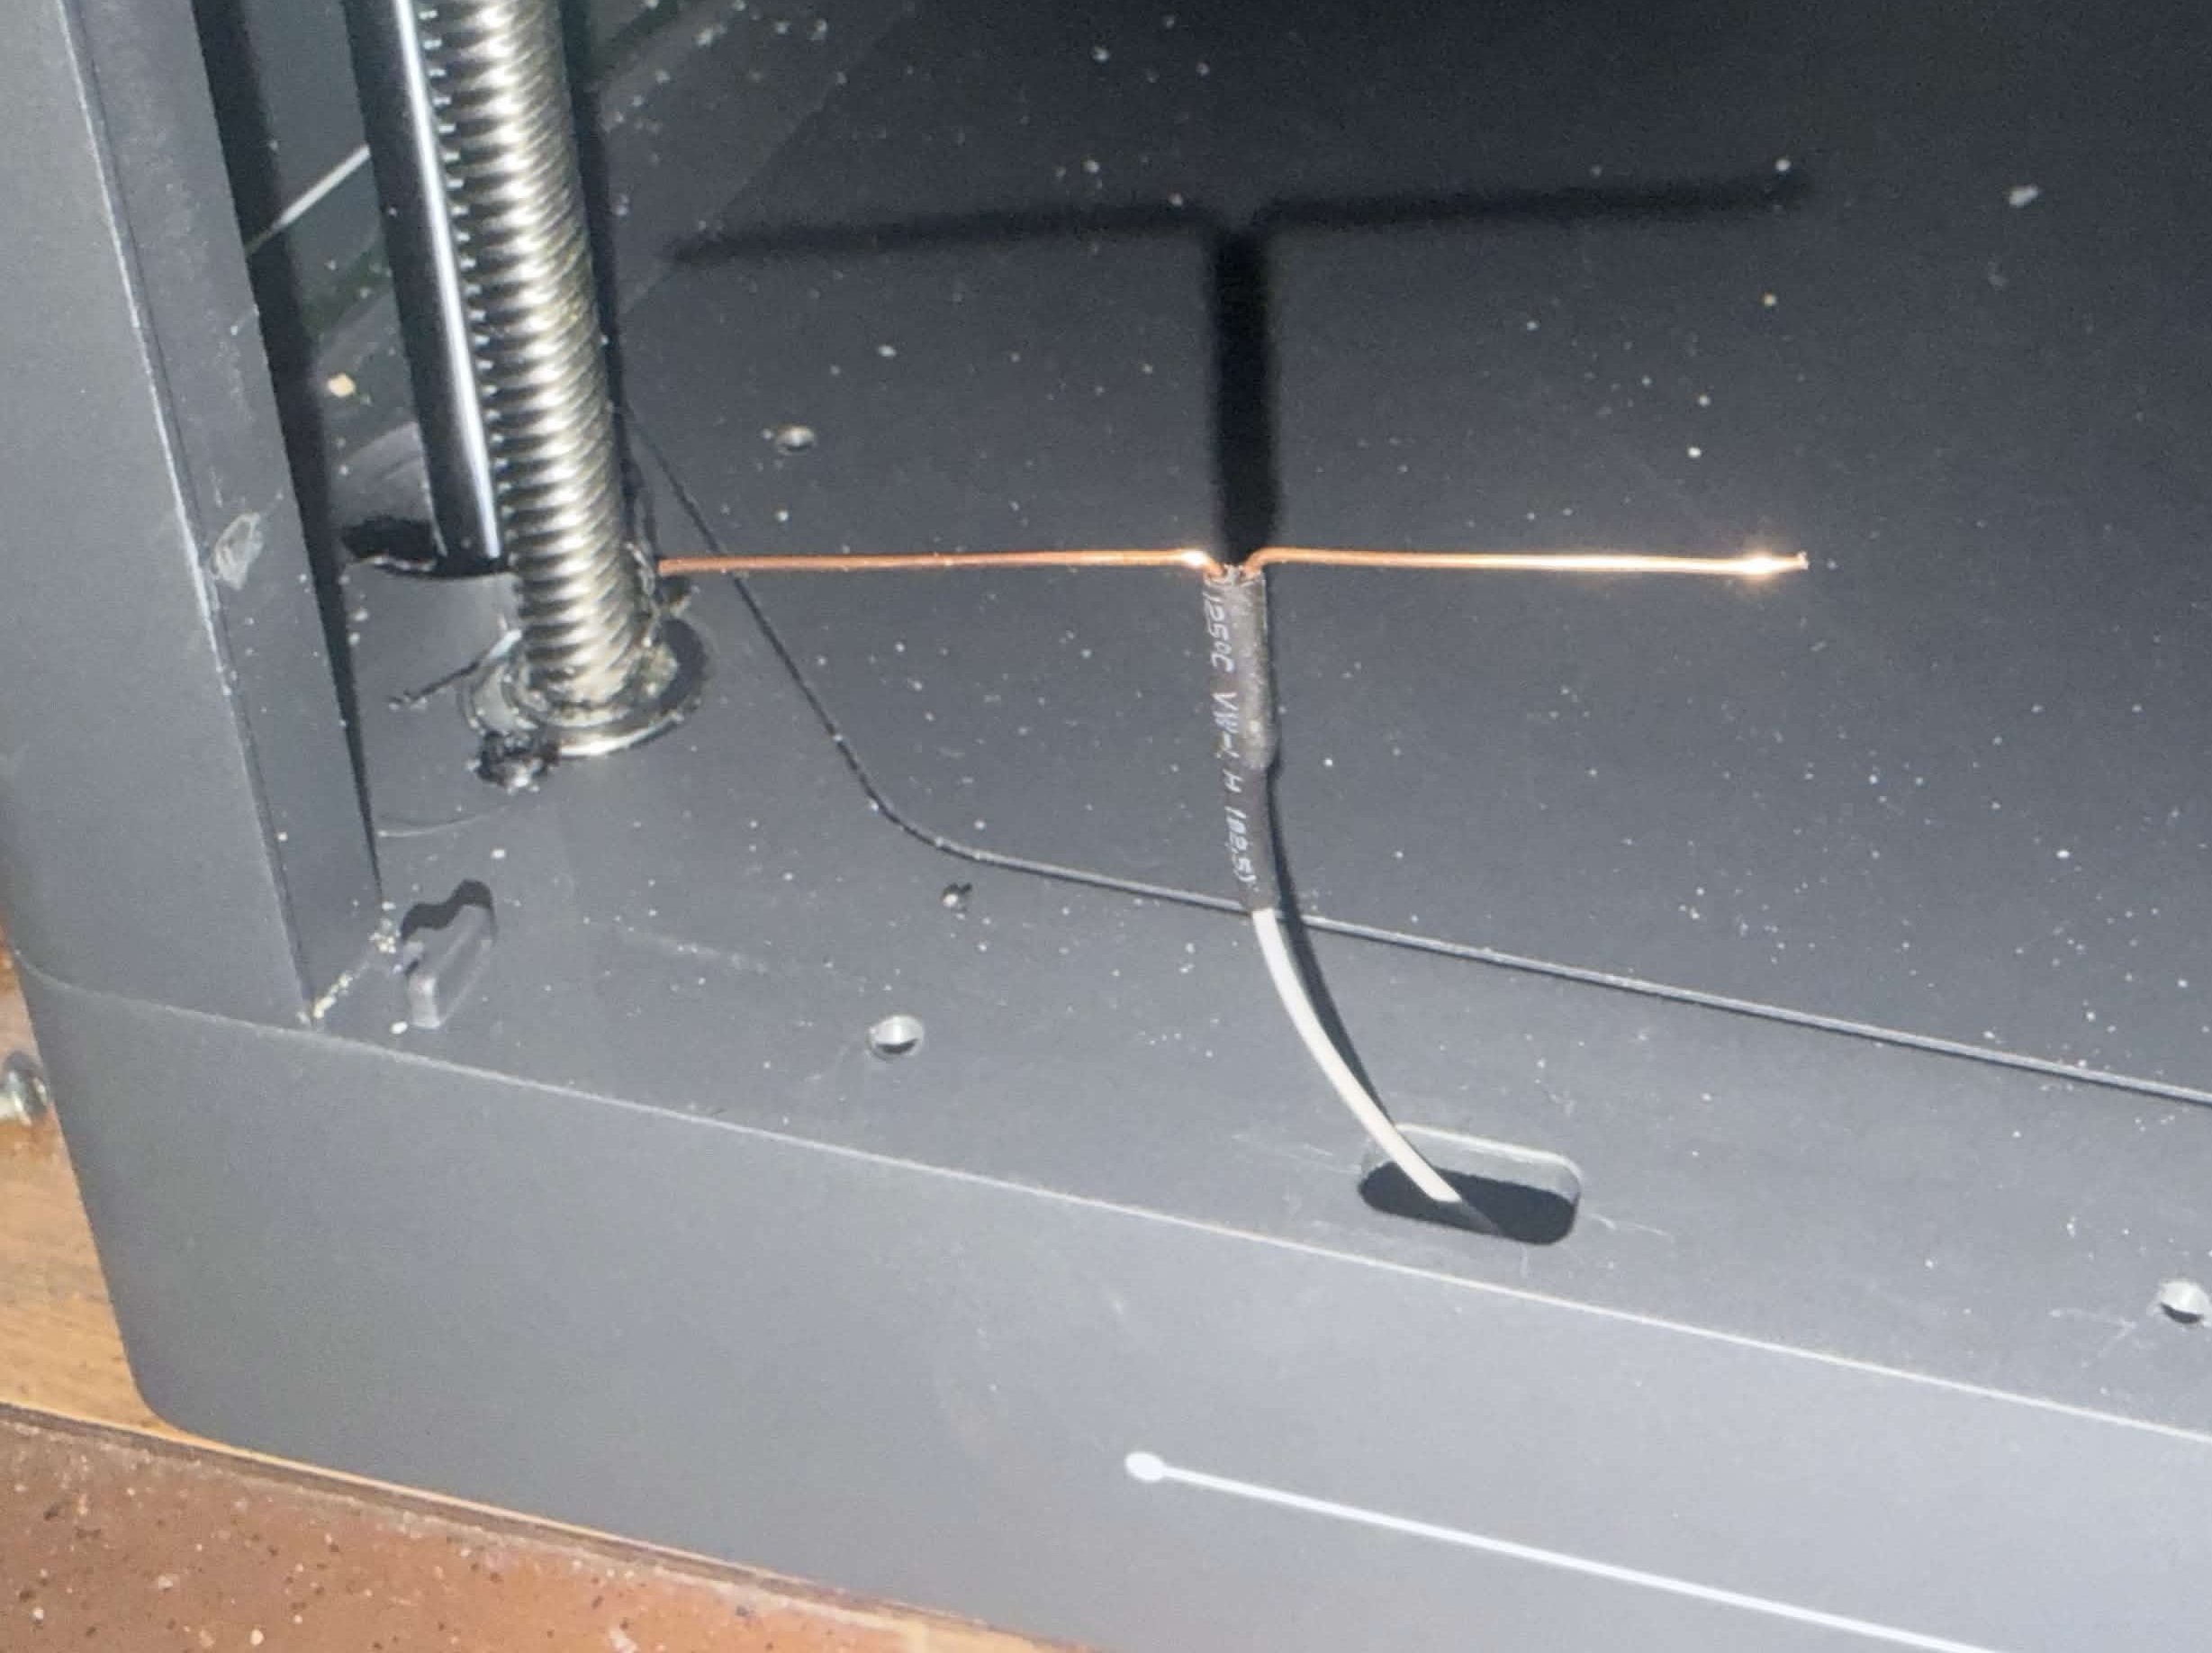
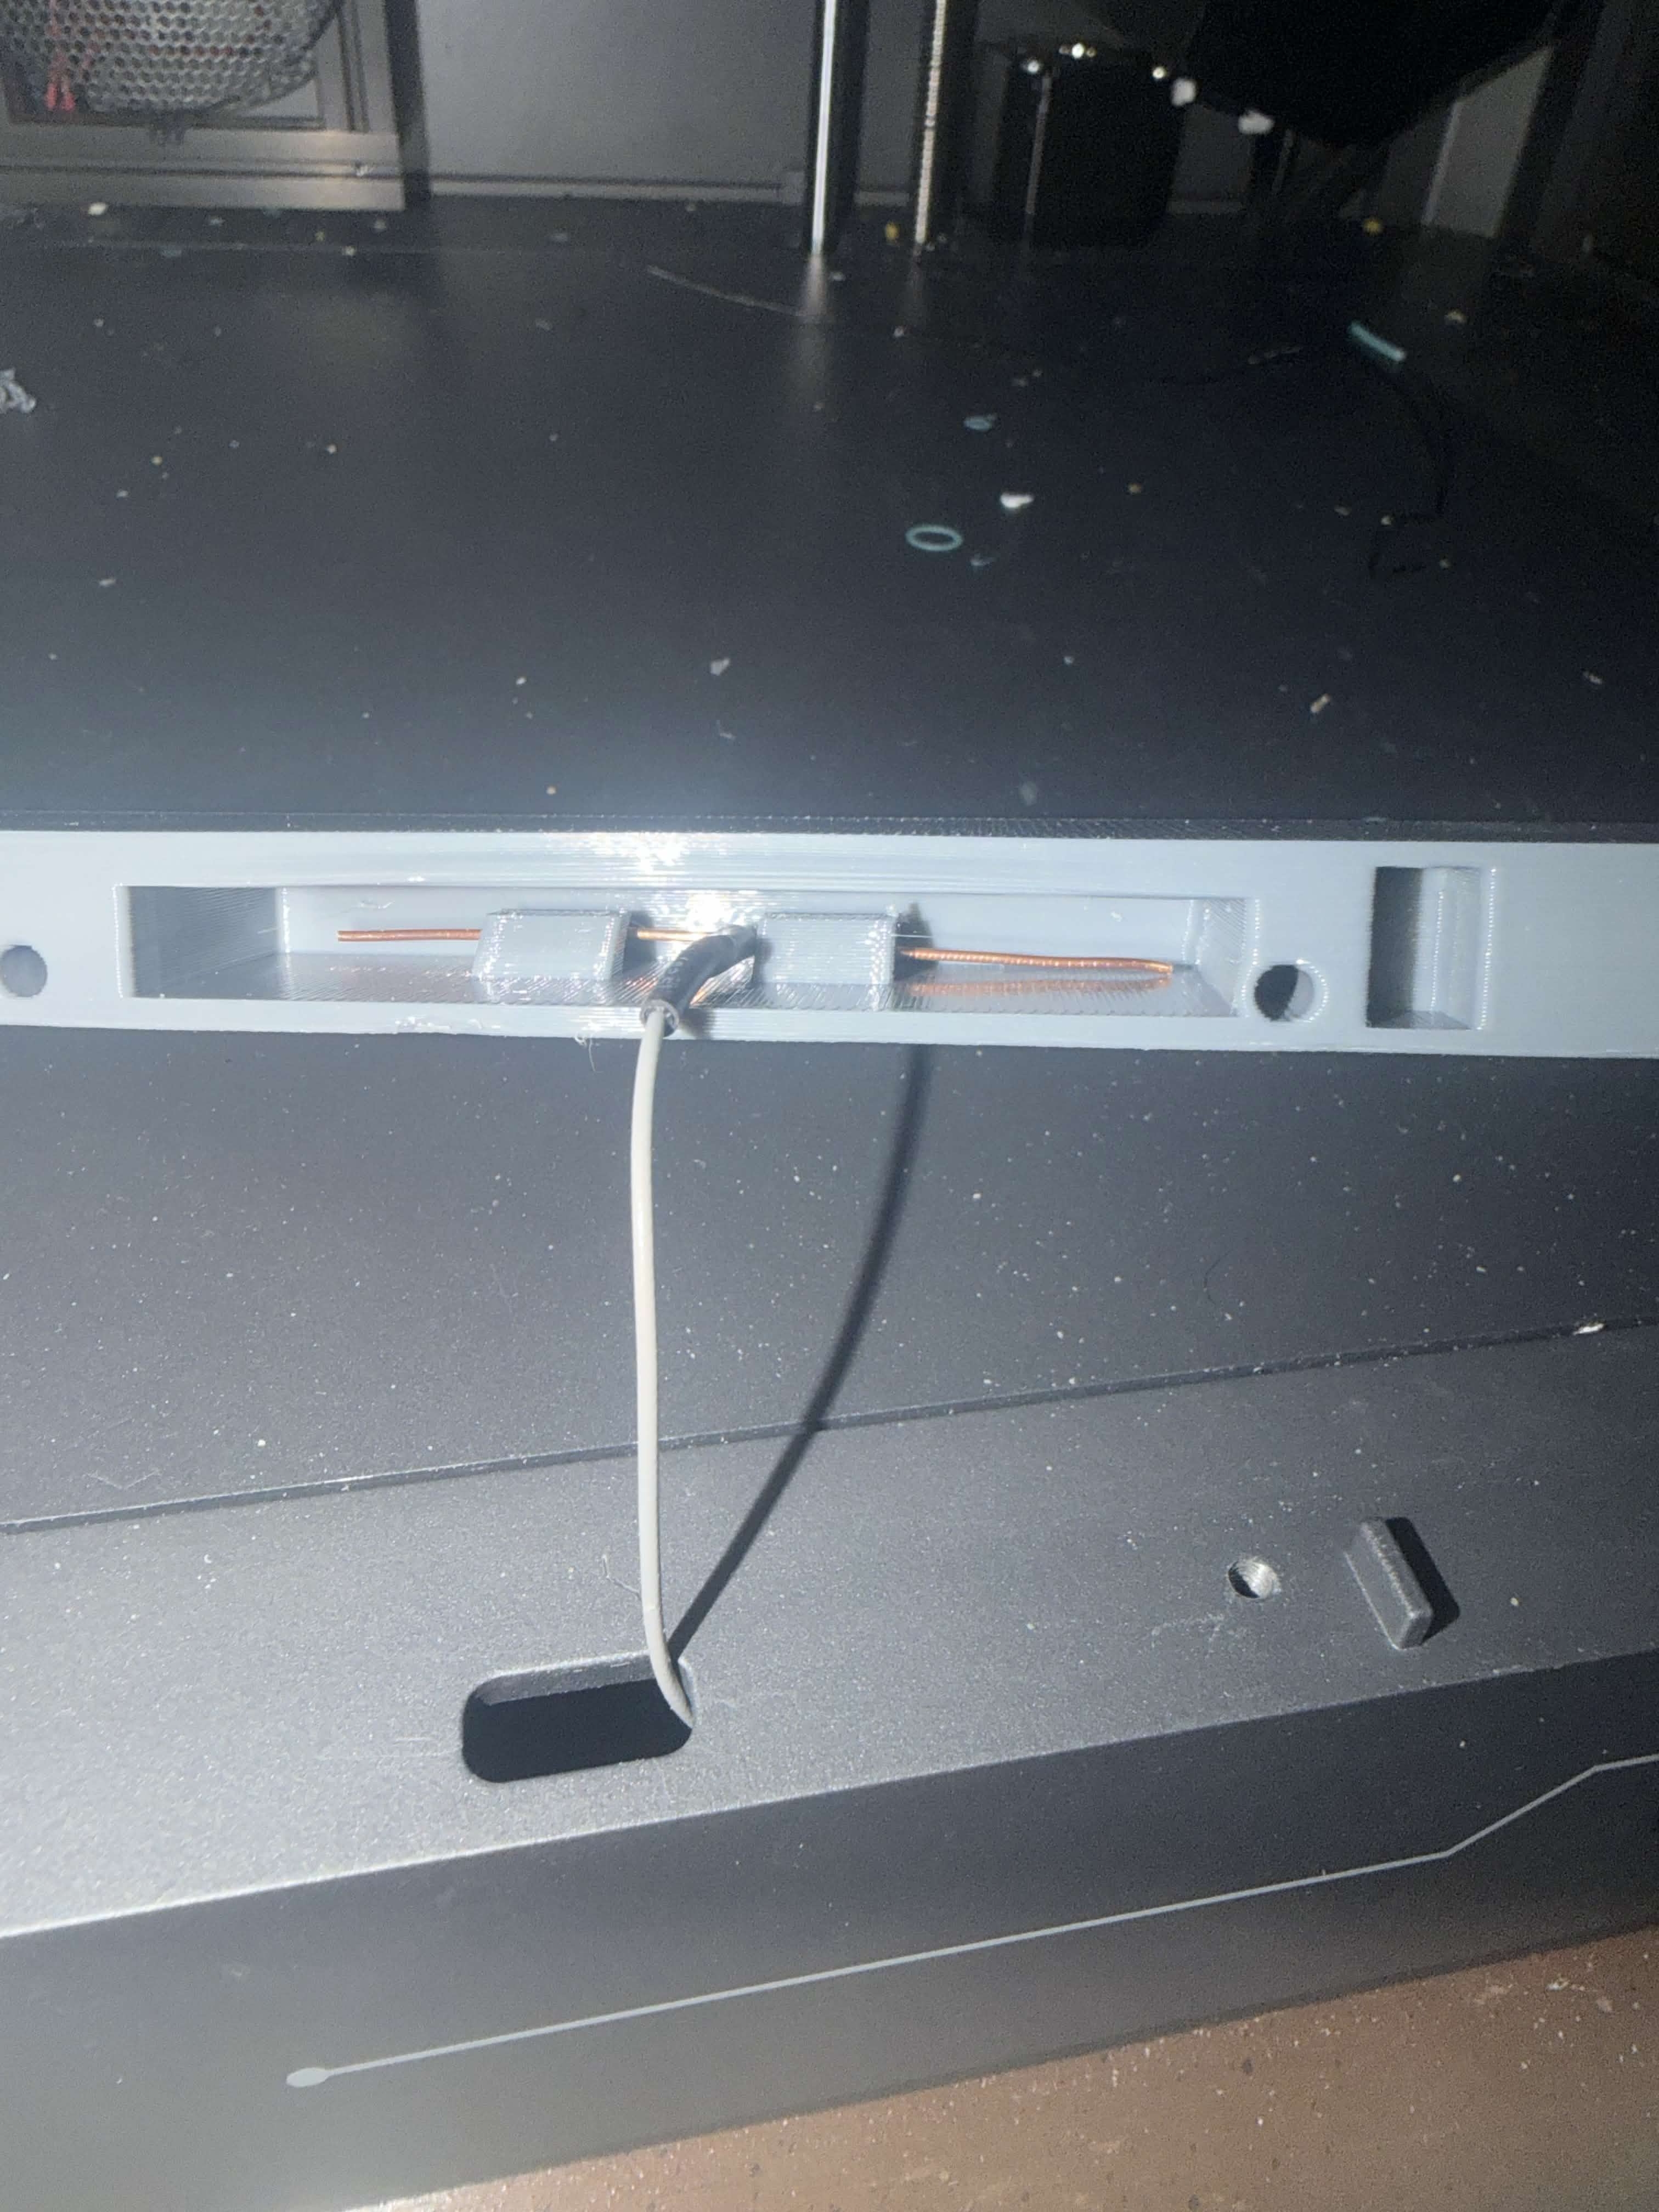
Locking magnetic door latch with improved WiFi Antenna for Elegoo Centauri Carbon
We calculate the final price from your selected file. You review and accept it before payment.
Saved on this device.
Model information
- Source
- Printables
- Category
- Other Printer Parts & Upgrades
- License
- Creative Commons — Attribution
I designed this to solve a two problems:
Unless I removed the door I was always concerned it would open and break when I was working on the underside electronics compartment because I would need to put the printer on its left side
The stock thin film antenna doesn't have great gain so I wanted a better way to inconspicuously mount a diy dipole antenna
The latch is quite satisfying to click back and forth and the dipole antenna, while optional, vastly improves video feed stability. I have included instructions for construction of a basic 2.4g wifi tuned dipole antenna that takes under 15 minutes to make.
Materials
you will need voron style m3 heatset inserts, a 6mm long m3 countersunk screw, and either three 6x3 magnets for the latch (optionally you can use 6x1.5mm if you prefer a thinner latch).
If you are doing the dipole antenna you will need some magnet wire (thick enough to keep its shape when bent), soldering iron, and heat shrink tubing. You can also just keep the original antenna.
Instructions
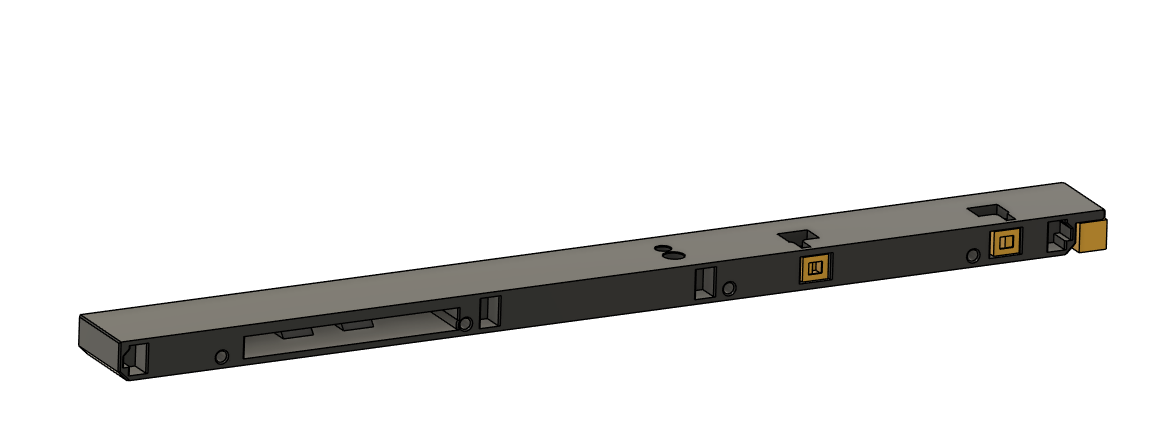
This model is presupported print at 0.2 or 0.25 mm layer height and do not use any slicer supports!
Print in the following orientation and remove the bult in supports (shown in yellow below) with a screwdriver, pliers, etc. I tried PETG, I am unsure if ABS will warp in this orientation or not.
Unscrew the door hinges and stock bottom spacer forom the printer, carefully detach the stock antenna.
Add two heatset inserts to the printed spacer, one for the front hole for the latch, and one for the where the door hinge attaches.
glue one magnet into the 6mm hole in the front of the spacer, glue two magnets into the latch. both magnets should be placed so they are attracted to the door magnet.
screw the latch to the door spacer with the m3 countersunk screw. the latch should be slightly loose so it can flip back and forth between magnet positions. A bit of blue thread locker can help but isn't required
if using the stock antenna reassemble as normal with the replacement spacer, or substitute with the DIY dipole antenna described below and slot it into the arms inside the spacer.
Dipole antenna fabrication (optional)
Parts needed. flush cutters, lighter, heatshrink tubing, solid core wire (guage doesnt matter much but should be stiff), old sma antenna from a laptop or the oem CC antenna, solder and soldering iron
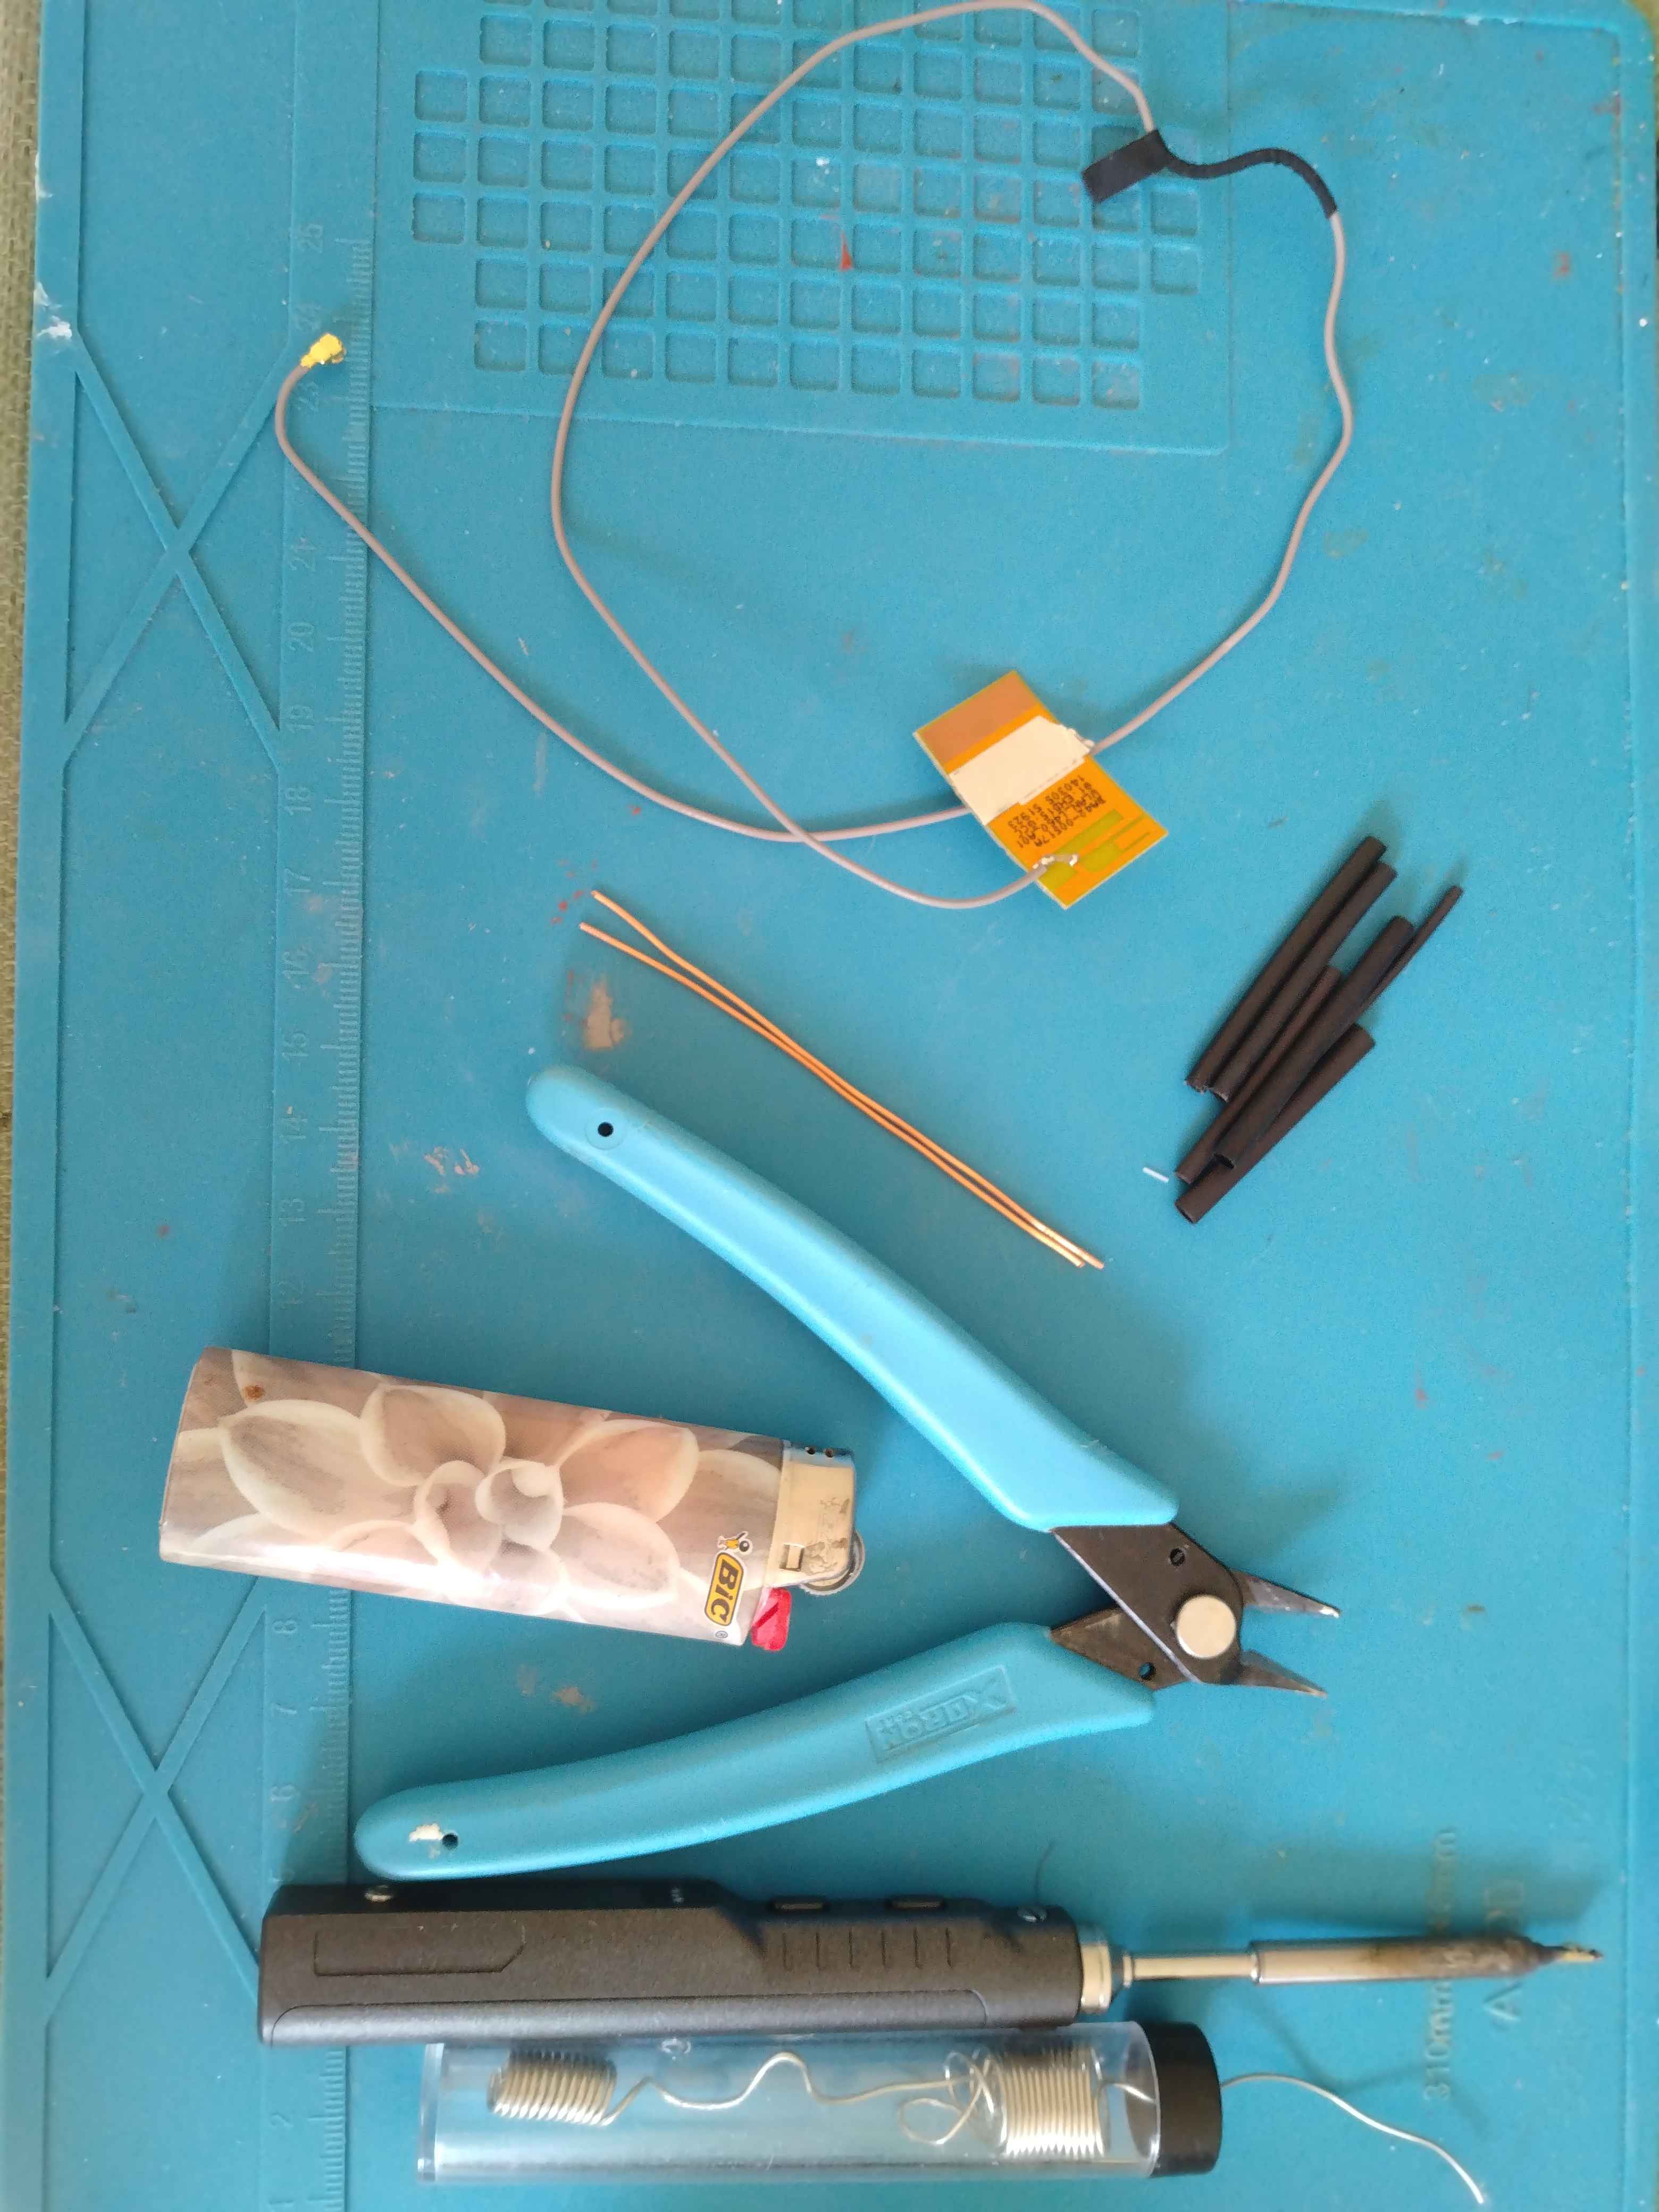
Desolder the SMA connector from the stock film antenna, scrape or burn off enamel on the copper wire and tin with solder
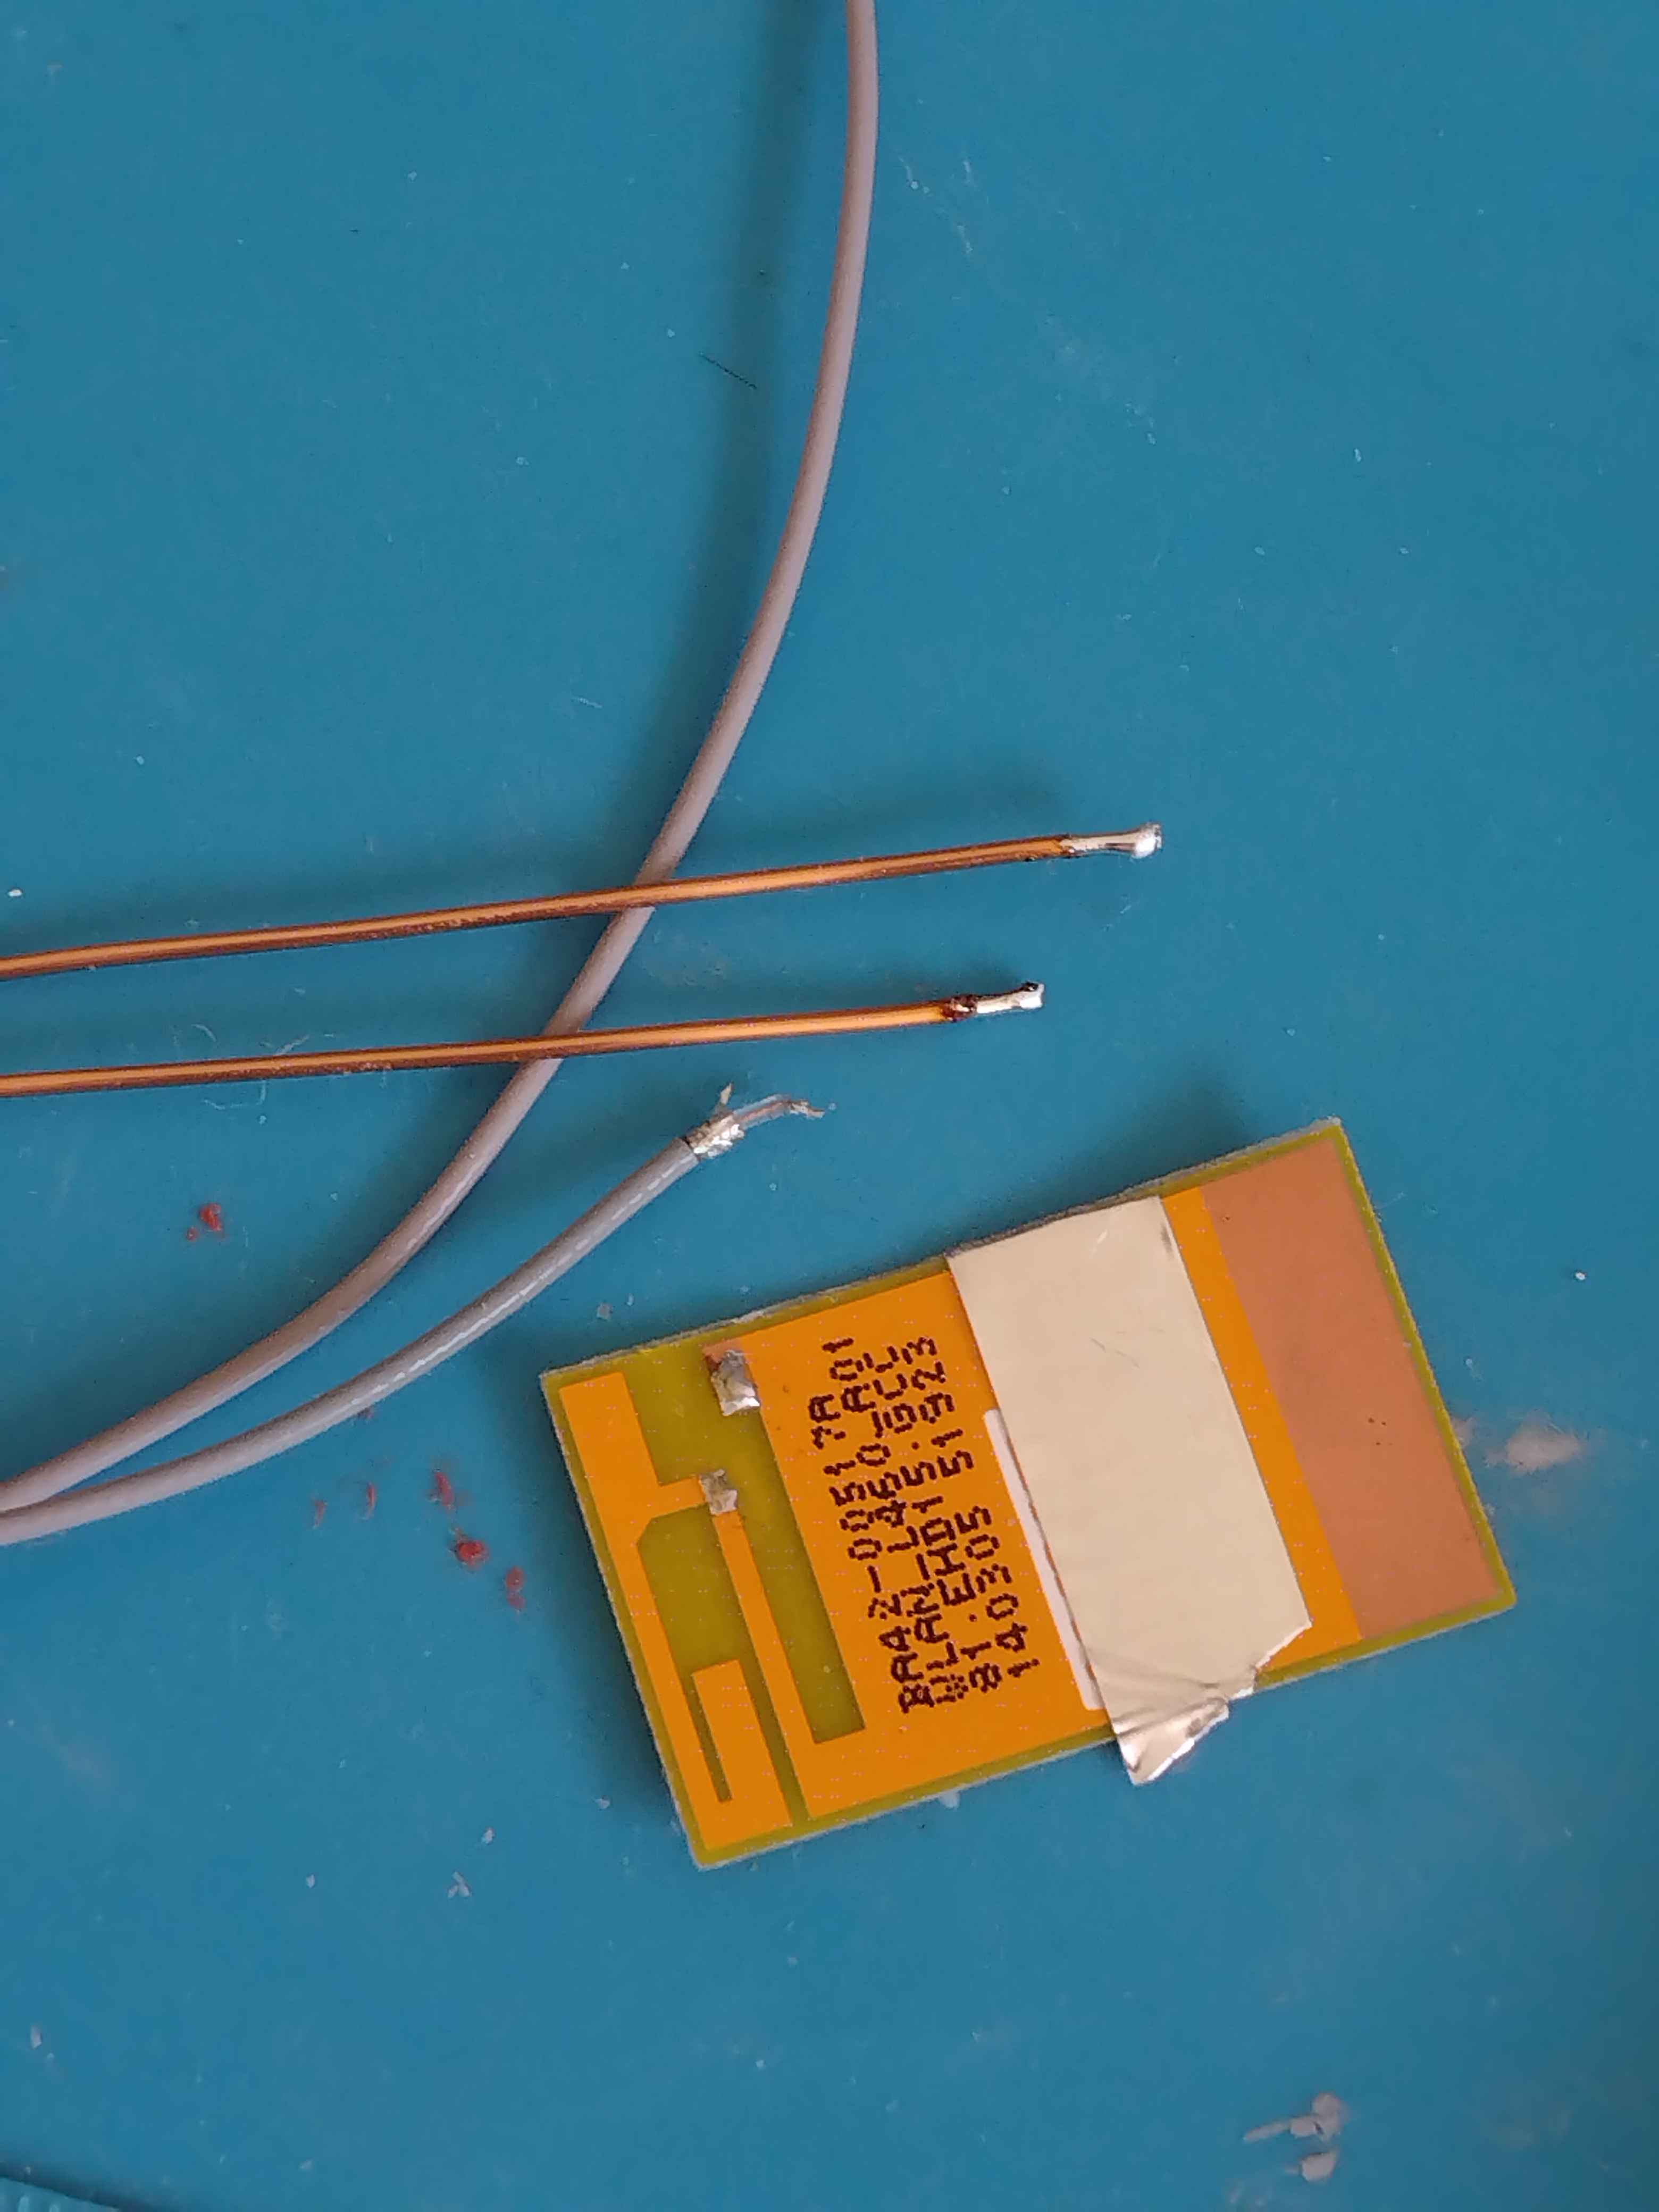
solder inner line of the SMA coax cable to one of the copper wires.
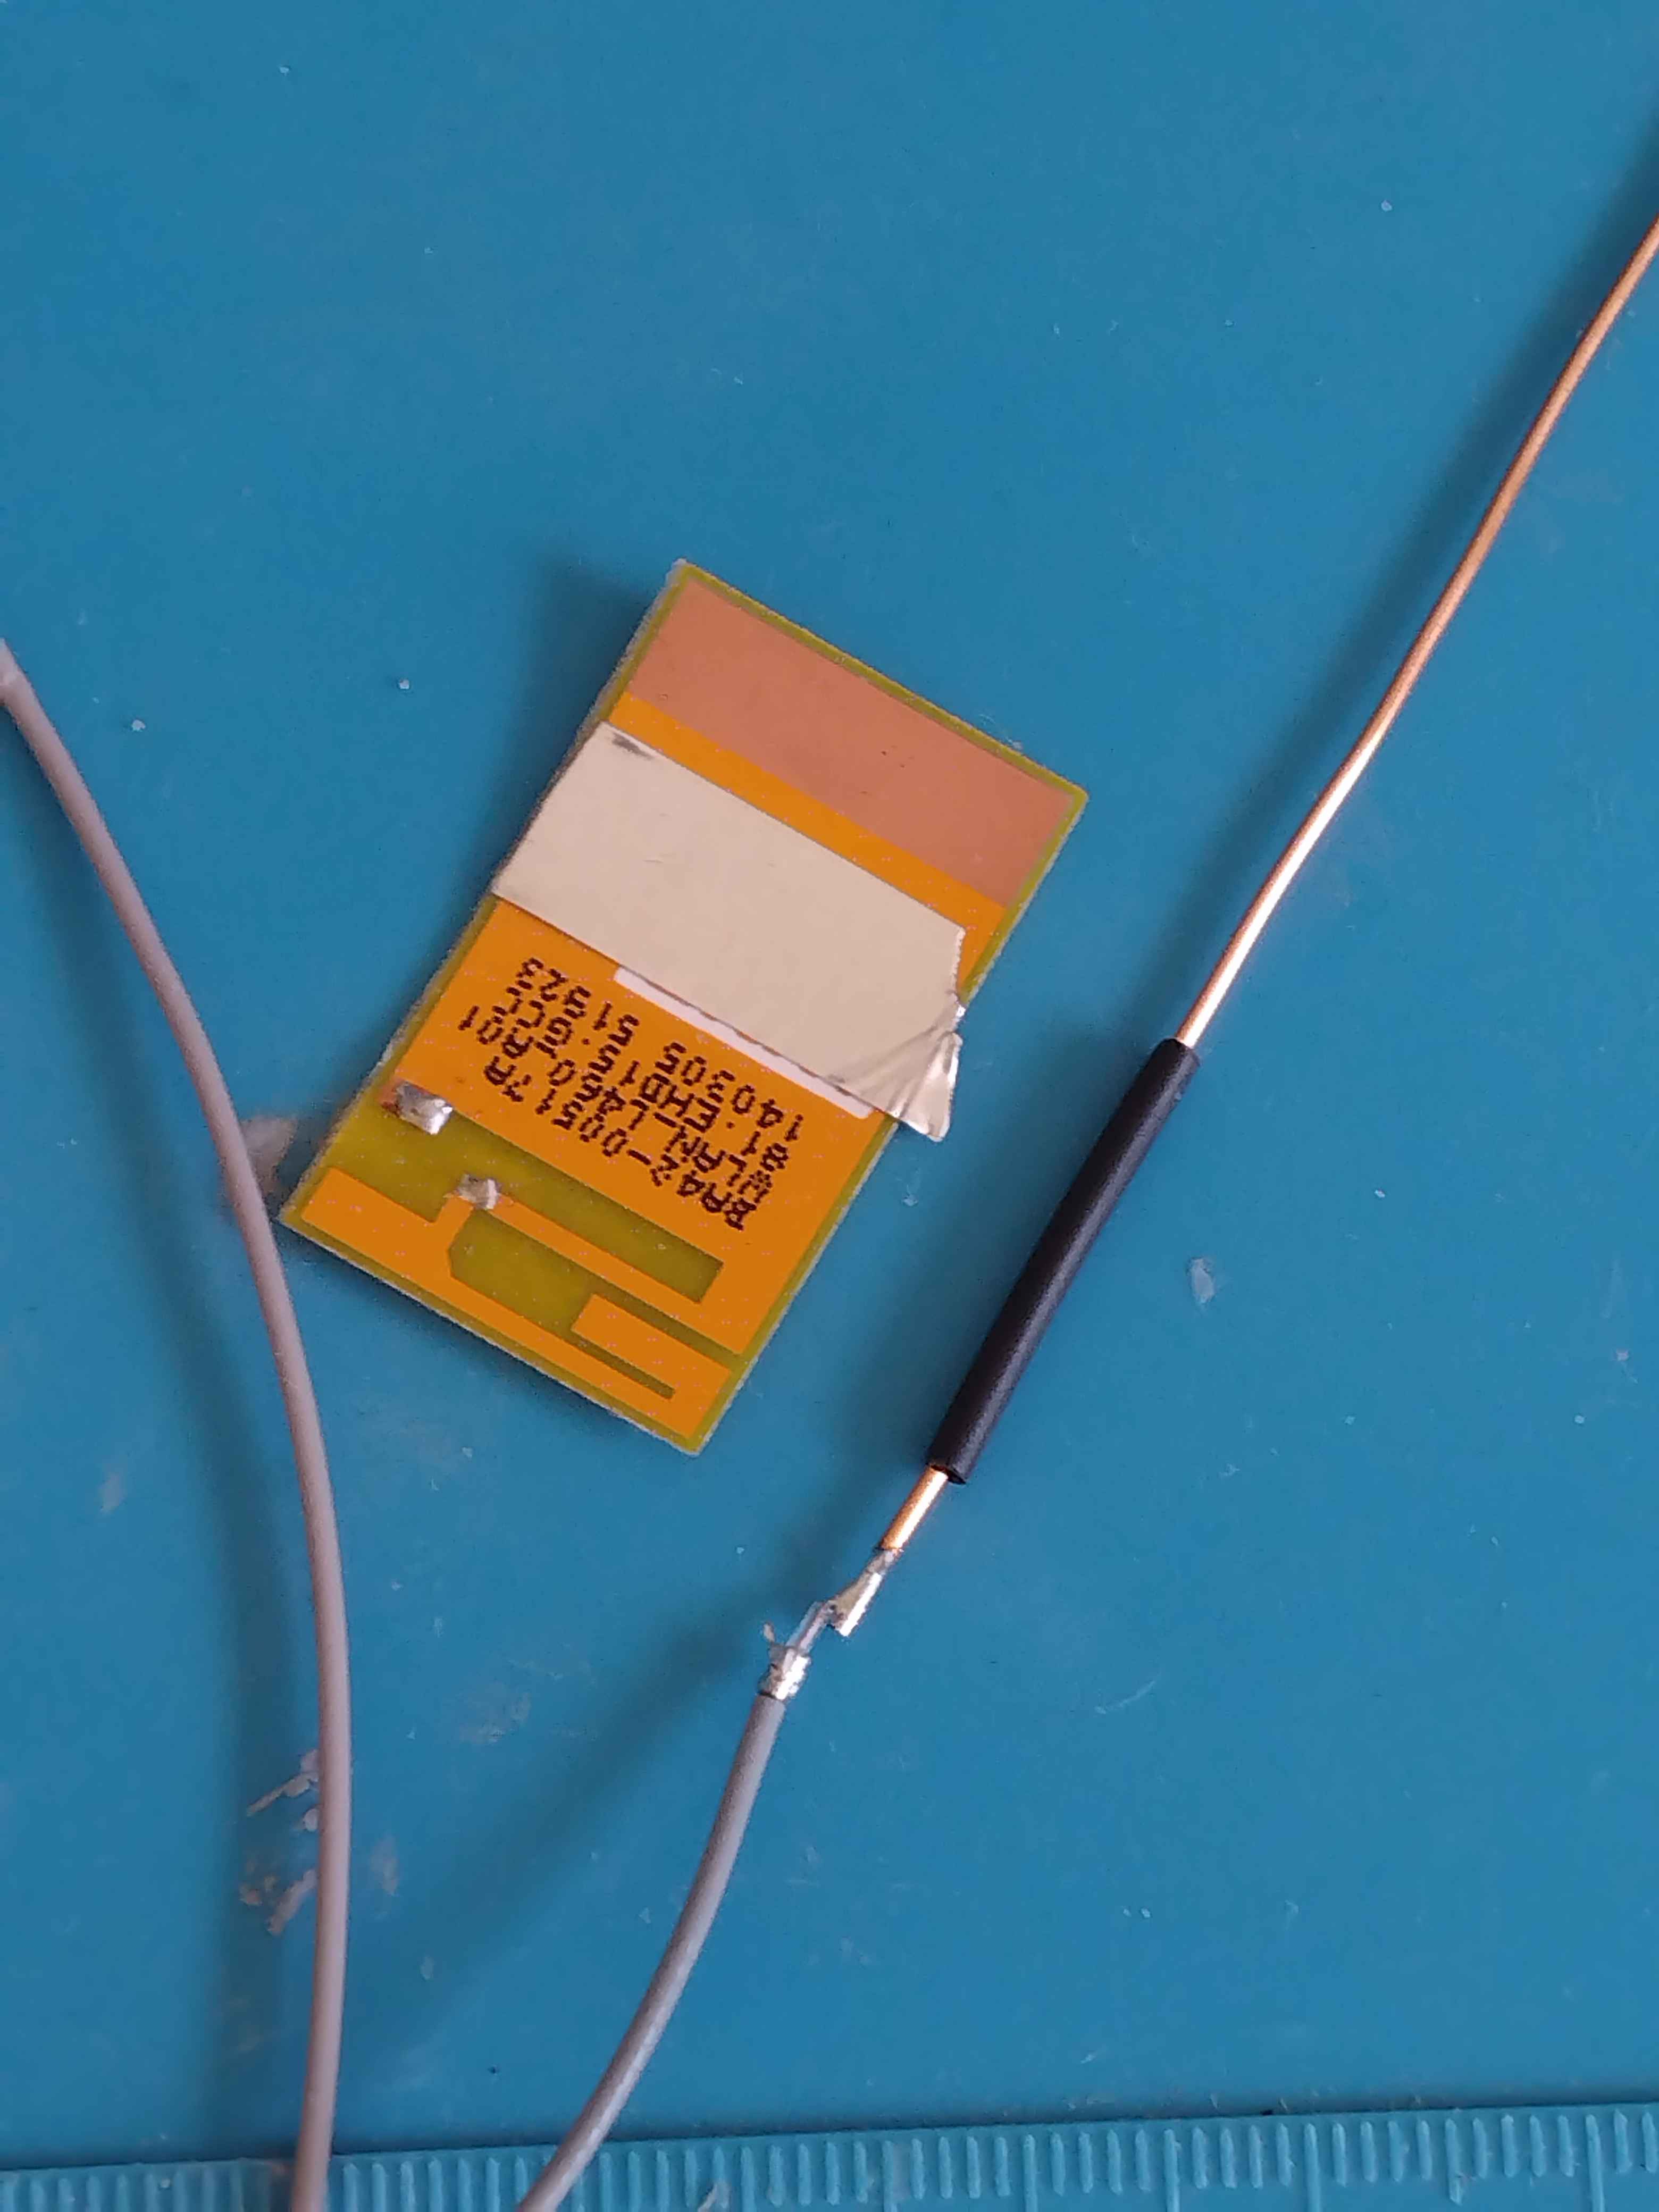
heatshrink around soldered joint to insulate
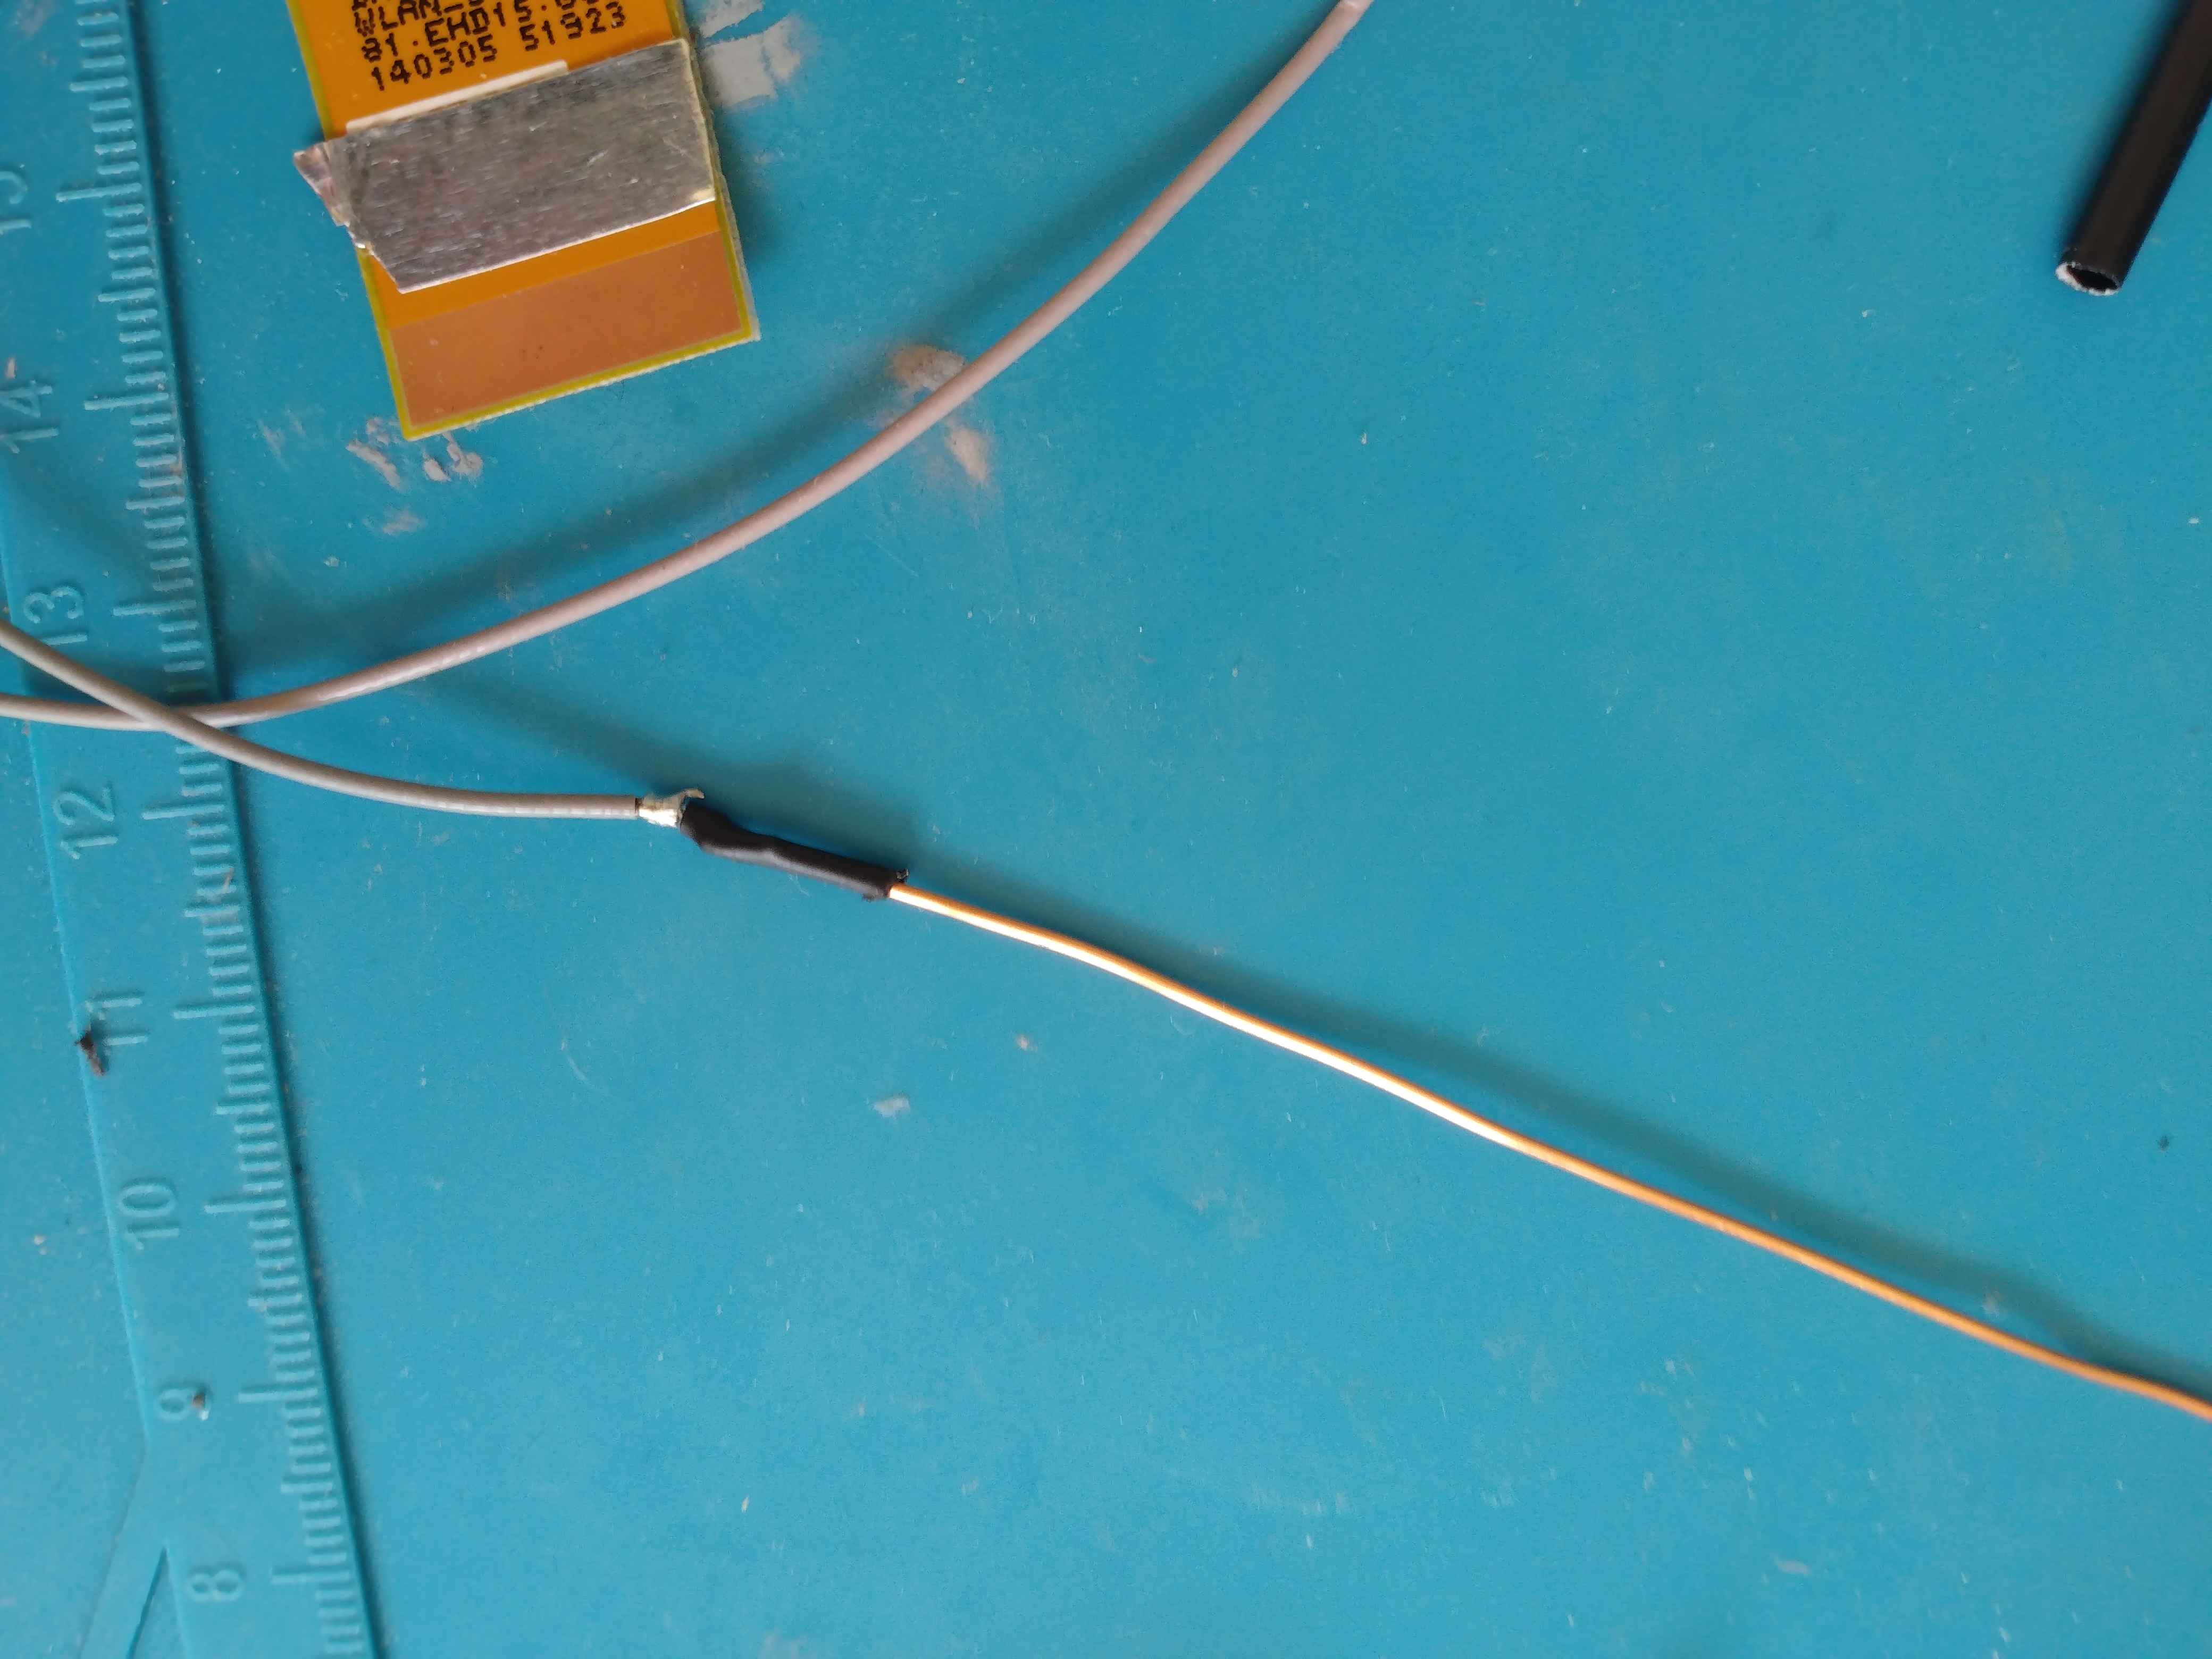
solder second wire to outside of coax sma connector
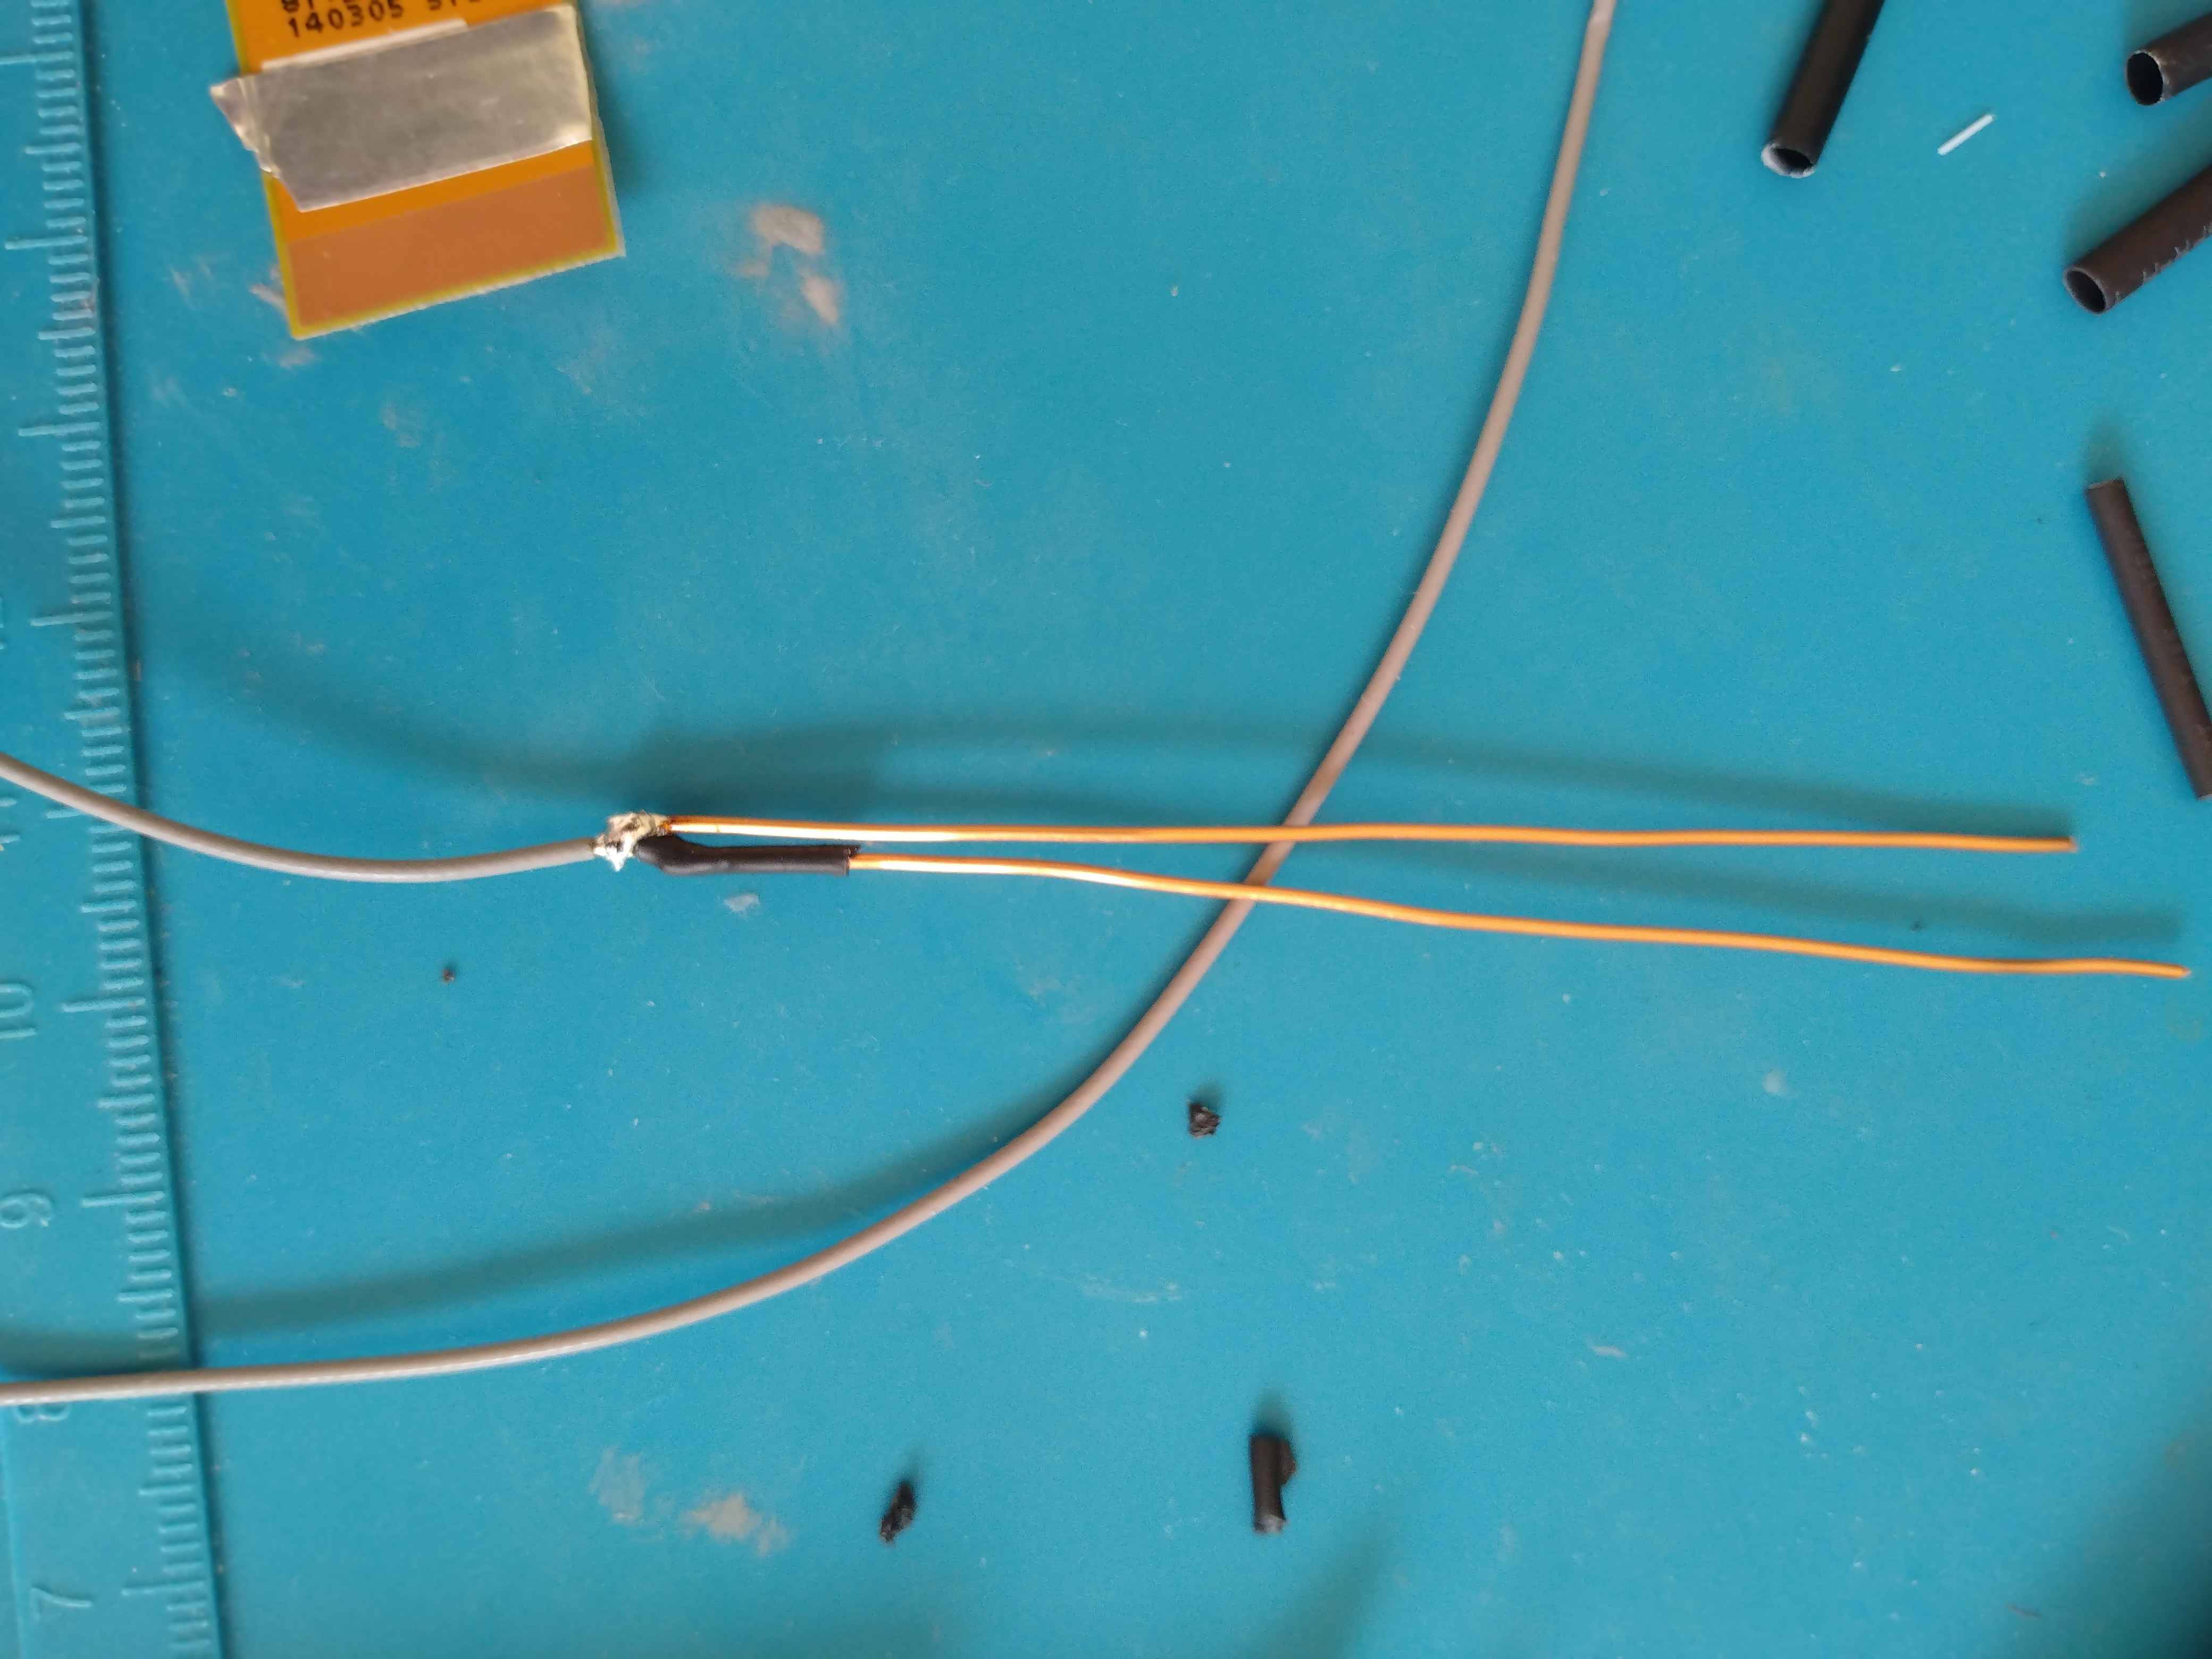
heatshrink outside
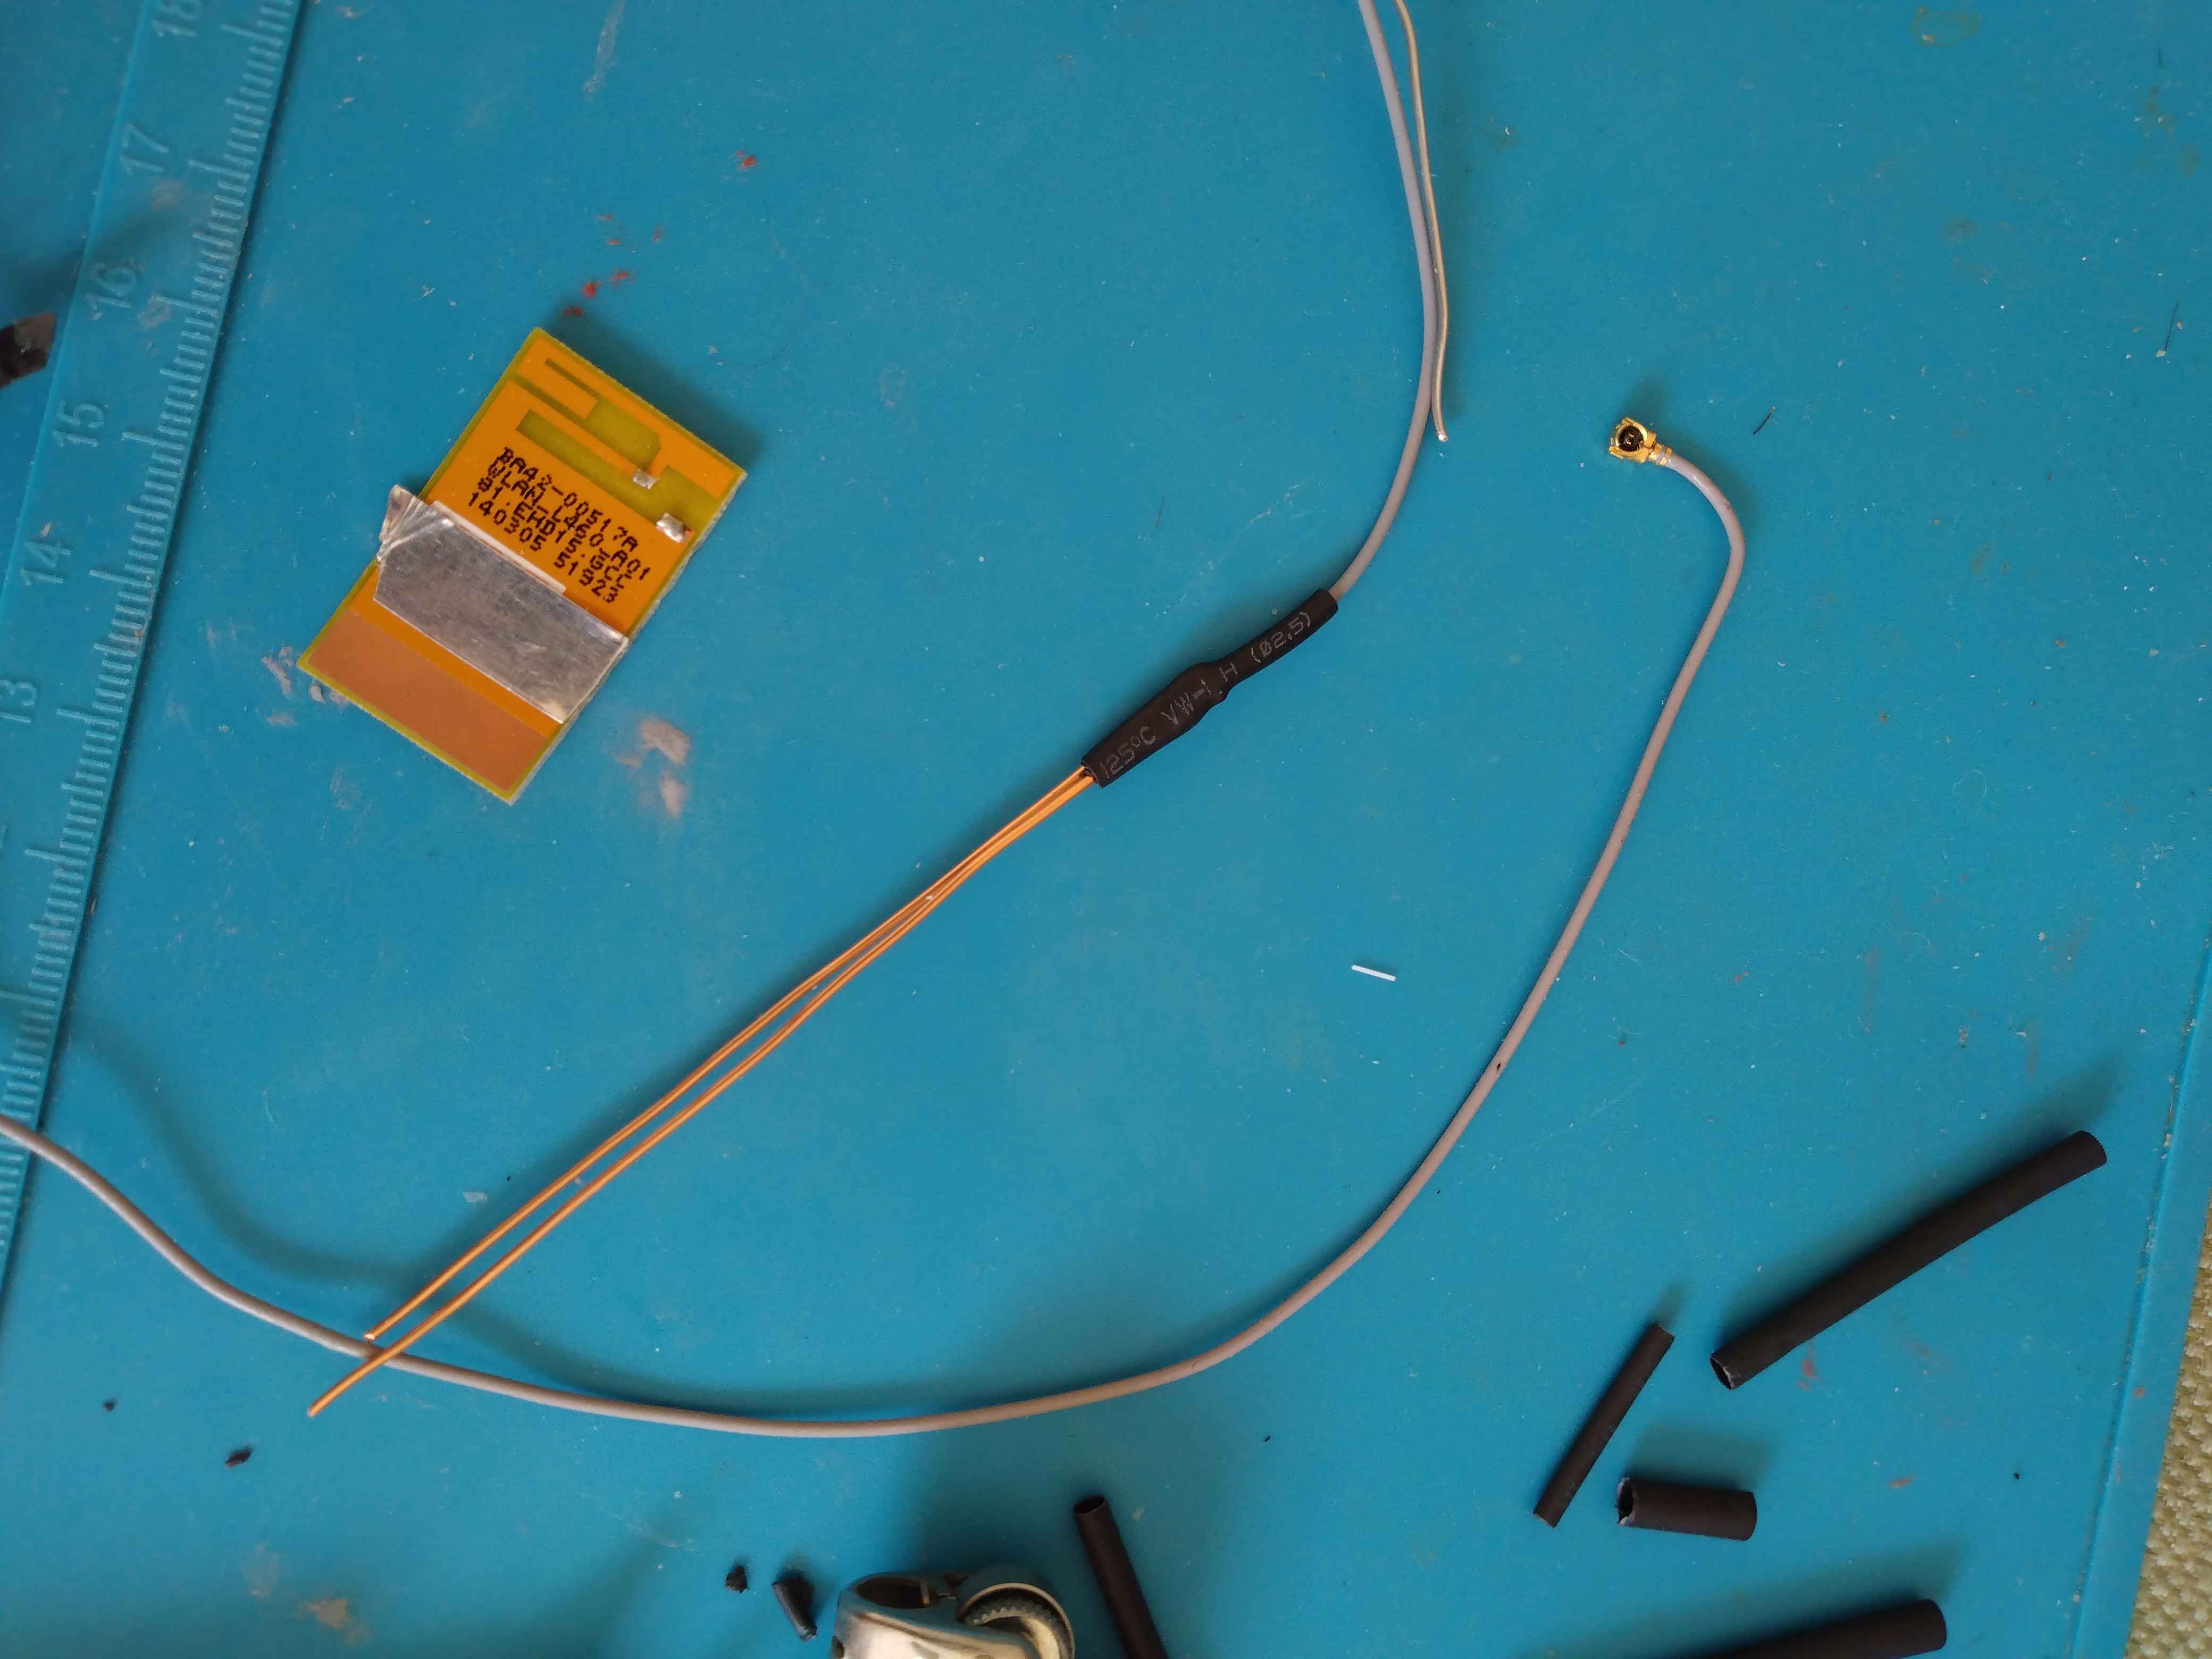
bend poles apart tightly with pliers or similar 90 degrees
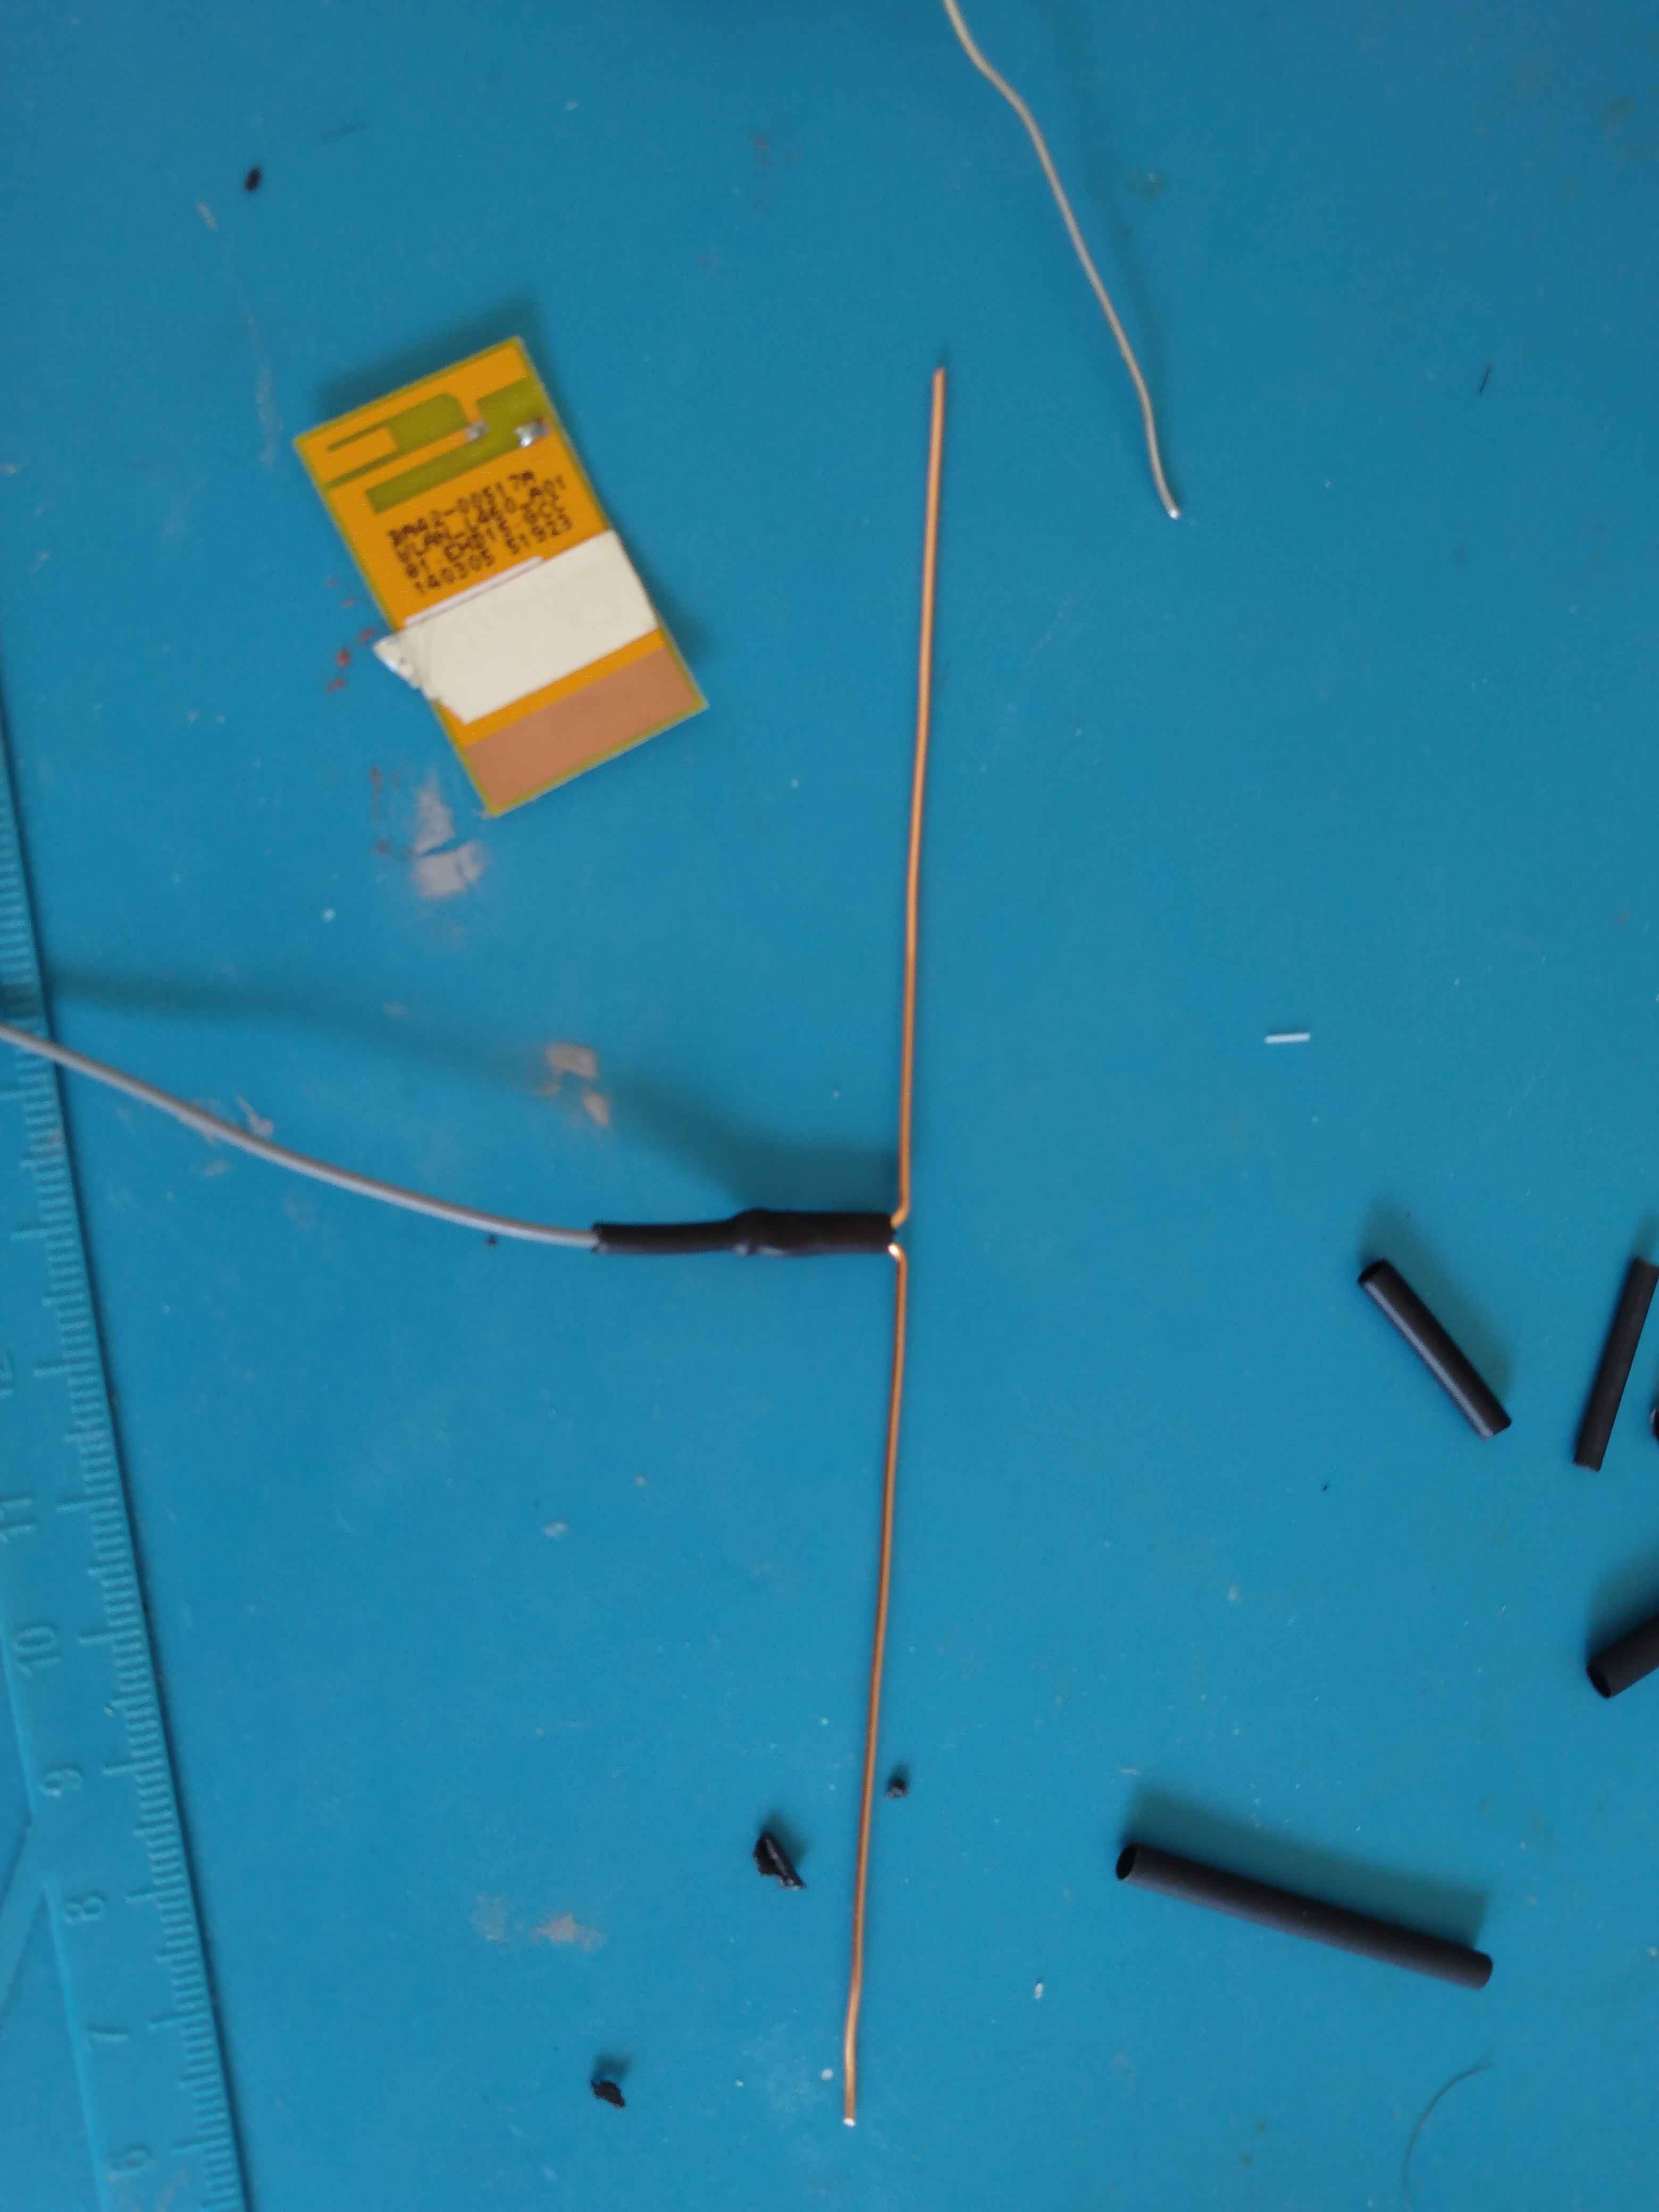
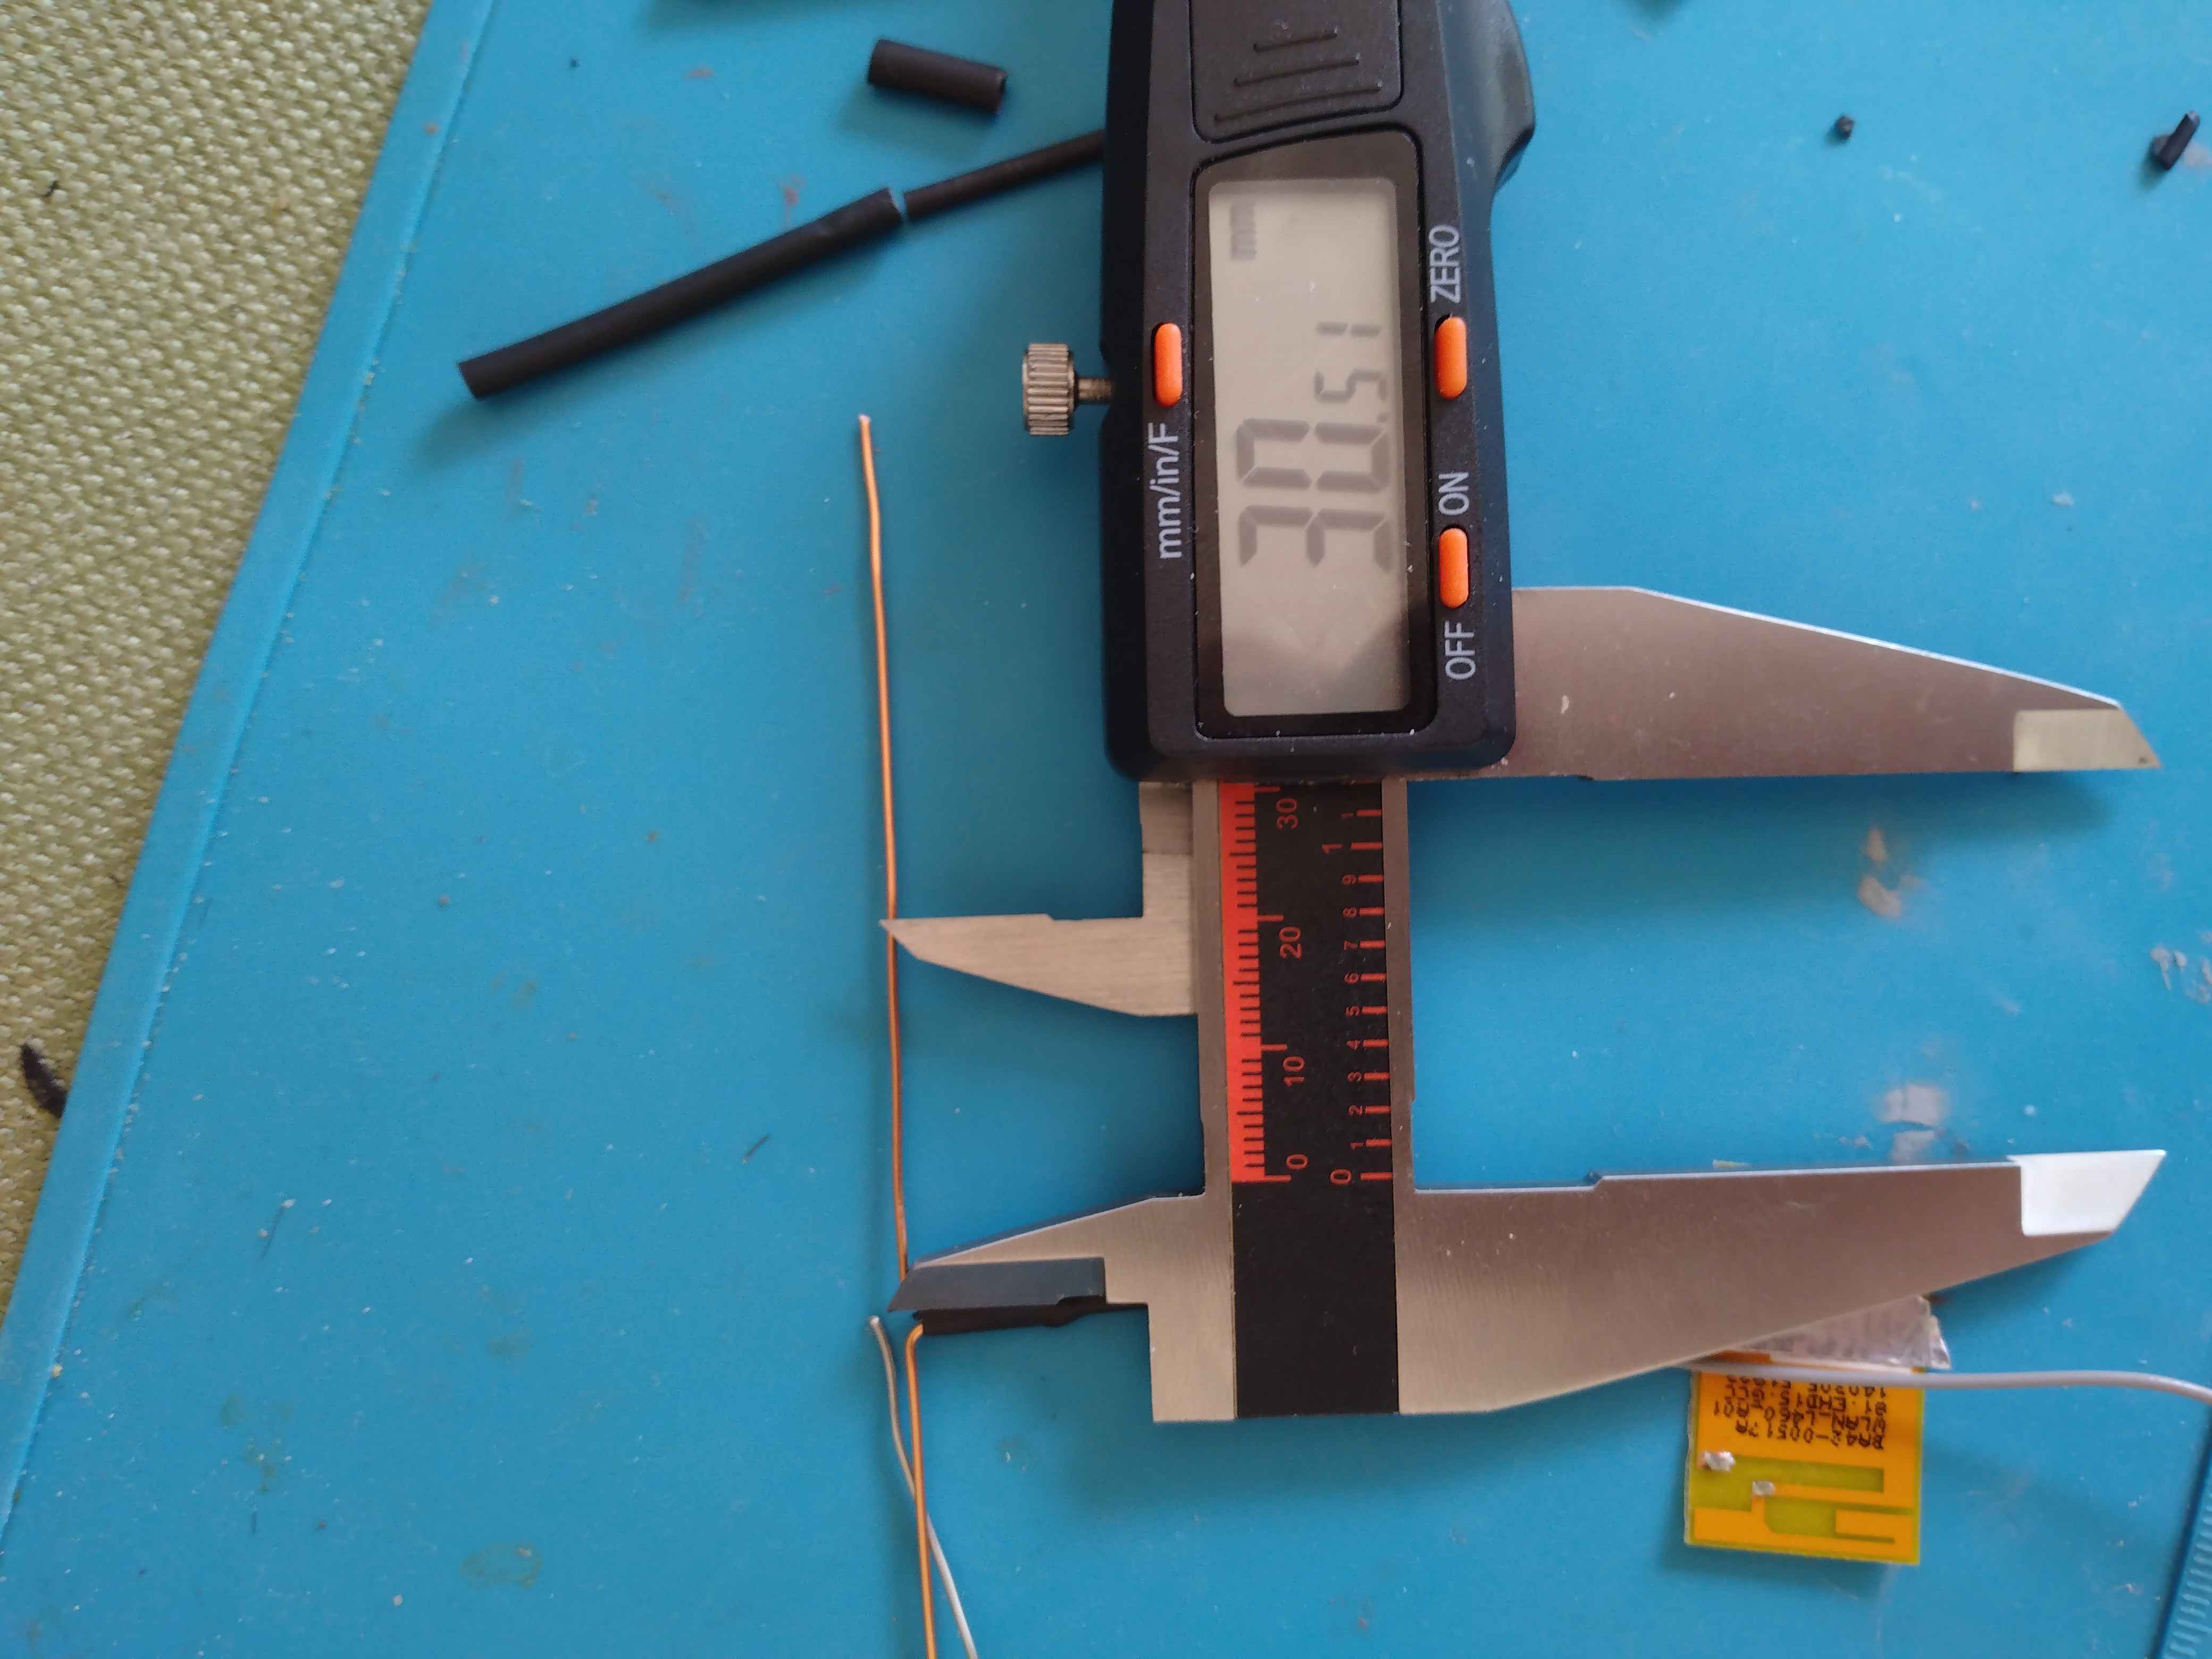
measure 30.5mm (quarter wave length) from the bend point and cut each side to length.
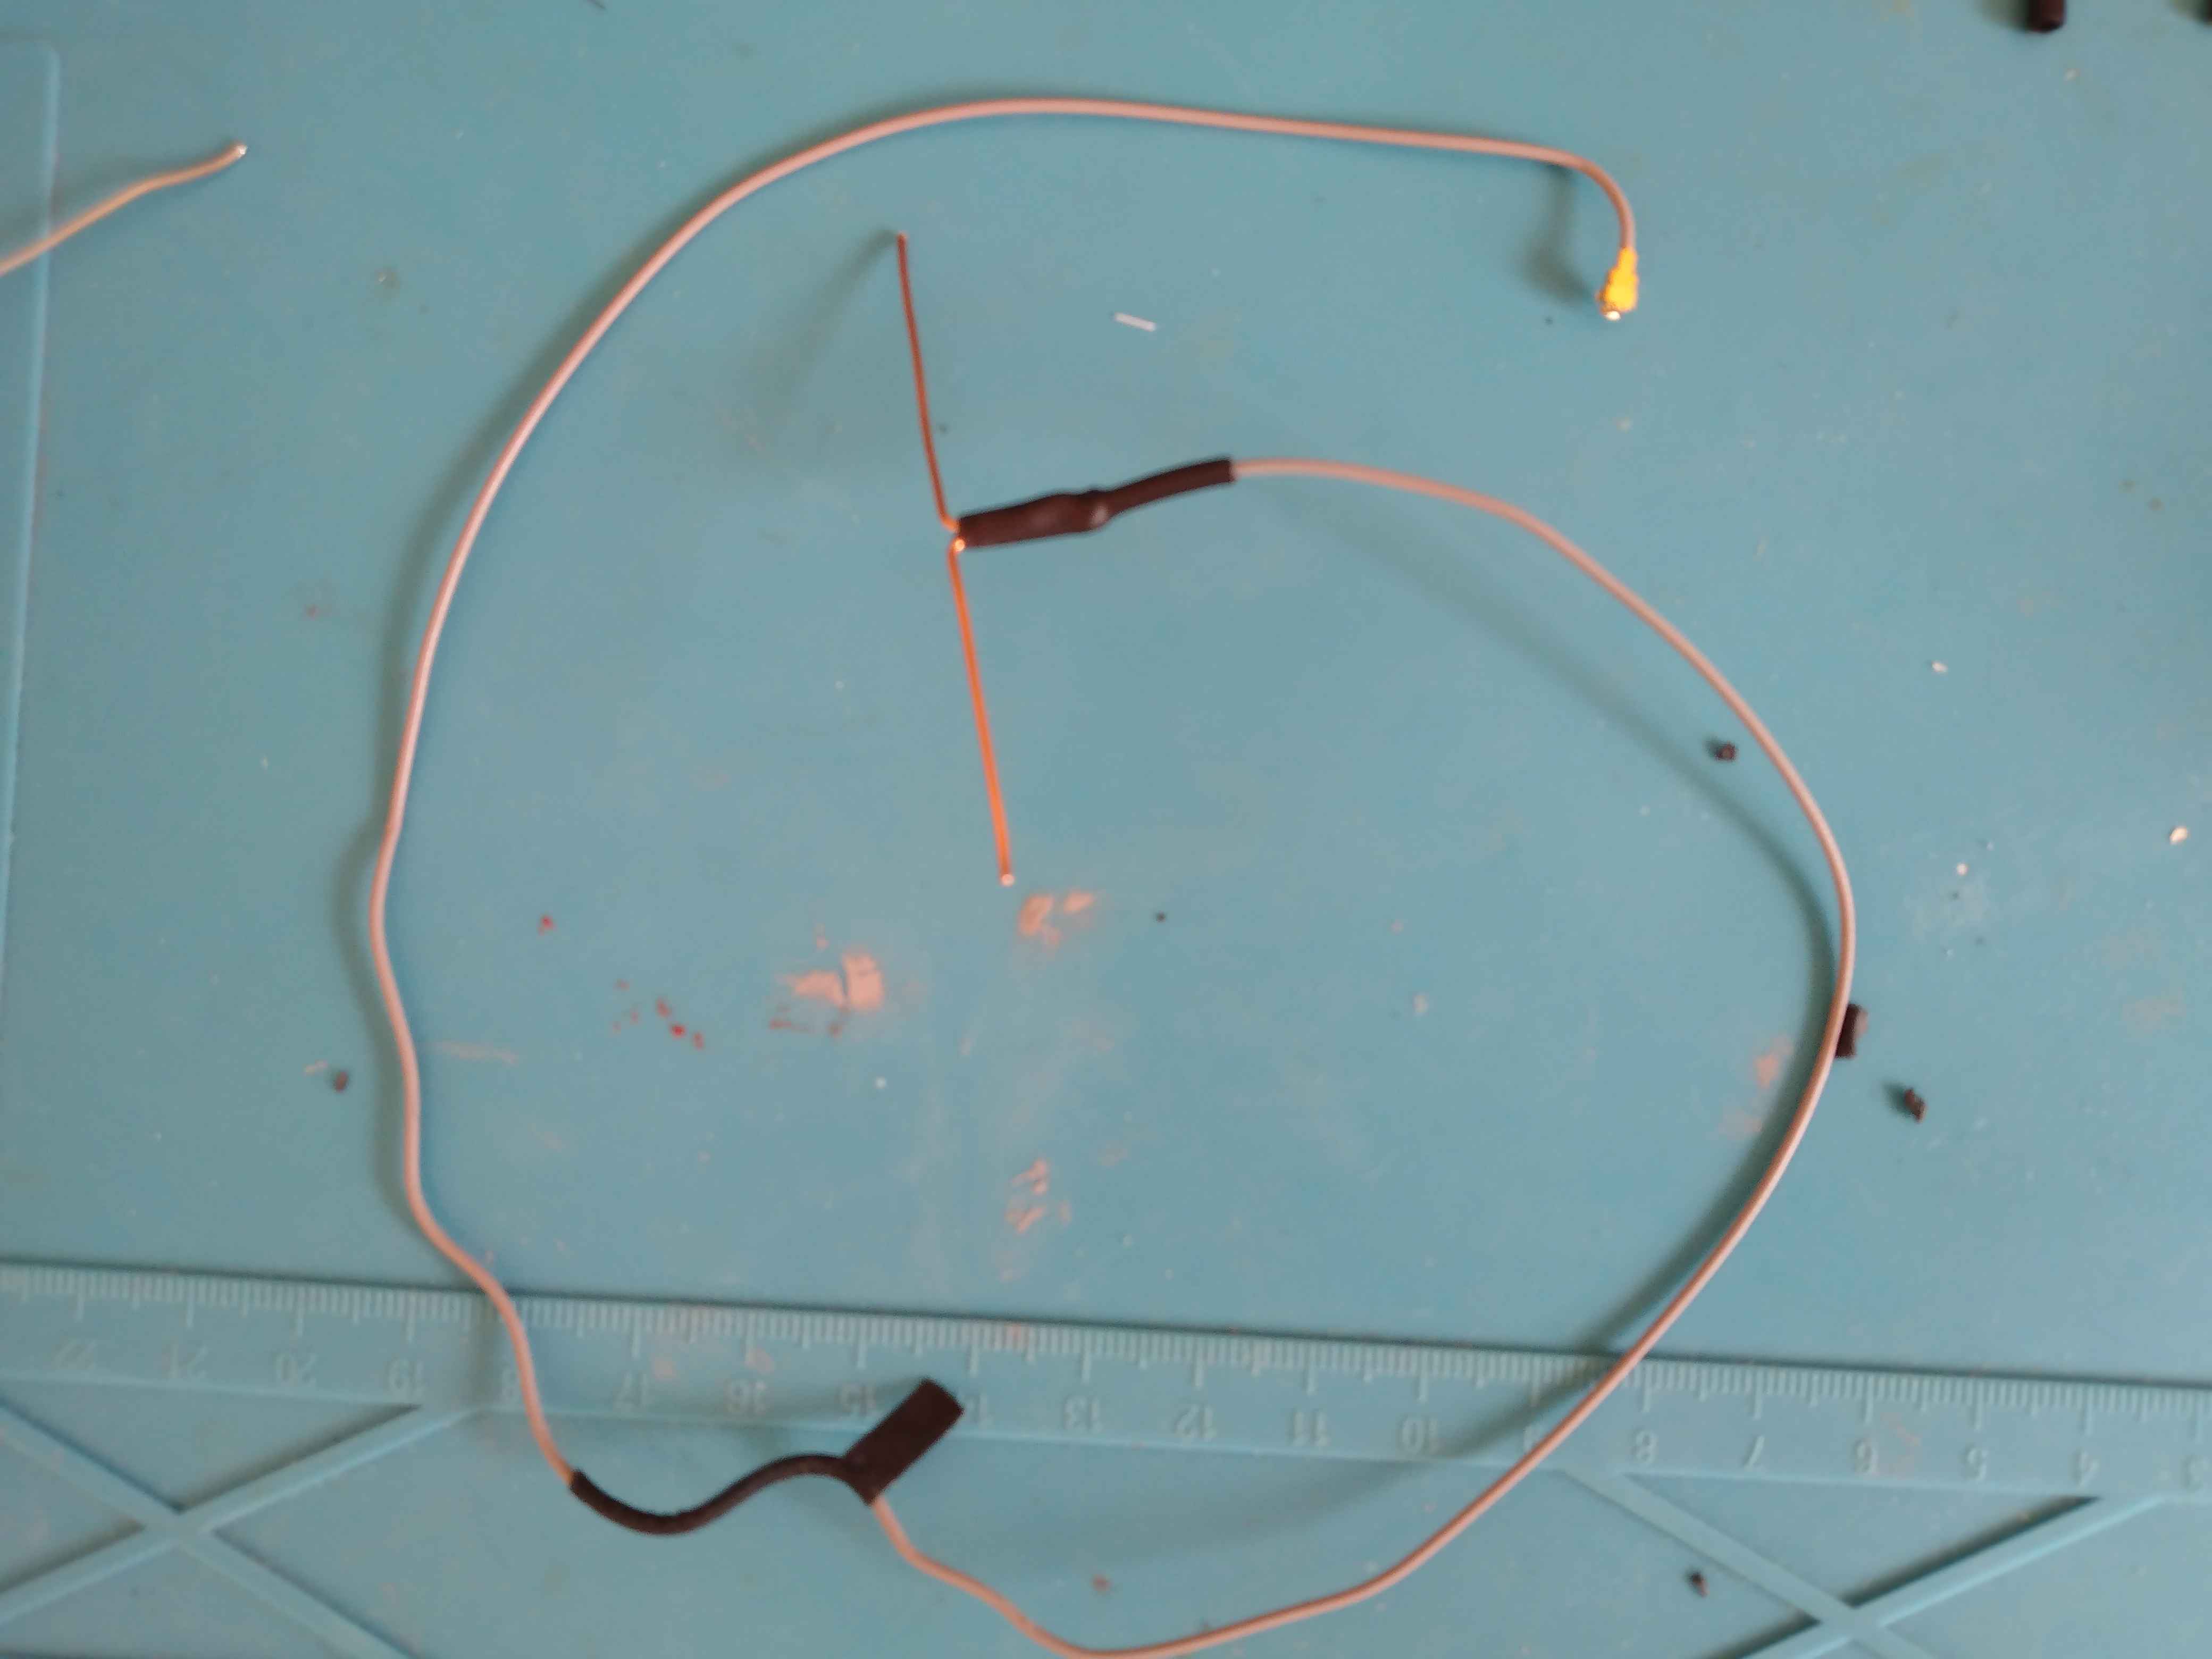
Antenna is complete!
The dipole antenna installed: