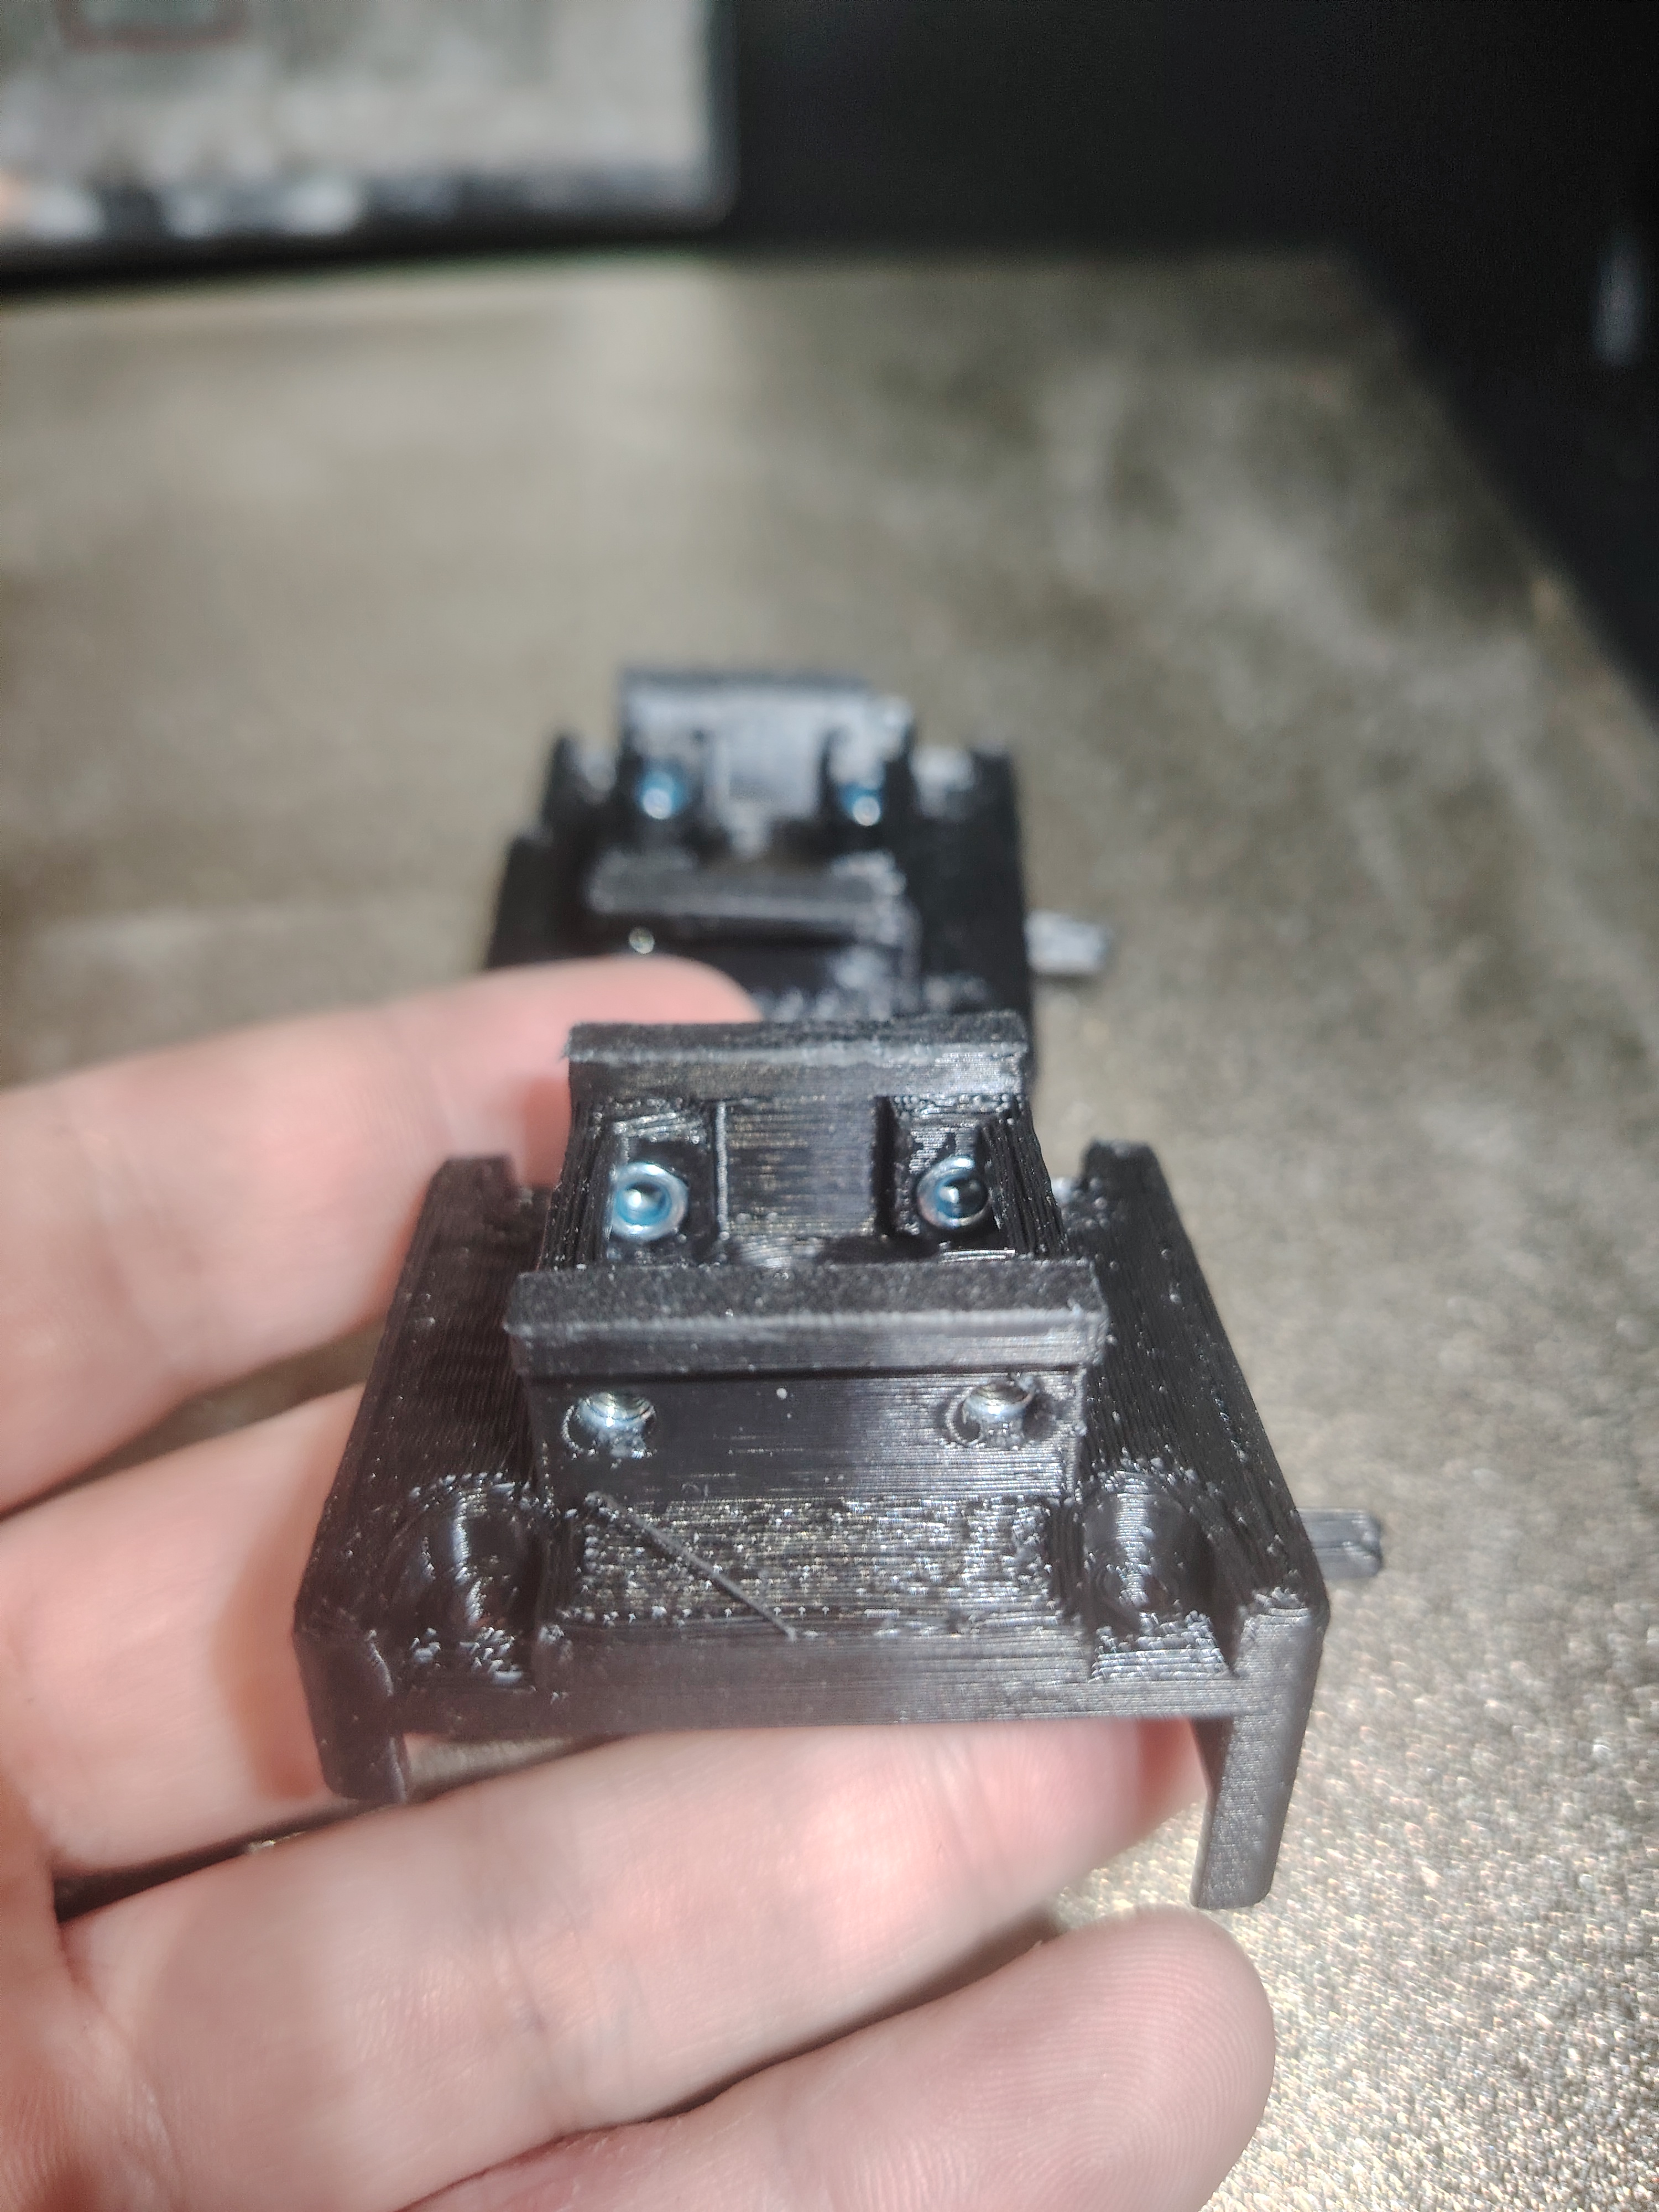
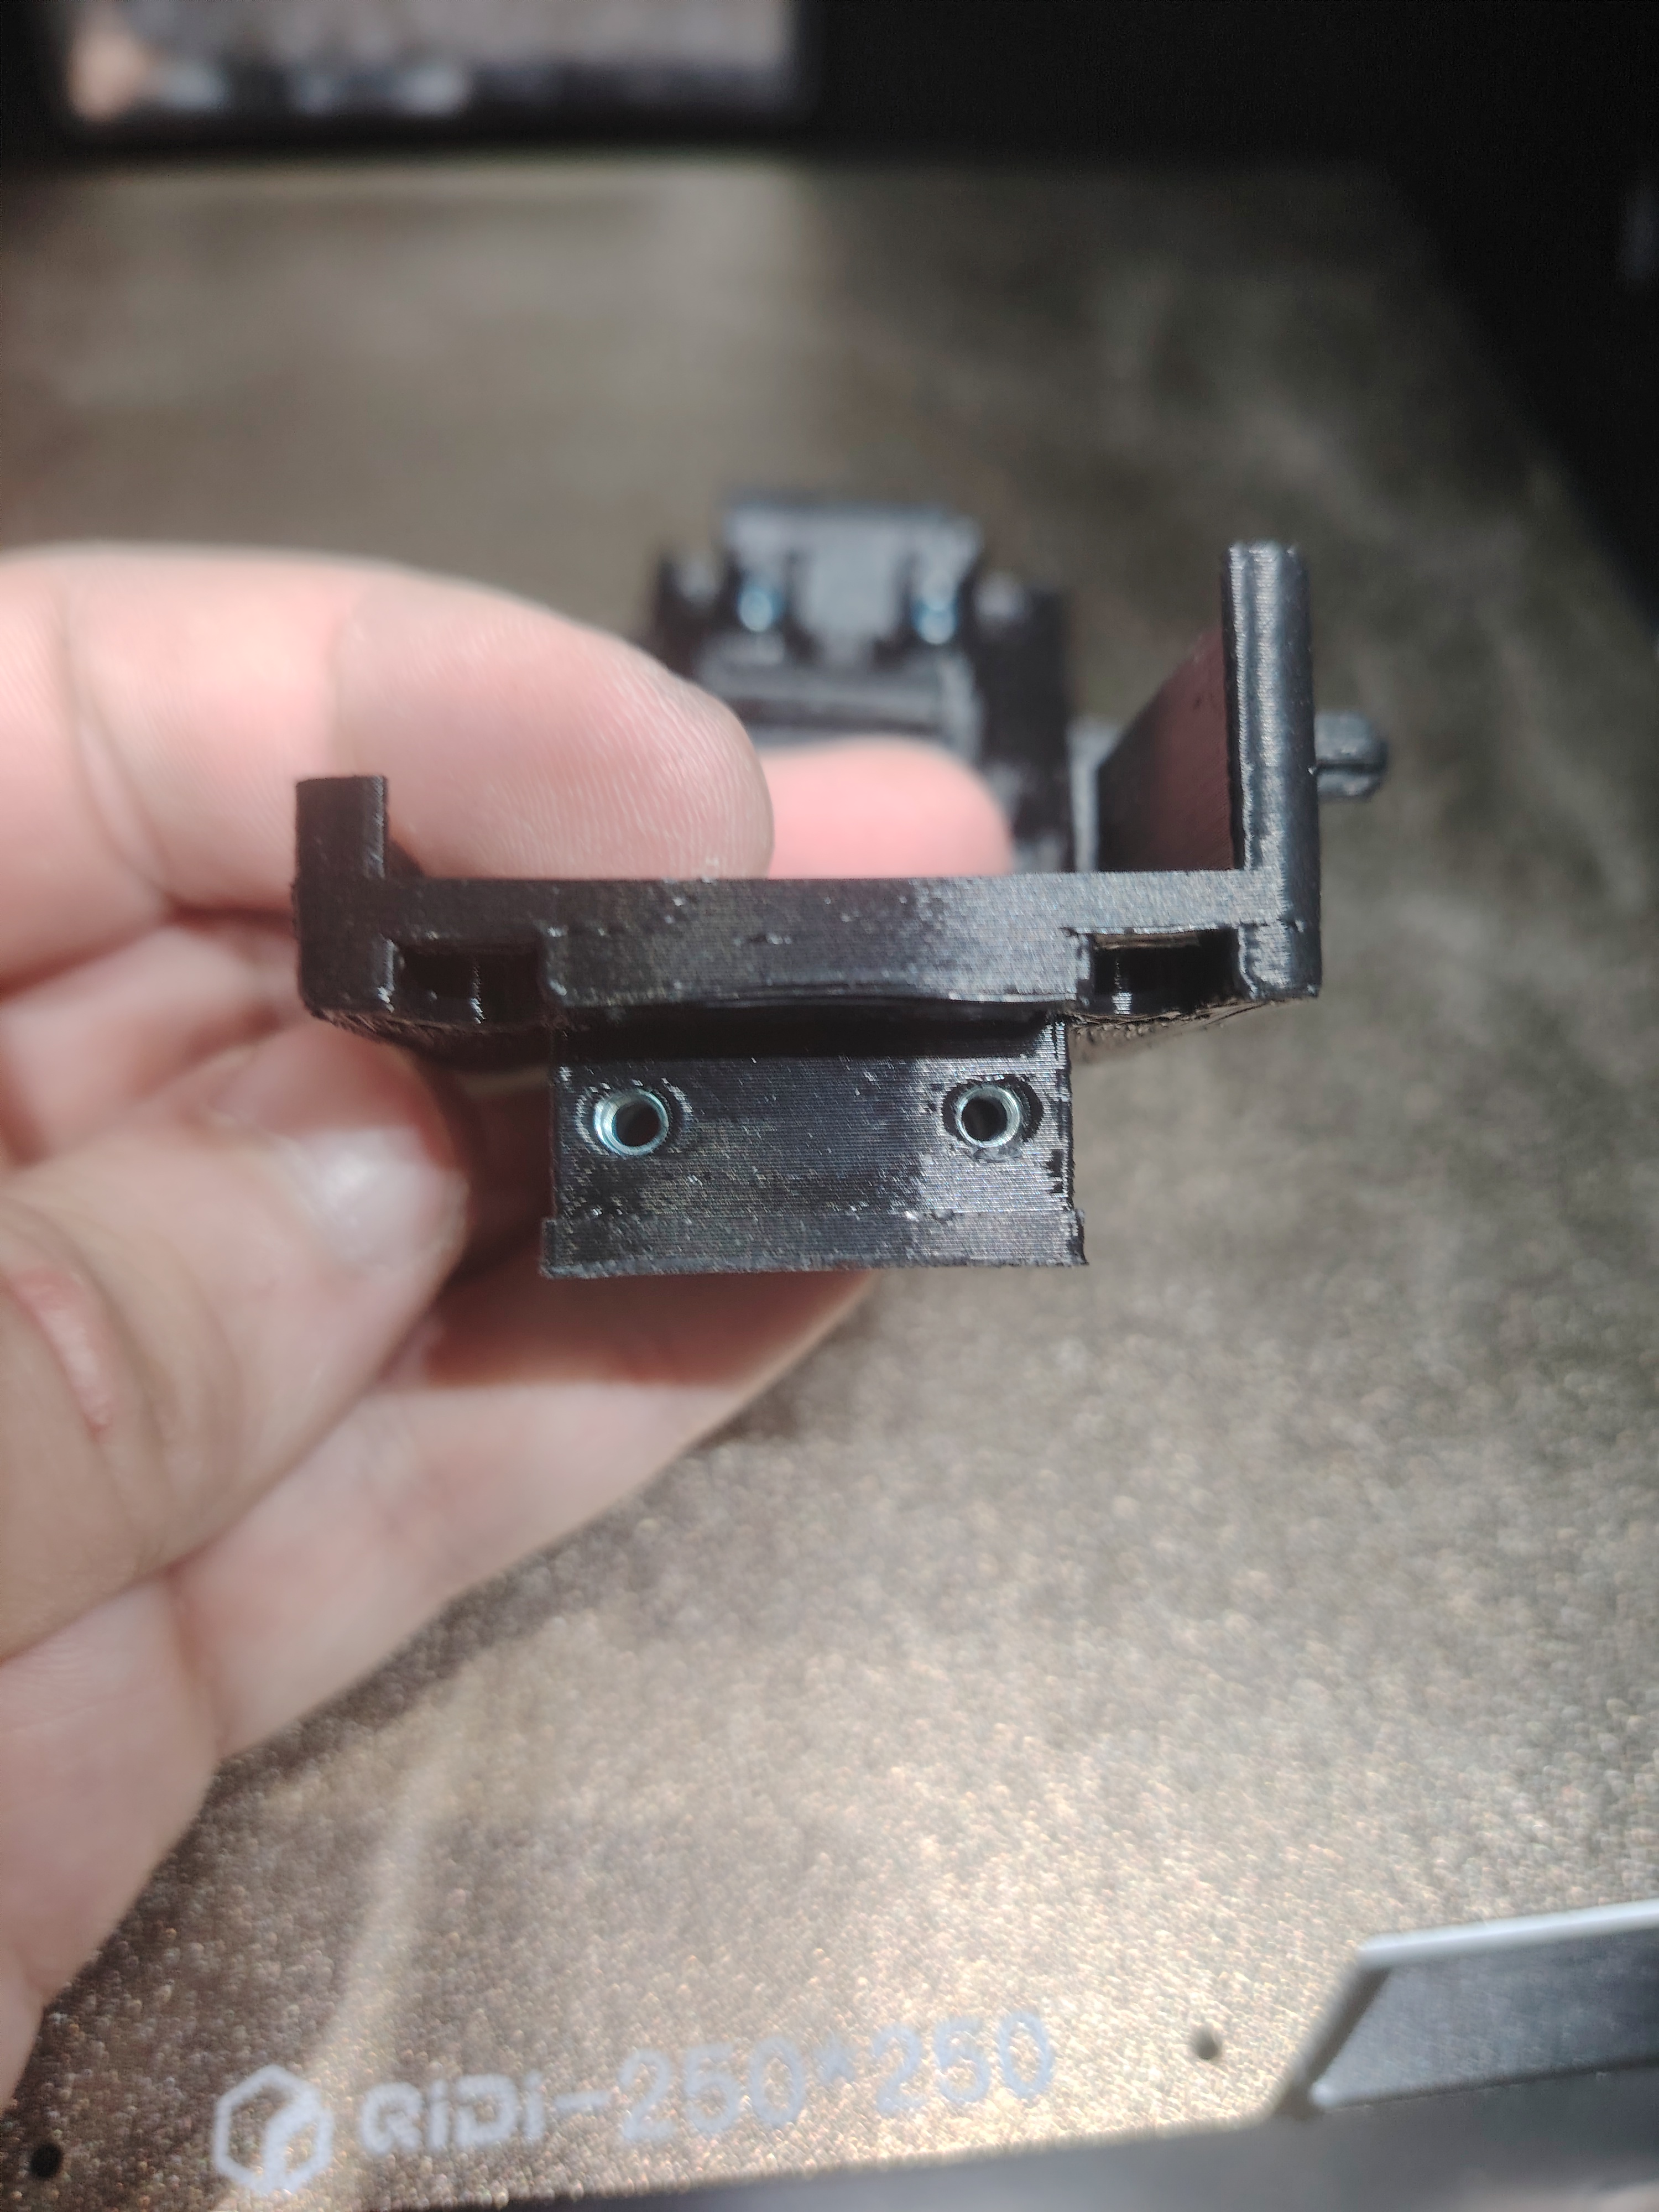
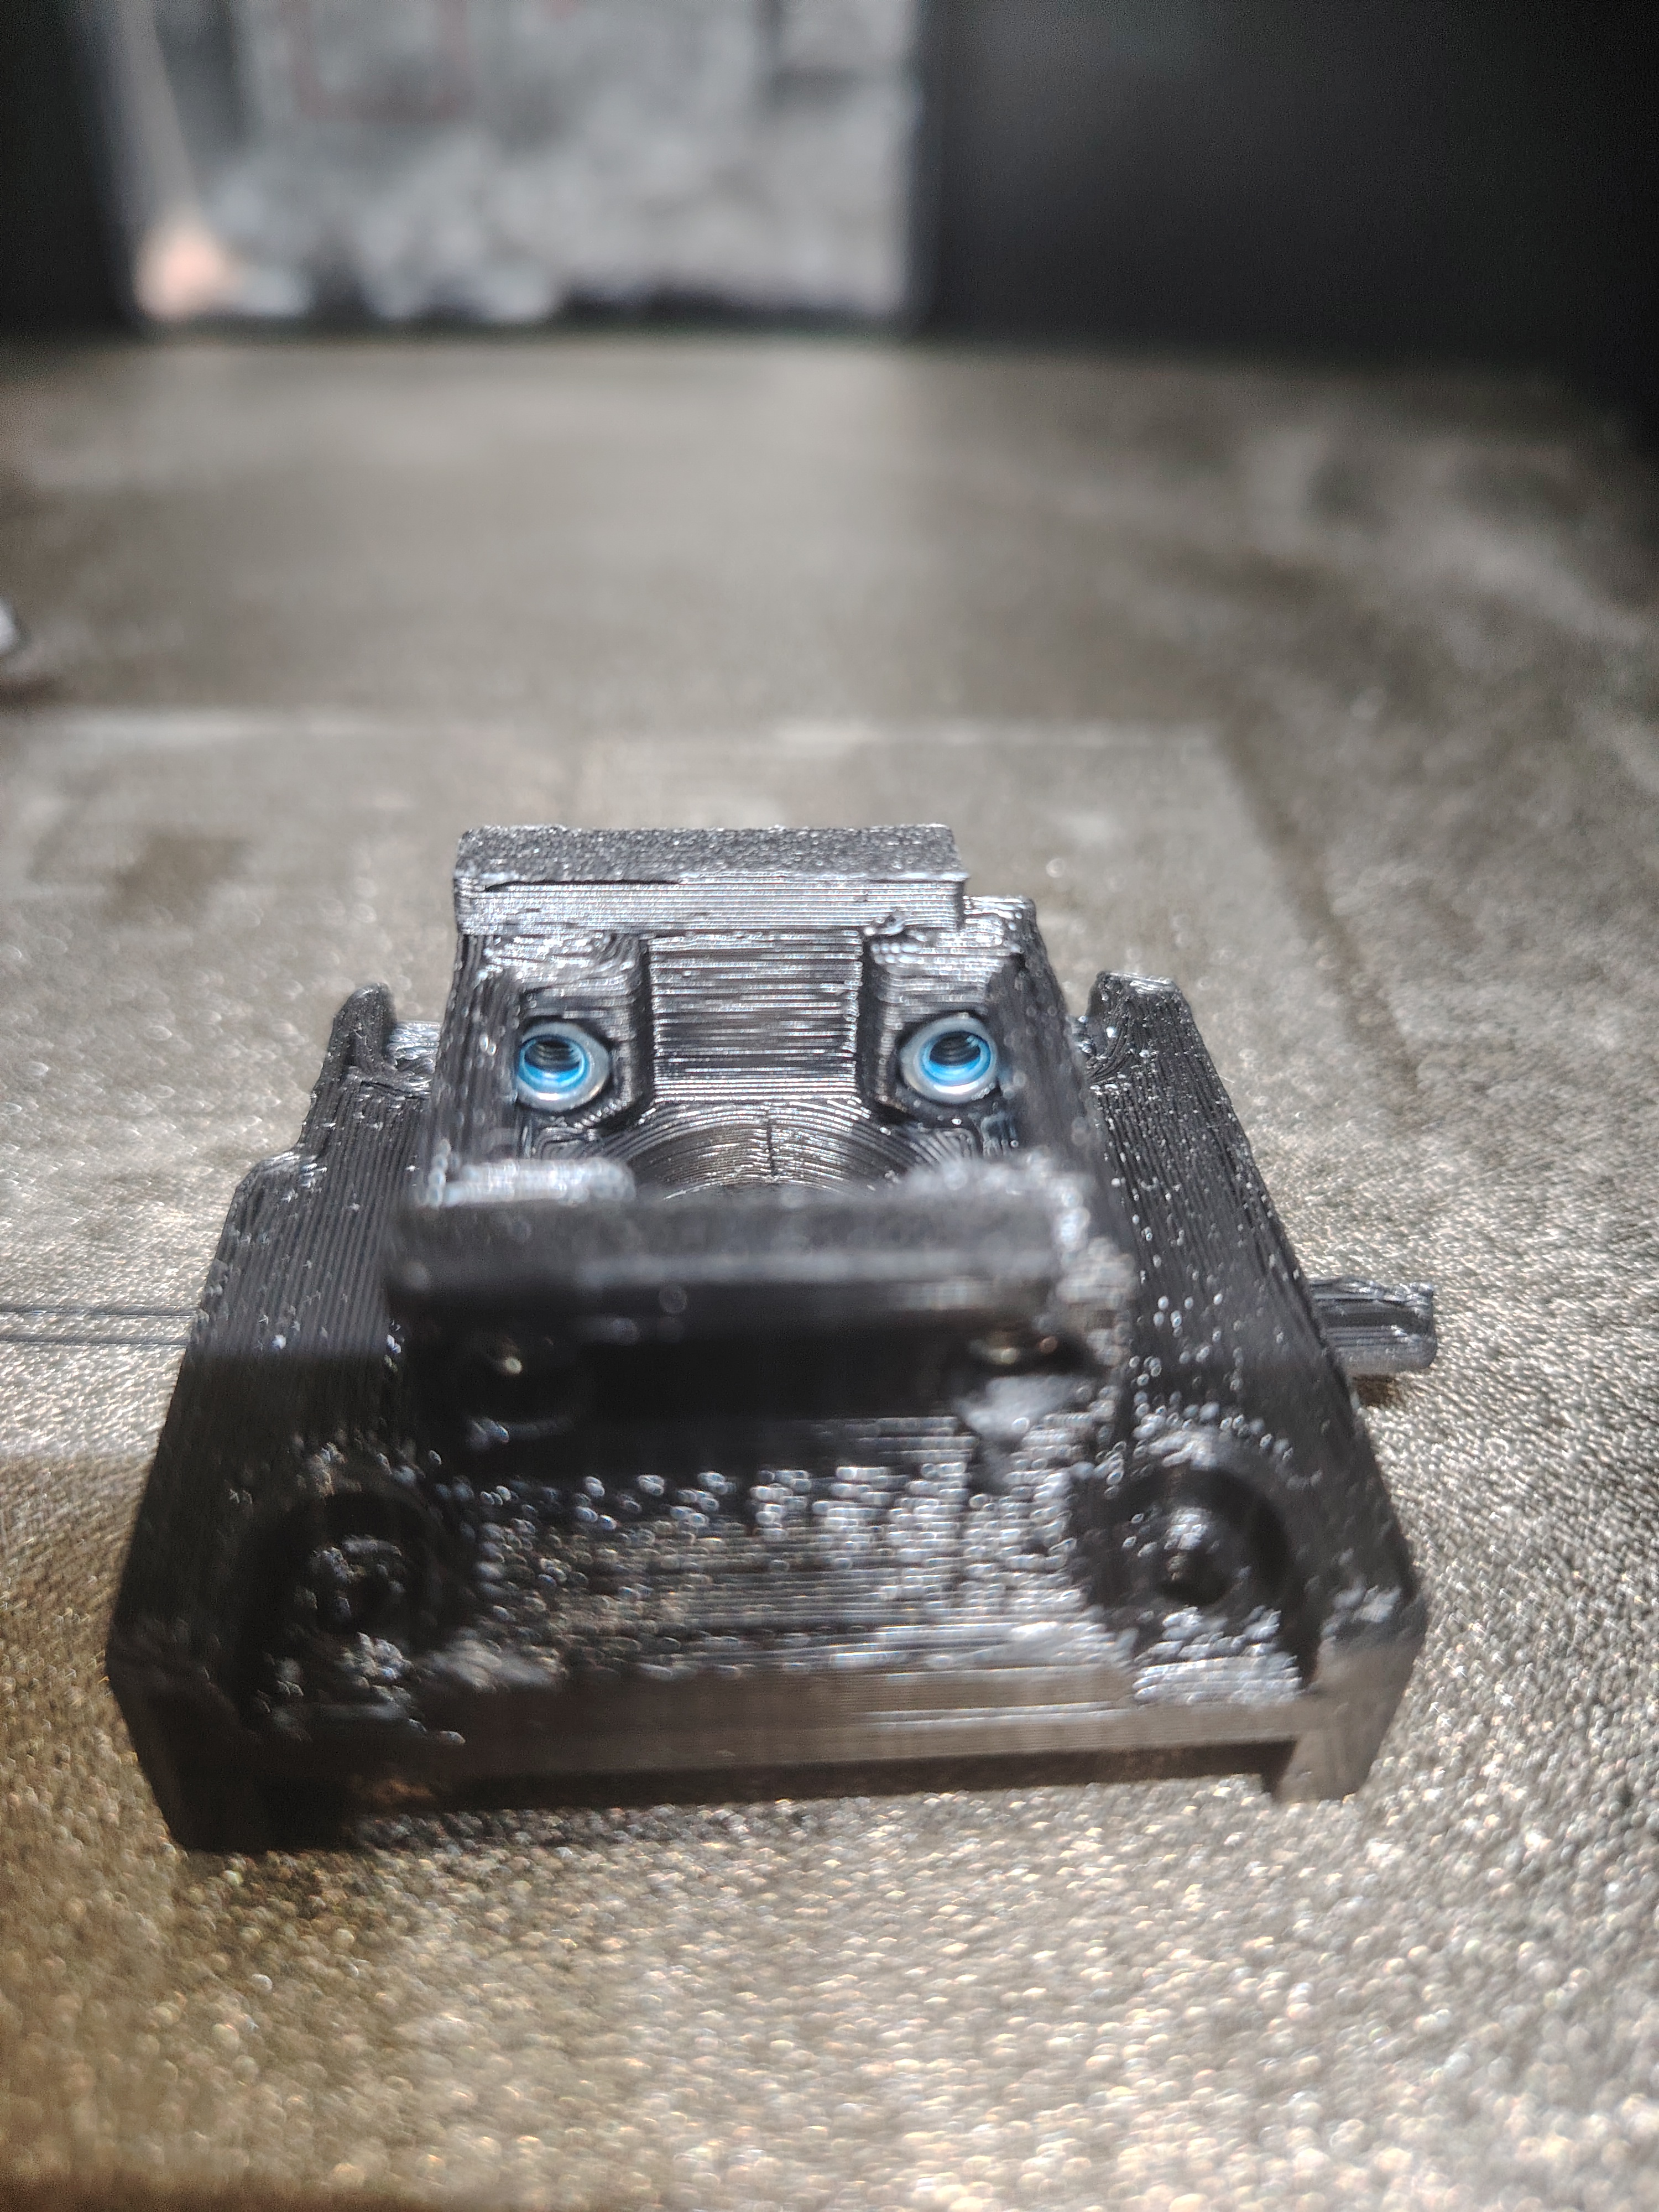
Flashforge ad5x Engine Bracket AXIS X_Y
We calculate the final price from your selected file. You review and accept it before payment.
Saved on this device.
Model information
- Source
- Printables
- Category
- Other Printer Parts & Upgrades
- License
- Creative Commons — Attribution — Noncommercial — Share Alike
UDPDATE ADD VER Engine Bracket AXIS V2.1
Engine Bracket AXIS V1 Model
The X bracket differs from the original one. It does not hang in the air. The length of the guides has been increased----What do you need-----
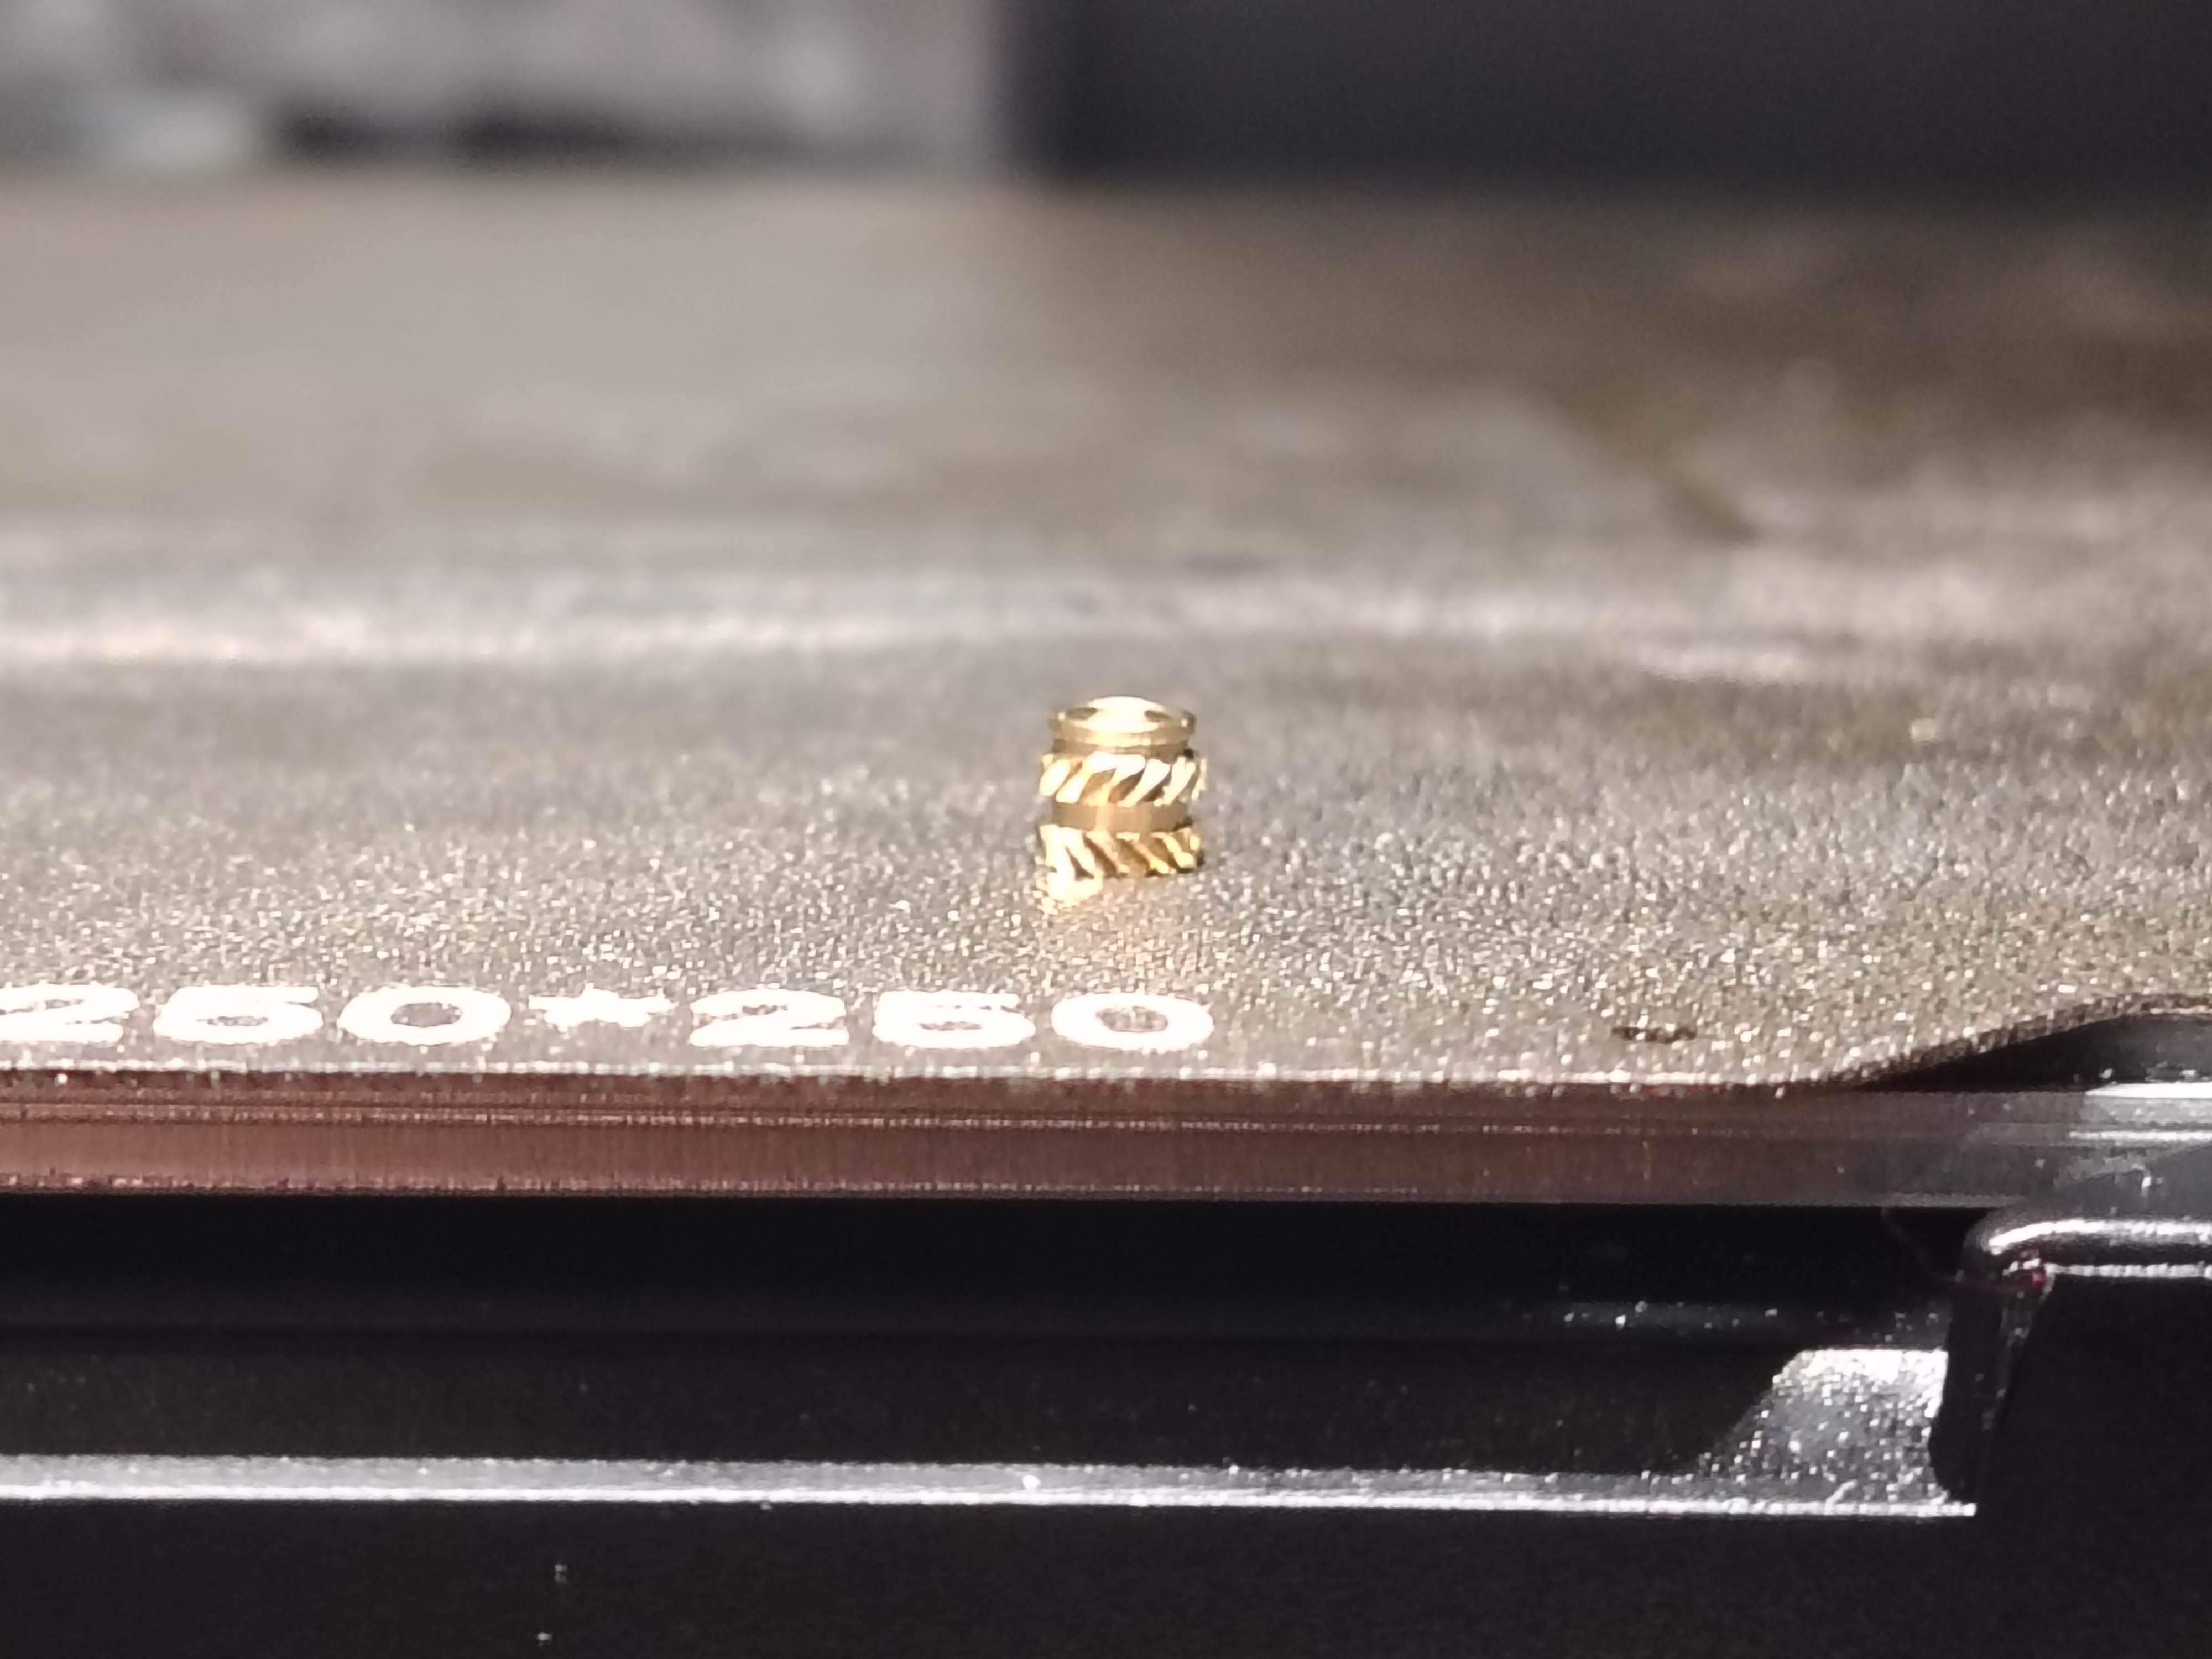
1.Insert nut M344.5 x8pcs
---Material ABS/ABS_GF/ASA/POM
I didn't really like this version. That's why I developed version v2.
---RU----
Кронштейн X отличается от оригинального. Он не висит в воздухе. Увеличена длина направляющих
--Что потребуется---
1.втулка резьбовая ,латунная M344.5 8ШТ
----Филамент ABS/ABS_GF/ASA/POM
Мне эта версия не очень понравилась , я разработал вторую.
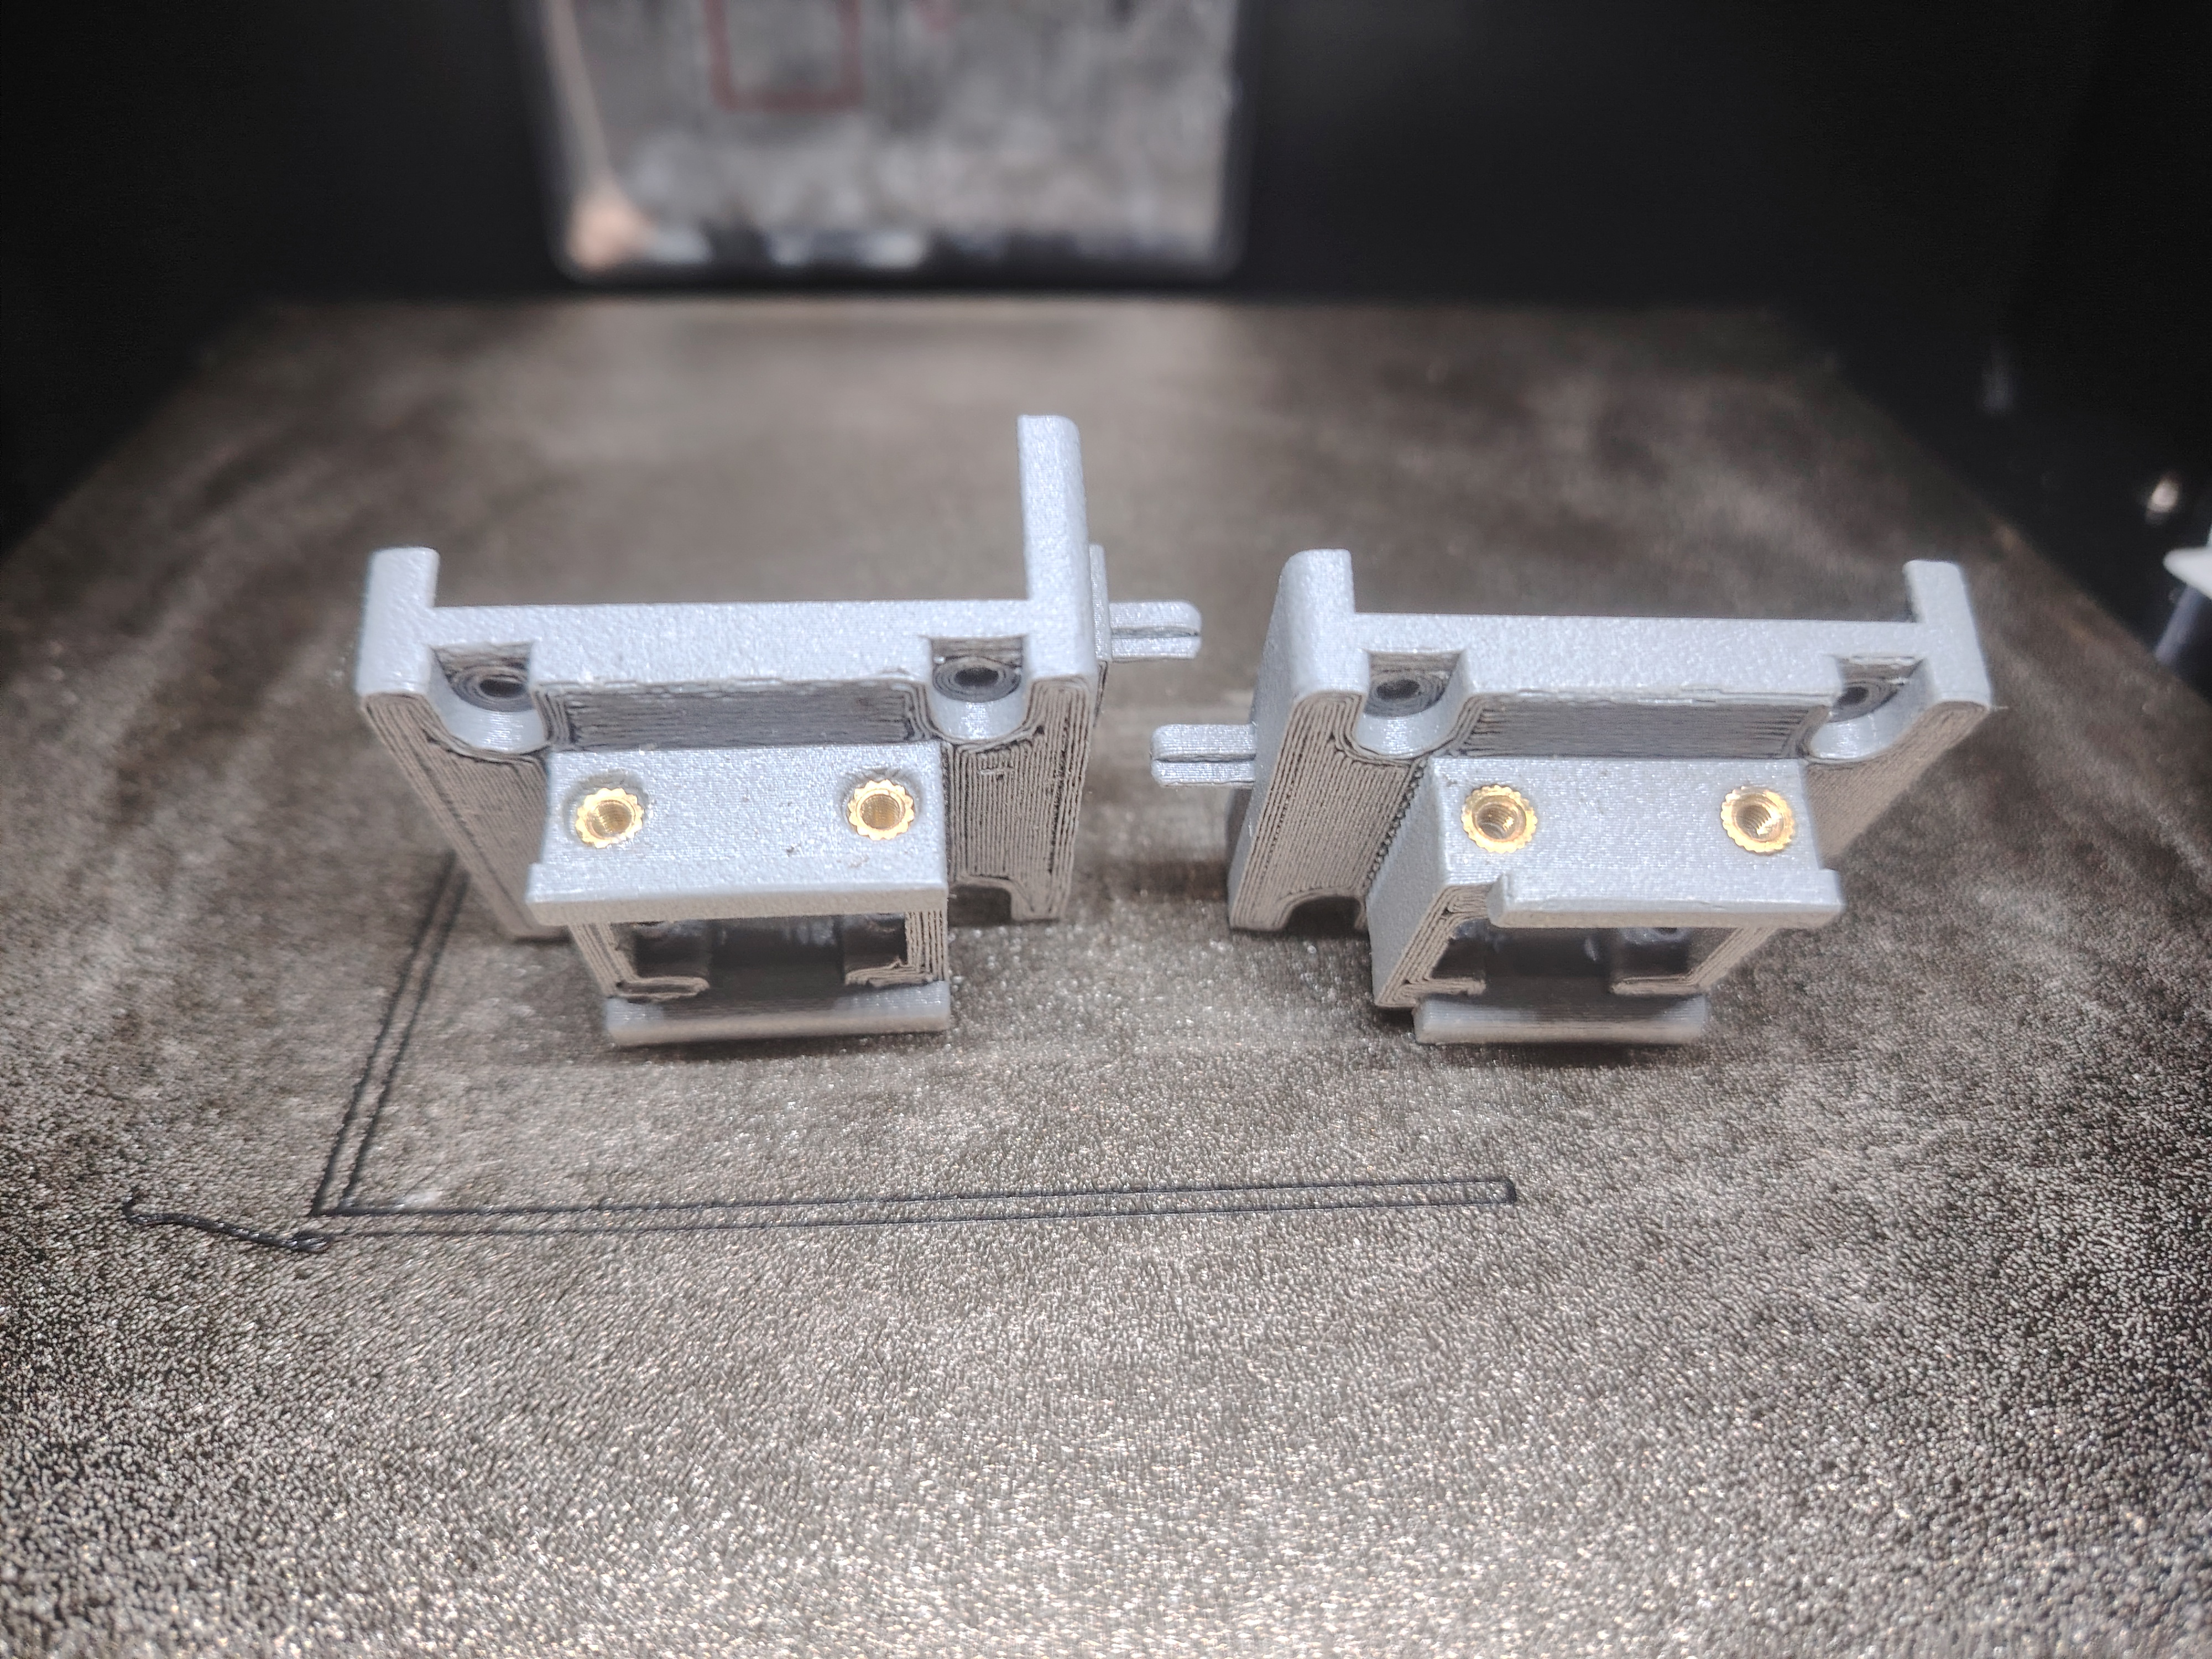
Engine Bracket AXIS V2 ModelUPD. Engine Bracket AXIS V2.1 Model
---Update---
ADD new version
Engine Bracket AXIS V2.1 Model
1.Added rounded edges
2. Reinforcement of structures
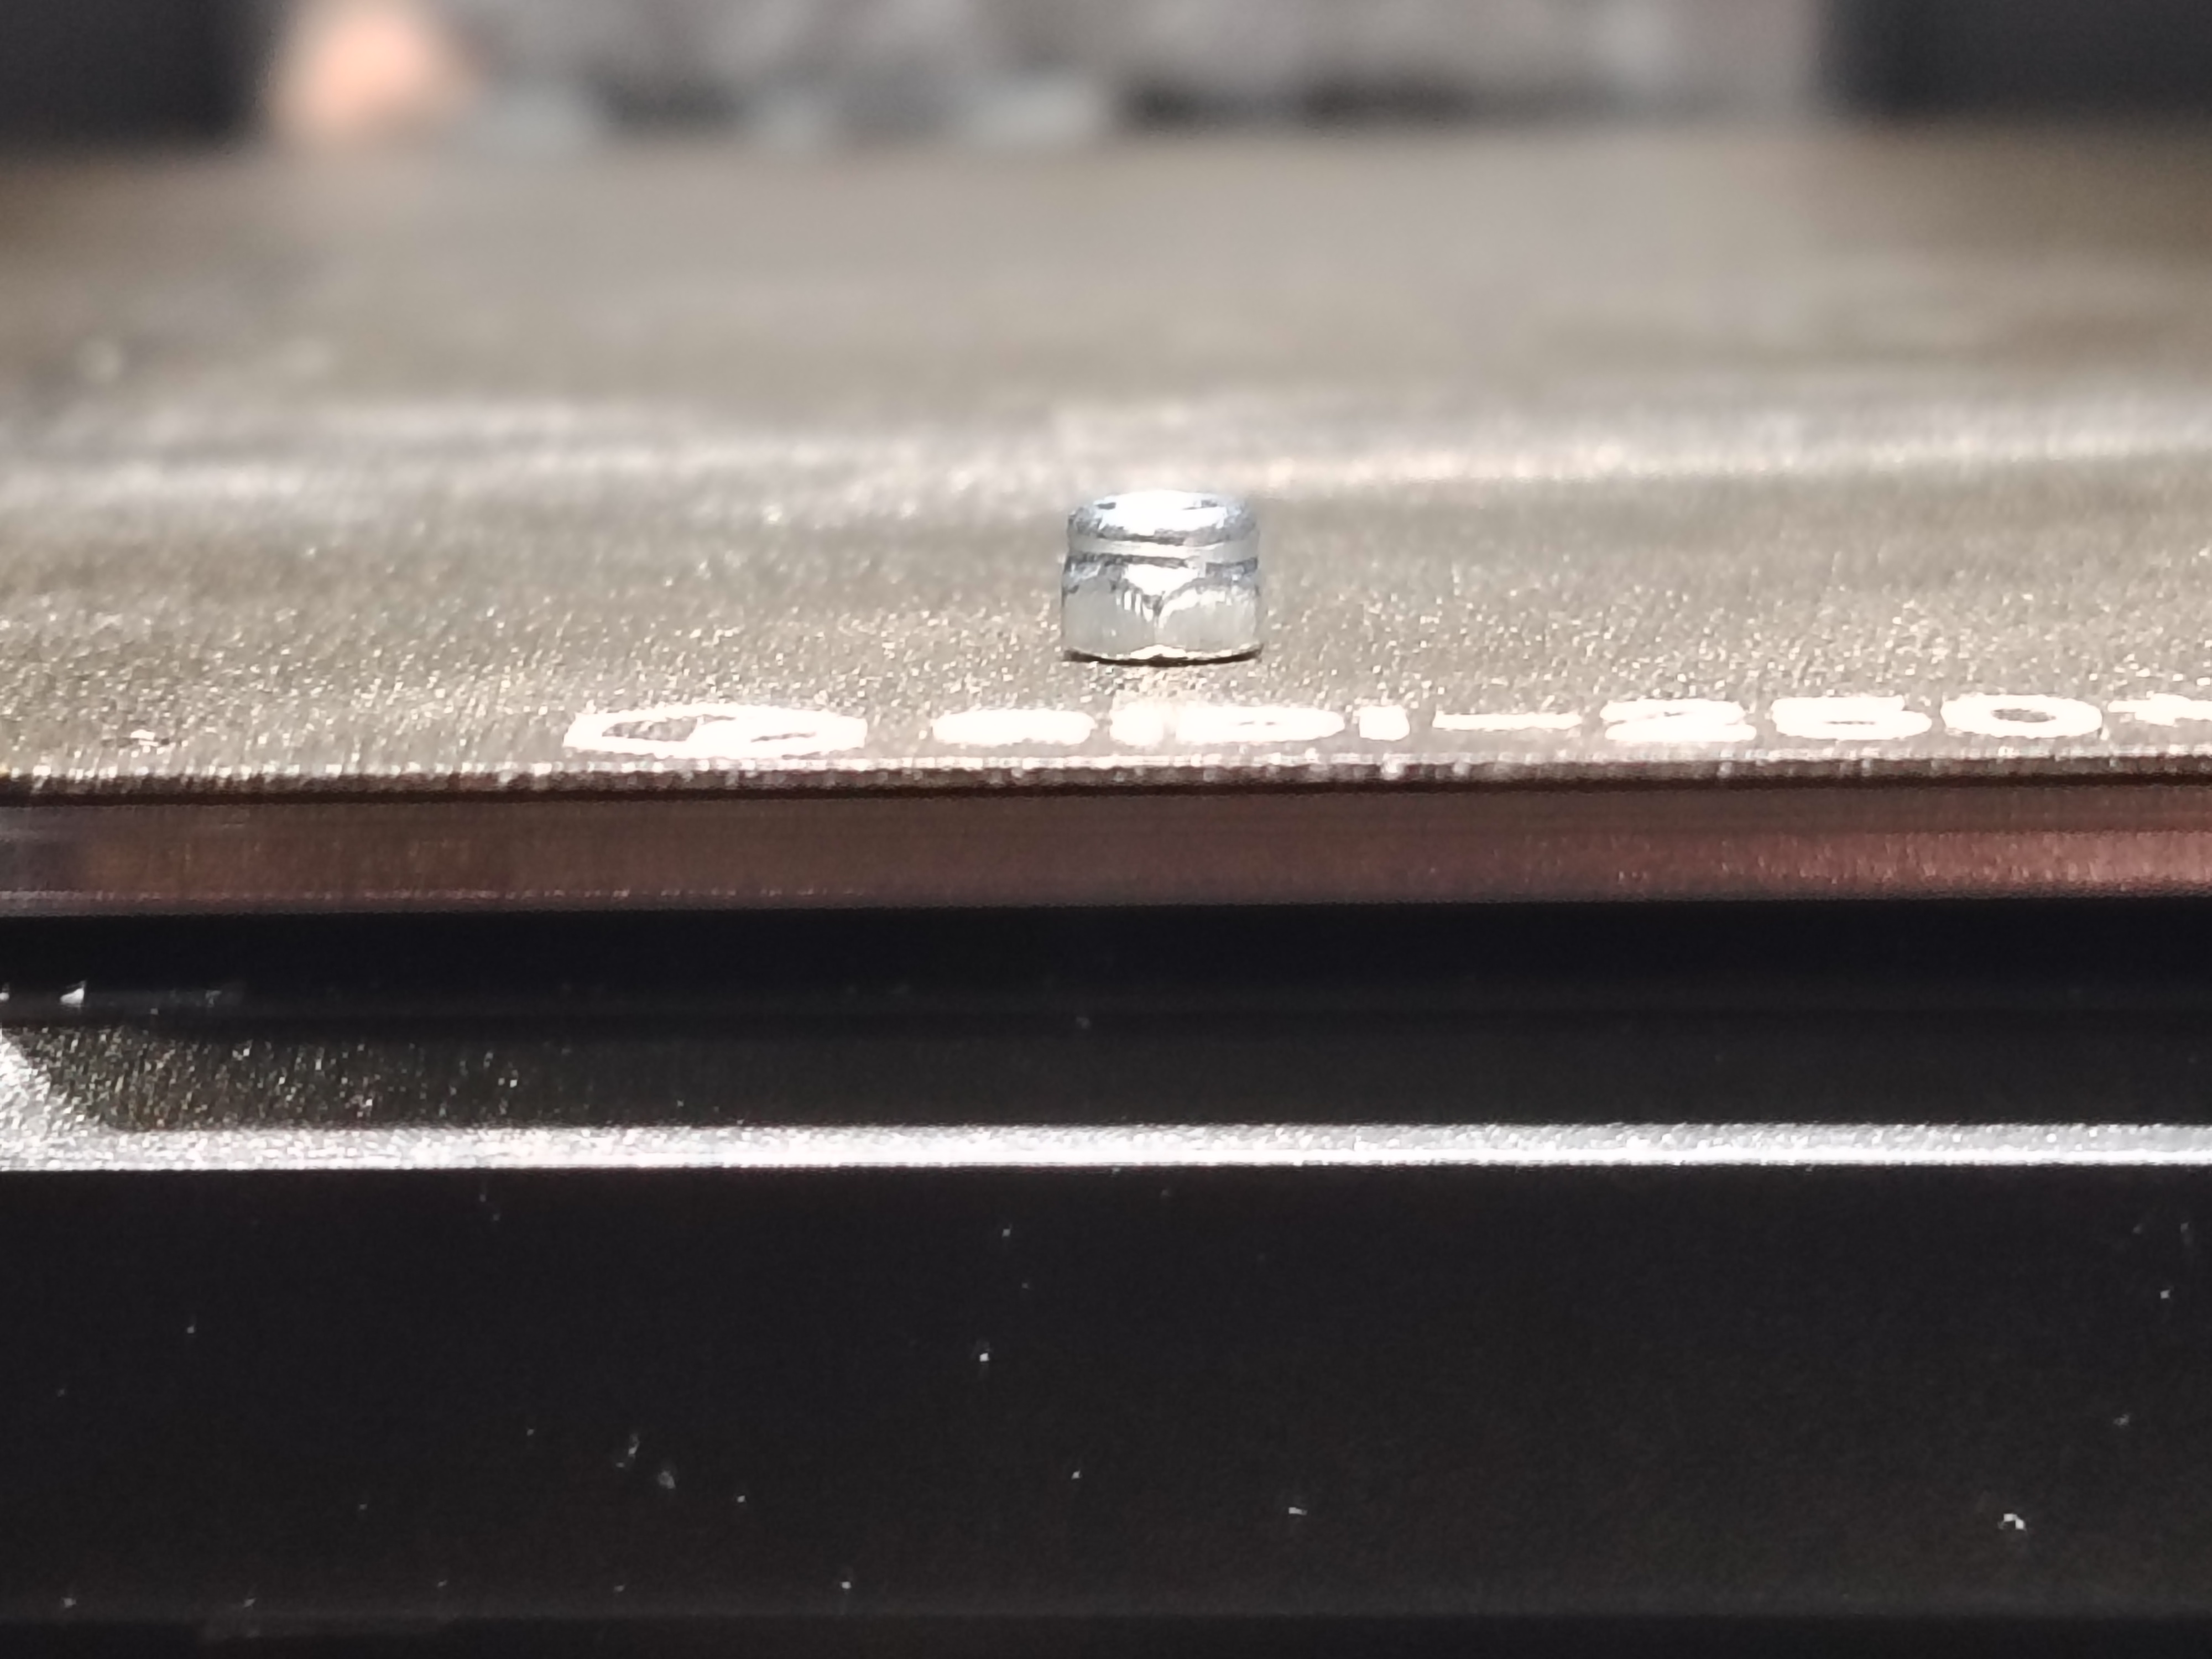
3. Added chamfers for Nylock Nuts DIN985 M3
-------------------------------------------------------
The X bracket differs from the original one. It does not hang in the air. The length of the guides has been increased
----What do you need-----
---Material ABS/ABS_GF/ASA/POM
1.Nylock Nuts DIN985 M3 x8pcs and screw DIN 7991 A2 M3X16 x1pcs
- Кey Metric Hexagon and Ball 2mm
3.Pliers 1pcs
4.SUper Glue 1pcs
------Step-----
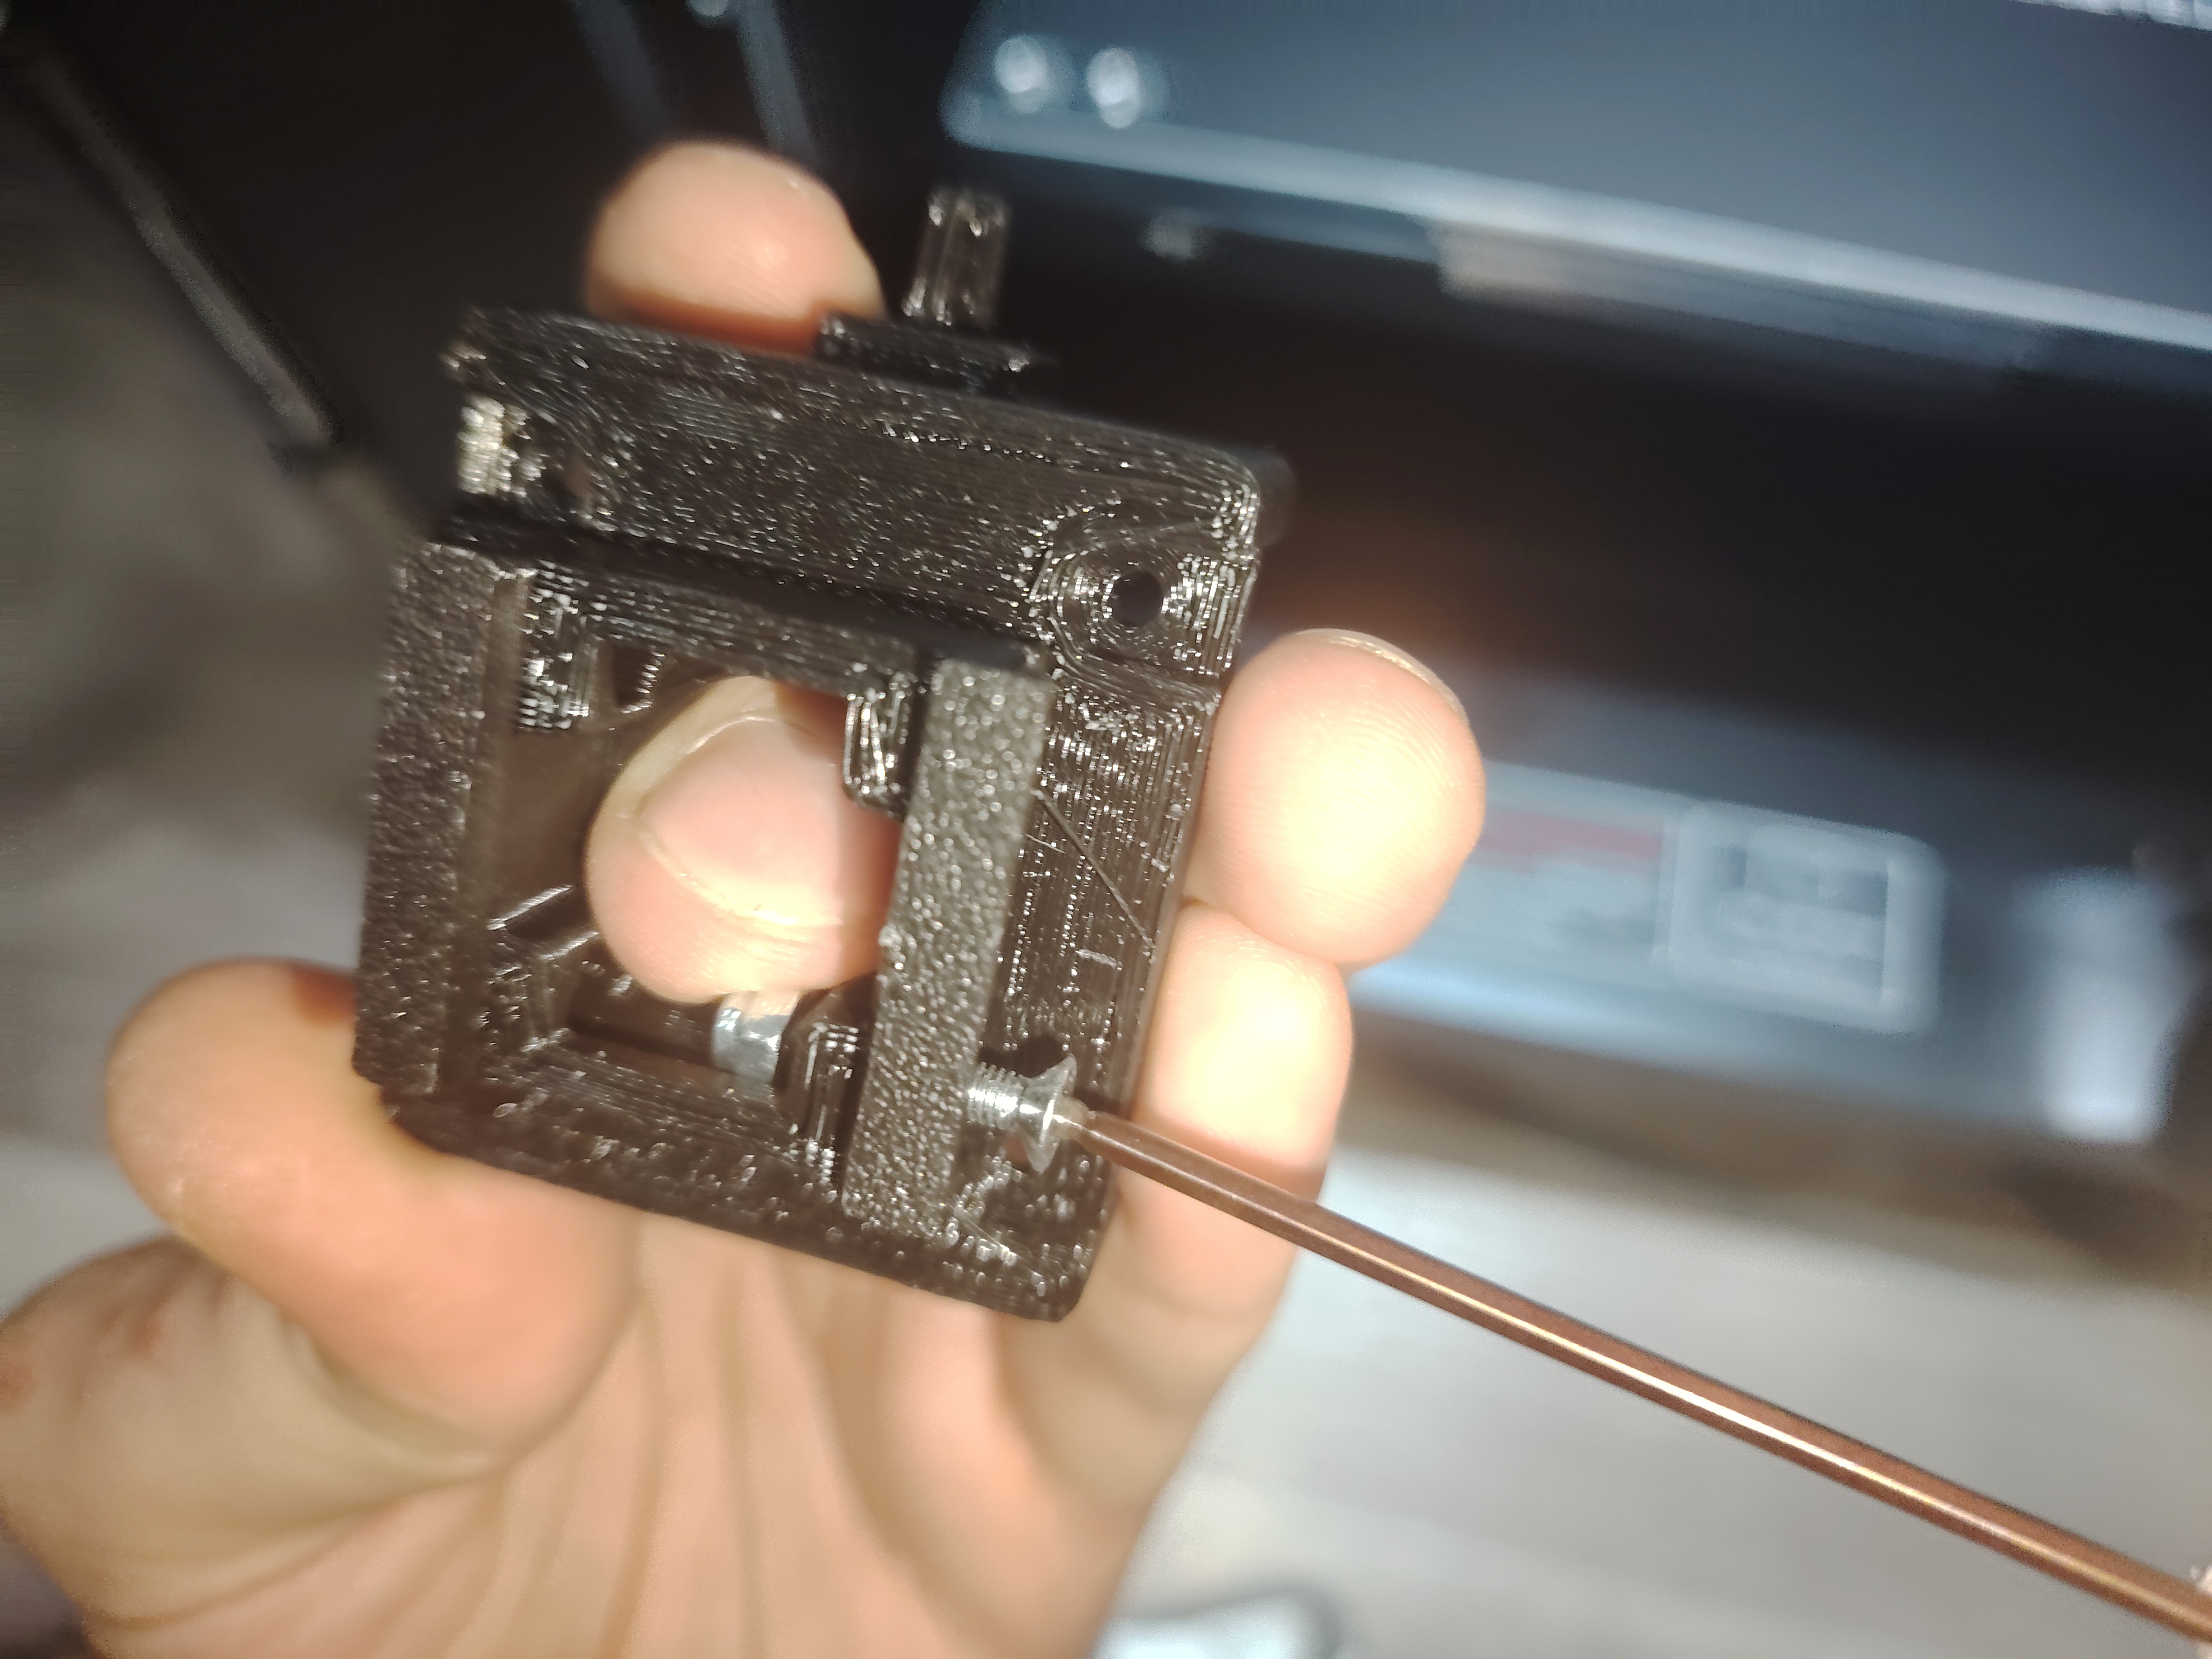
1.Thread the nut onto the screw so that the back of the nut faces the hexagonal model.
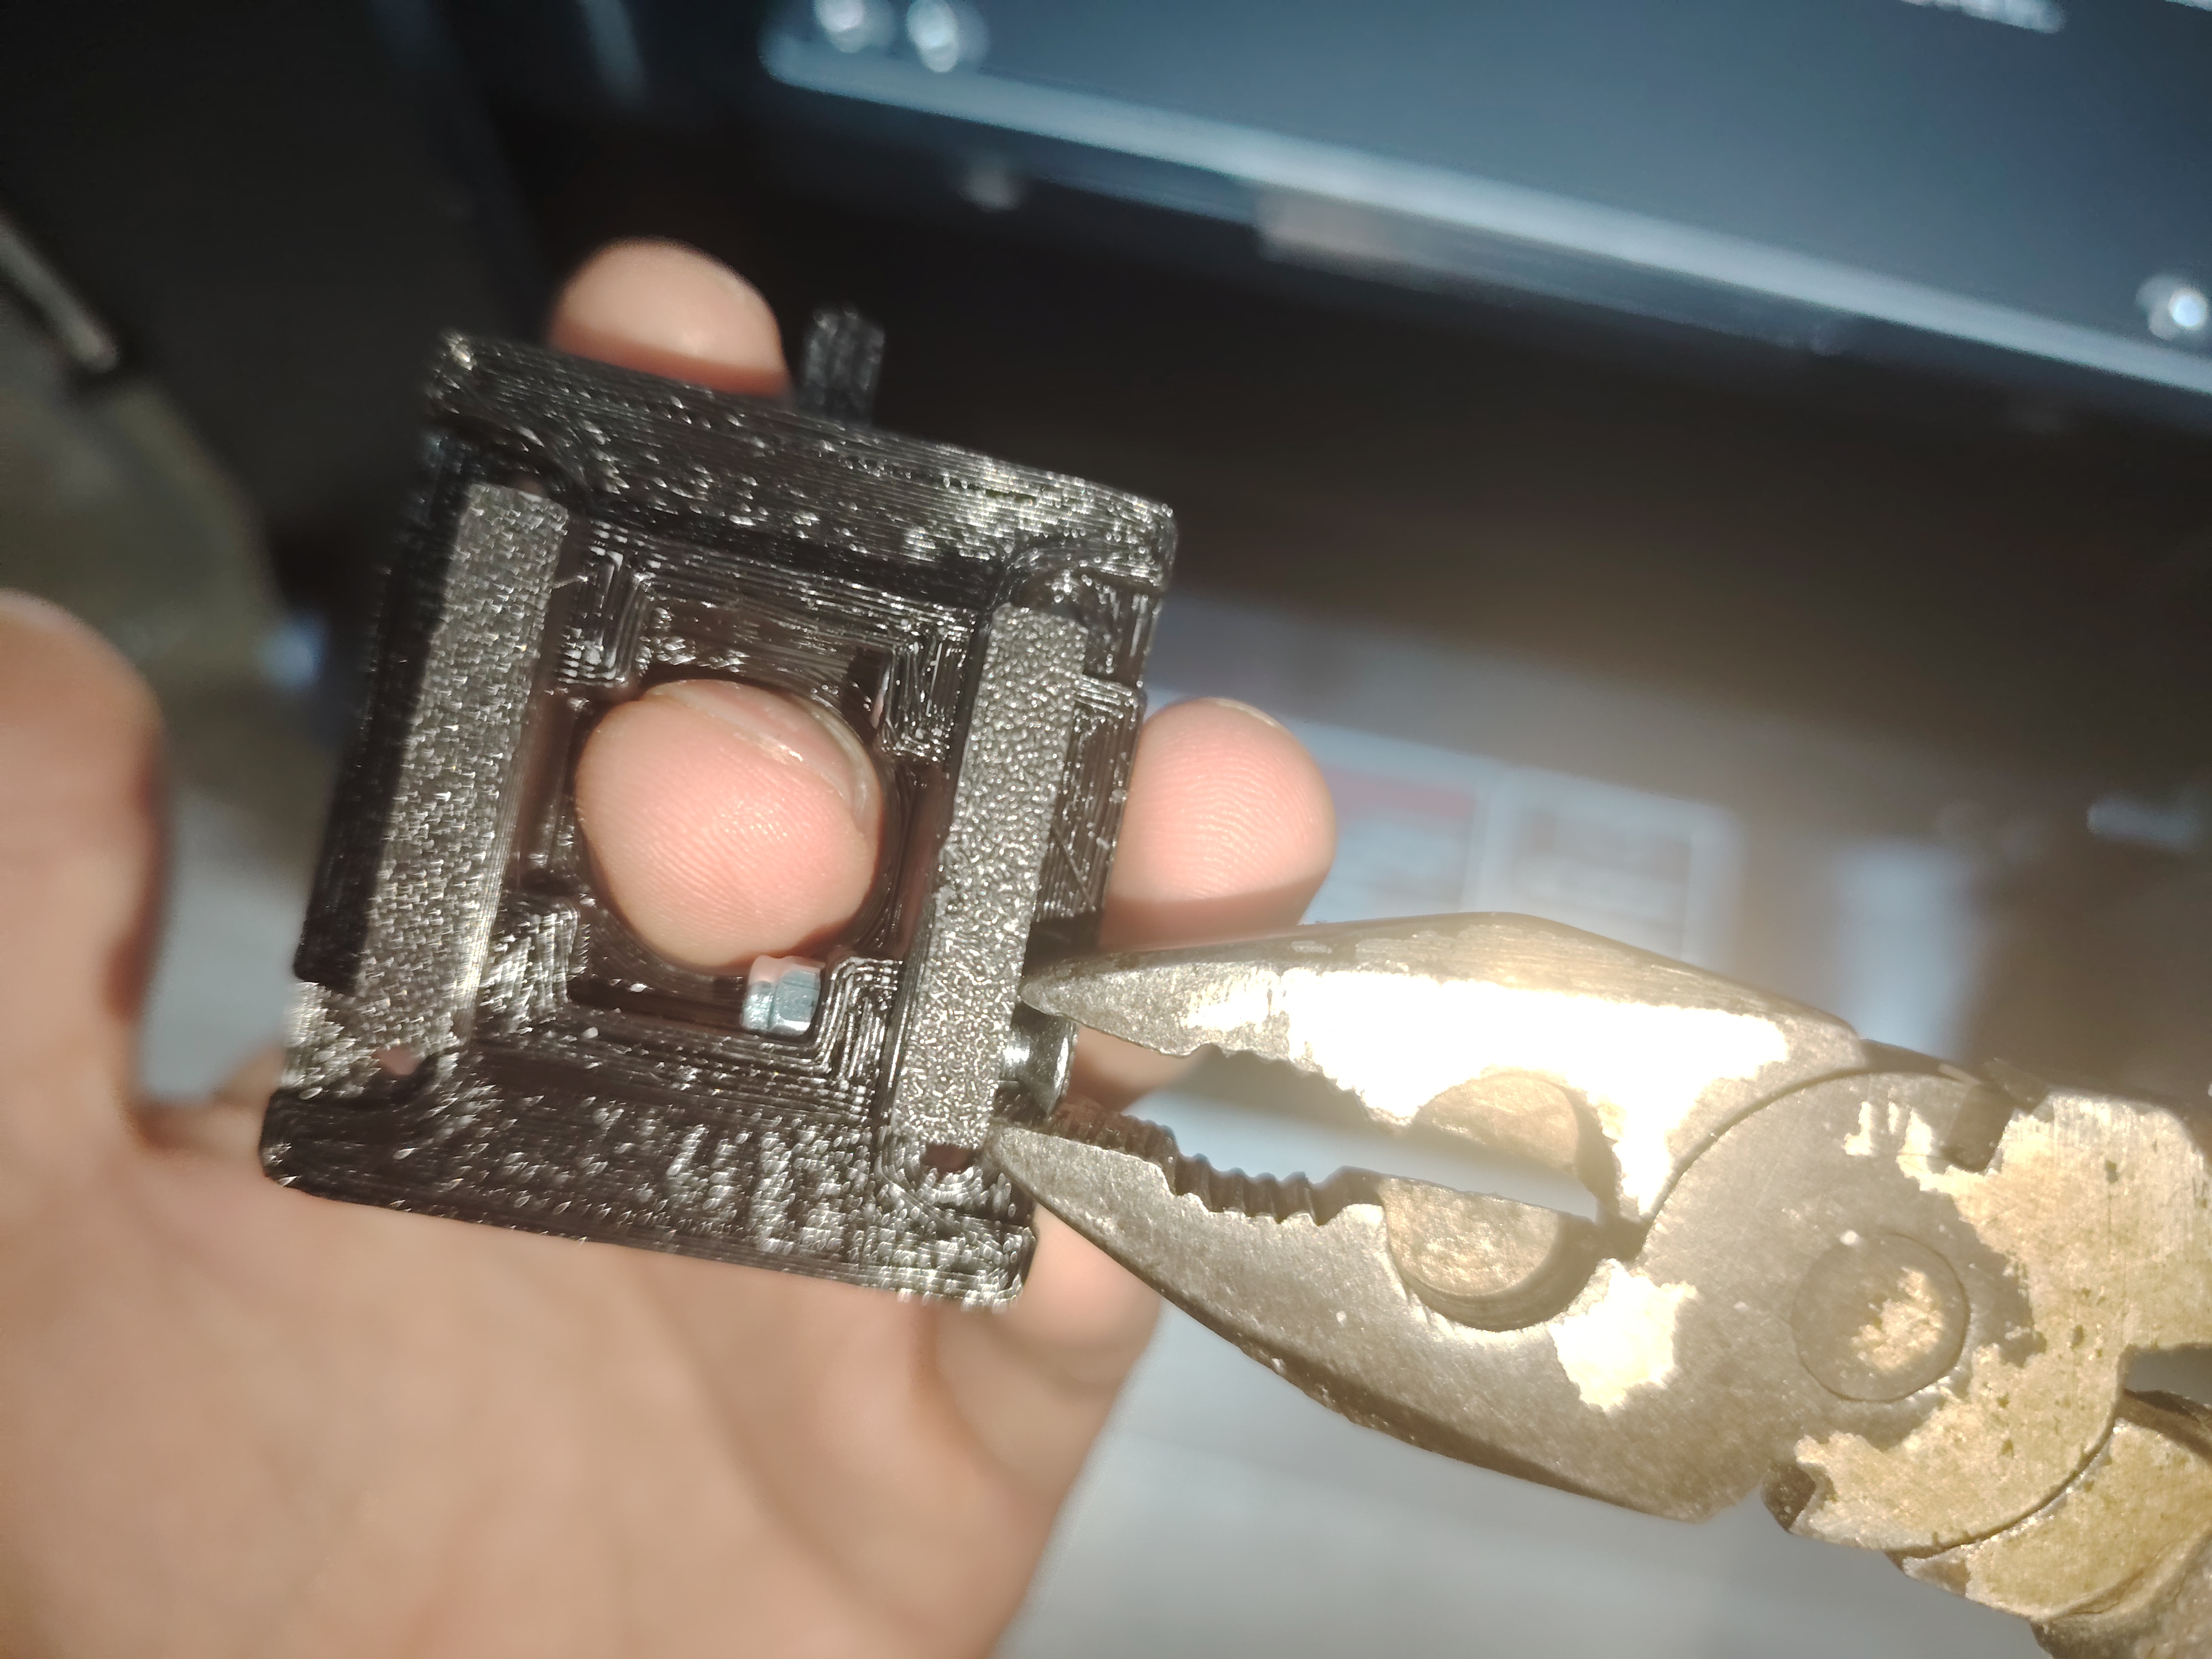
2.Insert the nut into the slots of the model using pliers and a screw. It's a tight fit, so it will require some force to tighten.
3.Press the nut back out
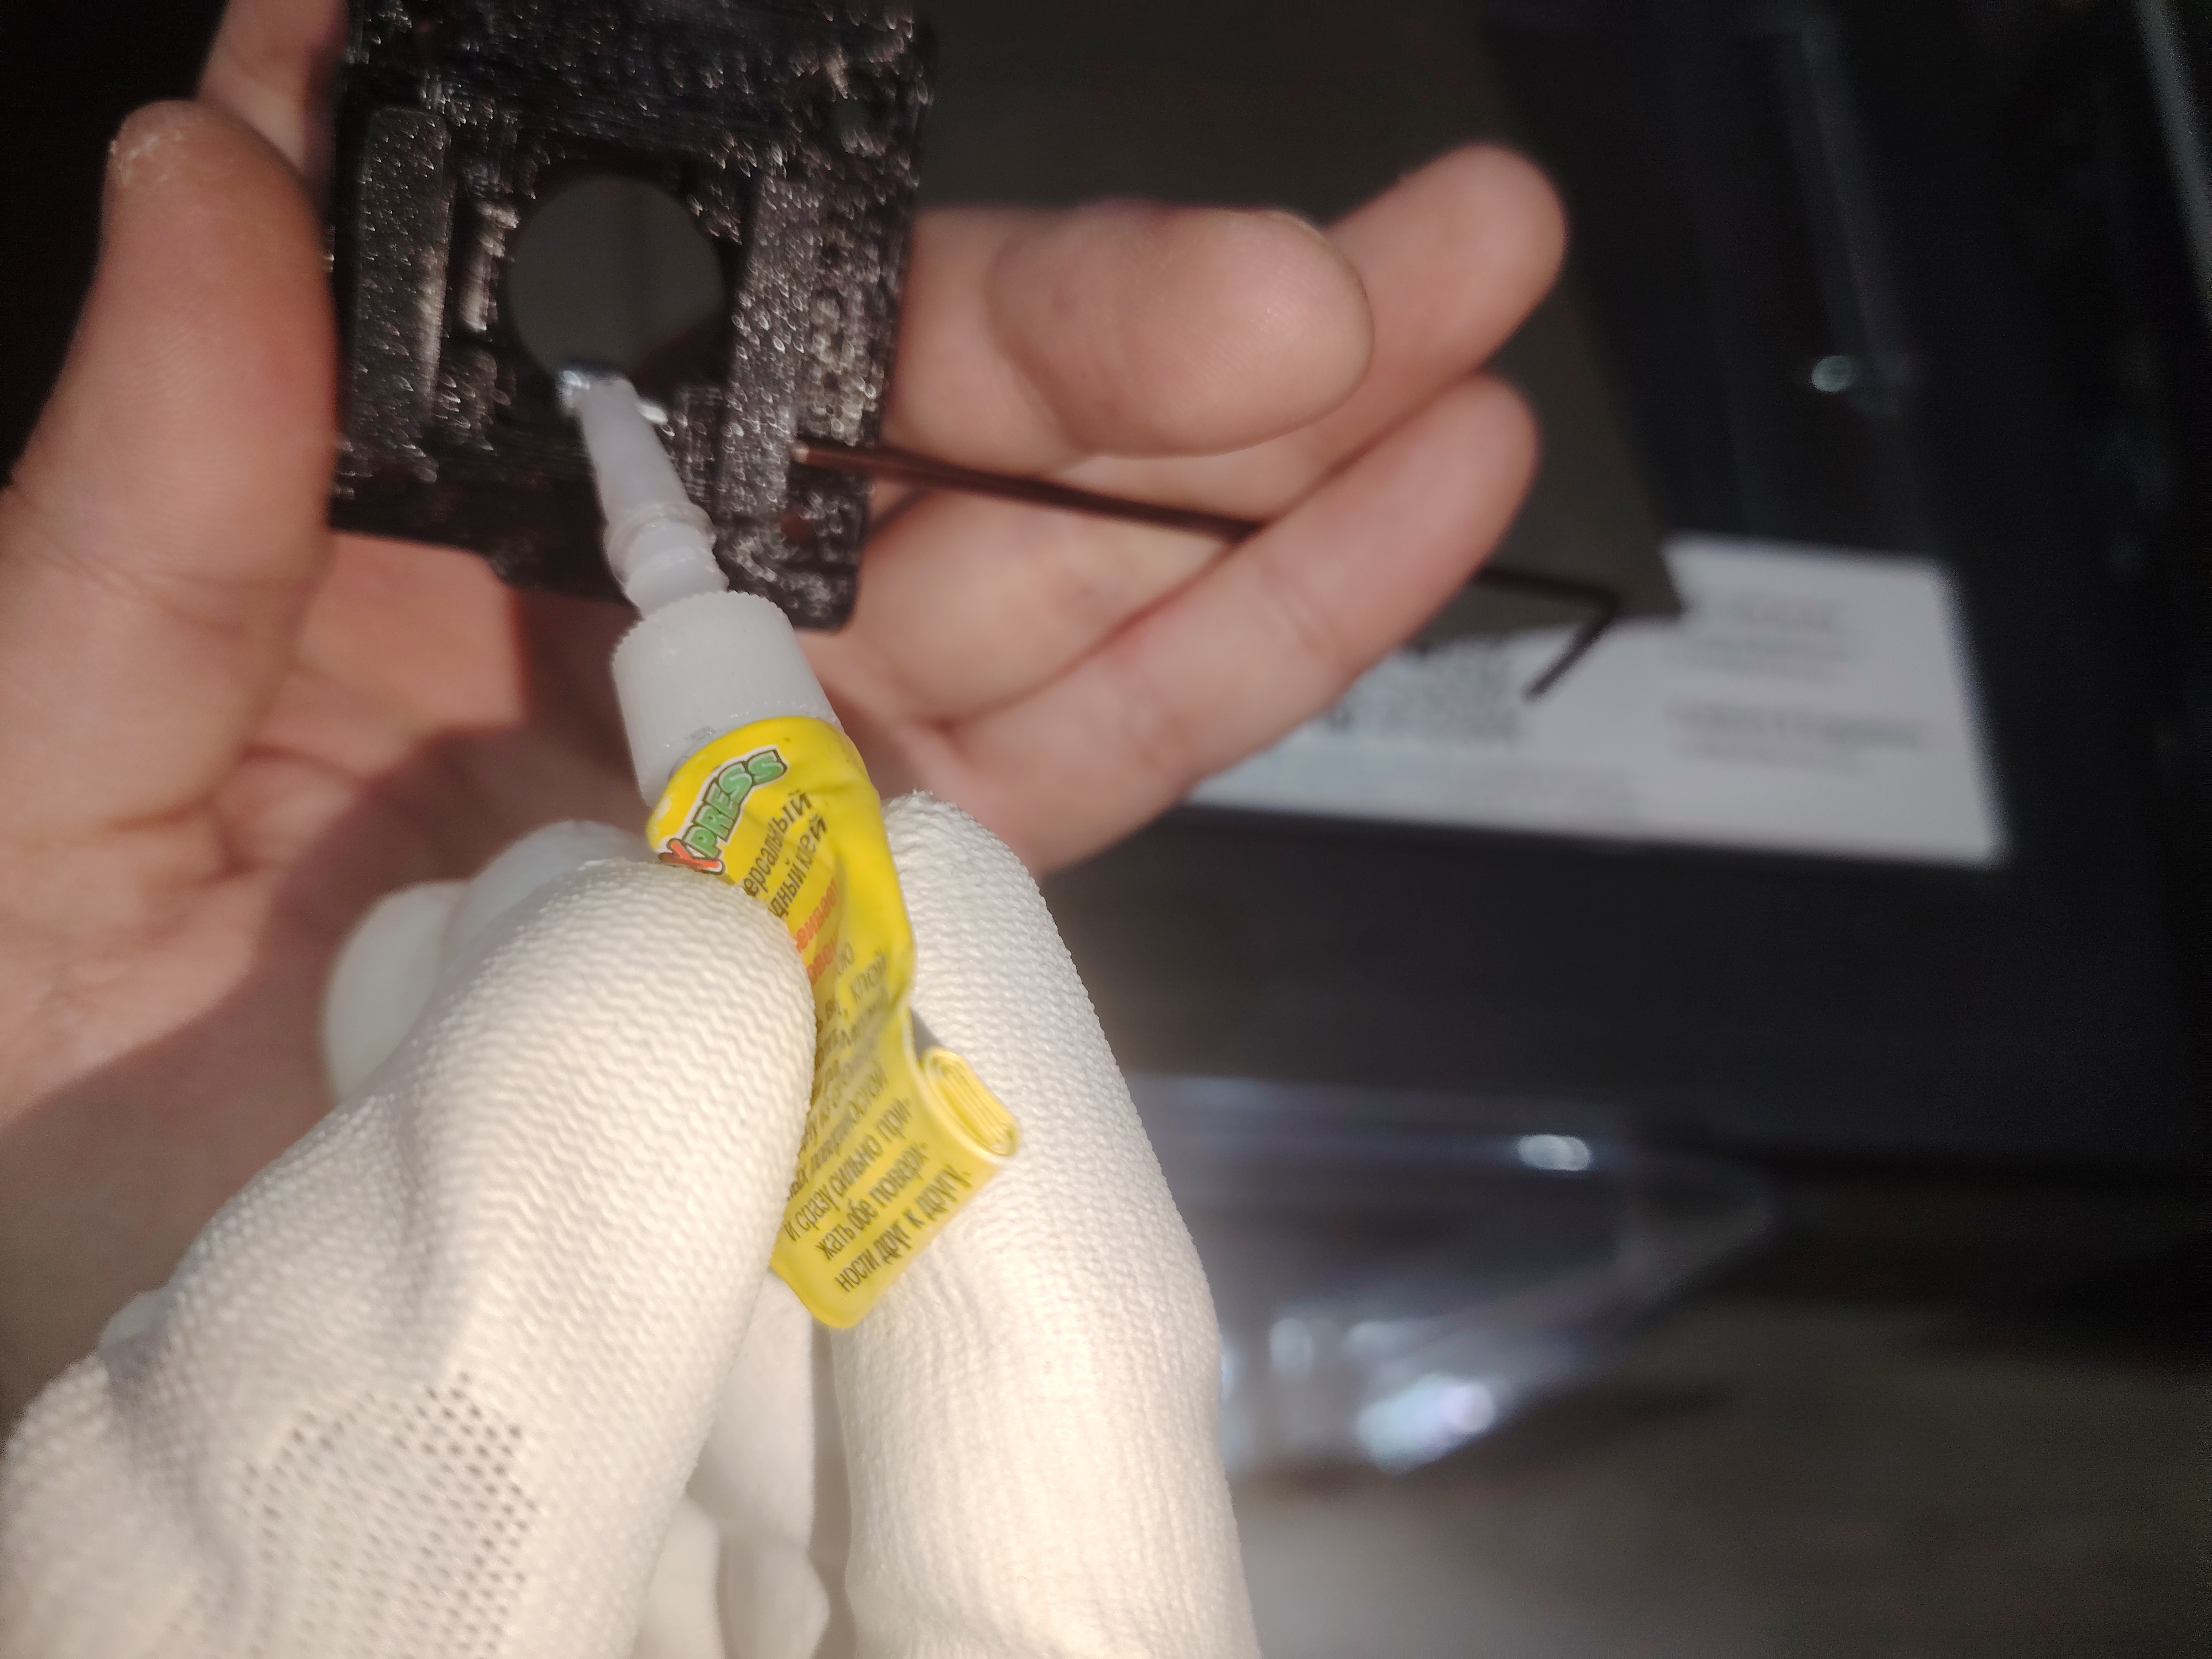
4.Take a metric Allen key as shown in the photo, rotate the nut, apply glue to the edges.
5.Repeat step 2
6.Align the nut with the screw to your liking so that it is level before the glue hardens.
---RU----
Обновление модели
Добавлена версия
Engine Bracket AXIS V2.1 Model
1.Добавлены скругления
2. Усиление конструкций
- Добавлены фаски под Nylock Nuts DIN985 M3
Кронштейн X отличается от оригинального. Он не висит в воздухе. Увеличена длина направляющих
---Что потребуется.---
----Филамент ABS/ABS_GF/ASA/POM
Ключ шестигранный 2мм , плоскогубцы , гайки DIN985 M3 8шт, винт DIN 7991 A2 M3X16 1щт,СуперКлей.
---Шаги----
1.Закрутить гайку на винт как на фото шестигранной частью к модели.
2.Взять плоскогубцы и тянуть за винт до упора гайки в модели, посадка тугая так что усилие нужно приложить.
3.Выдавить гайку обратно
4.Взять ключ шестигранный 2мм и наносить клей на грани гайки вращая ключом винт.
5.Повторить шаг 2
6.Выровнять винт с гайкой на ваш взгляд чтоб было ровно по оси , пока клей не застыл