
Sound Voltex Subscreen Mount Assembly
We calculate the final price from your selected file. You review and accept it before payment.
Saved on this device.

An assembly to attach a 15.6" touch screen as a subscreen for Sound Voltex Valkyrie upgrade
- Rating
- 0 / 5
- Likes
- 1
- Downloads
- 14
- Makes
- 0
- Views
- 112
- Reviews
- 0
Updated at source:
Model information
- Source
- Printables
- Category
- Video Games
- License
- Creative Commons — Attribution — Noncommercial
Parts required:
1 subscreen (generic Aliexpress Chinese screen or Innoview)
2 M4x12 screws
8 M3x4x4.2 heat set insert
4 M3x10 screws
4 M3x14 screws
90/180 degree adapters/cables for HDMI and USB-C
Assembly Instructions:
Place the heat inserts into the arms that extend from the base and the side cable covers
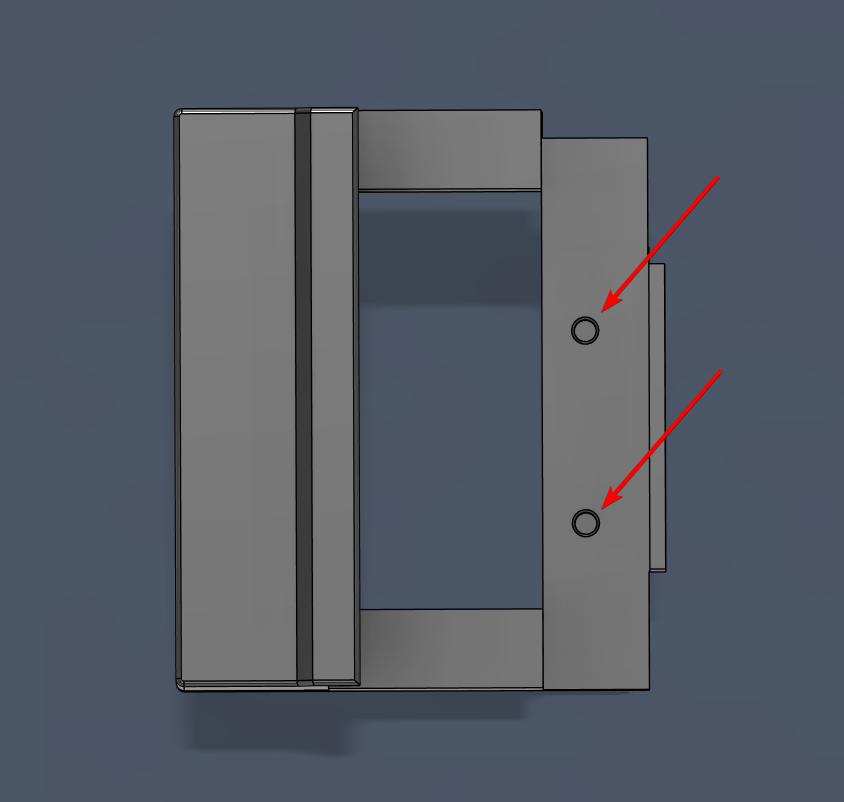
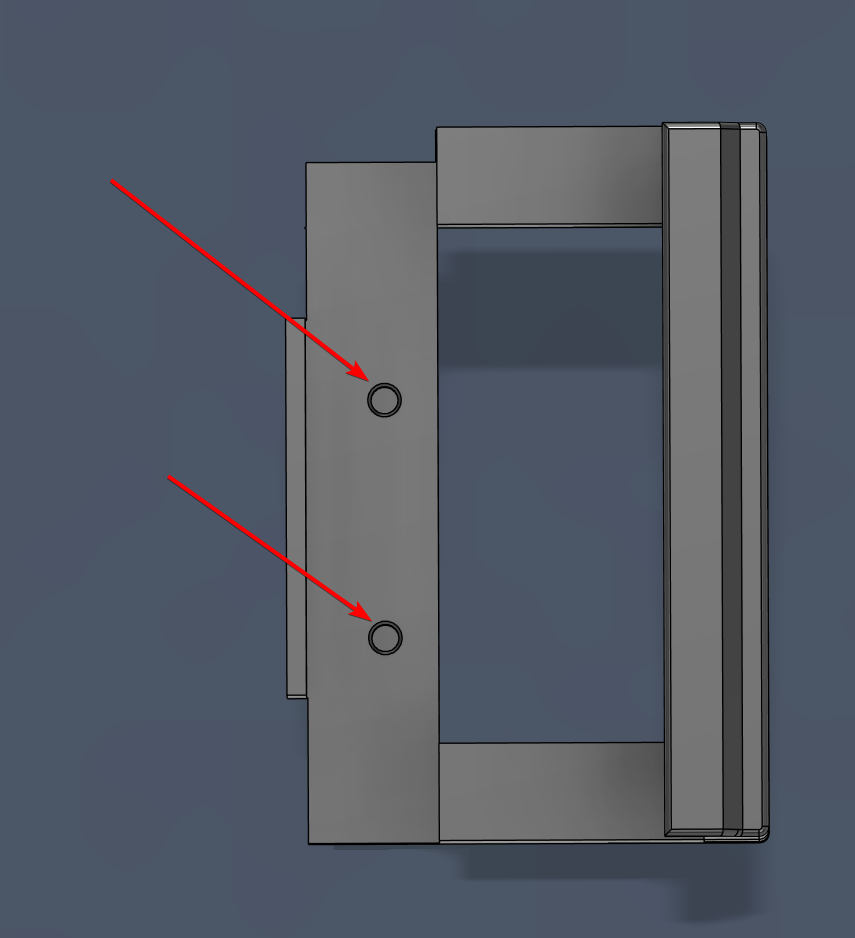
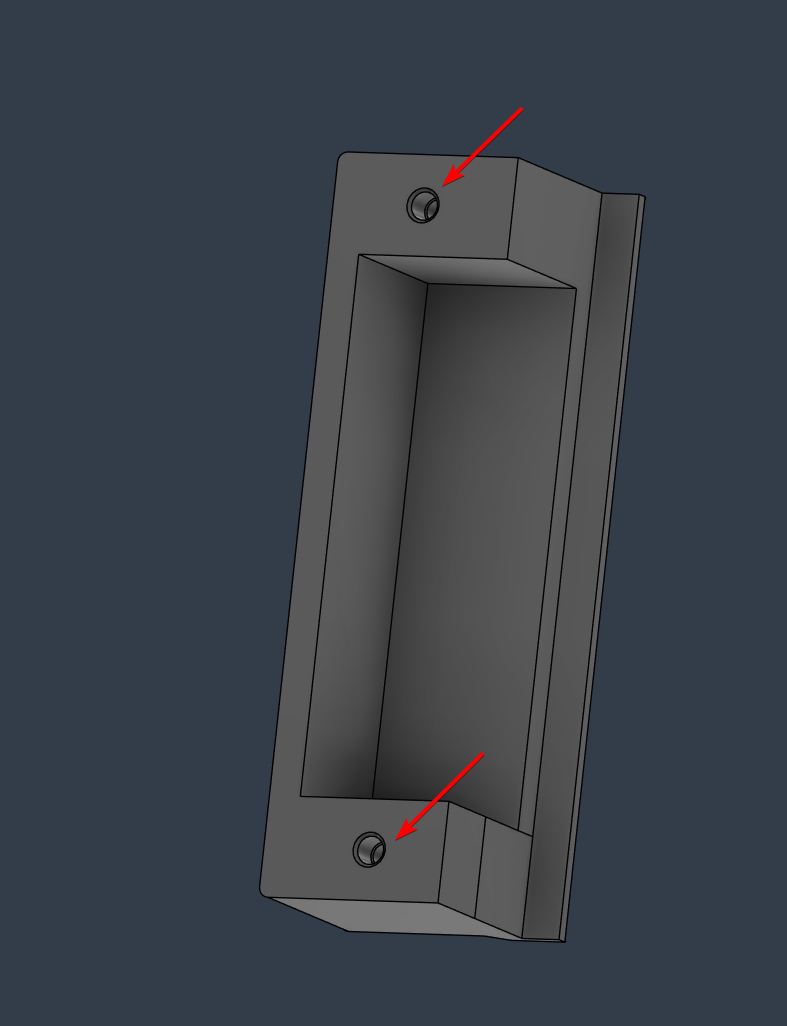
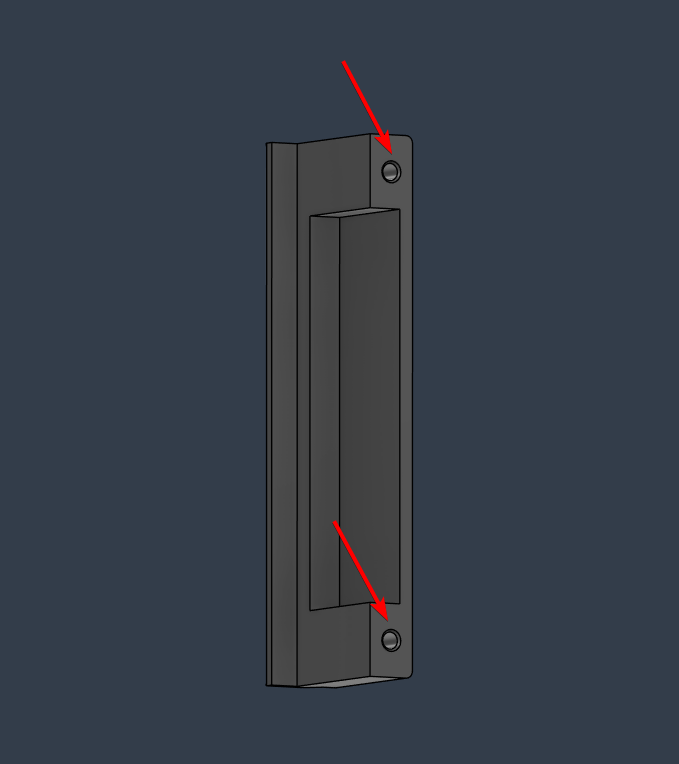
Attach the extension arms to the main frame using the M3x14 screws.
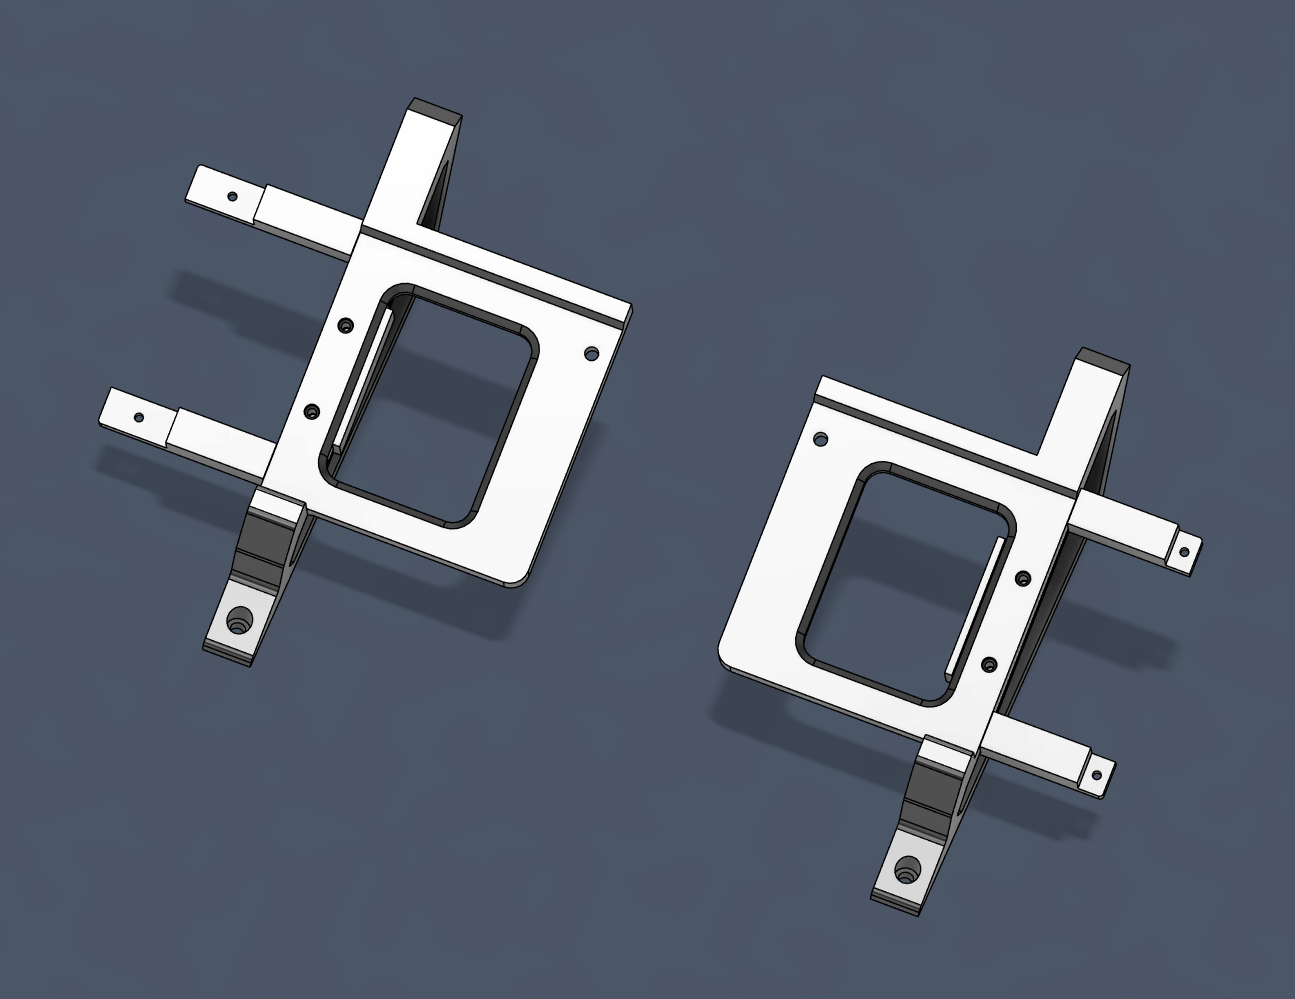
Attach the screen to the main frames using the M4x12 screws. If you have an Innoview screen, place the additional square spacer plate in between the back of the screen and the main frames before screwing it down.
Attach the I/O cables to the screen
Attach the cover plates over top the I/O and buttons. Screw in the M3x10 screws from the back
Mount the whole assembly to the cabinet. The original screws may not work here so you may need to replace them with M5 screws.
Optional:
If you choose to route the cables through the numpad (since it's no longer needed in Valkyrie mode), print the dead plate and route the cables through the slot
Print instructions:
If used in a public setting, I recommend 3 walls, 30% infill with PETG
Otherwise 2 walls minimum for the heat inserts, and whatever infill and PLA you feel comfortable with