
Silent Inside Cat Door
We calculate the final price from your selected file. You review and accept it before payment.
Saved on this device.
Model information
- Source
- Printables
- Category
- Pets
- License
- Creative Commons — Attribution — Noncommercial — Share Alike
NOTE: This design assumes you have a 35mm door, you will need to adjust it for other door thicknesses.
Background
I needed 6 interior cat doors, so I took this opportunity to go through multiple design revisions. What you see here is based on lessons learned from printing 7 revisions (a prototype plus the 6 I actually used).
I had 3 main requirements:
It should be near-silent.
The cat should be able to clearly see when the door is "closed" (so they don't run through and brain themselves on it).
One of our cats is large, so it had to be as big as I could make it.
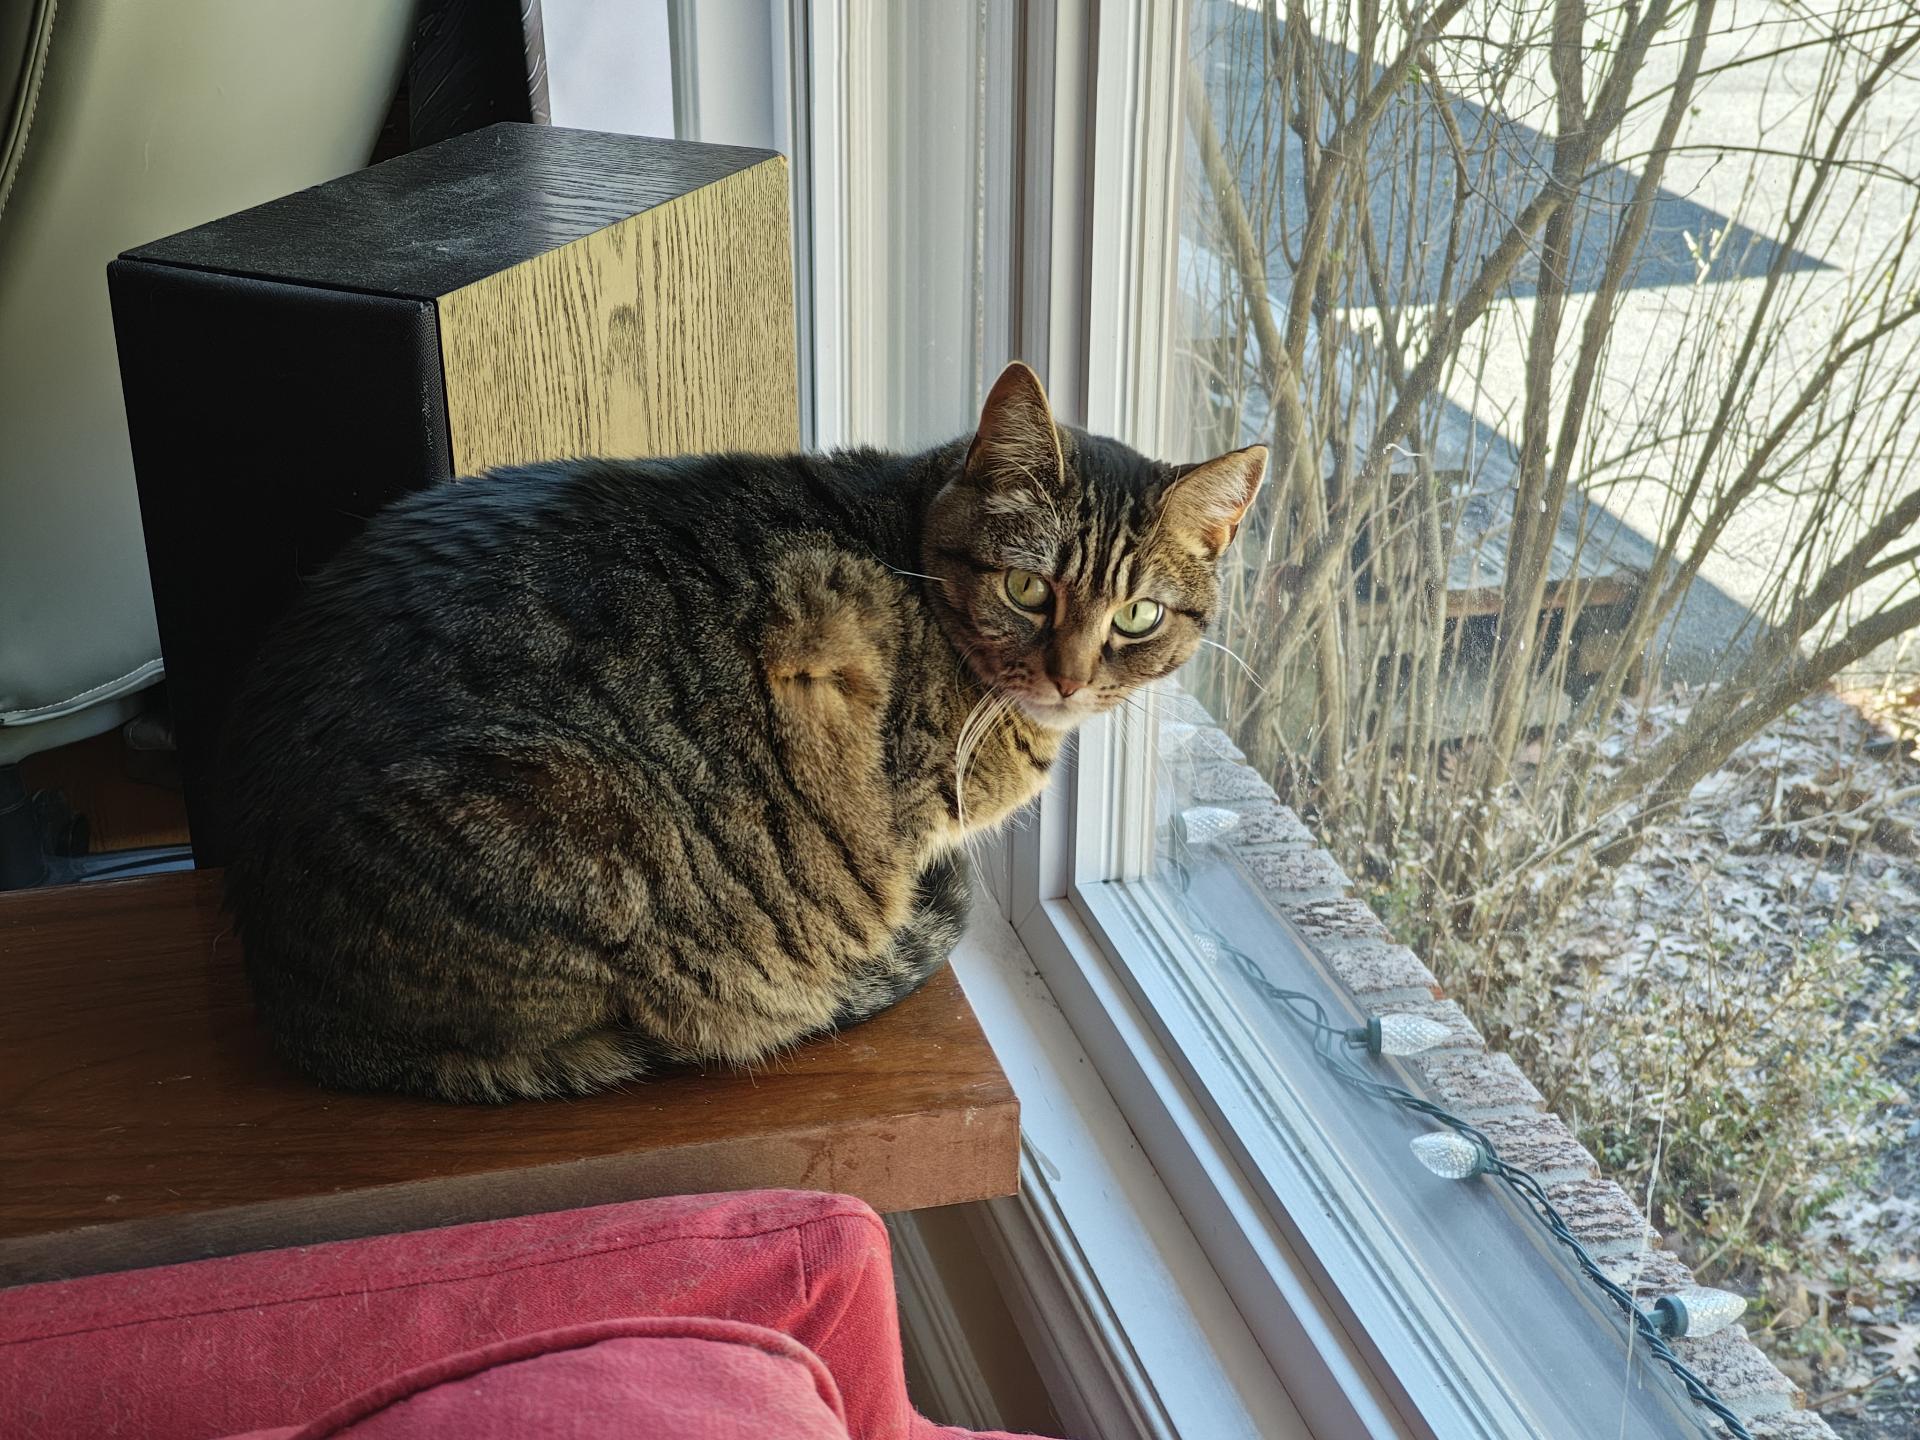
Fat cat...stretching the limits of my build plate...
After I designed this, I discovered that it is VERY similar to a product from a known brand. Their cat door is $60 CAD plus tax in the size I needed, so I saved a good chunk of change doing this....assuming all the time I spent on it is free...
Printing
Required Materials
A print bed at least 220x210
Once you add supports, PrusaSlicer actually complains that this model goes outside the print area, but it exports and prints fine. If your cat isn't so fat, you can shrink it a bit.
~300g PLA for the frame
~100g PLA in a different color for the guard plate
I used blue because cats can see that color, but as long as you have good light/dark contrast between the flap and the guard, the cats should be able to see any color just fine.
~100g TPU for the flap and bolt caps
The included 3mf files worked with my printer, and my filament, in my basement. They may not work well for yours. You need to know your filament.
I actually used different nozzle settings for the flap and caps, because running it hot made for a great finish on the flap but the caps disintegrated when I did that. This is reflected in the 3mf files.
I used a satin build plate, which gives a nice smooth finish while being easy to remove.
...except for the prototype where I used a smooth plate and learned not to do that.
You can probably do the caps in PLA for a better color match, but the cap is designed with TPU in mind.
Notes
The frames are designed to be printed on their faces, on a smooth build plate to get a nice flat finish.
As mentioned above, on a MK4S with a 220x230mm build plate, Prusa Slicer complains that the model is too large for the built plate. It's not, ignore the message, it prints fine.
I printed this with good quality filament at 0.15mm structural, because I wanted it to look nice. There is a slight bevel on the faces of the frame, and that gives a nice clean curve. This also should help with the flexibility of the flap, but I never tested printing a flap with a thicker layer setting.
I used snug supports for the guard plate slot. They are a bit obnoxious to remove, though I did get pretty quick at it. I would have used organic supports if I had a slightly larger build plate.
Tips on support removal:
Installation
I think it is best to install cat doors on the side that swings wide*. This is because it looks better, and gives the cat lots of room to run away if you open the door while they are on the other side. However, on my doors this means there is a gap between the frame and the moulding of the door. I used caulking to fill this in. This is a drawback of having such a large frame. If you have a smaller cat, you can easily shrink this model down a little bit to avoid this problem.
*Unfortunately a previous owner of my house apparently thought otherwise, which is why the one to the basement is in the middle of the door.
Required Materials
Four 10-32x2 bolts and nuts
Or similar, this isn't precision engineering. Length does depend on the thickness of your door.
Required Tools
Tools to remove supports
I use a small flat blade screwdriver and a pocket knife
Screwdriver for your bolts
Needlenose pliers for the nuts
Pencil to mark the door
Power drill to make the holes
Some kind of cutting tool to cut the hole in the door
I recommend a
specialized cat door installation tooloscillating multi-tool.
A small level to make it straight
(optional) caulking gun and caulk to fill in any gaps around the frame
Installation instructions
Wear eye and hearing protection while cutting into the door.
Draw out the rough area that needs to be cut out, using the level and pencil. Remember, you are cutting out a space for the INNER SECTIONS of the frames. You want it as tight as possible, but obviously not so tight that the door is compressing the frame.
Remember that the door has its own internal frame! If you try to put the door to low, you will cut into that frame which makes your life hard.
Cut out the area.
Put the "front" panel in (the one with the protrusions on the button, front and back don't really mean anything here).
Insert the bar at the top of the flap into the groove at the top of the frame. You don't need to worry about it falling out, there are tiny grippy nubs.
Put the "back" frame on. The holes under the opening should index against the protrusions on the "front" frame. These serve to align the frame, and hold it in place while you work.
While holding the pieces together, use them as a guide to drill a hole on each side of the door for one corner.
Insert a bolt on one side.
If it's a tight fit, you may need to hammer it a bit to get it to go through the first time. A tight fit is better than a loose one, since these bolts are what's keeping the door level and secure.
On the other side, place a nut in the hole.
Use your finger to hold it secure and turn the bolt with your screwdriver until the bolt indexes with the nut.
Use the needlenose pliers, or some other tool, to hold the nut in place as you turn the screwdriver.
IF YOU OVERTIGHTEN THE TOP BOLTS YOU CAN PUT A PERMANENT BEND IN THE FRAME WHICH LOOKS BAD AND MAKES THE GUARD PLATE SLIGHTLY HARDER TO INSERT.
It doesn't need to be very tight unless you drilled the bolt holes much too loose.
Repeat for the other bolt holes.
Put the caps over the bolt holes.
If needed, fill in the area between the molding and the cat door with caulk, tape, or some such thing.
Or you could make a custom TPU filler or something, or adjust the model to fit exactly to the moulding on your door. I dunno, YDY.
Find out that your cats are too dumb to understand the concept of "you can get treats on the other side of the door by going through the door."
Modifying this door
I am open to requests for variants, as long as you promise to do a print and upload a make to verify the design change (as I will not be printing any more of these). I'll do simple things like change the door size, but may not do anything more complex.
I have included the Blender file, which is a bit stupid in how it's set up but it's alright (for one thing you have to export at 10x scale). My next project will also involve learning Freecad, because Blender truly is not designed for this kind of thing.
Before modifying this design, observe and adhere to the terms of the specified license.