
Traveltonie
We calculate the final price from your selected file. You review and accept it before payment.
Saved on this device.

This Traveltonie is a custom Tonie for the Toniebox. Create one to have a portable version of your exiting Tonies.
- Rating
- 0 / 5
- Likes
- 3
- Downloads
- 12
- Makes
- 0
- Views
- 82
- Reviews
- 0
Updated at source:
Model information
- Source
- Printables
- Category
- Other Toys & Games
- License
- Standard Digital File License
This Traveltonie is a custom Tonie for the Toniebox. You can create one for each of your existing Tonie figures to have a portable version of them. It only works with the teddyCloud or teddyBench. This also requires a compatible RFID tag that is accepted by the Toniebox (ICODE SLIX-L RF interface, ISO/IEC 15693, 13.56 MHz).
You can find them for example here: https://shop.electricky.de/T-Box-Modding/SLIX-L-Toniebox-kompatible-RFID-Tags-durchsichtiger-Sticker-original-NXP.html
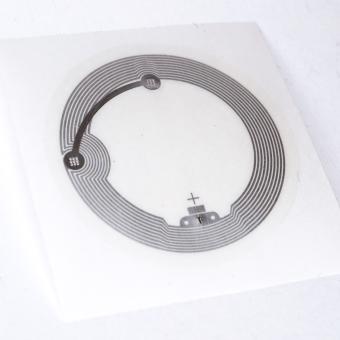
You also need two 10x3 mm magnets. They are not required but recommended, otherwise the Traveltonie will not stick to the Toniebox and you will not be able to stack multiple units.
The model consists of three parts.
Start with the bottom part and place one magnet into the gap.
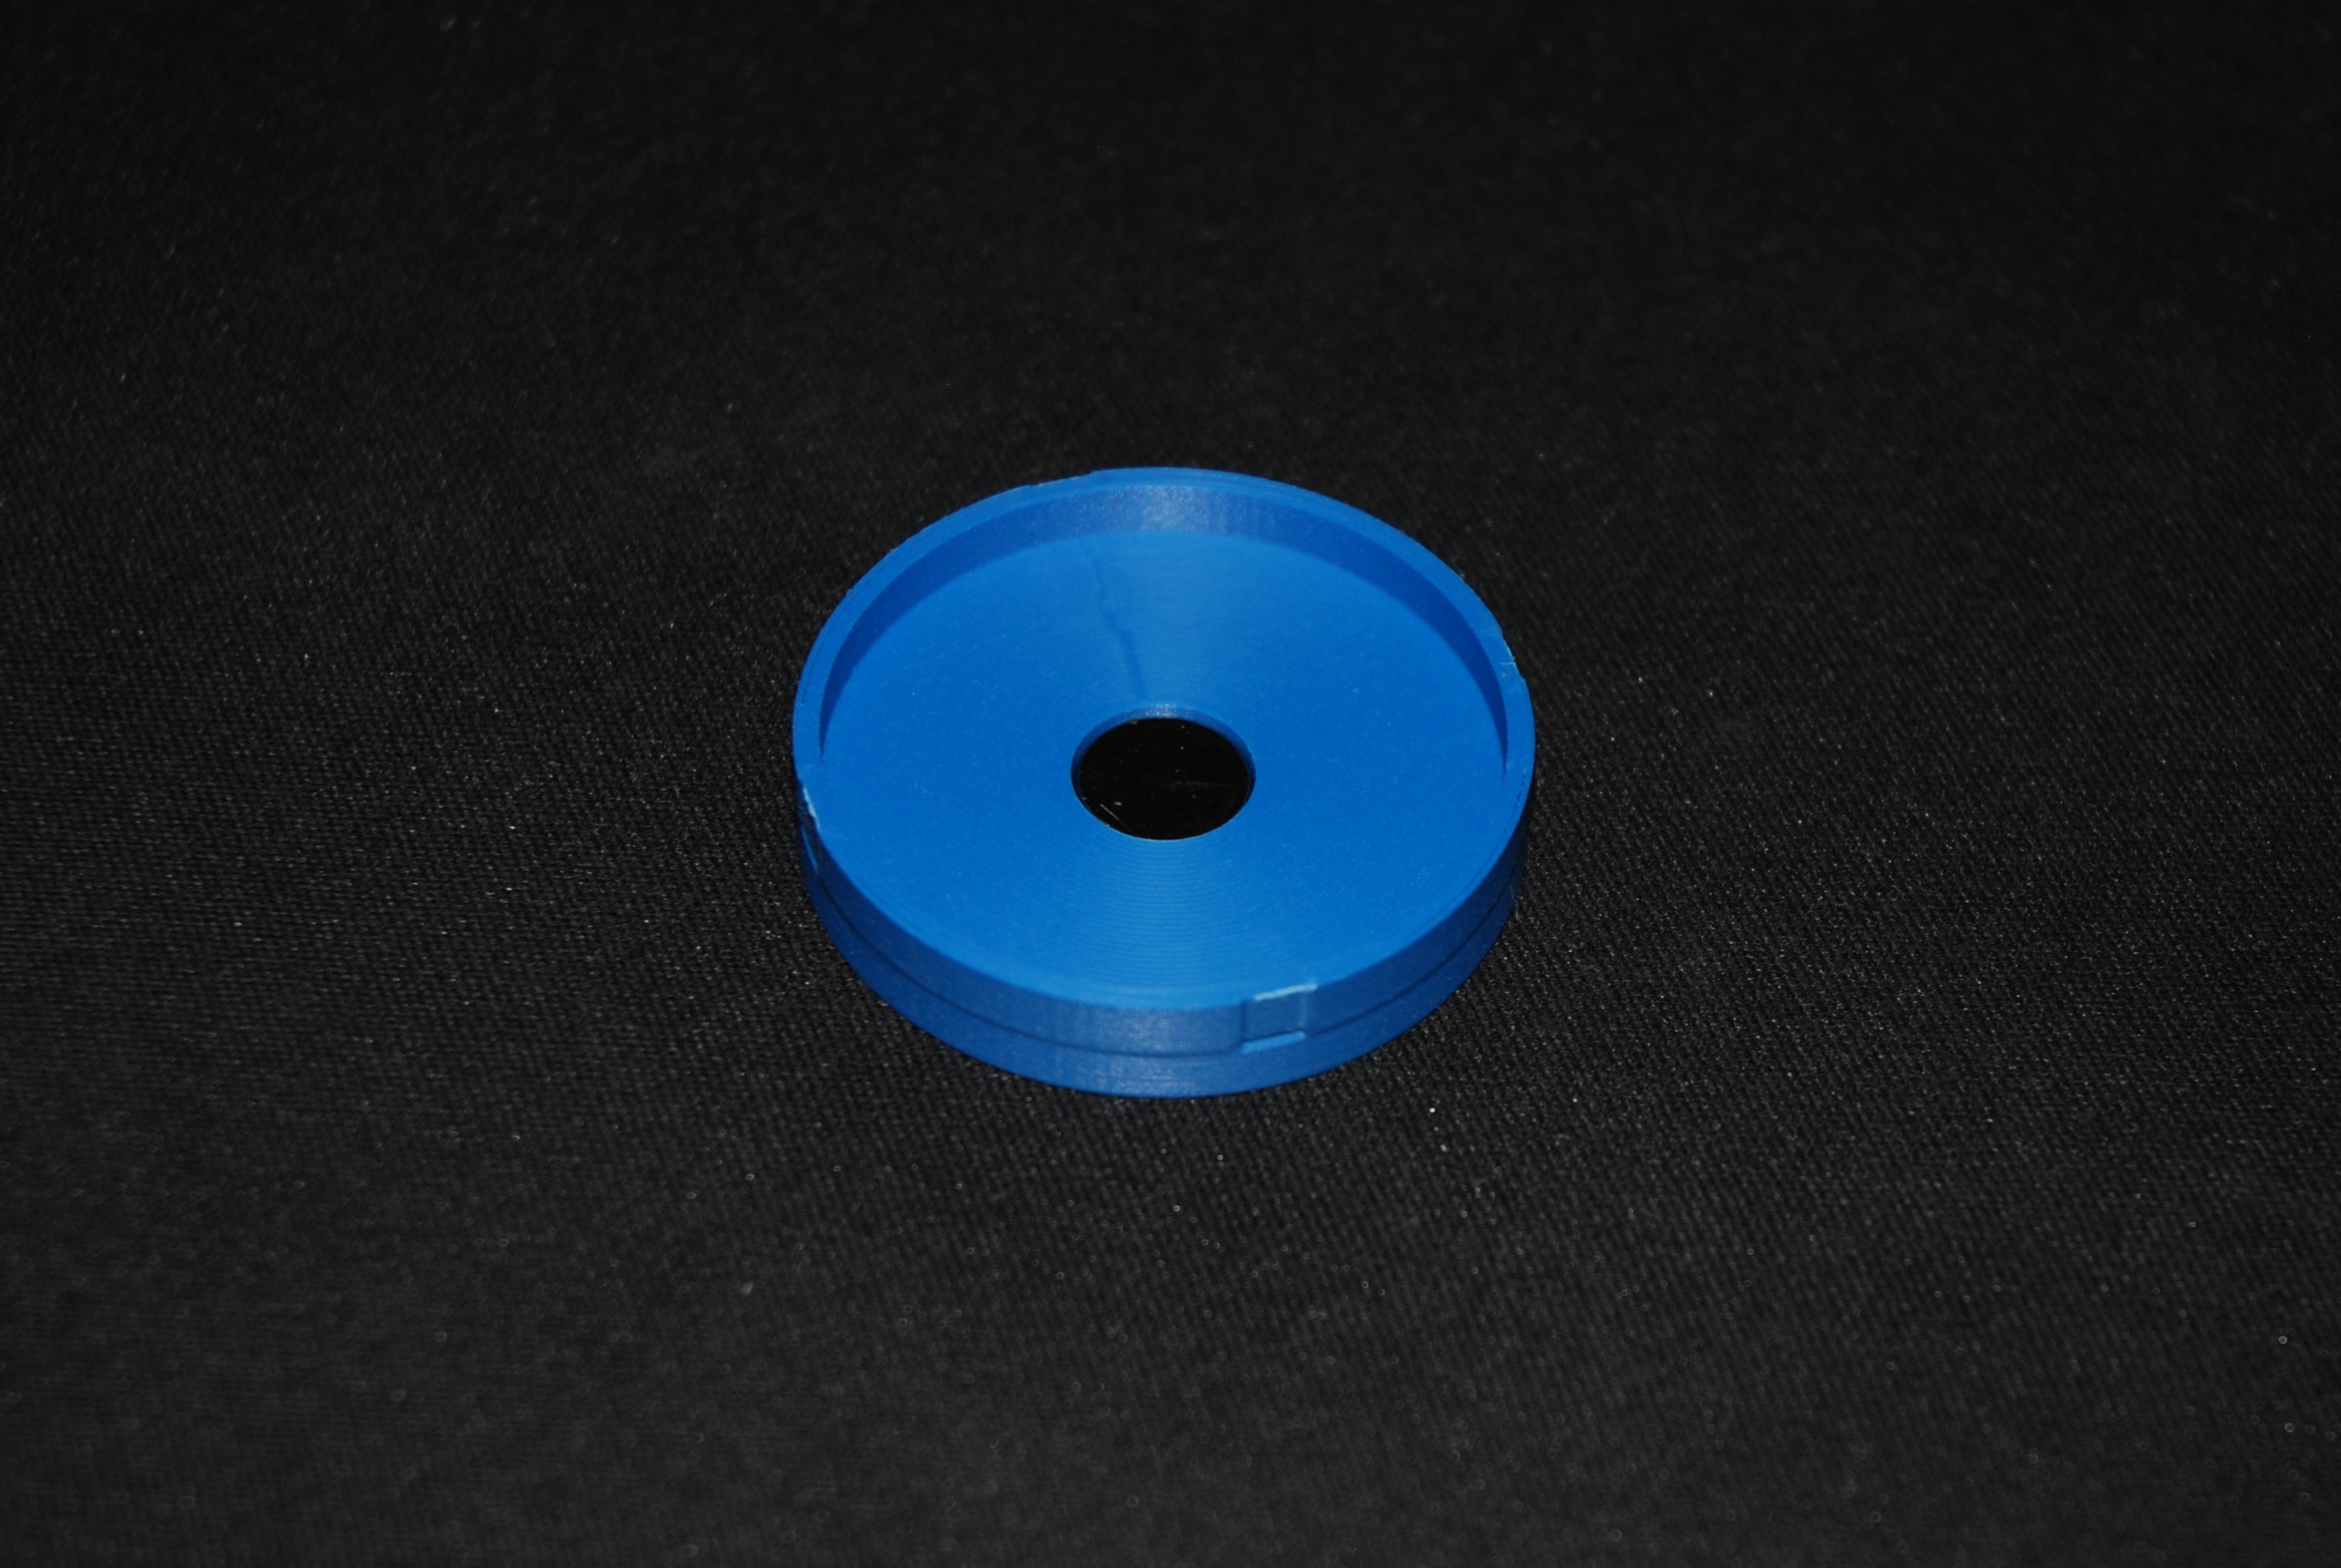
Now cut out your RFID sticker so that it fits inside the circle and place it on the magnet.
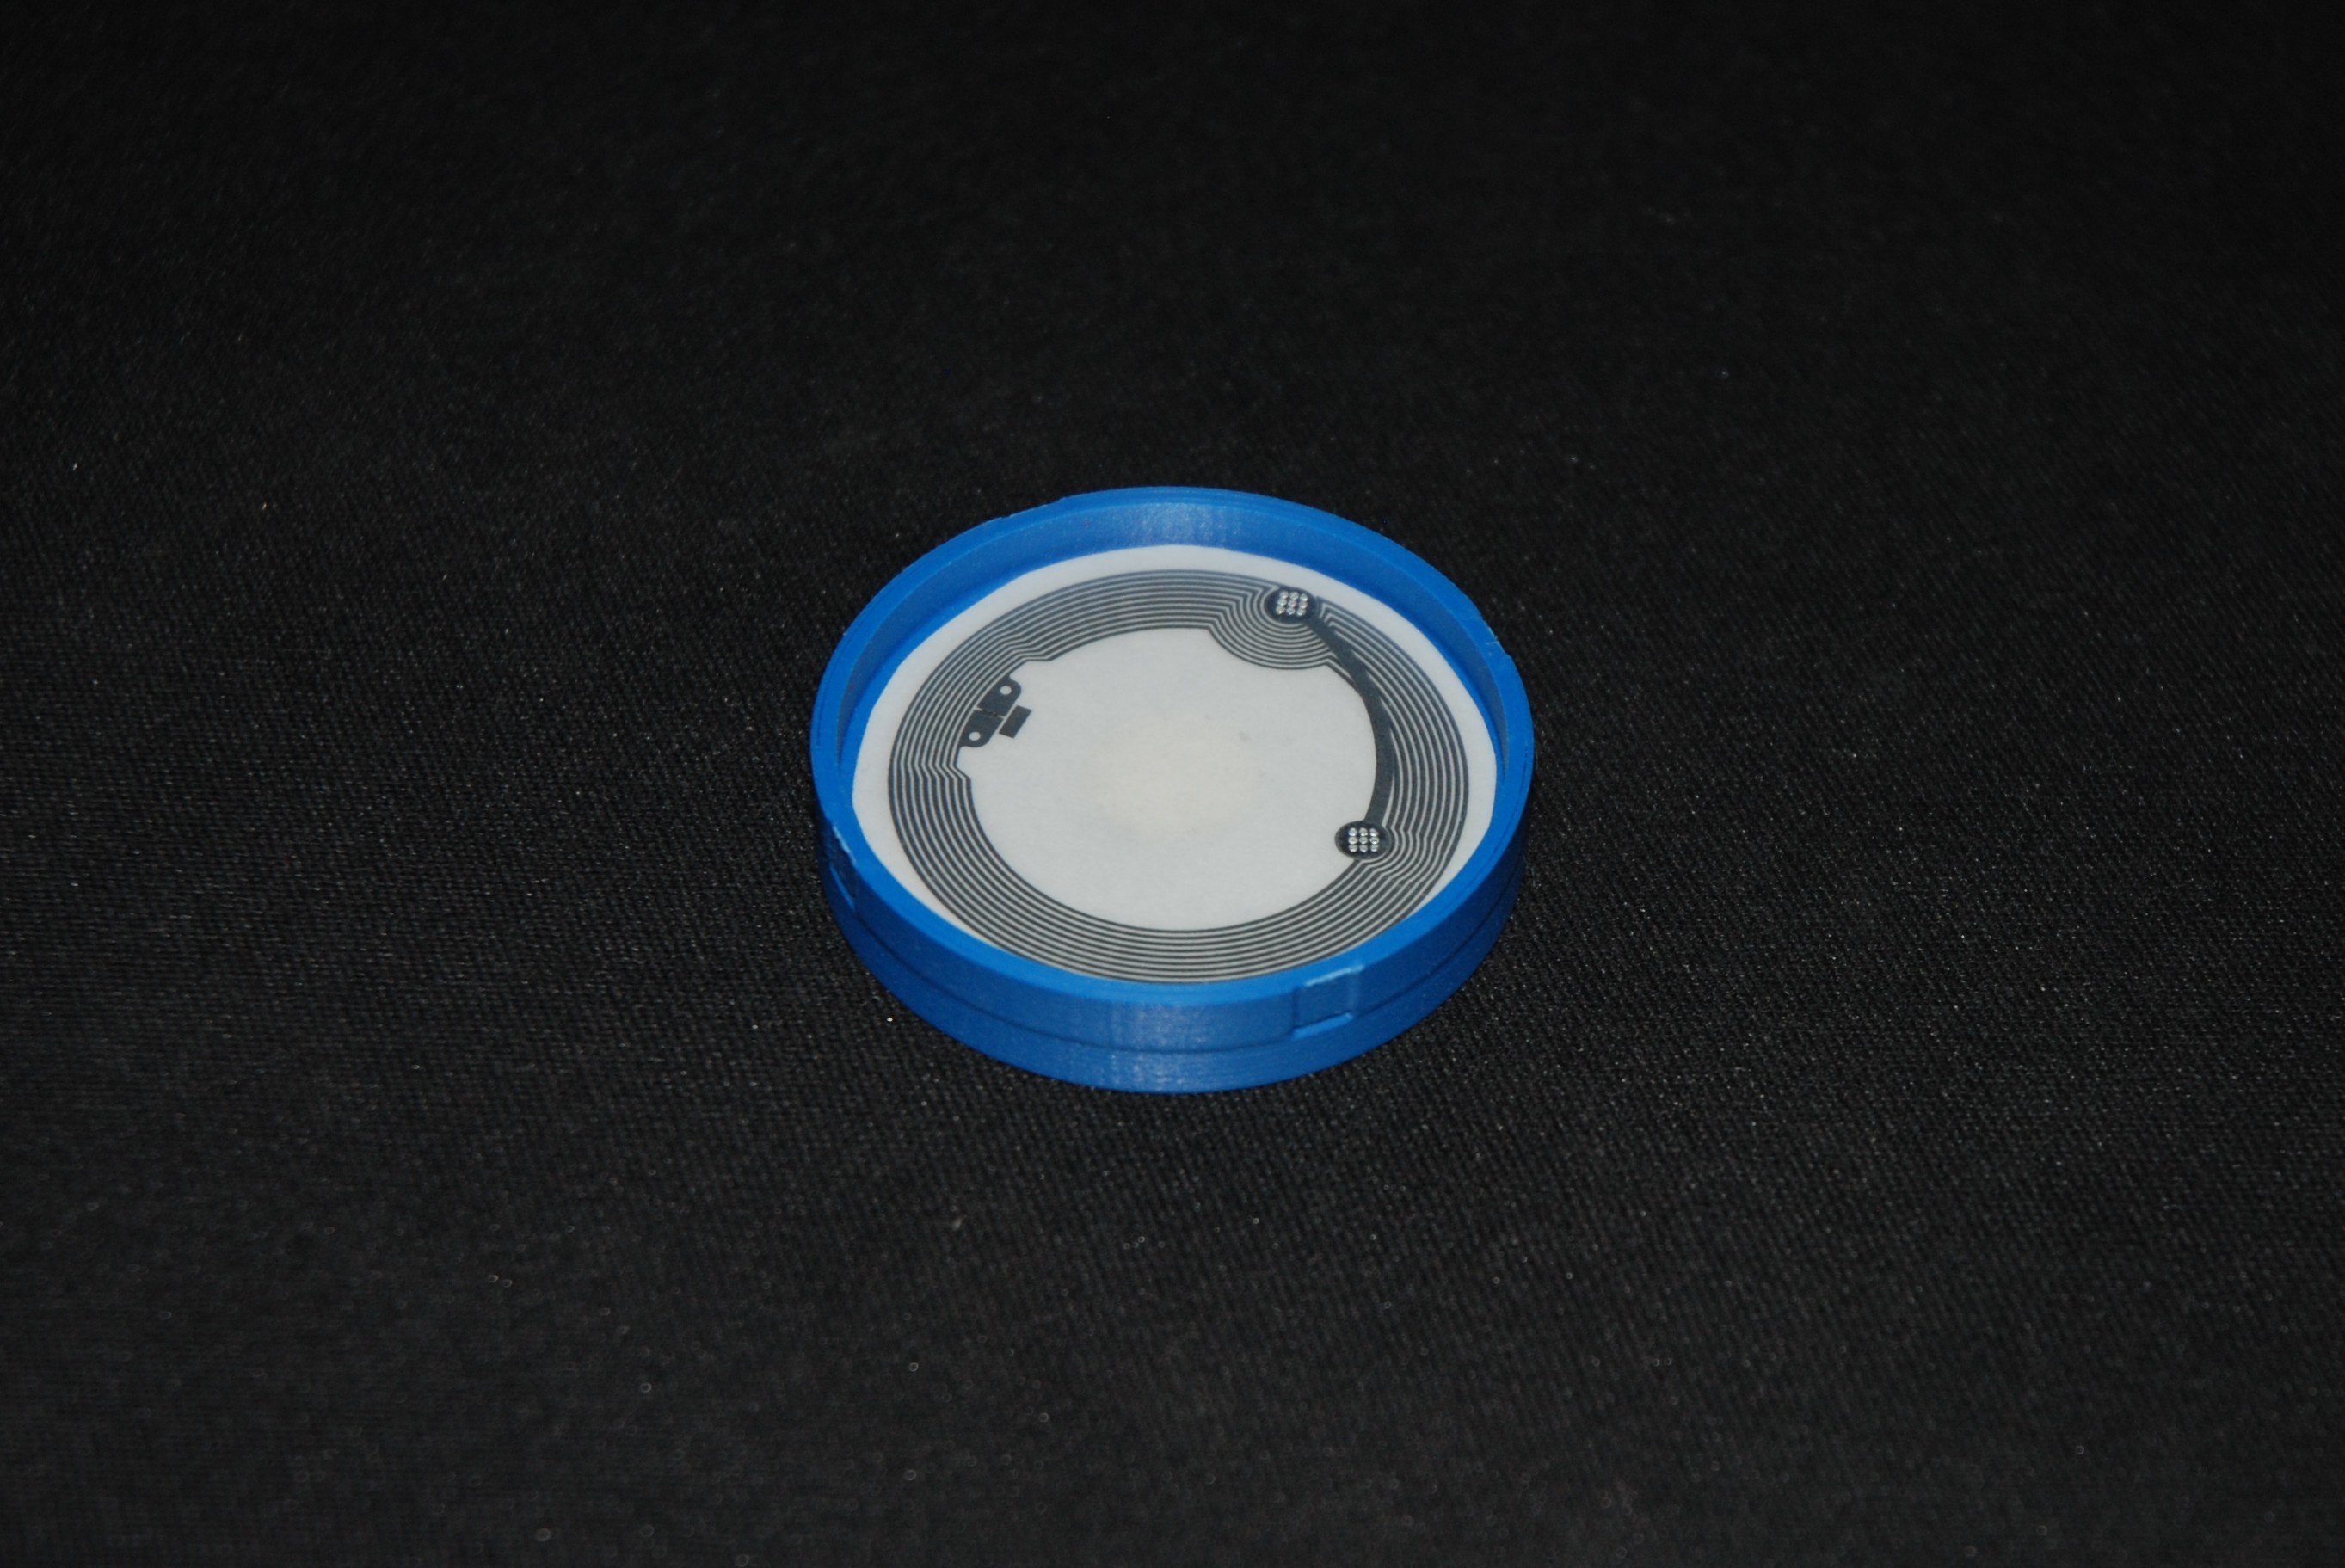
Next place the second magnet on top of the RFID tag.
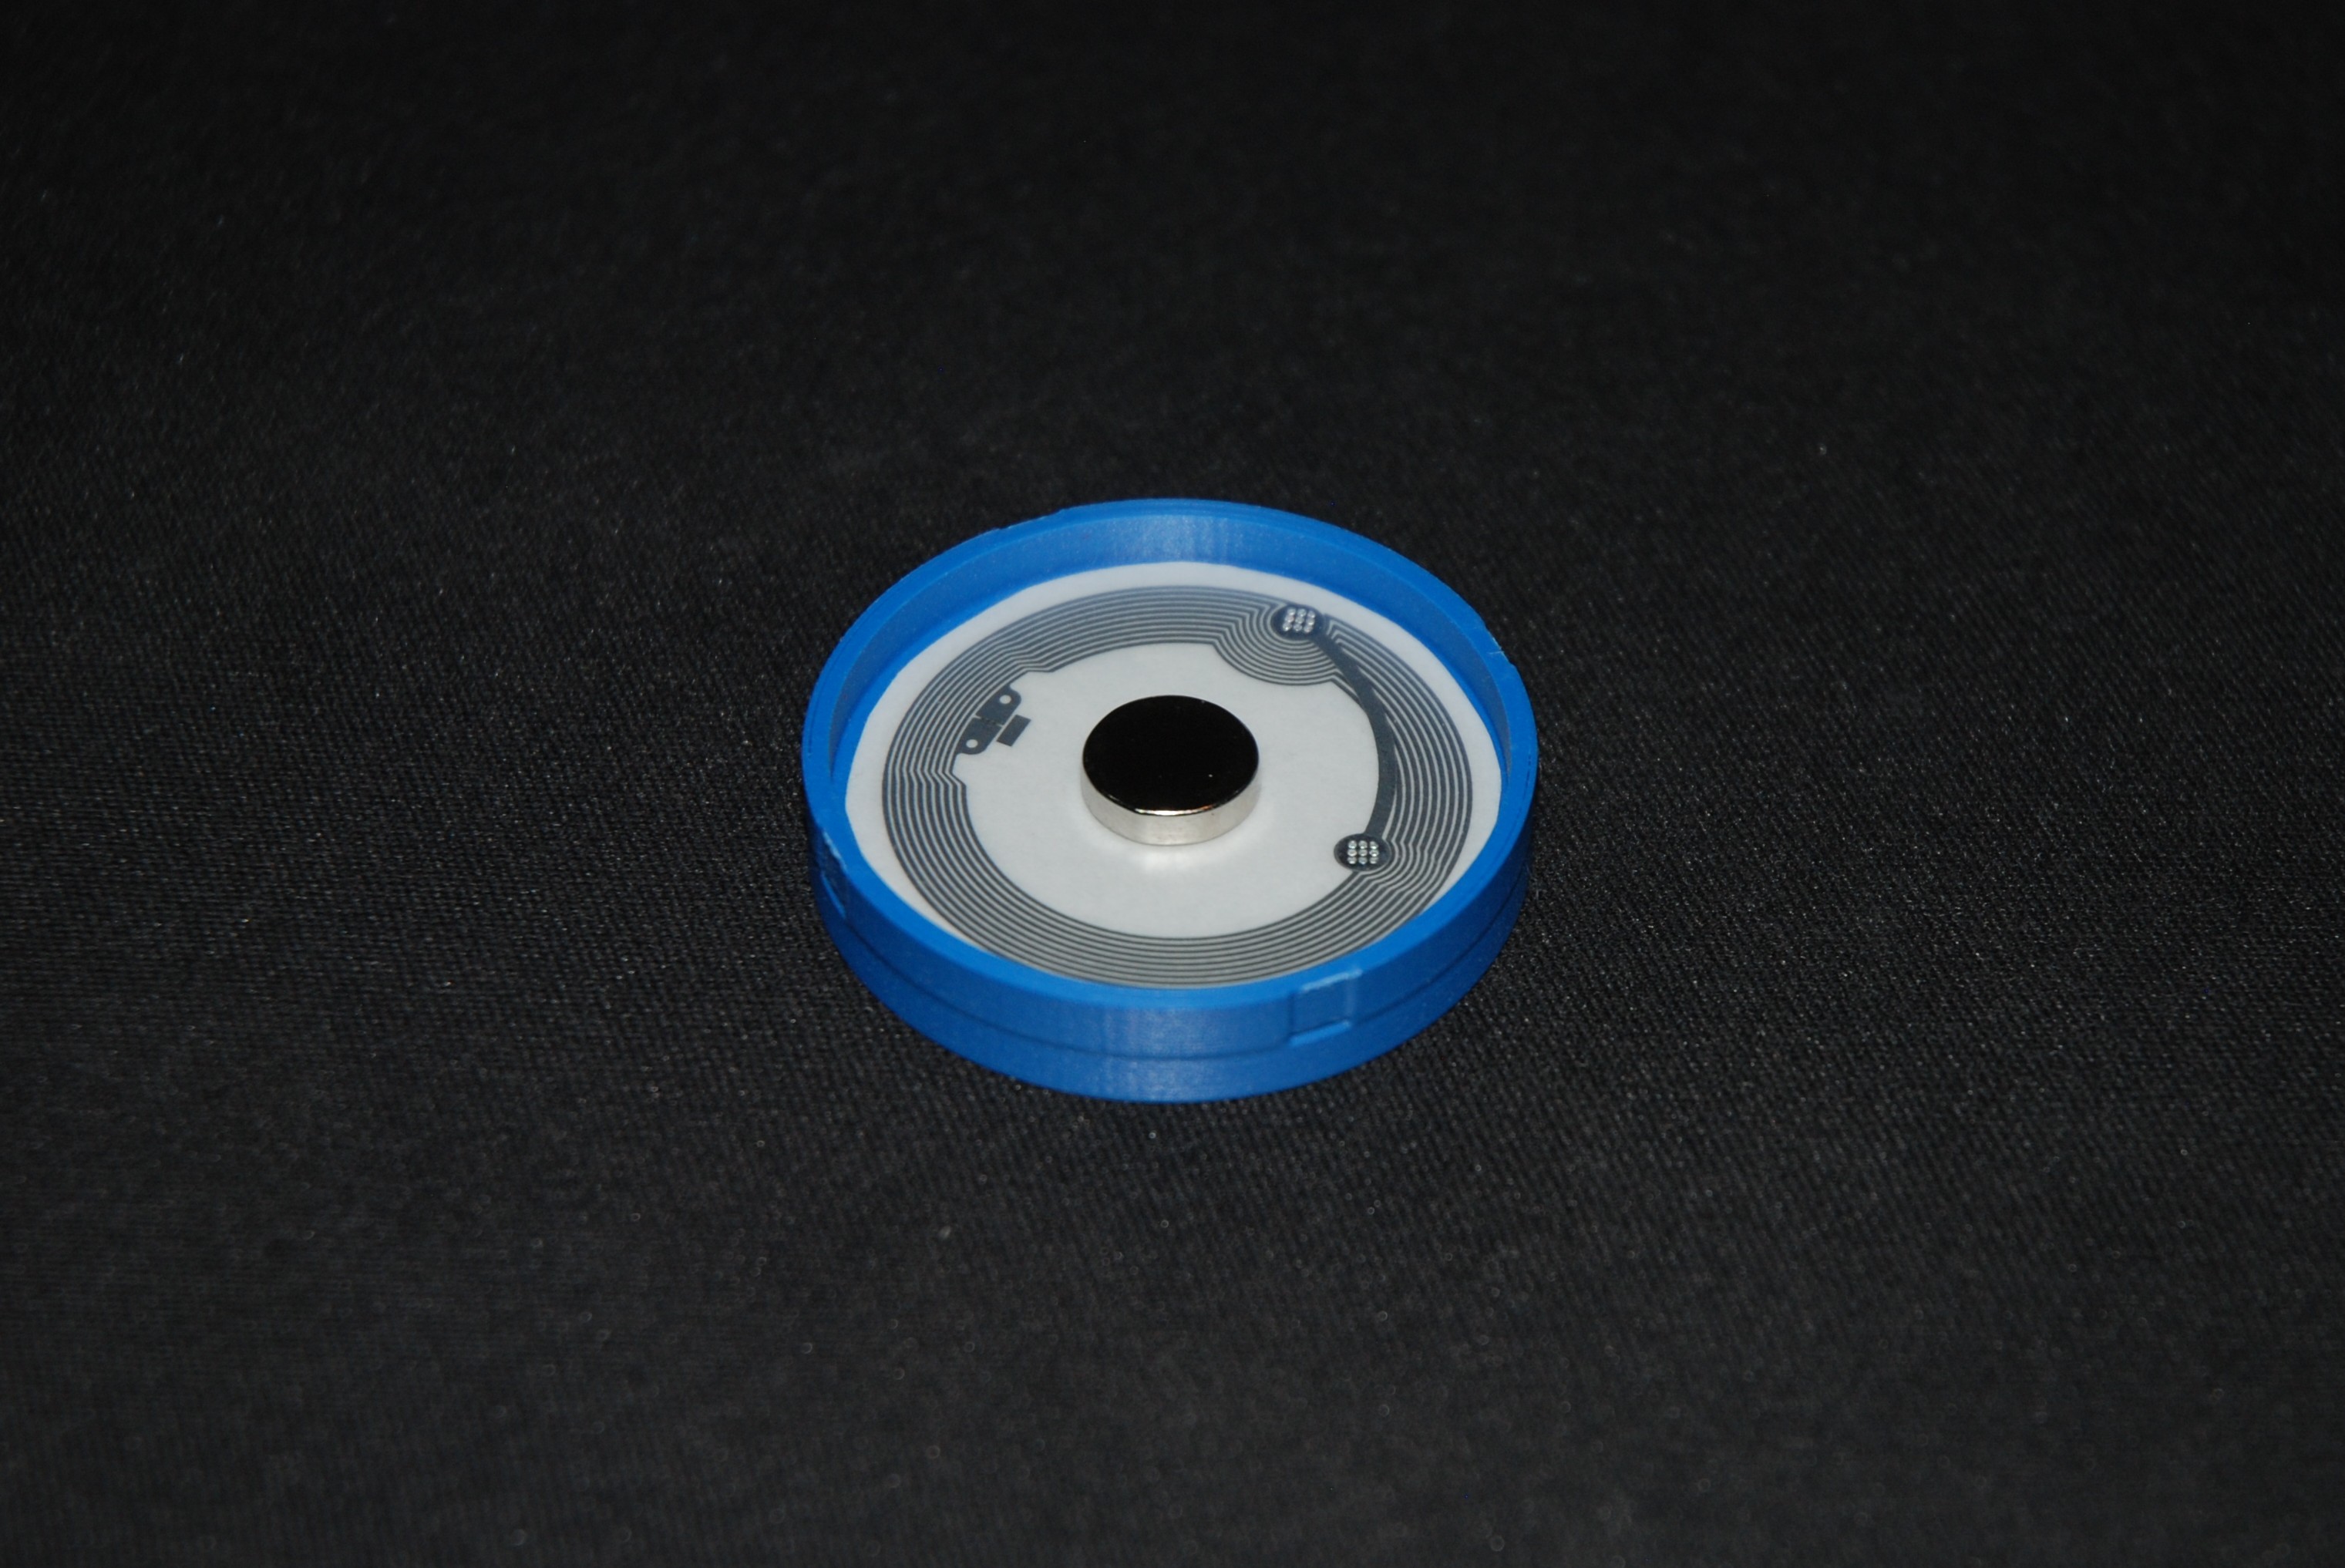
Place the center part with the hole facing down onto the magnet.
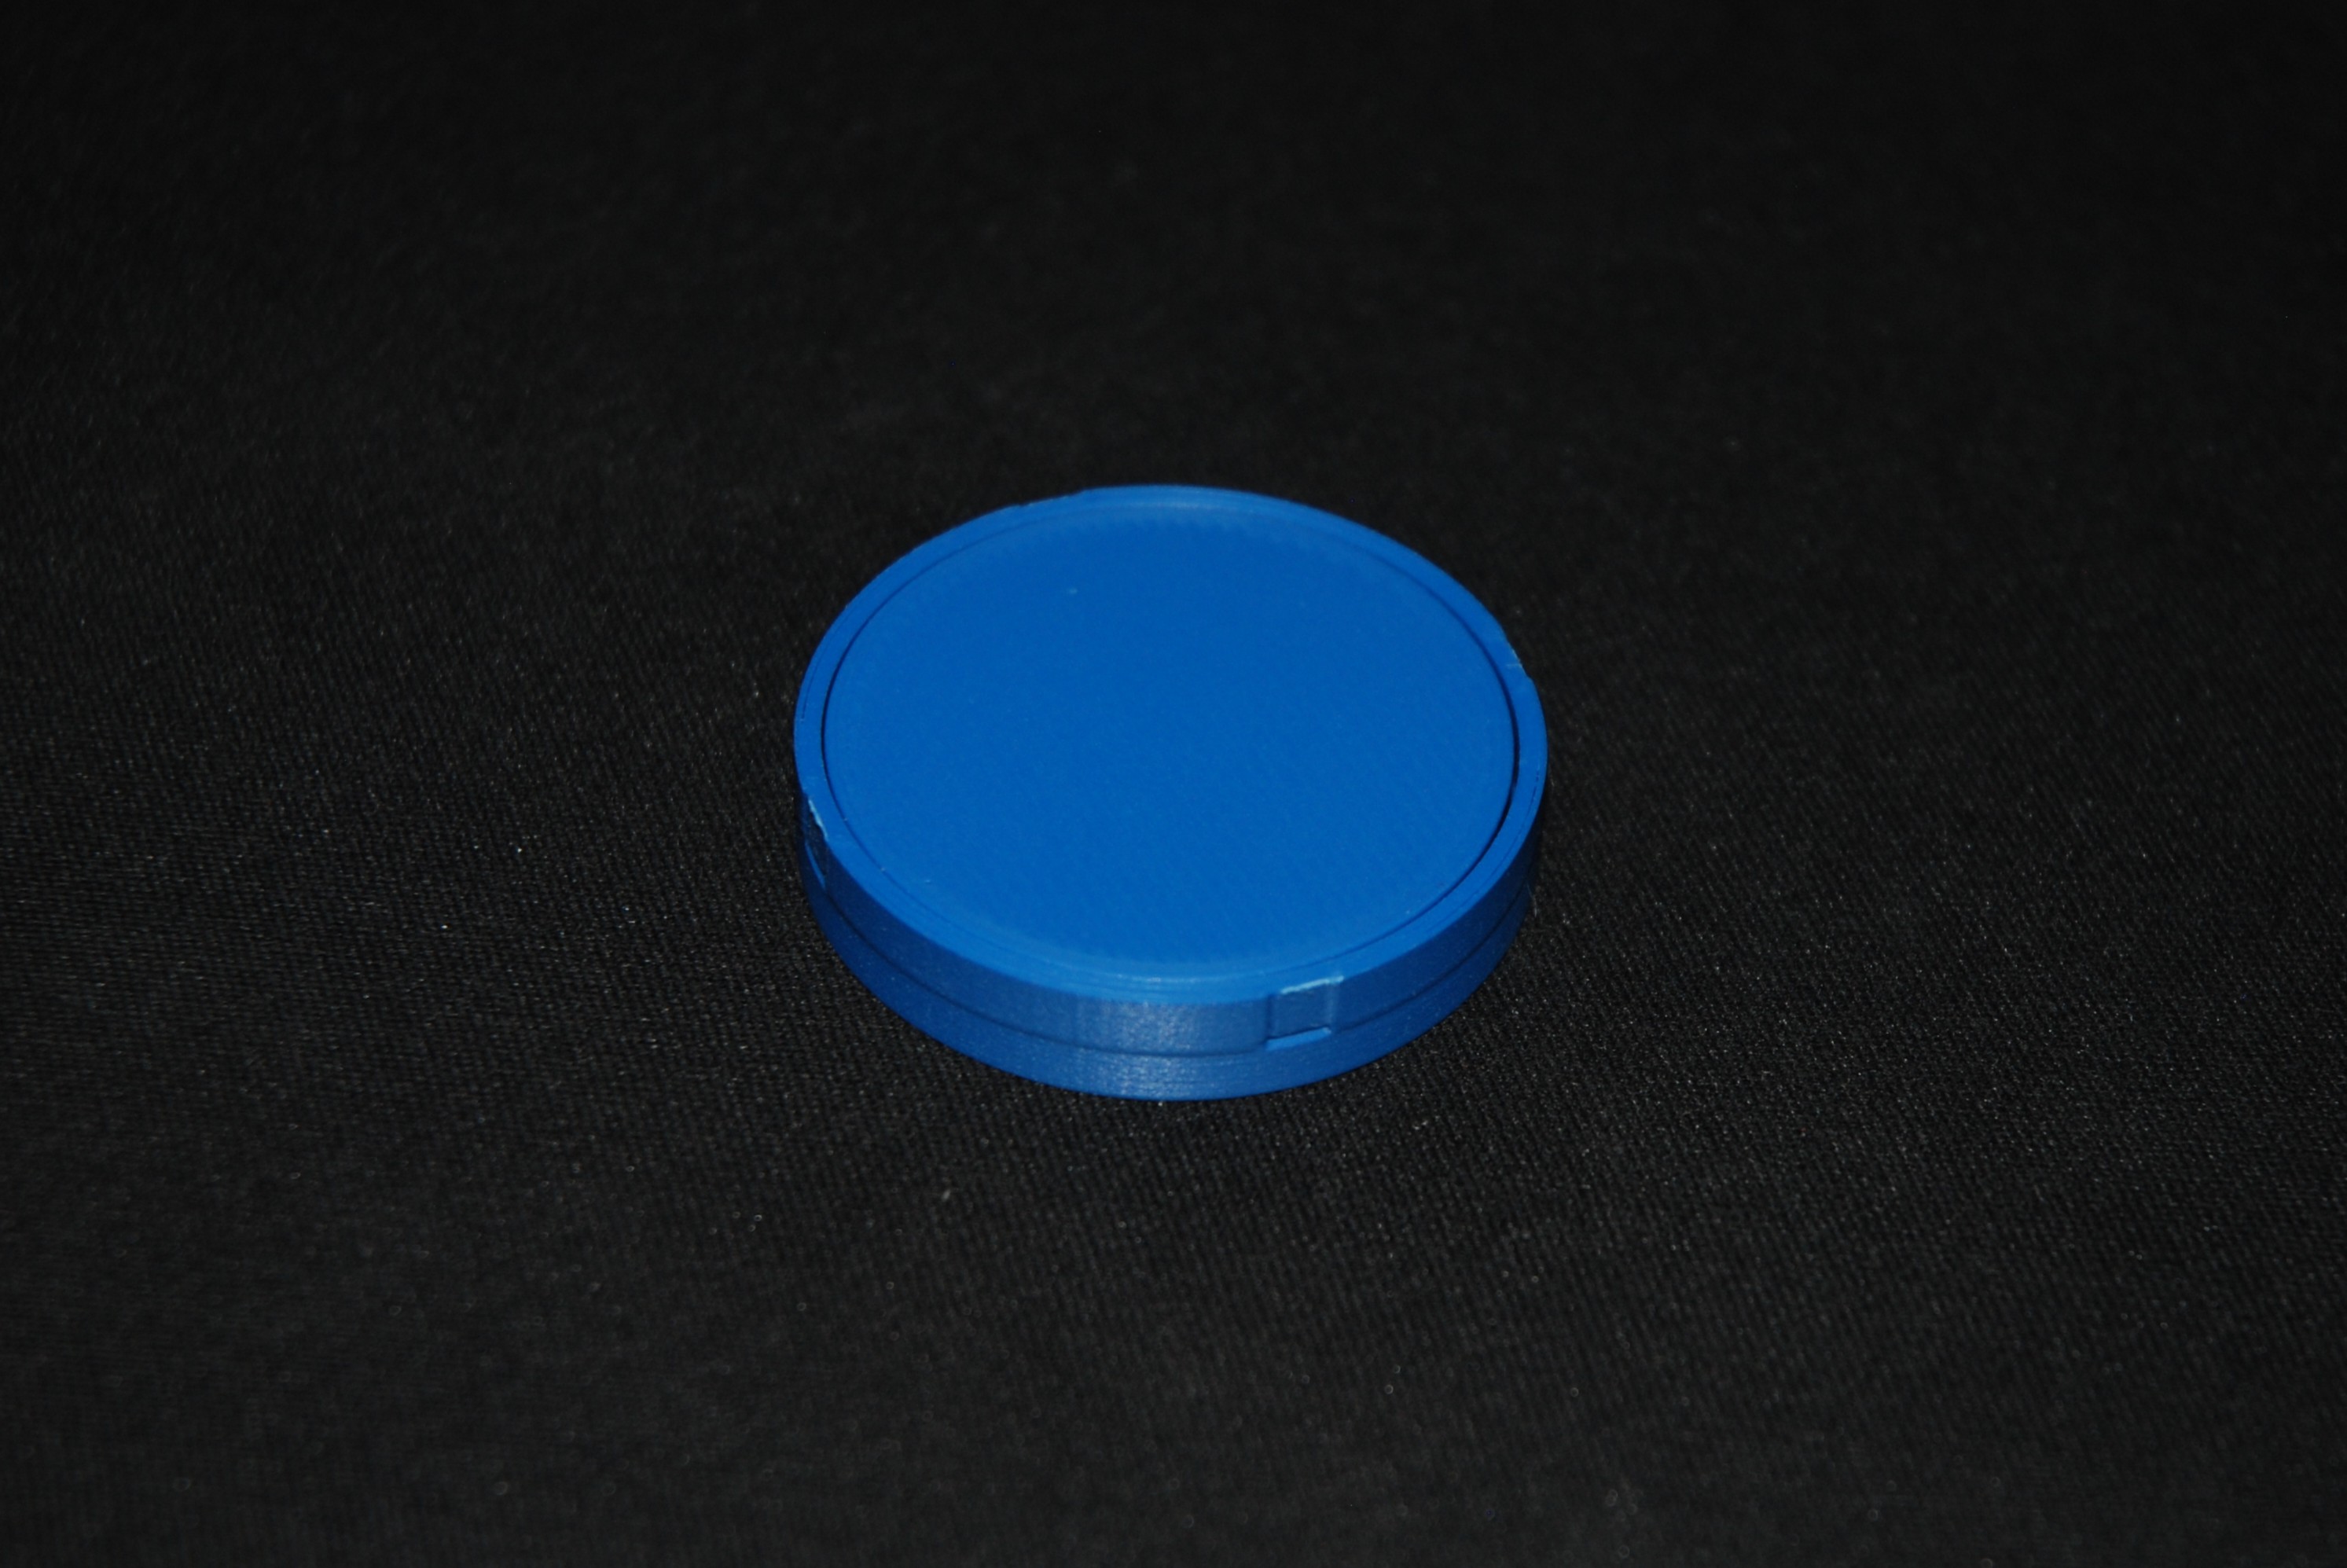
Now print out an image of your Tonie figure on a piece of paper. The diameter should be about 39 mm. (I print them at the photo shop for a better quality)
Place the image upside down into the top part.
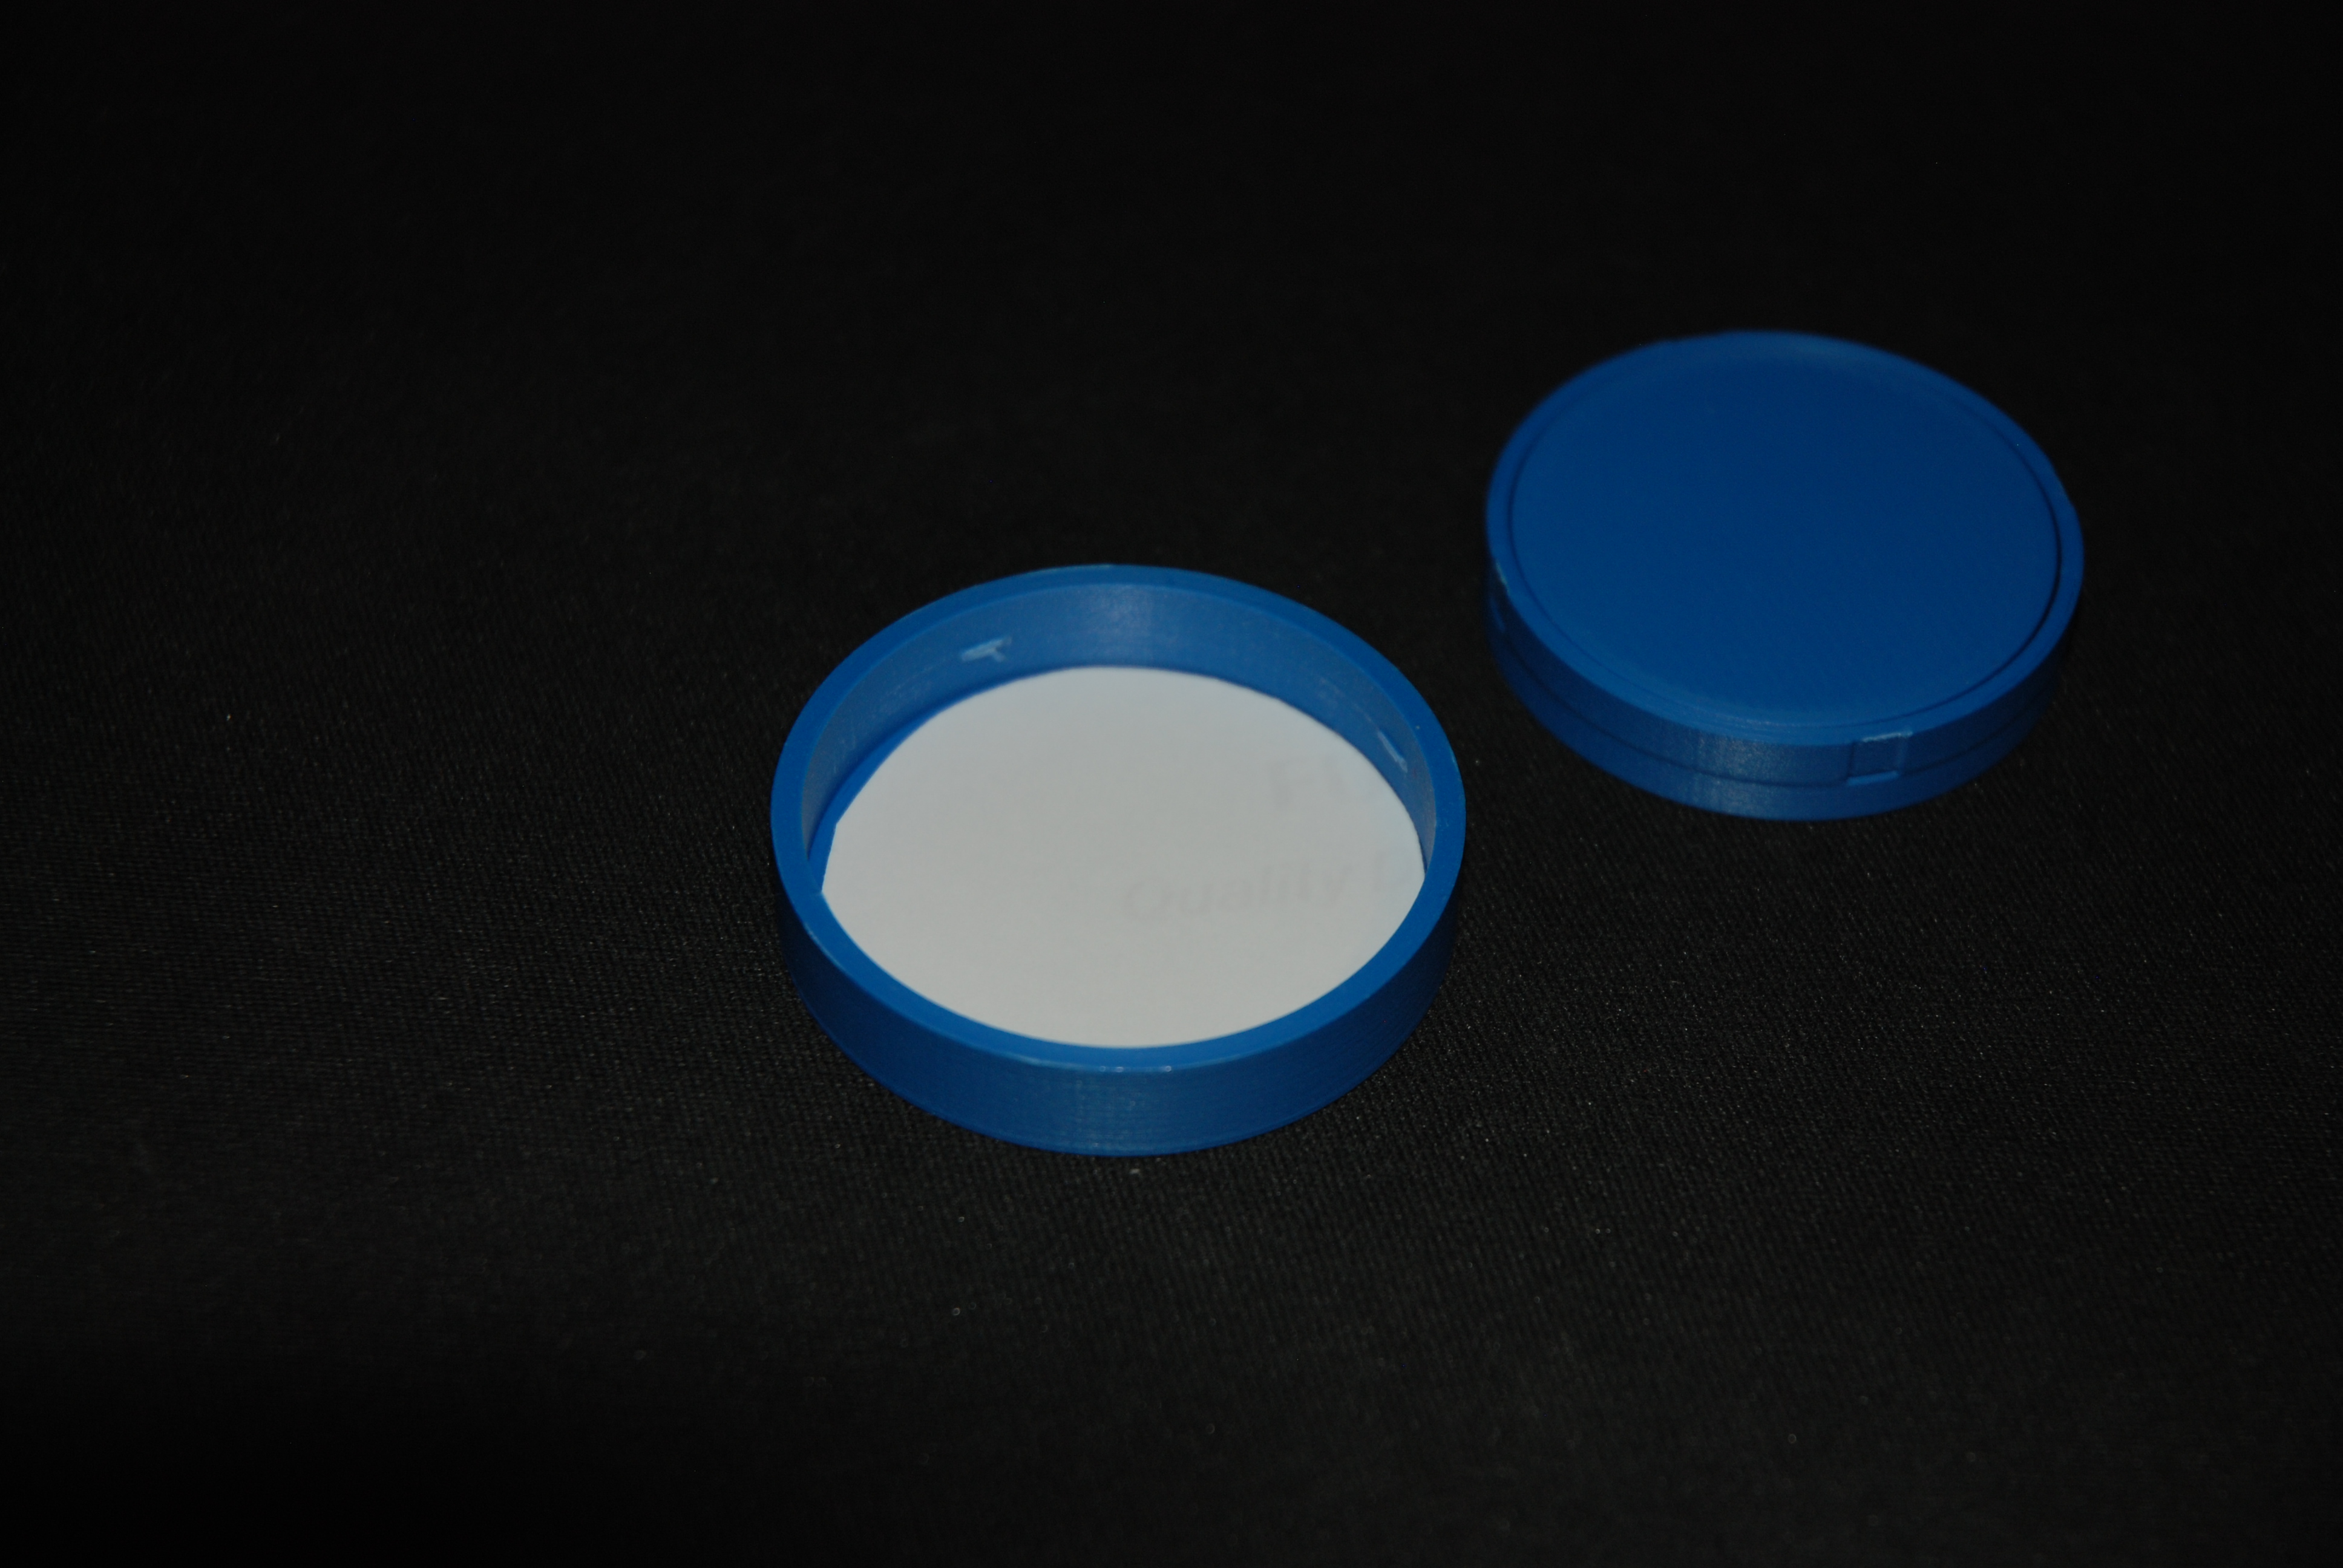
At the end push the top part onto the bottm part. Be carefull to align the four edges of the top part with the gaps on the side of the bottom part.
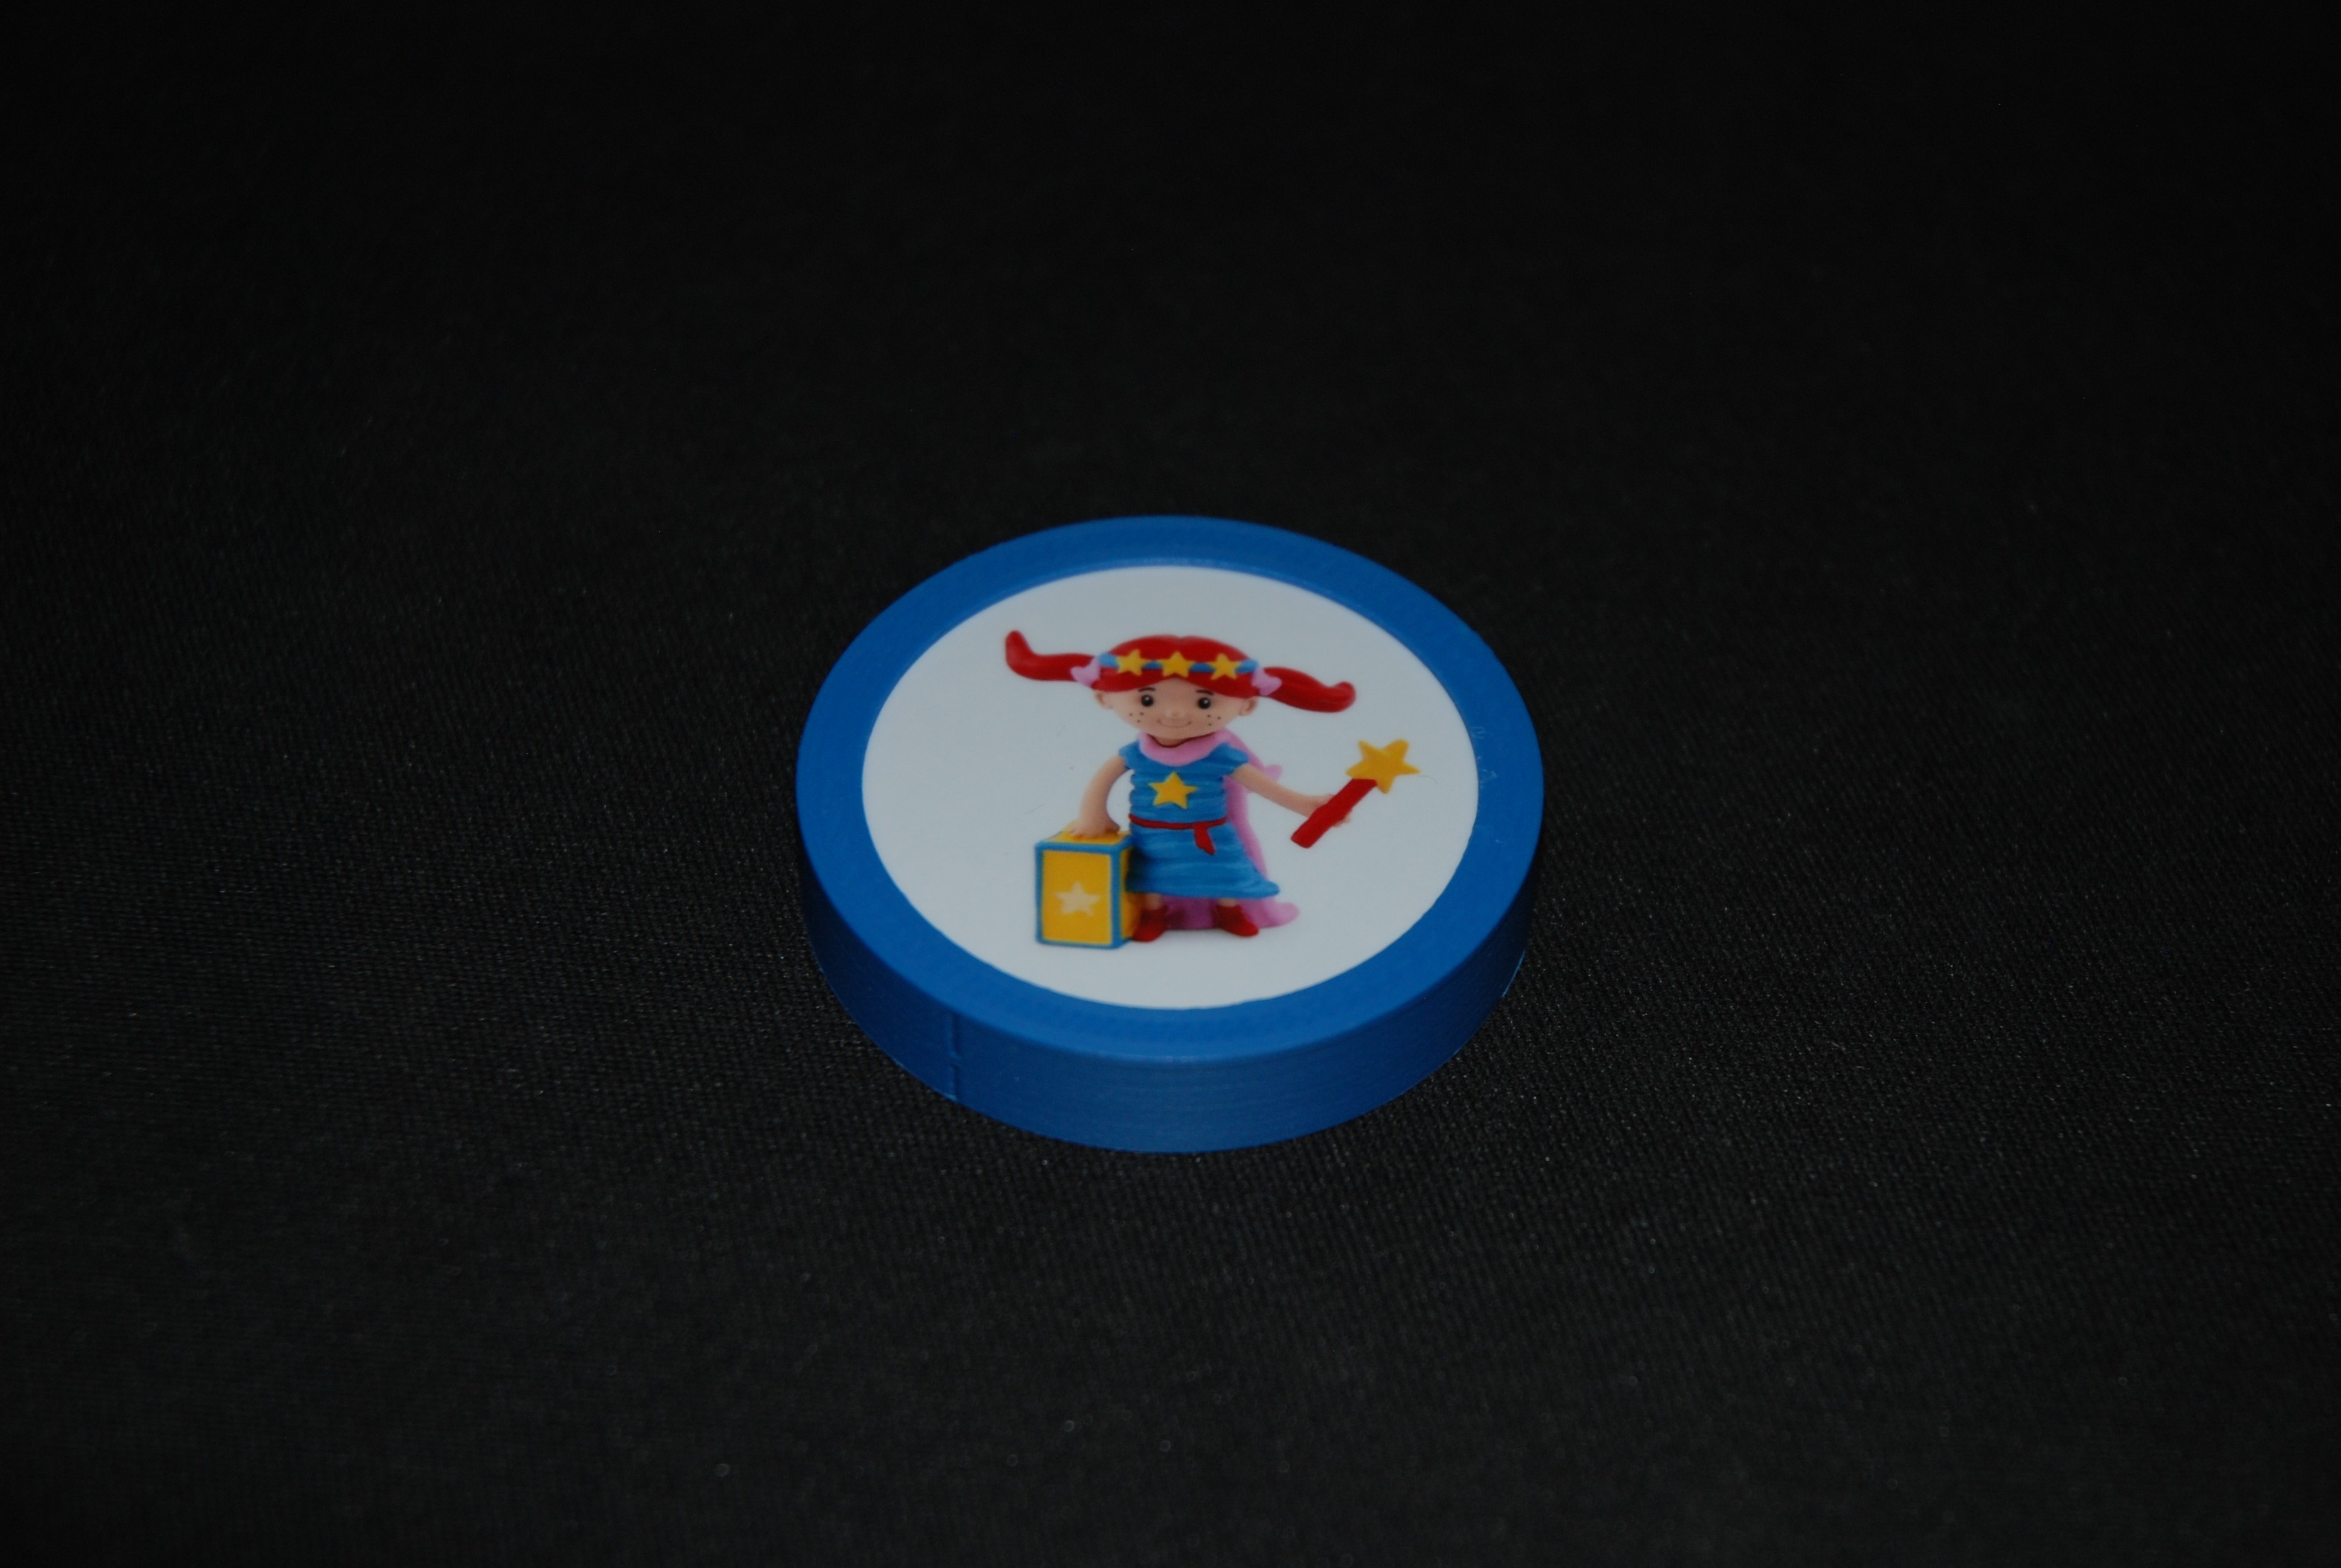
Done! Now you can link the audio of your original tonie to the RFID tag in your Traveltonie by using teddyCloud or teddyBench.
You can separate the parts and change the image at any time.
Have fun being creative!