
1 / 5
Customizable Sharpie Cap (The Good One)
Order a print of this model
We calculate the final price from your selected file. You review and accept it before payment.
Saved on this device.

Make your Sharpie your own with this customizable cap.
- Rating
- 0 / 5
- Likes
- 54
- Downloads
- 341
- Makes
- 0
- Views
- 1,421
- Reviews
- 0
Updated at source:
Model information
- Source
- Printables
- Category
- Office
- License
- Creative Commons — Attribution
I have created a customizable Sharpie cap that can be edited in Fusion 360 (The Hobbyist Version is fine).
Or if you don't want to customize, there is “The Good One” because we all have a favorite Sharpie.
There are a couple of parametric options:
- Printer Offset - Adjust the offset of the clip hole for your printer tolerance
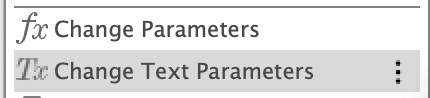
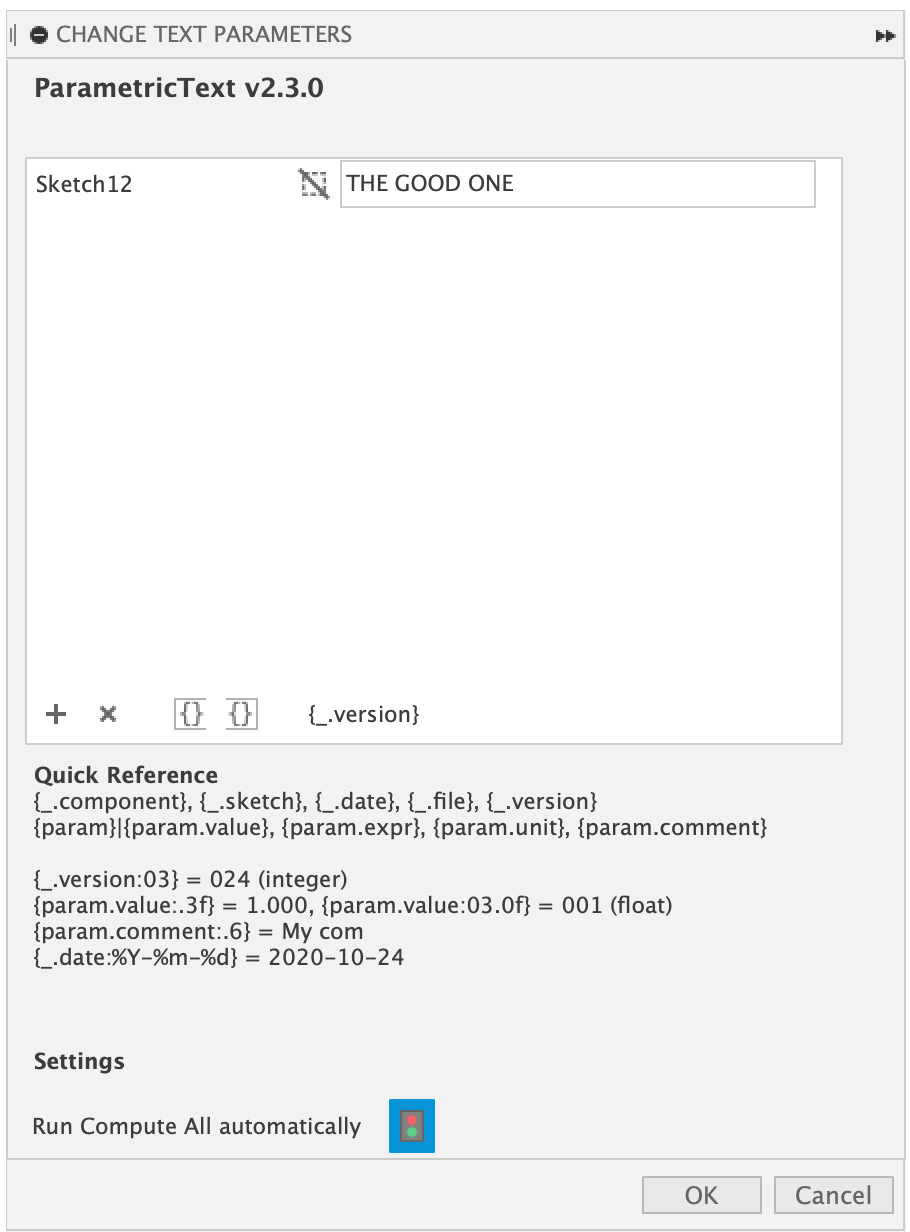
- Text Parameters - Change the text on the cap
Requirements:
Instructions:
- Open the fusion 360 file
- Edit Text Parameters
- Edit Offset Parameters if needed (Default is .125mm (.25mm for each side))
- Combine if using the built-in 3D Printing tool (skip to step 5 if not)
- Select the “cap” and Send it to the printer
- Export .stl
Notes:
- I printed with a raft to keep the cap secure to the build plate
- Some specialty filaments may require printing the cap at an angle so the layers do not separate
- I printed with a .3 nozzle but a .4 nozzle should be fine
- If you want to change the font, you will need to edit the text object in Sketch 12
- You may need to use an X-acto knife or file on the clip, it is friction fit but glue if you feel the need.