10inch 1U Raspberry Pi with SSD 2.5" rack mount (3 raspberry pi modules and 3 SSD)
We calculate the final price from your selected file. You review and accept it before payment.
Preliminary estimate for PETG
€2.16 – €2.63 net (excluding VAT)
For file: SSD - RPi Module.gcode
This is an estimate for one file. You’ll confirm the exact price before ordering.
File and estimate settings
File used for this estimate
Average indicative estimate: €2.39 excluding VAT (range midpoint).
- Weight reported by the author
- 34 g
- Print time reported by the author
- 2.31 hr
- Source material
- PET
- Estimate material
- PETG
- Estimate printer
- Bambu Lab P1S - 0.4 nozzle
- Estimate process
- 0.20mm Standard
Indicative estimate for the selected file only, based on the author’s weight and print time. File variants are not added together. The final price is calculated after file analysis.
Saved on this device.

Simple and useful 1U Raspberry Pi with SSD 2.5" rackmount for 10inch network cabinets. It supports 3 Raspberry Pis.
- Rating
- 4 / 5
- Likes
- 56
- Downloads
- 415
- Makes
- 1
- Views
- 5,514
- Reviews
- 1
Updated at source:
Model information
- Source
- Printables
- Category
- Computers
- License
- Creative Commons — Attribution — Noncommercial
Simple and helpful 1U Raspberry Pi with SSD 2.5" rackmount for 10inch network cabinets. It supports 3 Raspberry Pis.
How to print:
- Print with 0.30mm layer height and 70% gyroid infill.
- Make sure your print is in PETG, ASA, or heat-tolerated filaments. SSDs can get quite warm, and PLA is not a suitable filament in this case.
- Support required: Only for the openings; use the print-on-support feature of Prusa Slicer to only print support for openings and use snug. (just take a look at my codes and do like them)
- Print the 1U rack-mount base on the diagonal of your print bed, just like the photo below

How to assemble and required hardware:
- To attach SSDs to the Rpi module, you need M3x3 or four bolts (4 for each SSD)
- To attach the Rpi module to the base, you need two M3x8
Step 1:
Place the Rpi module on the top of your SSD and fix it to the SSD

Step 2:
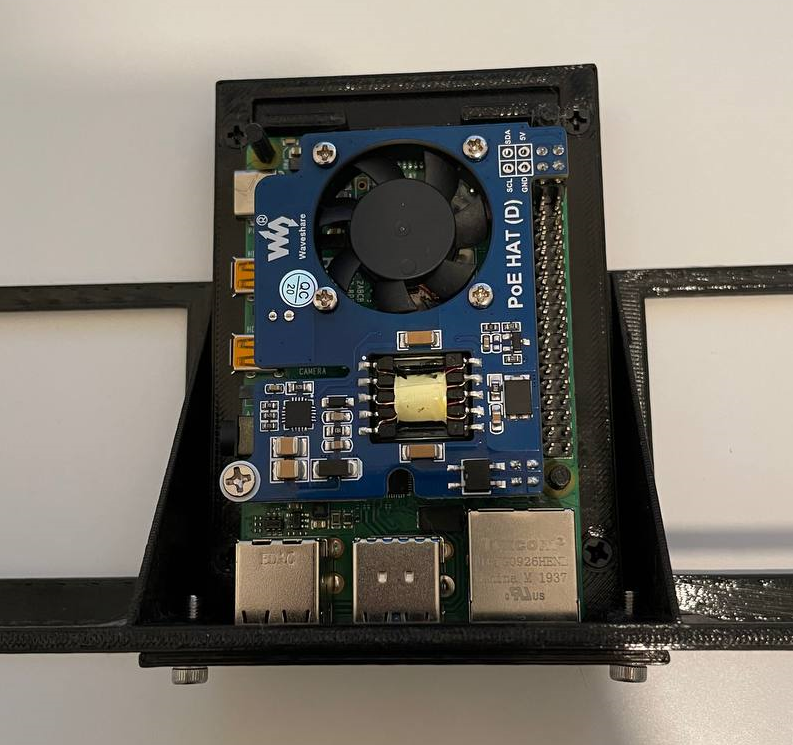
Place raspberry pi on the specific area and fix it with the 3d printed pins. (in the example below, I could only attach three pins because of the POE hat)

Step 3:
- Insert two M3x8 or M3x10 in the Rpi module

- Insert the Rpi module (Rpi attached, SSD attached) into the space you like and tighten the bolts.