1 / 5
10inch 1U Raspberry Pi with SSD 2.5" rack mount (3 raspberry pi modules and 3 SSD)
Zamów wydruk tego modelu
Obliczymy ostateczną cenę na podstawie wybranego pliku. Sprawdzisz ją i zaakceptujesz przed płatnością.
Zapisane na tym urządzeniu.

Simple and useful 1U Raspberry Pi with SSD 2.5" rackmount for 10inch network cabinets. It supports 3 Raspberry Pis.
- Ocena
- 4 / 5
- Polubienia
- 56
- Pobrania
- 415
- Wydruki
- 1
- Wyświetlenia
- 5514
- Oceny
- 1
Aktualizacja u źródła:
Informacje o modelu
- Źródło
- Printables
- Kategoria
- Computers
- Licencja
- Creative Commons — Attribution — Noncommercial
SzczegółyPliki (7)Wydruki i komentarze (Wydruki: 1) (Komentarze: 2)Remiksy (0)Kolekcje (134)Powiązane
Simple and helpful 1U Raspberry Pi with SSD 2.5" rackmount for 10inch network cabinets. It supports 3 Raspberry Pis.
How to print:
- Print with 0.30mm layer height and 70% gyroid infill.
- Make sure your print is in PETG, ASA, or heat-tolerated filaments. SSDs can get quite warm, and PLA is not a suitable filament in this case.
- Support required: Only for the openings; use the print-on-support feature of Prusa Slicer to only print support for openings and use snug. (just take a look at my codes and do like them)
- Print the 1U rack-mount base on the diagonal of your print bed, just like the photo below

How to assemble and required hardware:
- To attach SSDs to the Rpi module, you need M3x3 or four bolts (4 for each SSD)
- To attach the Rpi module to the base, you need two M3x8
Step 1:
Place the Rpi module on the top of your SSD and fix it to the SSD

Step 2:
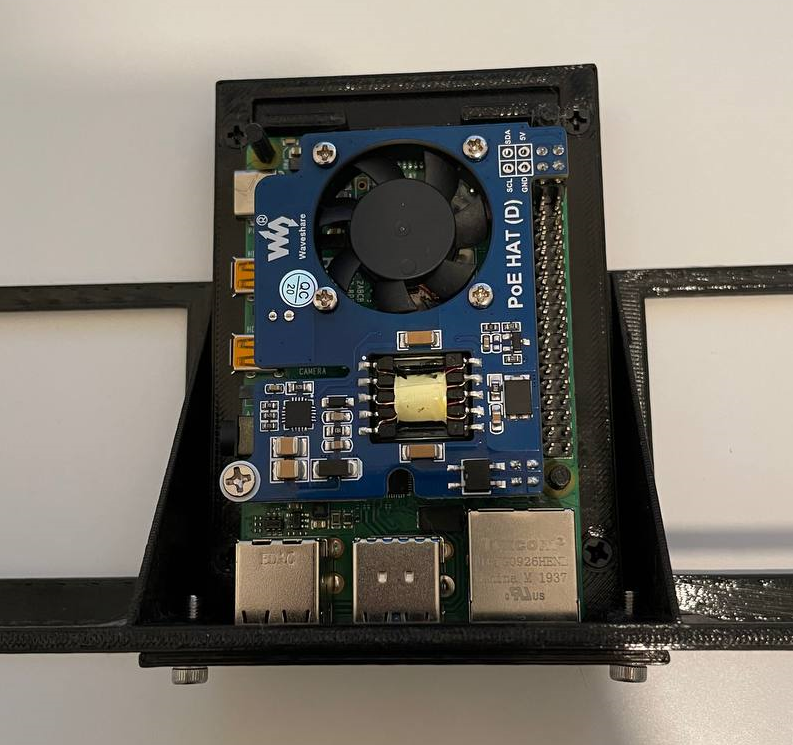
Place raspberry pi on the specific area and fix it with the 3d printed pins. (in the example below, I could only attach three pins because of the POE hat)

Step 3:
- Insert two M3x8 or M3x10 in the Rpi module

- Insert the Rpi module (Rpi attached, SSD attached) into the space you like and tighten the bolts.