
Kind of ATS on a single AC relay
We calculate the final price from your selected file. You review and accept it before payment.
Saved on this device.

This simple device was created to power a gas furnace (boiler) from an AC charging station during a power outage. It…
- Rating
- 0 / 5
- Likes
- 3
- Downloads
- 10
- Makes
- 0
- Views
- 541
- Reviews
- 0
Updated at source:
Model information
- Source
- Printables
- Category
- Electronics
- License
- Creative Commons — Attribution
This simple device was created to power a gas furnace (boiler) from an AC charging station during a power outage. It can be used as an automatic transfer switch (ATS) for low-power AC devices (consuming less than 10A at 220V, or up to 2.2kW).
The device is based on a single AC electromechanical relay (MK3P AC220, with 220V AC coil), two AC plugs and one AC outlet.
Print Settings
Printer:
RepRap Mendel
Rafts:
No
Supports:
No
Resolution:
0.3
Infill:
50%
Filament: 3dplast.biz CoPET
transparent Post-Printing =============
How it works
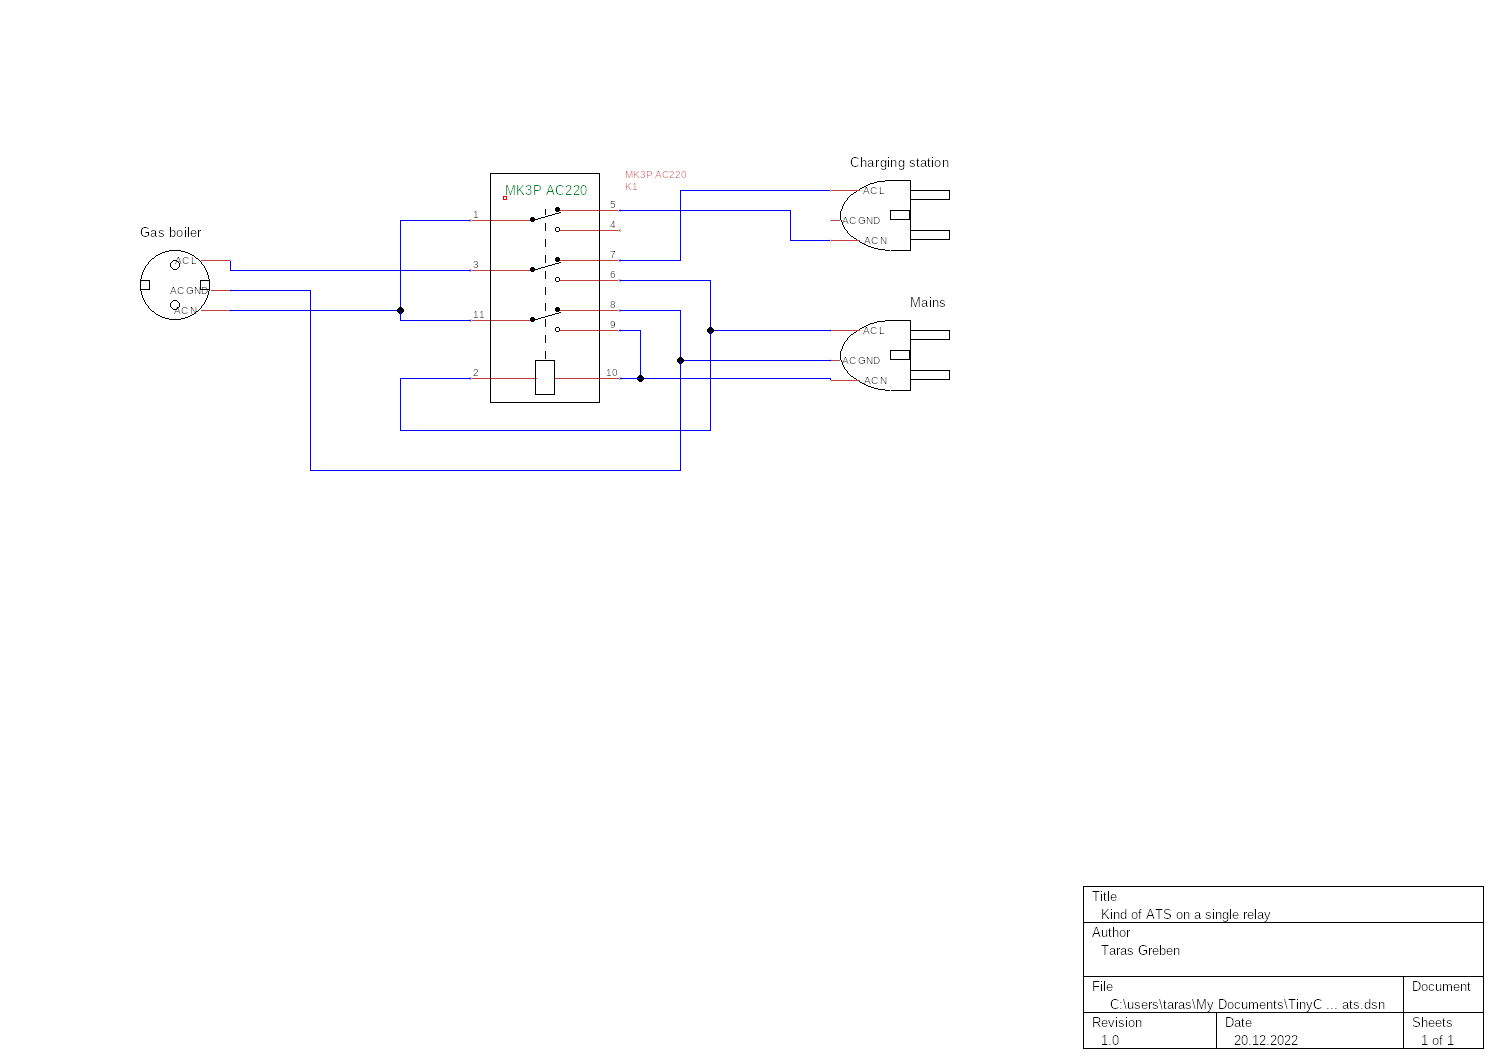
When AC power is available in mains, the relay switches to transfer AC from the mains plug to the outlet. When AC disappears in mains, relay passes AC from the charging station plug to the output outlet, and also grounds the Neutral coming from the charging station (that is necessary to power some consumers sensitive to polarity, such as gas boilers).
Note that the device cannot be used as an UPS because AC shortly disappears for a fraction of a second when switching from one AC source to another.
See the circuit diagram below:
WARNING!
The device will be operating with themains electricity. In order to assemble the device youMUST HAVE both knowledge and experience in making things with high voltage electrical parts (mains, 220V - 240V).Do it on your own risk. I will not be responsible for any loss or damage.
Always check twice that the device and any of its parts/wires are NOT connected to mains before assembling and touching it! Make sure that your work-in-progress project is not accessible for children, pets and others!
Even if you are comfortable with working on DIY projects which involve mains electrical parts, please refresh your knowledge about electrical safety with the help of some good books/articles, for example:
- Keeping yourself and others safe when designing and making electronic projects
- Work safely with high voltage
BOM
- Relay: MK3P AC220V, e.g. MK3P AC220V;
- Relay socket: PF113A-E, e.g. PF113A-E;
- AC outlet (with earthing, base: 64mm x 64mm, with distance between mounting holes about 34mm): UP! (Underprice) 2211;
- AC plug with earthing for mains;
- AC plug (can be without earthing) for charging station;
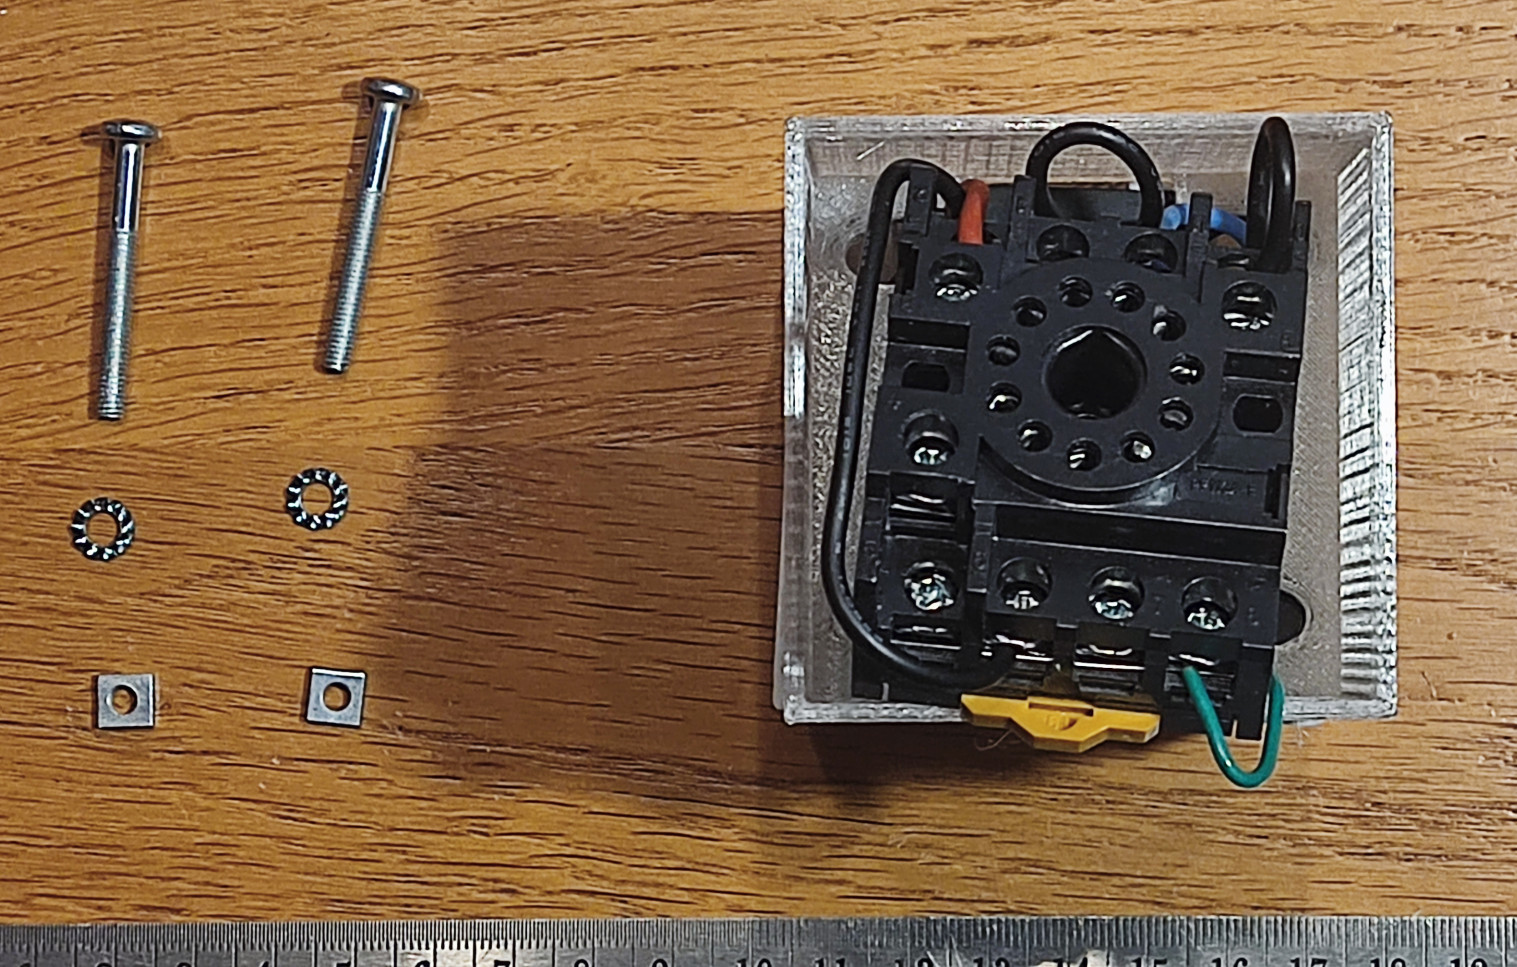
- Bolts: M4x35 2pcs;
- Nuts: M4 (square ones) 2pcs;
- Toothed lock washer: M4 2pcs;
- Screws: 3.0x16 4pcs.

Step 1
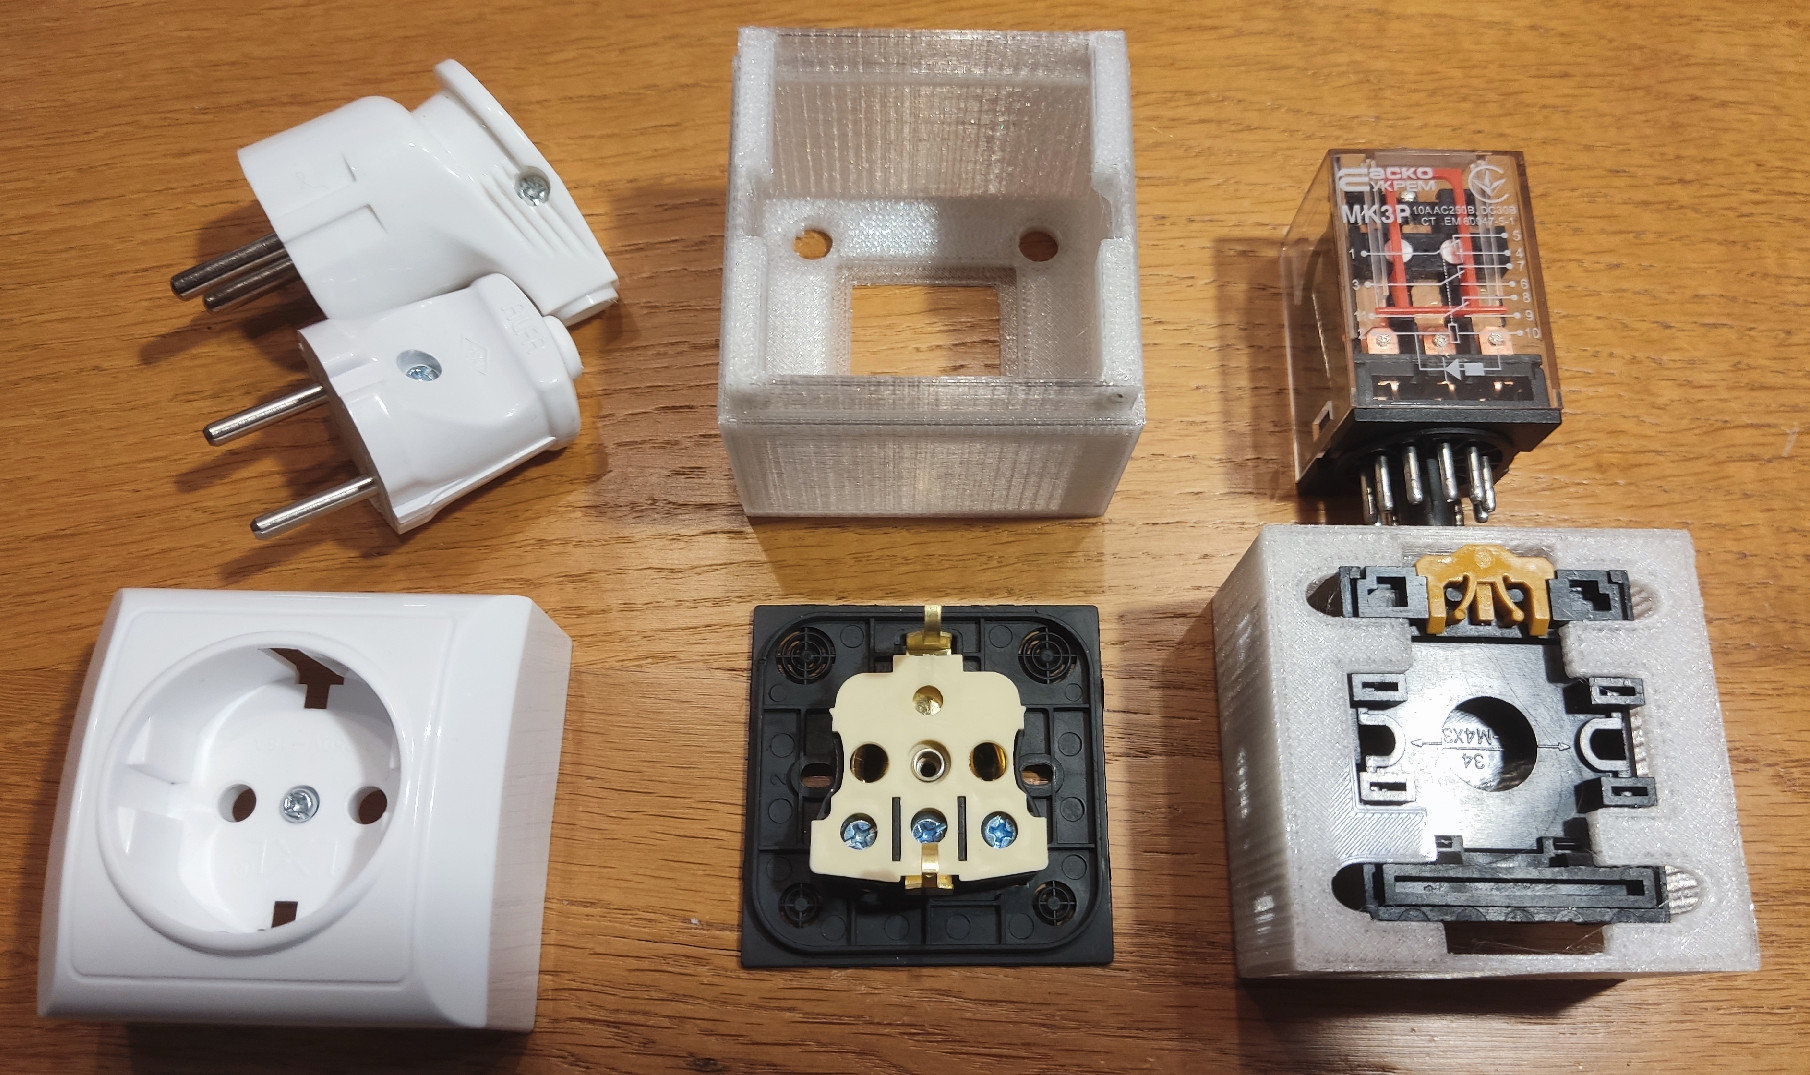
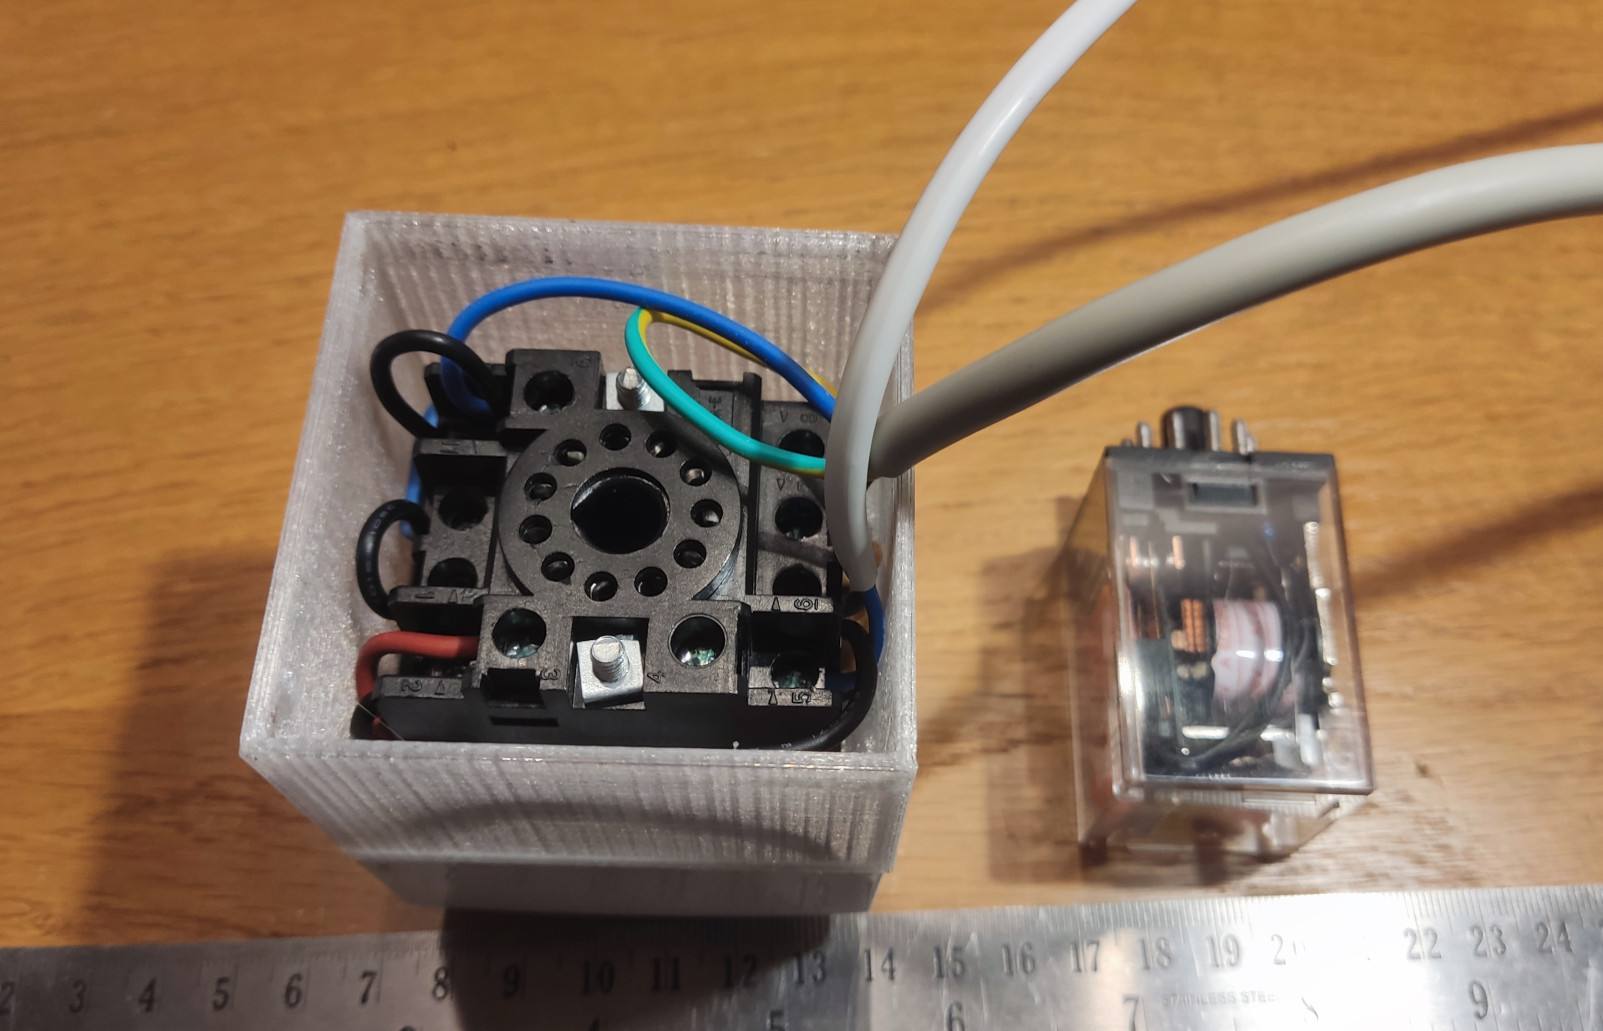
Unscrew the outlet cover, insert relay socket into the printed bottom part.
Step 2
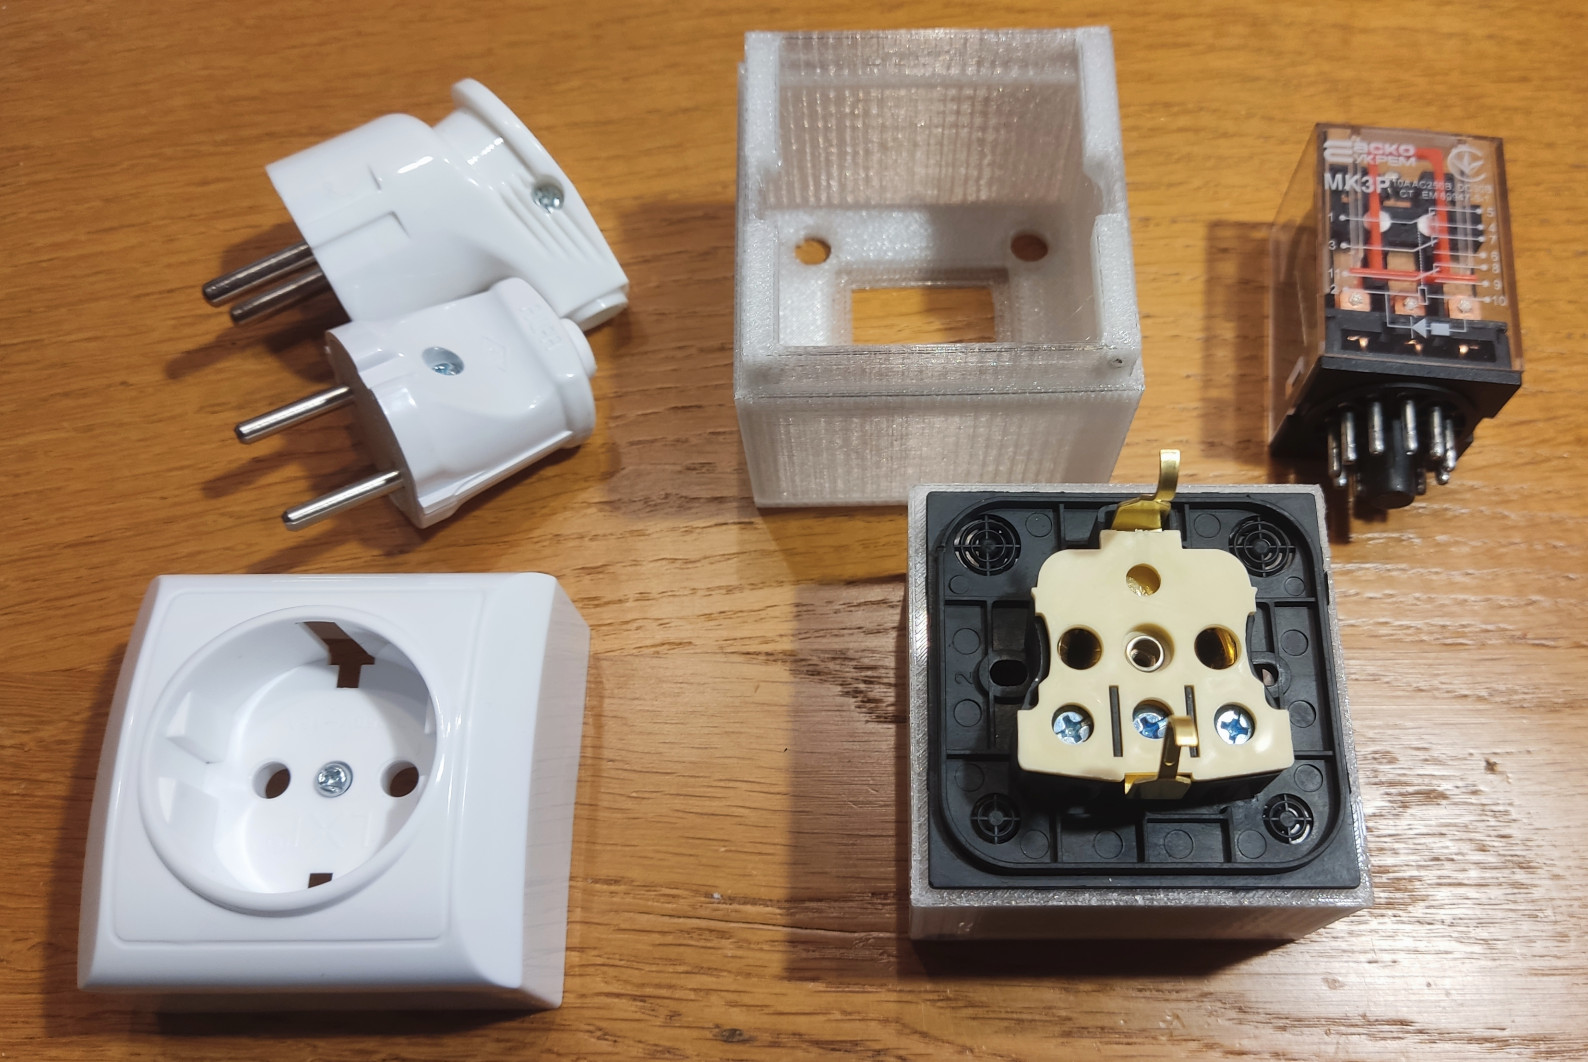
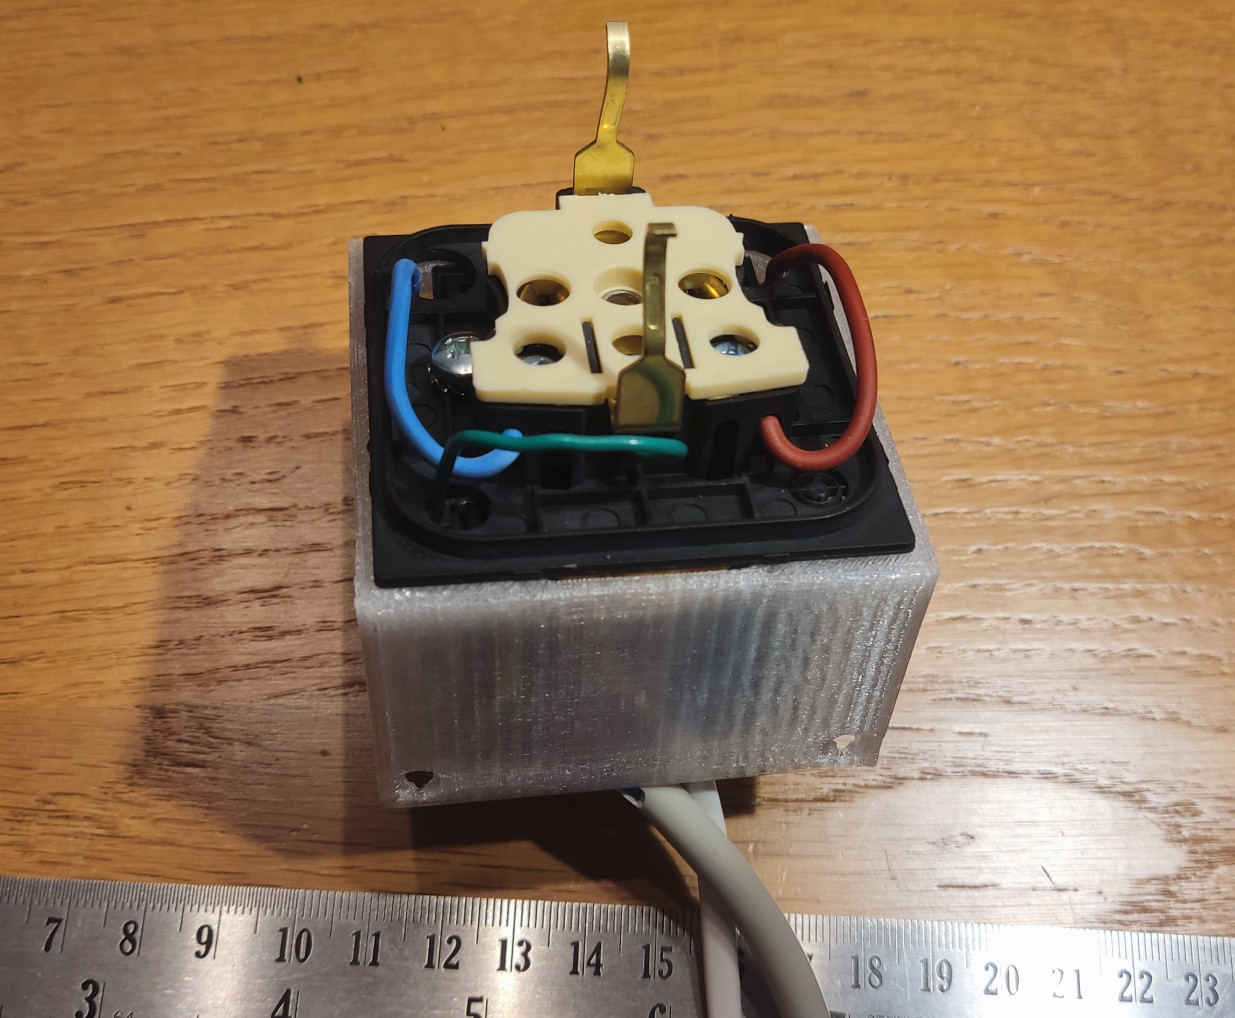
Check that the AC outlet mounting holes match the relay socket mounting holes and can be tightened with two M4 bolts.
Step 3
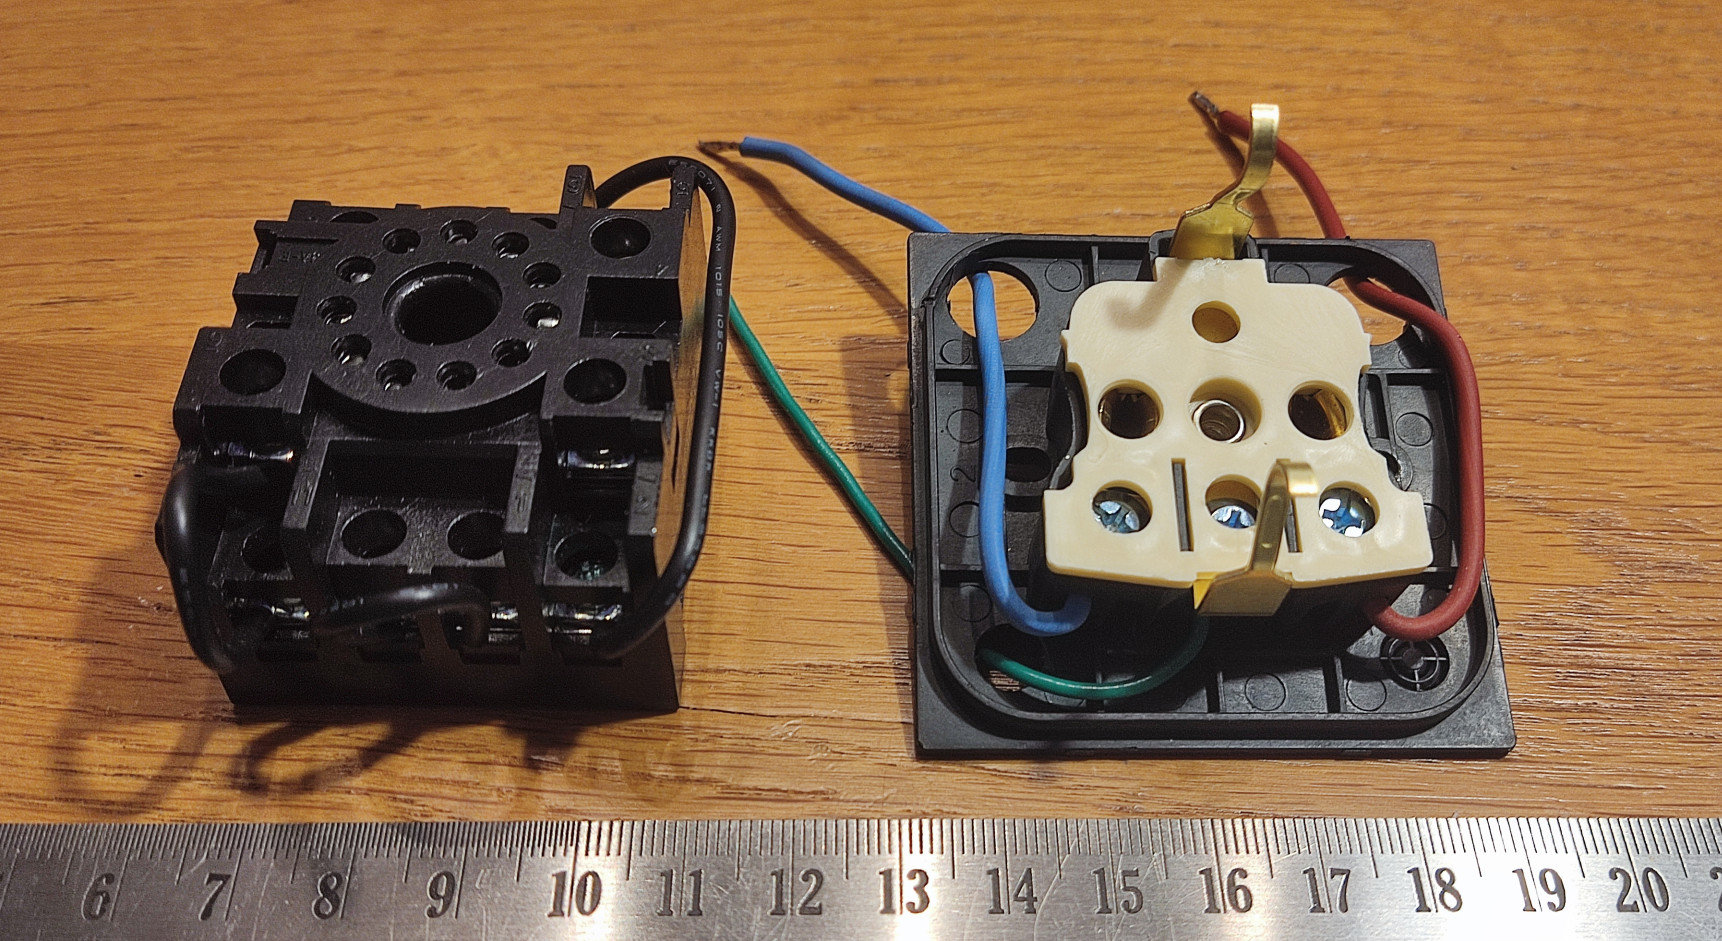
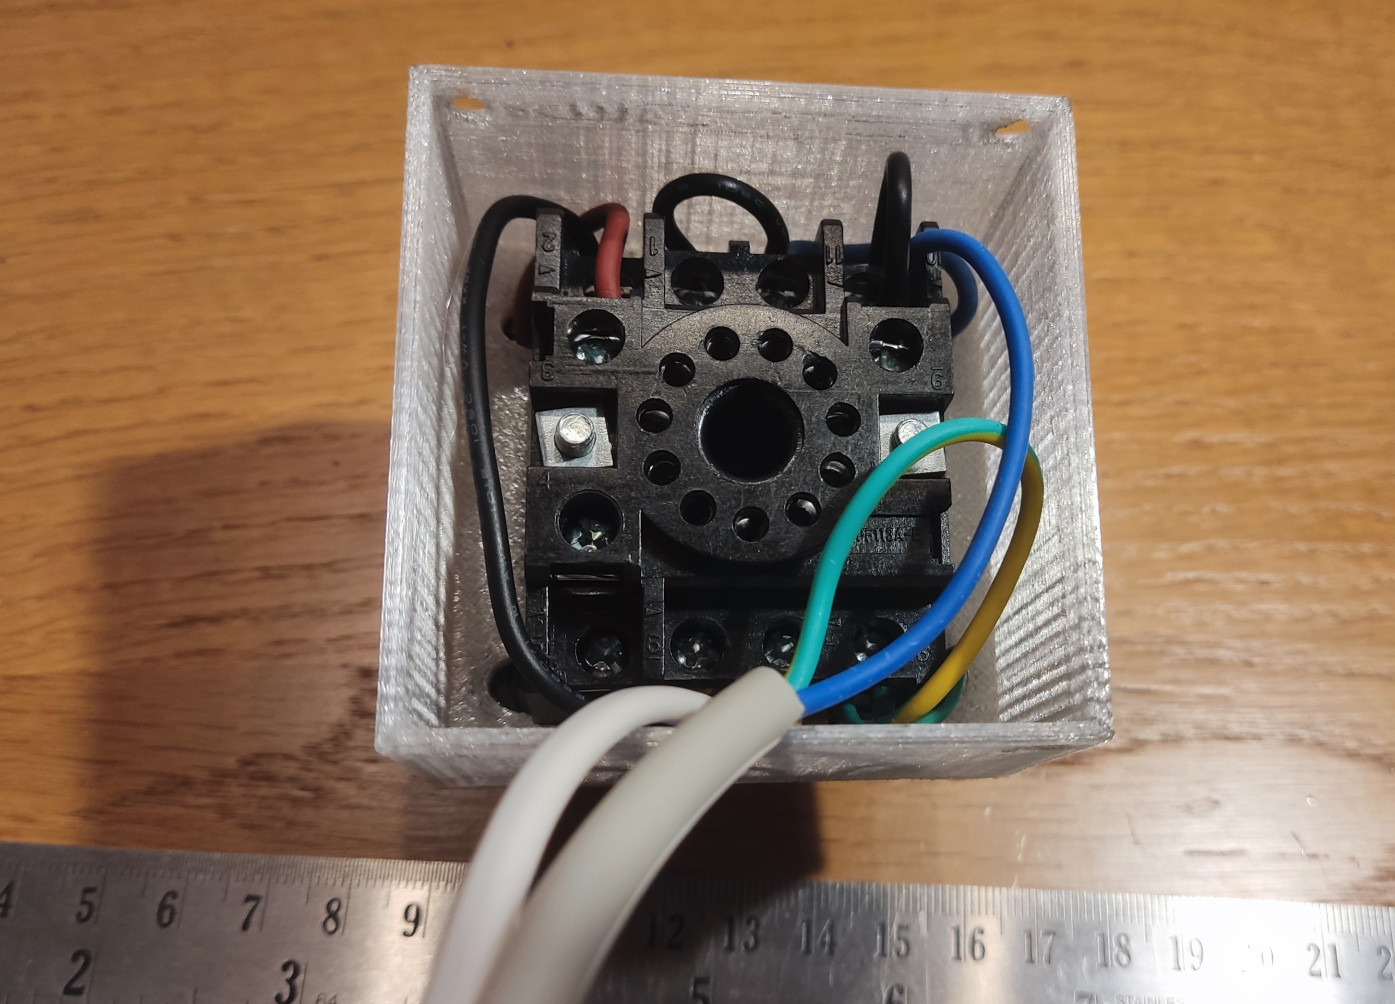
Screw the wires between the required contacts of the relay socket according to the circuit diagram, and screw the wires to the outlet.
Step 4
Prepare all the parts for assembling the relay socket with the bottom part and the outlet.

Step 5
Screw the outlet wires to the relay socket, screw the wires from plugs to the relay socket. Tighten the relay socket with the AC outlet.
Step 6
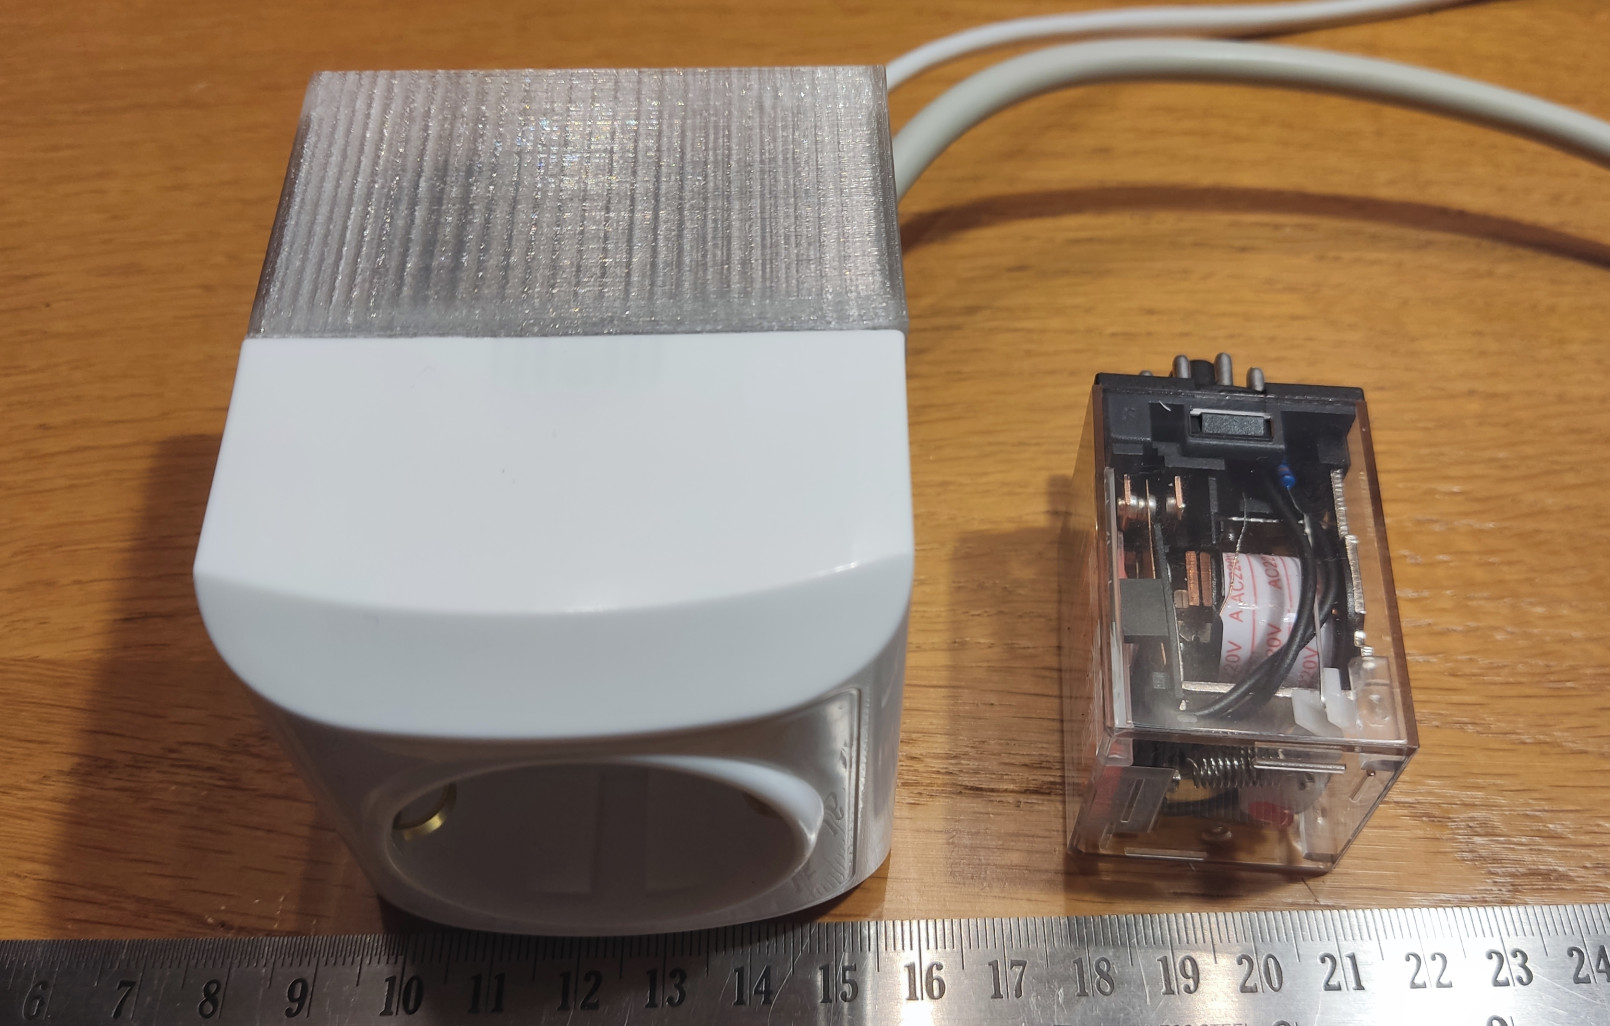
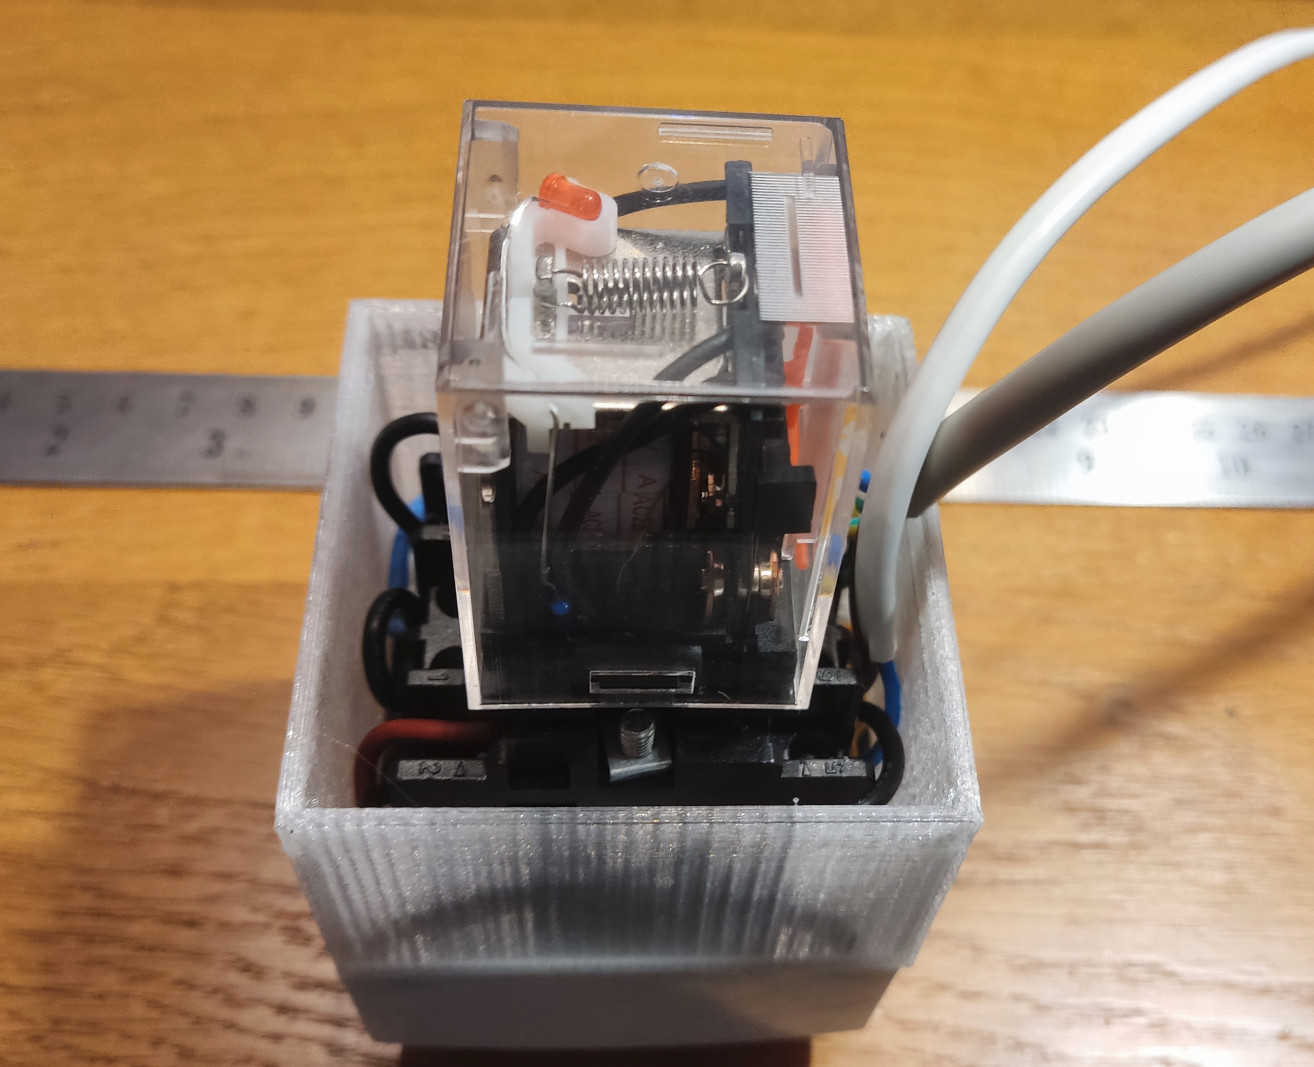
Insert the relay to the relay socket.
Step 7
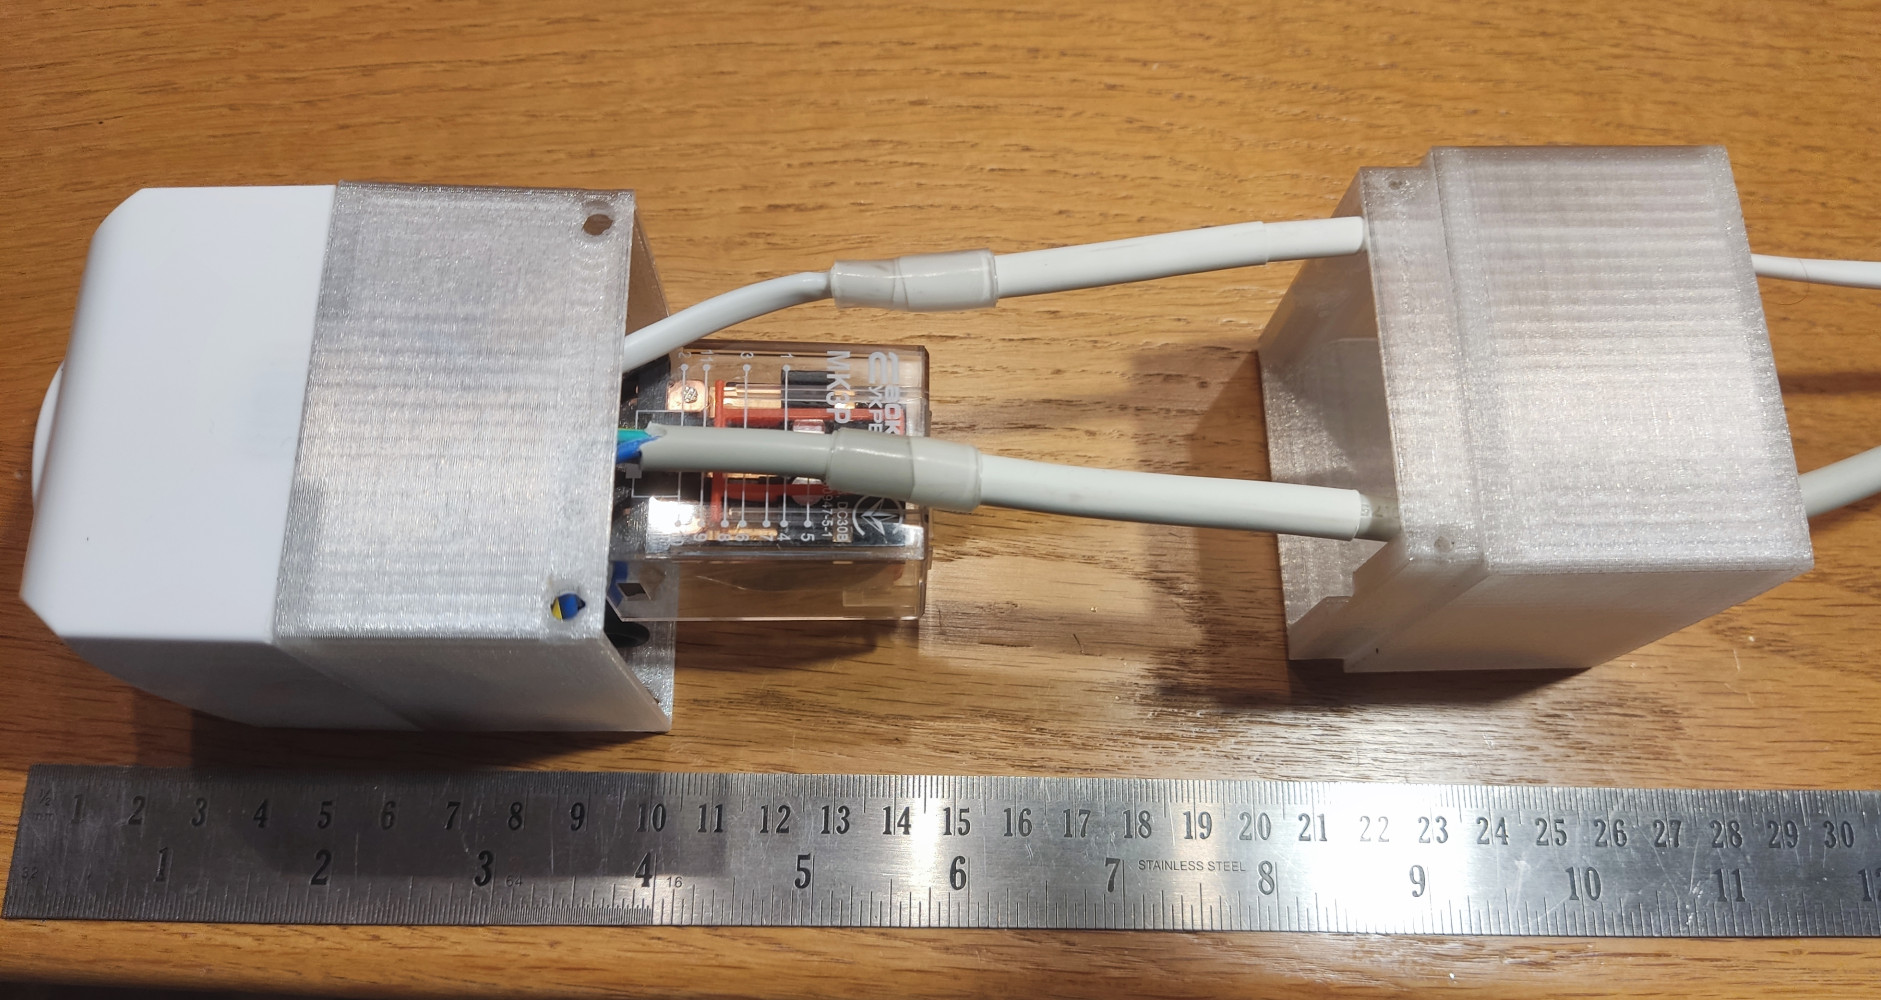
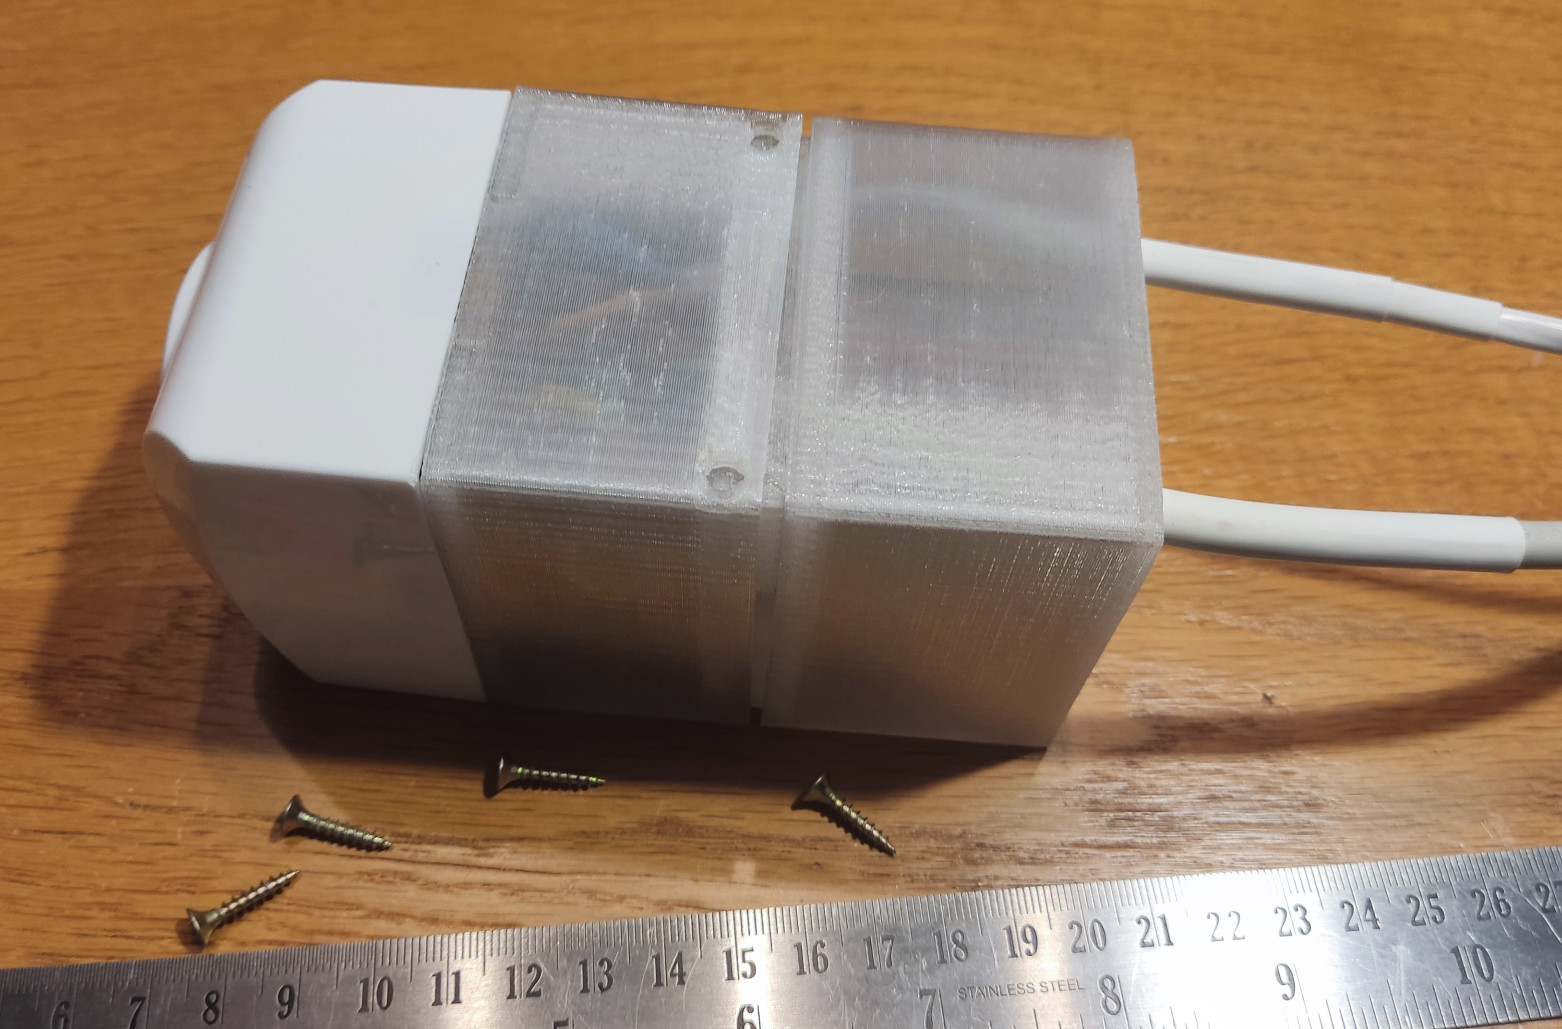
Screw two printed parts with four 3.0x16 screws.
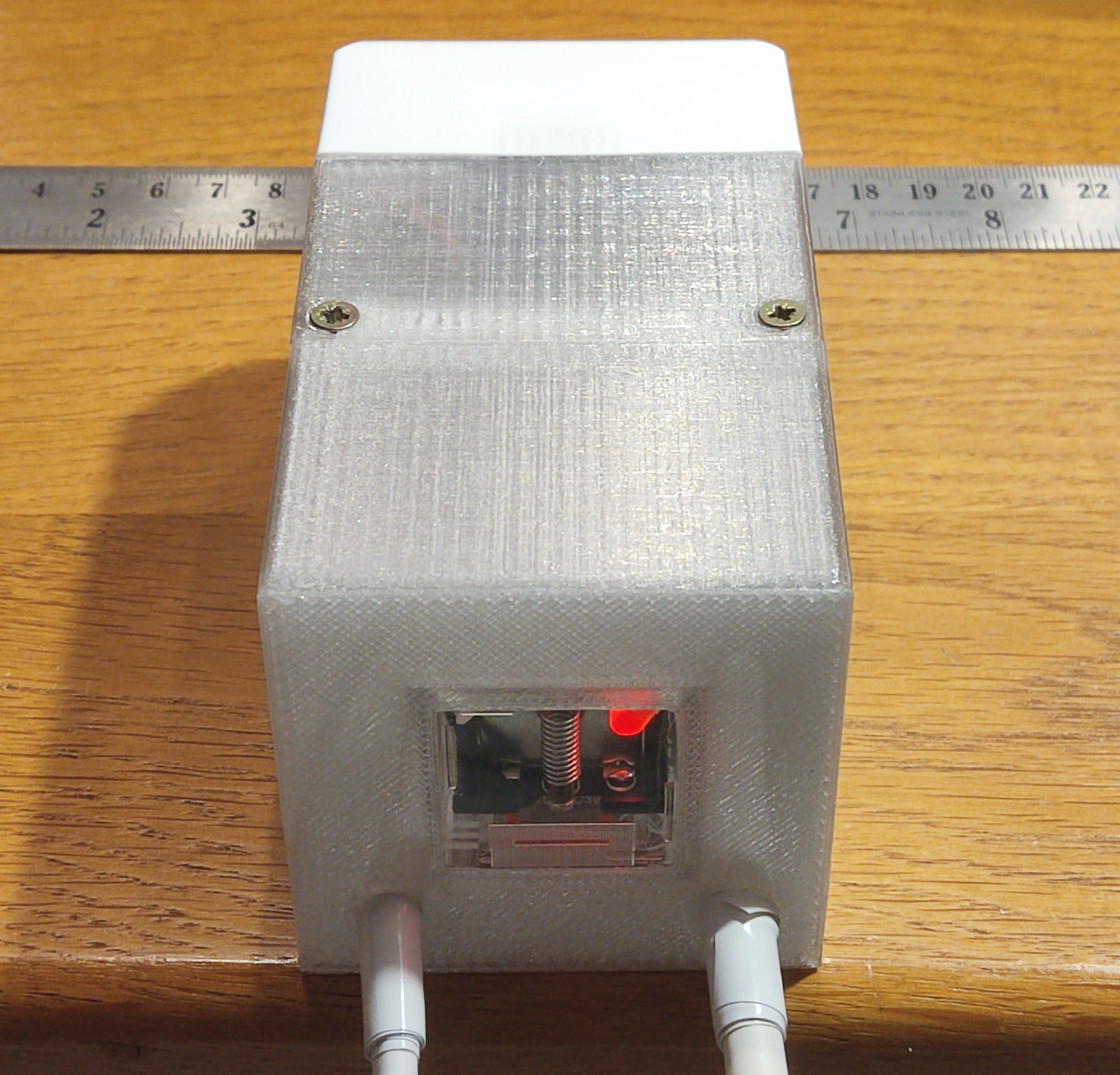
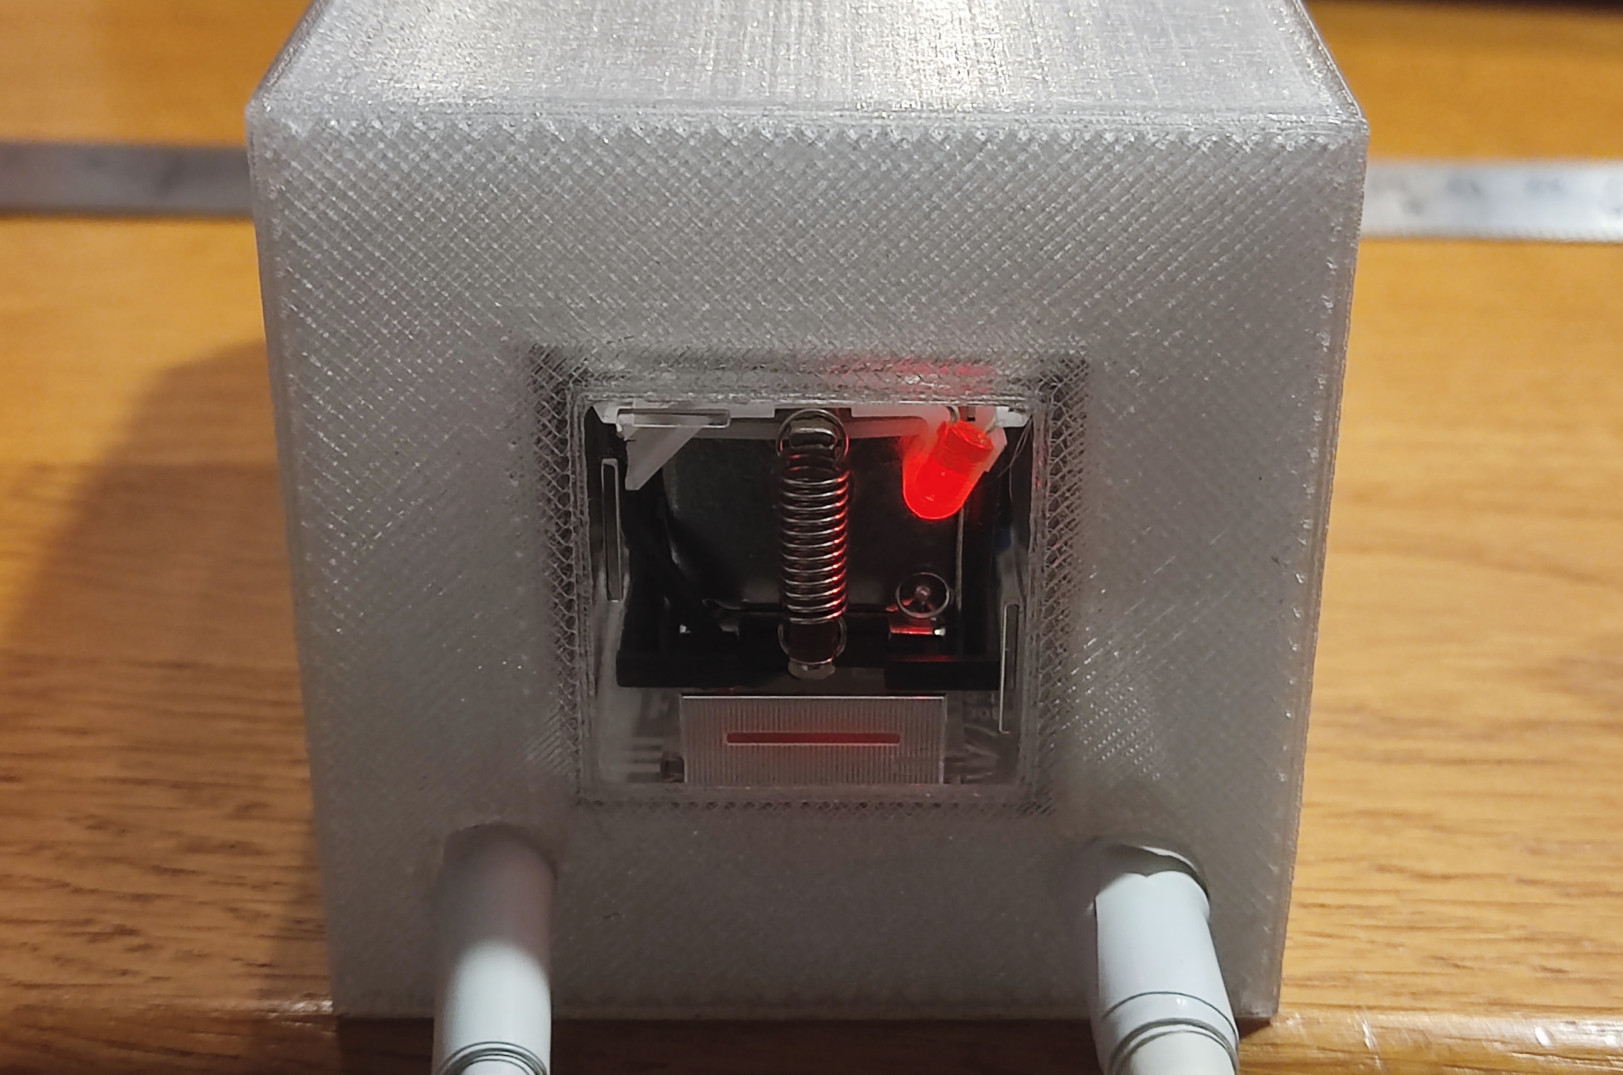
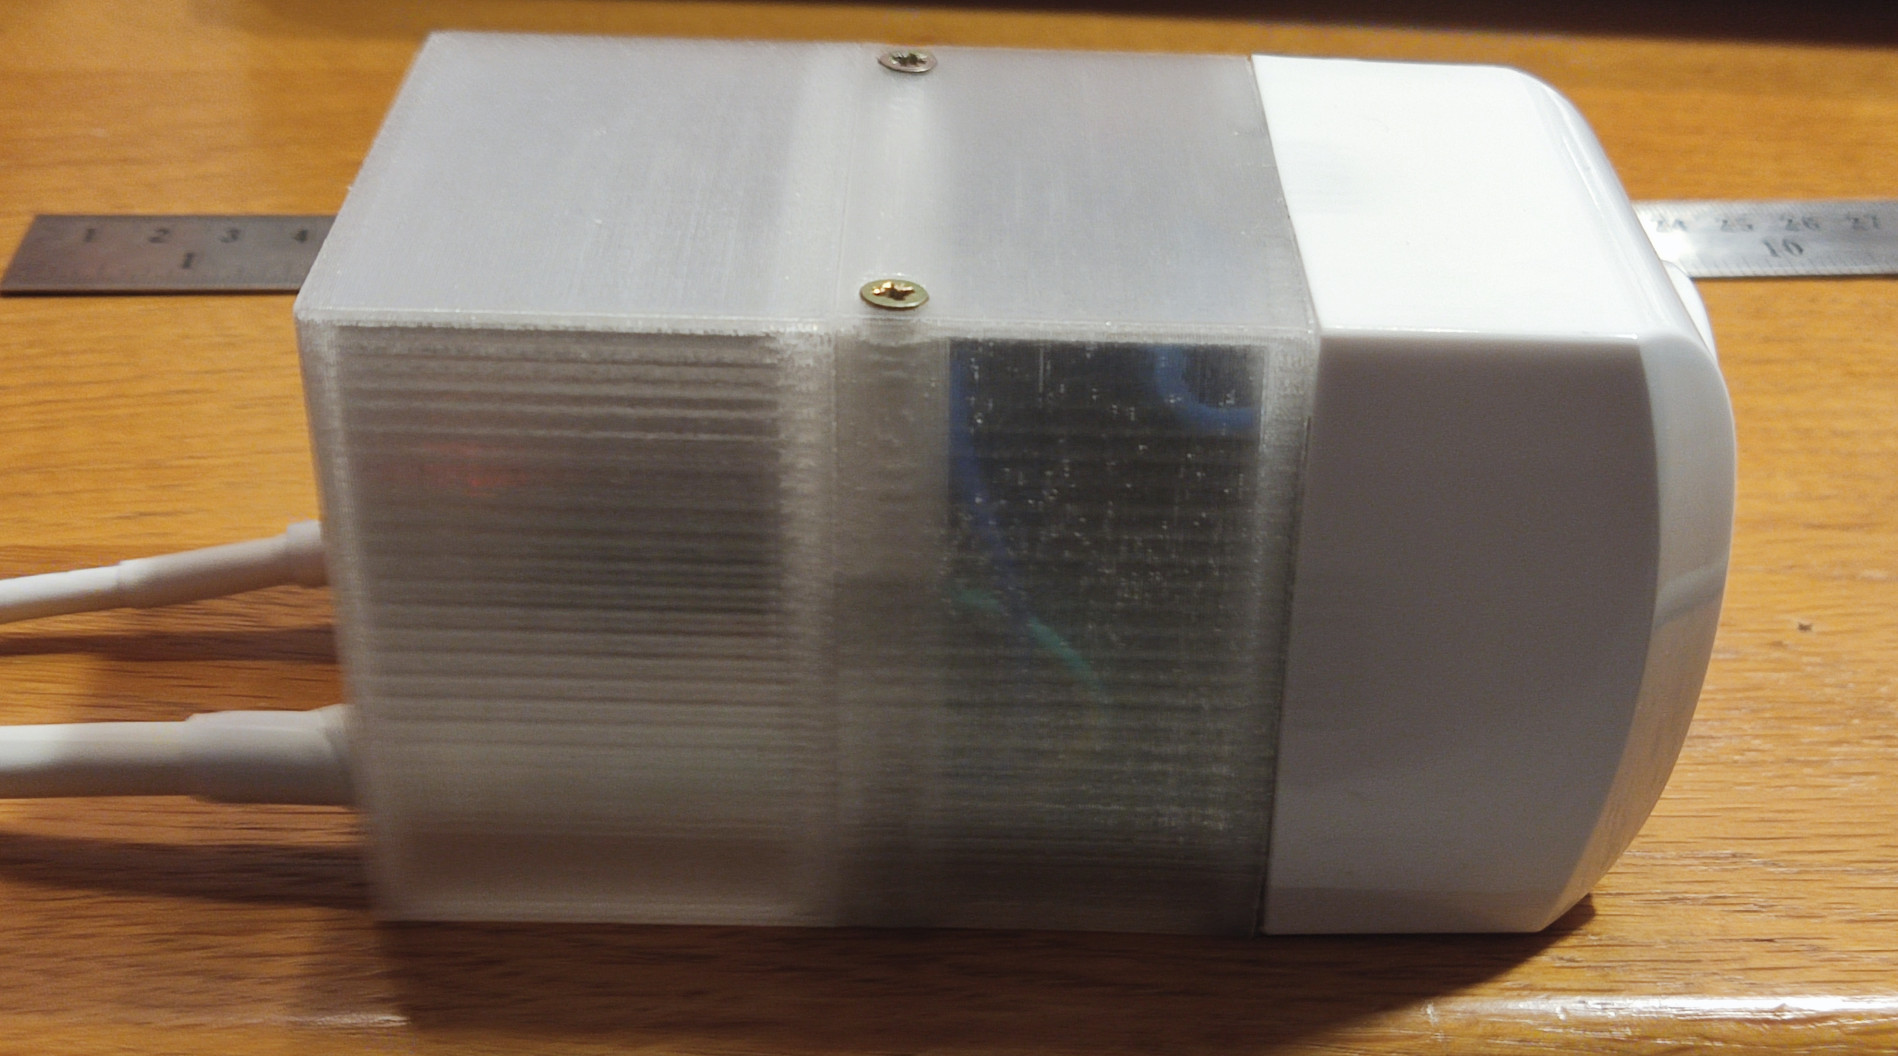
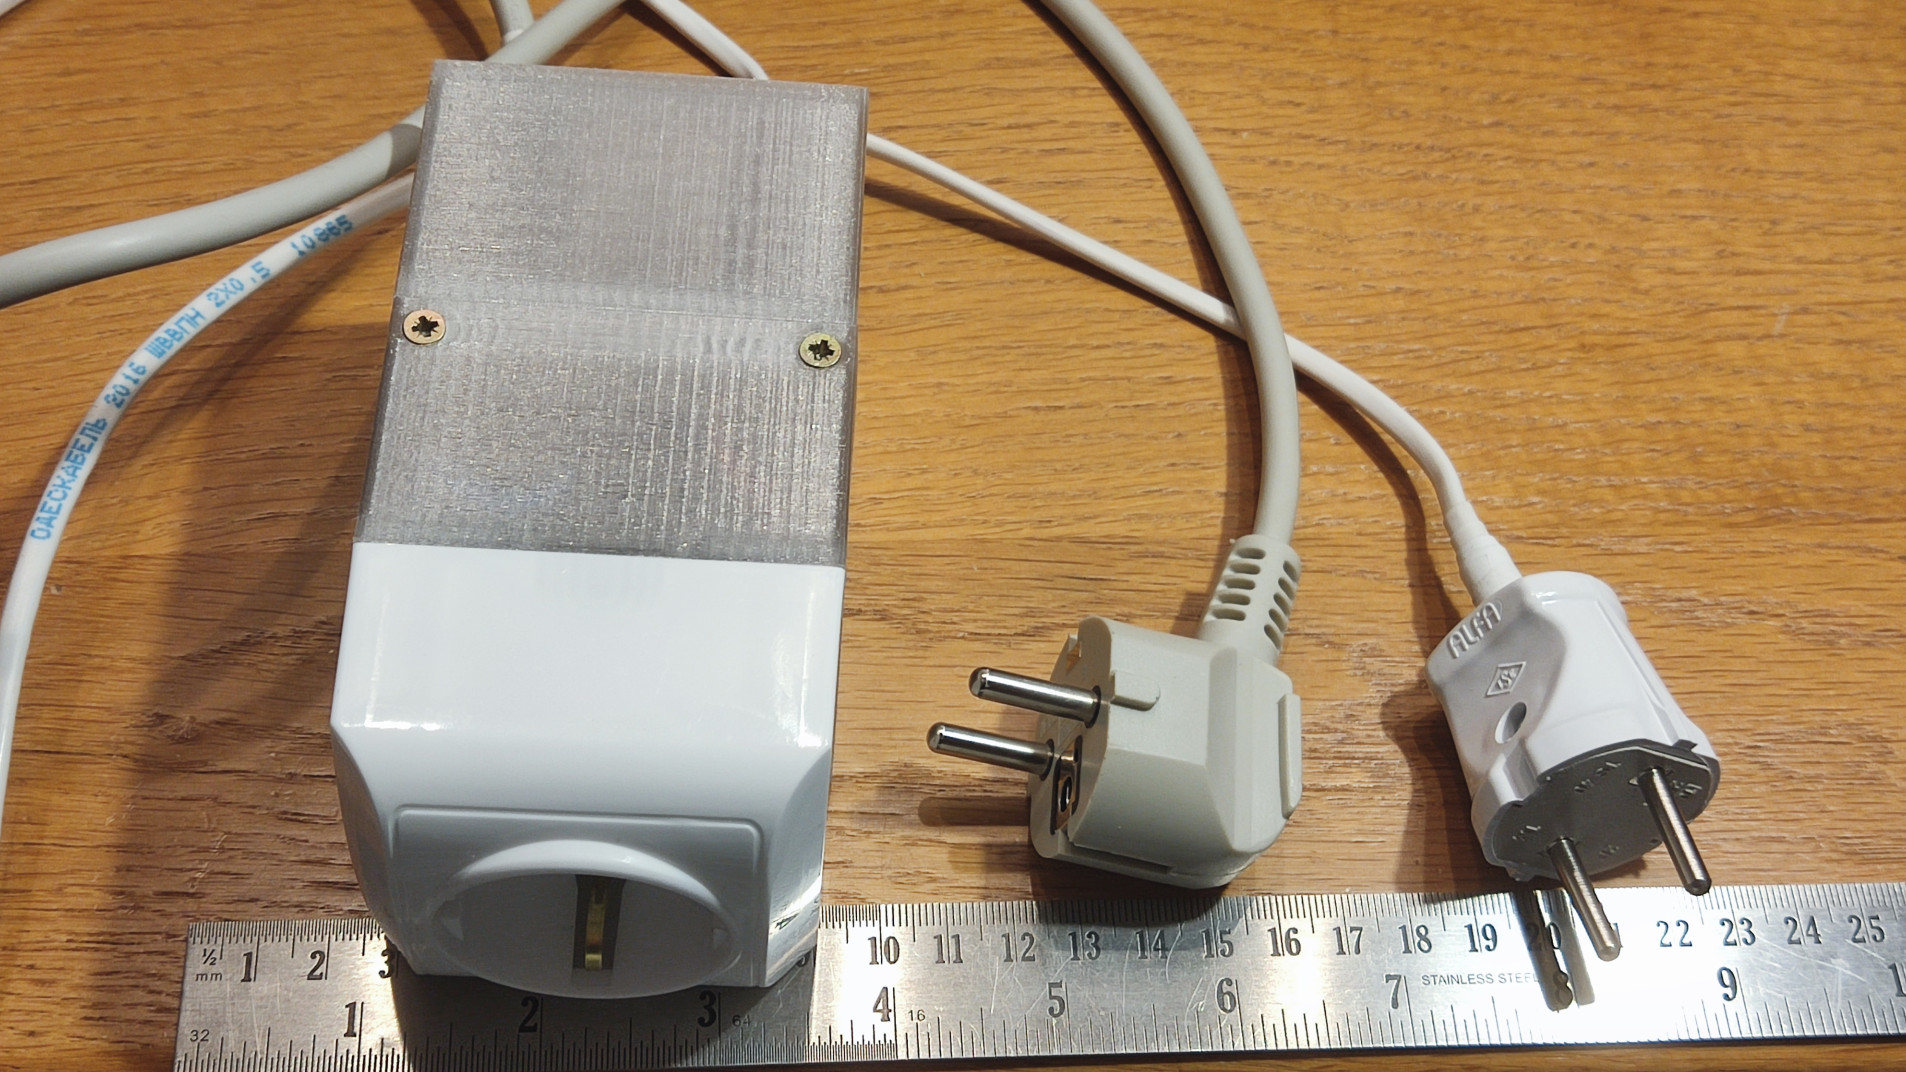
Step 8
Assuming everything is connected correctly, you can test the device as in the video below.
Category: Electronics