1 / 3
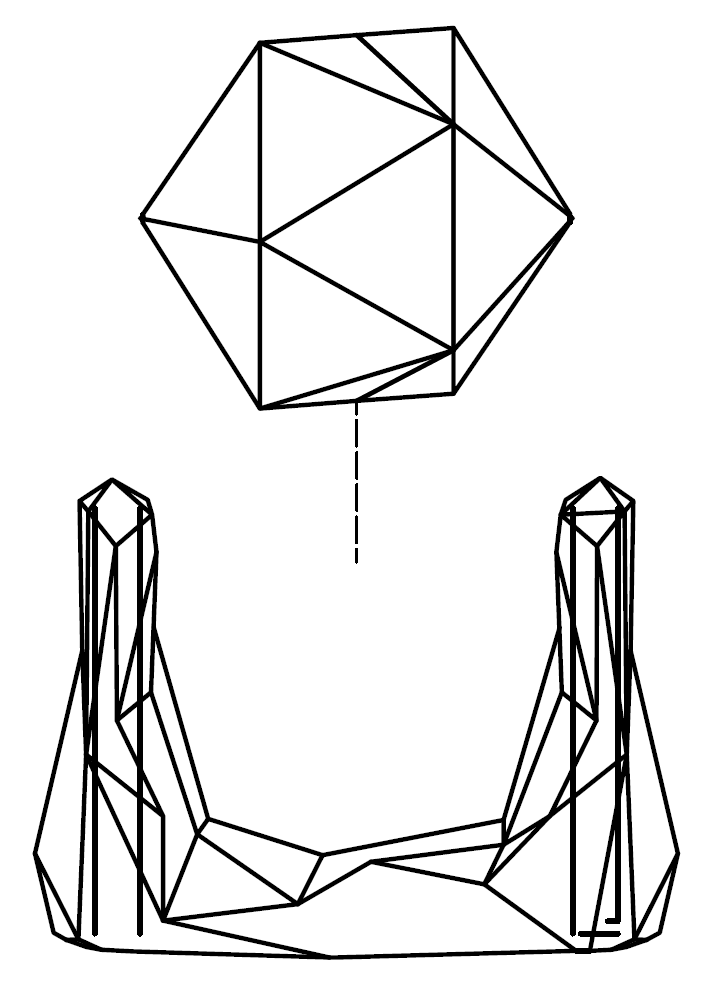
TochiMag
Order a print of this model
We calculate the final price from your selected file. You review and accept it before payment.
Saved on this device.
Model information
- Source
- Printables
- Category
- Office
- License
- Creative Commons — Attribution — Share Alike
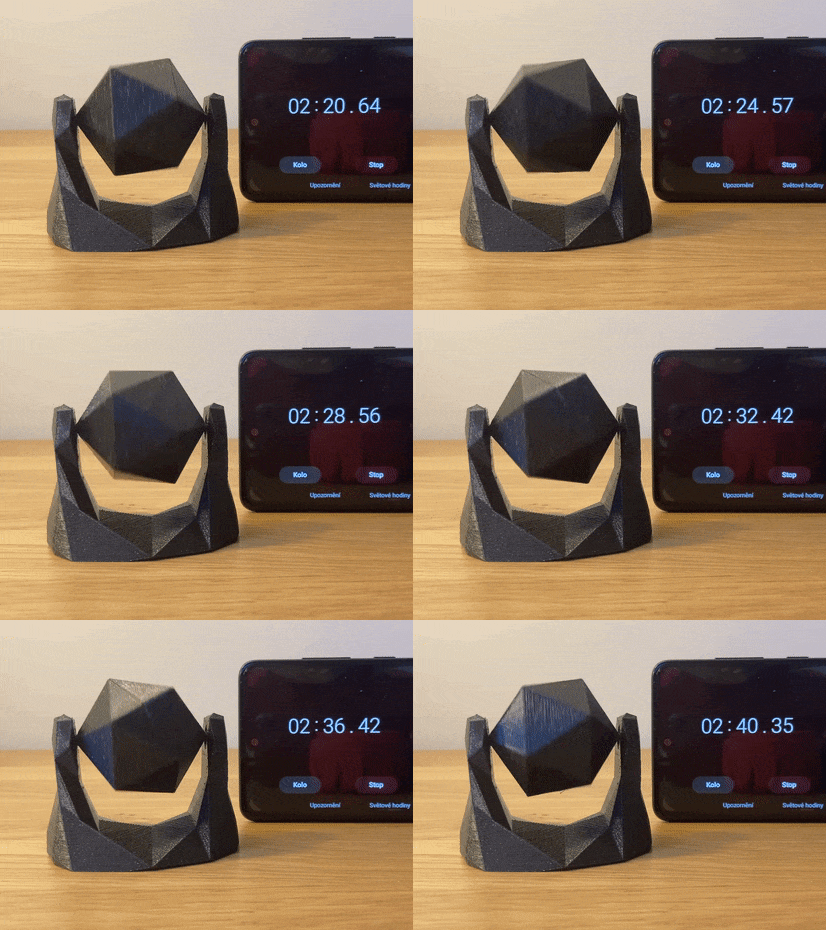
User records of rotation time:
- @Kocyns_526387 6:10
- @heartbreakballer 5:12
- @Robert_143020 2:55
- @VolkervmLOGICnet 2:30
UPDATE:
- Usable magnets: ∅10x6mm, ∅8x6mm
- Add 12hran-uni.stl:

Video:
Principle/Ideal state of the toy:
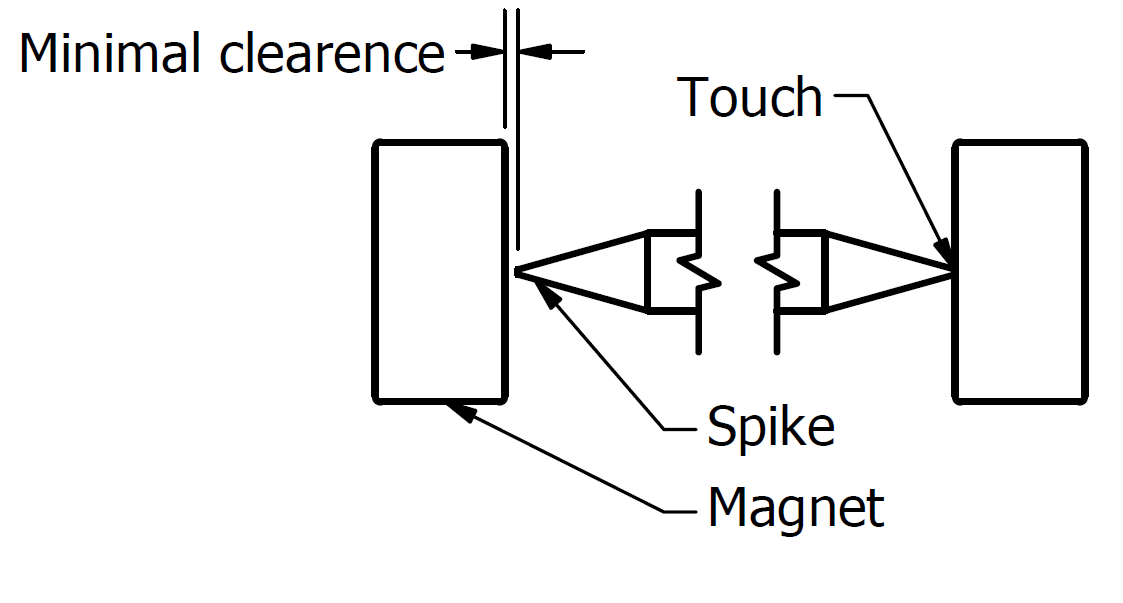
For best results, there must be minimal space on one side between magnet and spike.
Assembly:
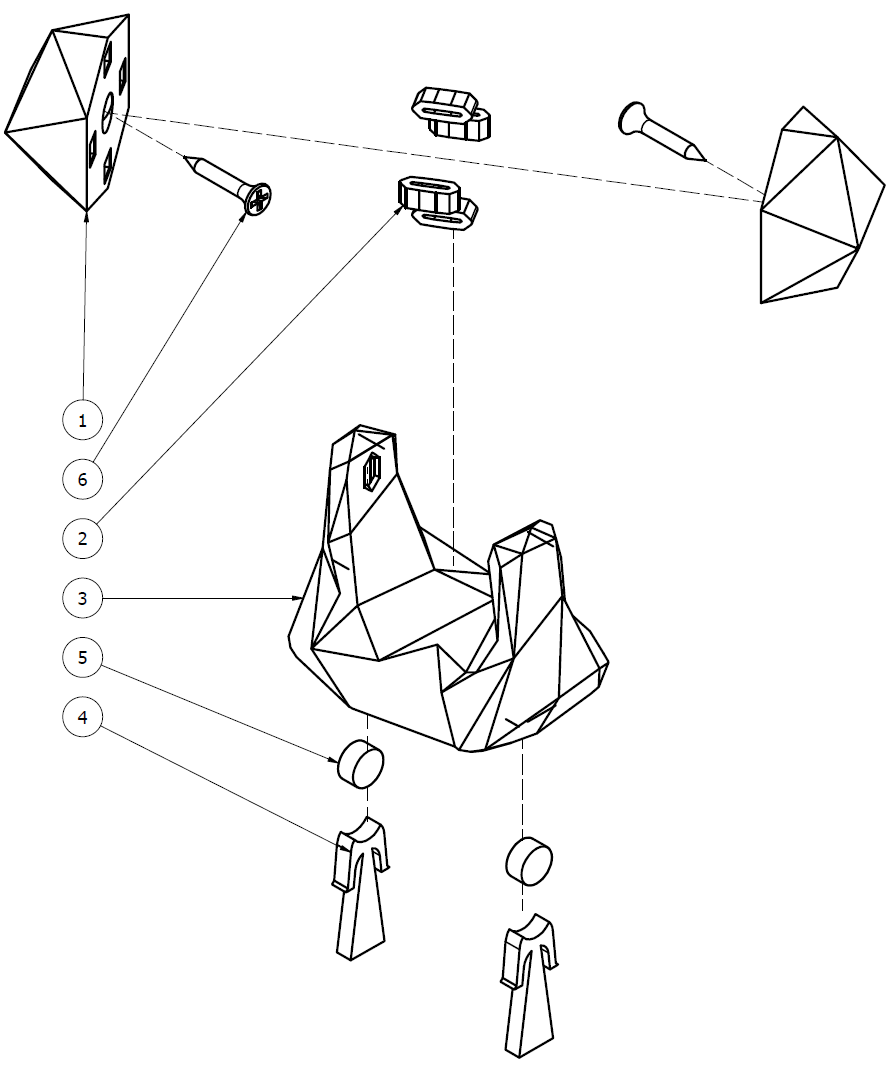
| Printed parts/Purchased parts | |||
|---|---|---|---|
| Item | File | Qty | Description |
| 1 | 12hran.stl | 2 | cube |
| 2 | klinek.stl | 4 | pins (1) |
| 3 | StojanV1_D10x5.stl | 1 | holder |
| 4 | cvok.stl | 2 | for fixing magnets |
| 5 | Magnets | 2 | ⌀10x5mm |
| 6 | Drywall screws | 2 | ZH 3,5x25mm |
- If the pins are too small or large, reprint them with a different size.
Step 1:
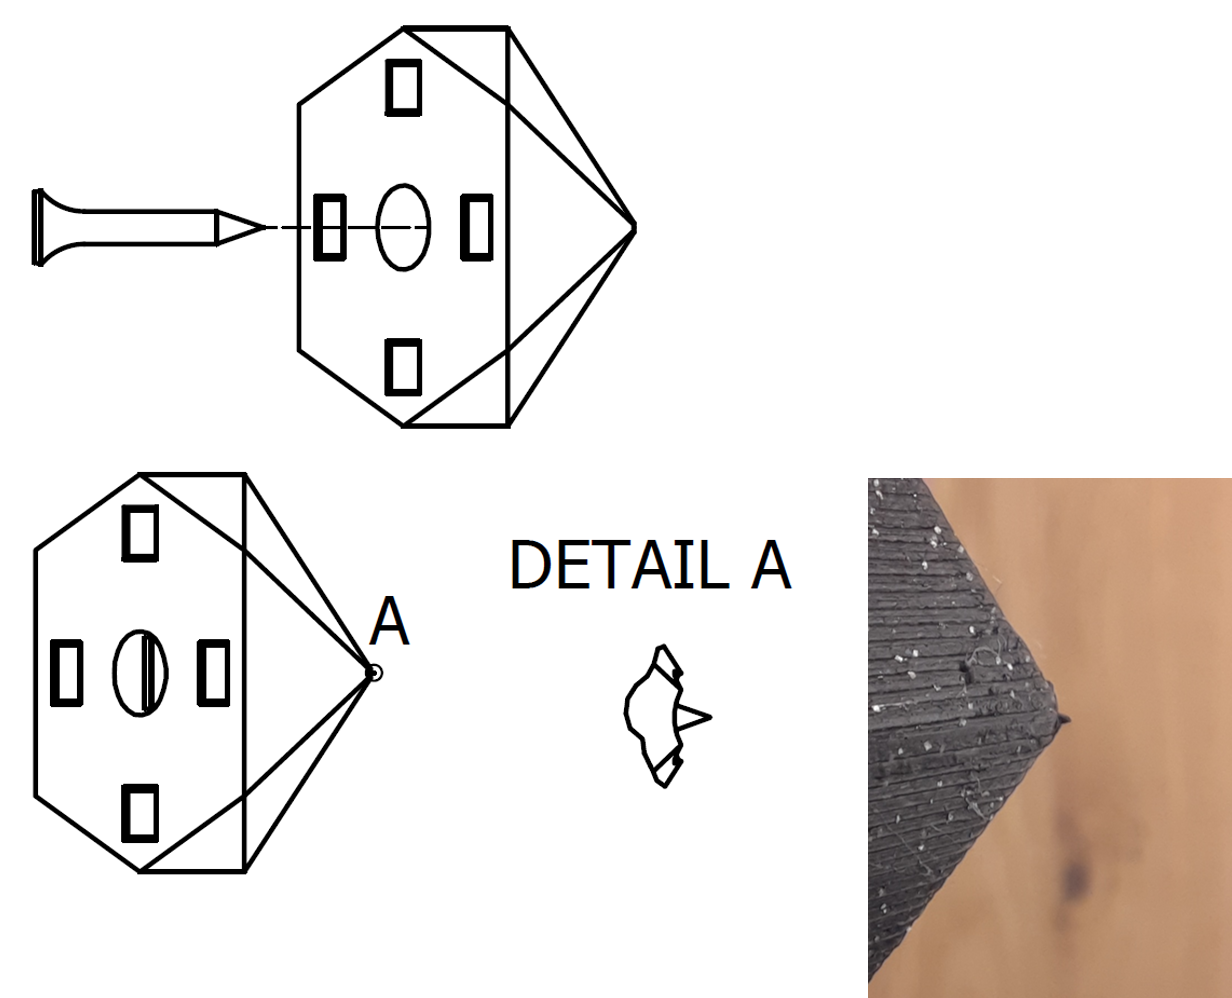
Screw in the screw until you see a spike (see detail A).
Step 2:
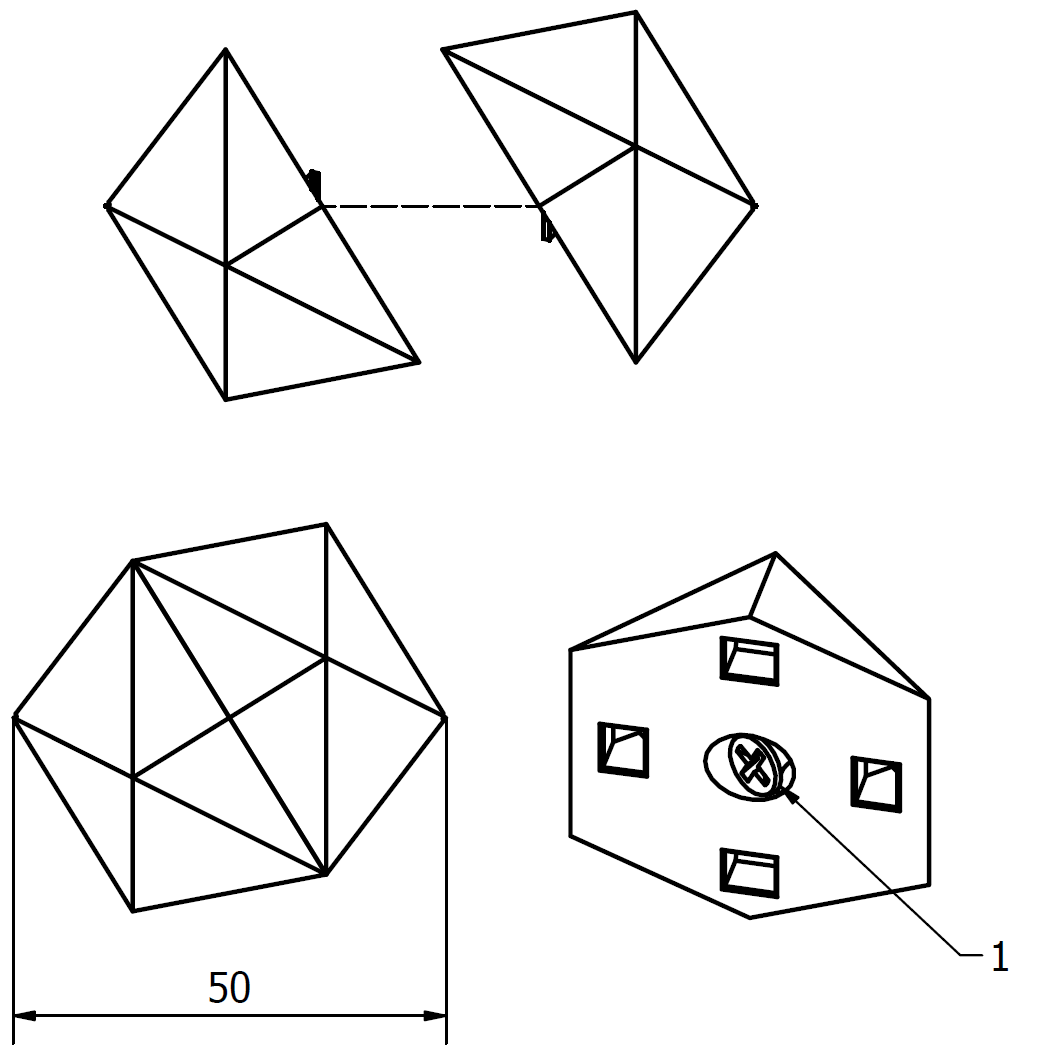

Assemble it as shown above, but without pins! Then measure dimension between spikes and calibrate them to 50mm with screws (note 1). If you don't have Vernier Calipers, use
technique „baj voko“ according to picture below:

Step 3:

After calibration insert the pins (2) and assemble it. If the pins are too small or large, reprint them with a different size.
Step 4:

Step 5: Insert the cube and let's spin!