USR - Universal Spool Rail MK1 (e.g. for IKEA LACK) incl. filament garage and passtrough
We calculate the final price from your selected file. You review and accept it before payment.
Saved on this device.

One rail to rule them all... Many combinations, no rewind required, front loading and tag plates for ~8 spools*..
- Rating
- 0 / 5
- Likes
- 7
- Downloads
- 27
- Makes
- 0
- Views
- 621
- Reviews
- 0
Updated at source:
Model information
- Source
- Printables
- Category
- Prusa Parts & Upgrades
- License
- Creative Commons — Attribution — Noncommercial — Share Alike
This model has been retired and only serves as a template for interested parties!
MK2 → link
Have you ever wanted to have your favorite filaments always on hand for manual multi-color printing or even for easy and quick loading?
Are you tired, like me, of rewinding filament onto the spool after every change?
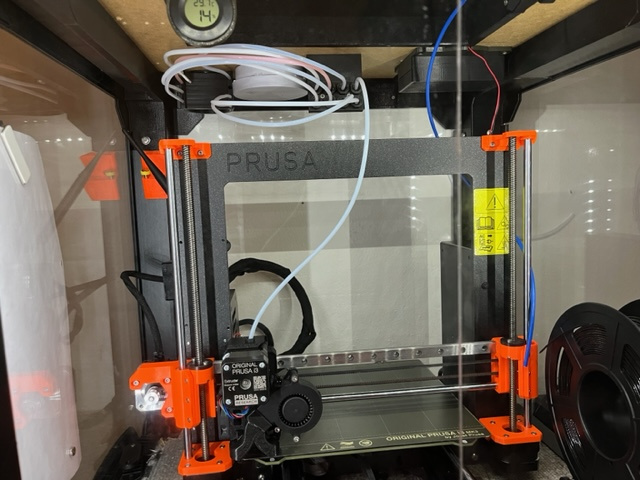
How about a pass through from the top and NOT from behind of your IKEA LACK enclosure?
Update 08.06.2023:
Some parts were separated due to licensing of some original parts and my upcoming USR MK2

Pros:
- One rail, many combinations
- Adding/removing/adjusting spool width is a snap, no tools required
- Filament is loaded from the front
- Identification labels/tags for numbers/text or QR (useful for Octoprint spool manager), change them as you like
- PTFE feedthrough from top to inside
- Optional nuts for use with PC4M10
- No rewinding after manual color change
- More addons will follow…
Addons and separated parts:
- Guide block numbers → link

- Rail support for "USR - Universal Spool Rail" (MK1/MK2) → link
- Single slider
- Different end parts for this version and the upcomming MK2
- Dual slider (save some space and material)
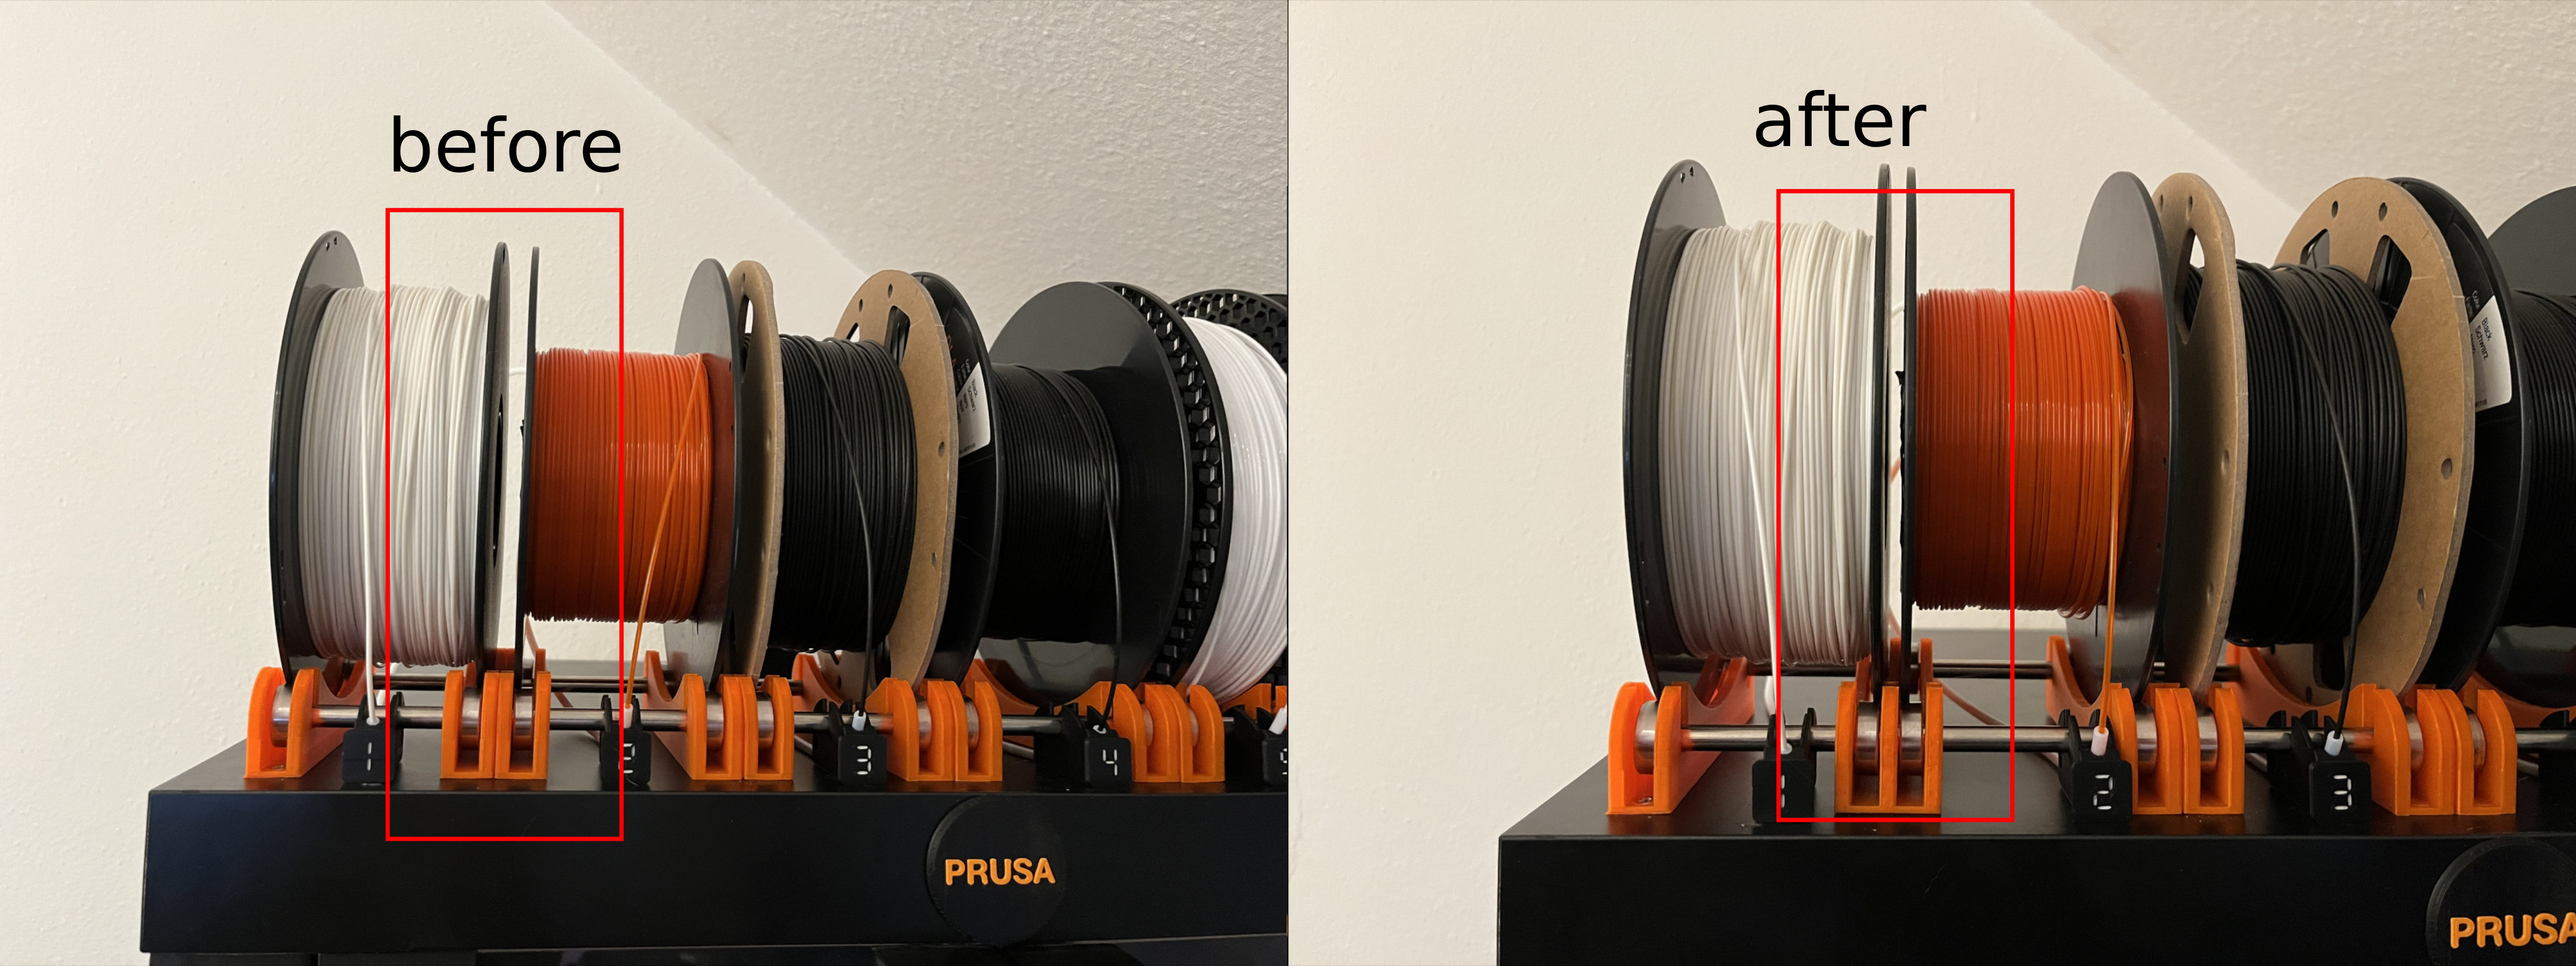
- PTFE Clips → link
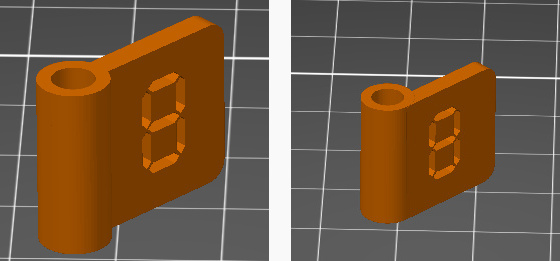
- Tag plates with paper insert → link

Material:
- I used PLA
Infill:
- I printed all parts with 15% infill
Quality and support:
- All parts can be printed with 0.3mm layer height AND without support (correct alignment presupposed)
- Only the PC4M10 plate should be printed with 0.2mm layer height and needs minimal support
- For the correct print alignment look at the 3mf files
Tag plates:
- The tag plates can be removed/changed
- I have uploaded some examples for numbers
- Use color change for better readability
Bill of material (Rail):
With my setup I can theoretically use up to 7 smaller spools. However, there are 8 passes for 8 spools and all of them should be usable with longer rods.
I used 50cm rods as I need some more space for my next project
- 4x 608zz ball bearings per spool
- 2x any kind of 8mm rods
- 2x end parts
- (spool count * 2) - (2 end parts) = number of sliders needed
- Some wood screws
- 1x PTFE feeder per spool
- Required tag plates
Set up the sliders:
- make sure the holes in the sliders are clean so they will move smoothly
- sanding the bottom of the sliders can help if they tend to get stuck
- put the rods in the end pieces, mark the holes and screw them down tightly
- put the required number of ball bearings on the rods
- start with one of the end pieces and put the bearings in it
- take a slider and do the same thing
- move the slider towards the first end part
- repeat with the next slider until all bearings and sliders are mounted
- push the last bearings into the other end part
Drill the roof hole:
- From the inside of your enclosure, use the back plate to mark the passes for PTFE tubes AND the screws for the back plate
- Make sure you are as far back as possible
- Drill a hole for each of 4 PTFE passes so you can arrange the back plate at the other side
- Now orient yourself to the drilled holes to do the same on the other side
- Using a cutter, cut a rectangle on both sides as large as all 4 passes and remove the
- paper support from the inside

*Don't be irritated by the many holes on the picture. I experimented a lot until i came to this solution
Bill of material (guide block):
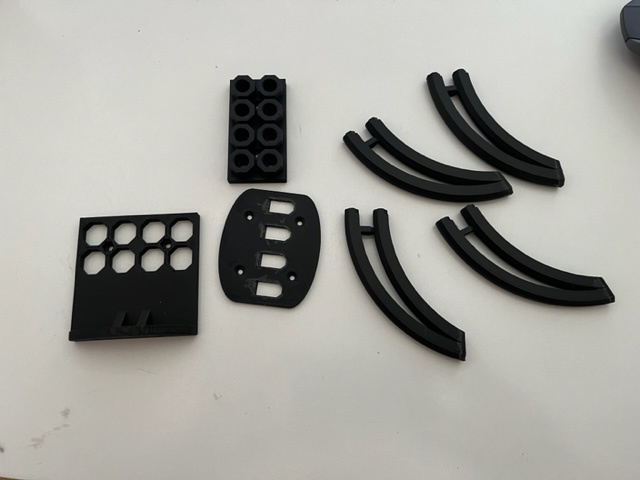
- 4x PTFE guides
- 1x back plate
- 1x front plate
- 1x PC4M10 plate
- 2x M3 screws
- 2x M3 Nuts
Assembling the guide block:
- Push two nuts into the front plate
- Use a 4mm drill bit and clean out all holes of each PTFE Guide
- Press each PTFE guide into the PC4M10 plate to make sure they fit
- They may fit very tightly, but with a little force you will be successful
- Now remove them all
- Use two M3 screws and screw the PC4M10 plate to the front plate
- Repeat the process, but this time push them through the front plate first

- Place the back plate on the table
- Insert the outermost end of the guides into the back plate with an angle of 45°
- Now push the guides into the horizontal position
- This also requires some force, but makes sure that all parts stay in place
- Now you can use some glue for safety and stick the guides to the back plate
- Make sure you can push a tube trough all the holes with very little force

Set up PTFE tubes:
- start from the inside of the enclosure, it makes life easier ;)
- check the length you need between the nozzle and the guide block
- push one PTFE tube after the other through the guides
- make sure they are all at the right length to reach the nozzle without too tight a radius
- push all the tubes through the roof hole and screw the guide block tight
- now push the tubes through the guides in the other guide block, but cross them per column (inner/outer holes on each guide) to accomplish this:
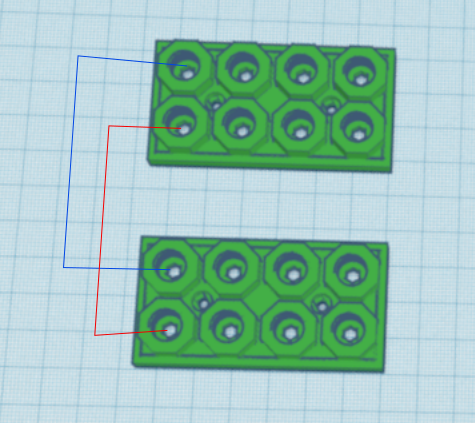
- this will make further assembly much easier, as visually one tube will always be on the same hole on both guide blocks
- make sure there is a distance of about 15 cm between the roof hole and the guide block. This helps to push all pipes through the guide block more easily.
- Now pull back the guide block while holding all the tubes from inside, so they can not move
- If you are unsuccessful, try one after the other
- Hold one end inside
- Push the guide block back a few cm
- Try next tube
- DO NOT use too much force and do not damage the tubes!
- Screw the guide block tight
- Finally, push each tube from both sides so that the tube gets a small belly between the guide blocks

Installing the feeders
- Slide a PTFE tube under the rods and push it into a feeder
- The PTFE tube should not be too loose. Use an M3 bolt and nut to secure the tube, if necessary and do not squeeze it!
- Now turn the feeder to the horizontal position, place it under the rods and turn it upwards

- Tags can be removed/changed

Change filament:
- Eject the old filament
- Cut off the end as you always do
- You don't need to rewind the filament, just slide it into a free slot in the filament garage
- Pull the desired filament out of the garage and load it