
Flying Bear Reborn 2 MAK Vector Duct Mount
We calculate the final price from your selected file. You review and accept it before payment.
Saved on this device.

MAK Vector Duct mount for Flying Bear Reborn 2
- Rating
- 5 / 5
- Likes
- 42
- Downloads
- 288
- Makes
- 3
- Views
- 2,625
- Reviews
- 2
Updated at source:
Model information
- Source
- Printables
- Category
- Other Printer Parts & Upgrades
- License
- Creative Commons — Attribution
This model is a custom mount for the MAK Vector Duct for the Flying Bear Reborn 2. The MAK Vector Duct (slim version) uses a 5015 blower for part cooling and fits perfectly into the dimenions of the Reborn 2.
Link to the MAK Vector Duct:
https://www.printables.com/de/model/305814-mak-vector-duct-orbiter-v20-v6-volcano-crealityend
Thanks to M.Kayed for the MAK Vector Duct: https://www.printables.com/de/@MKayed_413979
Further thanks to the german community of https://forum.drucktipps3d.de/forum/ which helped me quite a lot during my changes on the Reborn 2.
Model details
The model consists of 1 part:
- R2_MAK_Vector_Duct_Mount: The custom mount for the MAK Vector Duct
You will find both STL and STEP files. So you can simply print the parts or rework them easily yourself.
Required hardware
- Threaded inserts (Heat set inserts)
- 6x: M3 x 4.6 mm (d) x 5.7 mm (l)
- Where to buy?: I have simply bought a threaded inserts set from Amazon
- Lenshead screws / Cylinderhead screws (type doesn't matter)
- 3x M3 x 8 mm: To install the mount to the Reborn 2 carriage metal plate
- 2x M3 x 8 mm: To install the fan duct to the mount
- 4x M3 x 15-16 mm: To mount the 3010 hotend fan
Required tools
- Soldering station for installing the threaded inserts
- Some drills to clean the holes in case of too much material flow
- Allen key set / screw driver
- Sanding paper or file to clean the printed parts
Print instructions
- 20% Infill
- .2mm layer height
- full supports
- PETG or better (depends on your temperature scenario)
Mounting instructions
Preperation
Step-1: Print and prepare the MAK Vector Duct:
https://www.printables.com/de/model/305814-mak-vector-duct-orbiter-v20-v6-volcano-crealityend
Step-2: Retract/remove all filament from the print head
Step-3: Remove the print head plate from the Reborn 2 linear rail carriage plate
Step-4. Remove the fan metal frame, the hotend and the X endstop sensor
Installation
Step-5: Clean the printed mount and ensure correct hole sizes.
Step-6: Install the threaded inserts into the mount

Step-7: Screw the mount to the print head plate using the holes of the original fan metal frame and with the M3 x 8mm screws
Step-8: Install the X endstop sensor
Step-9: Install the hotend (don't forget to reinstall the PTFE tube as well)
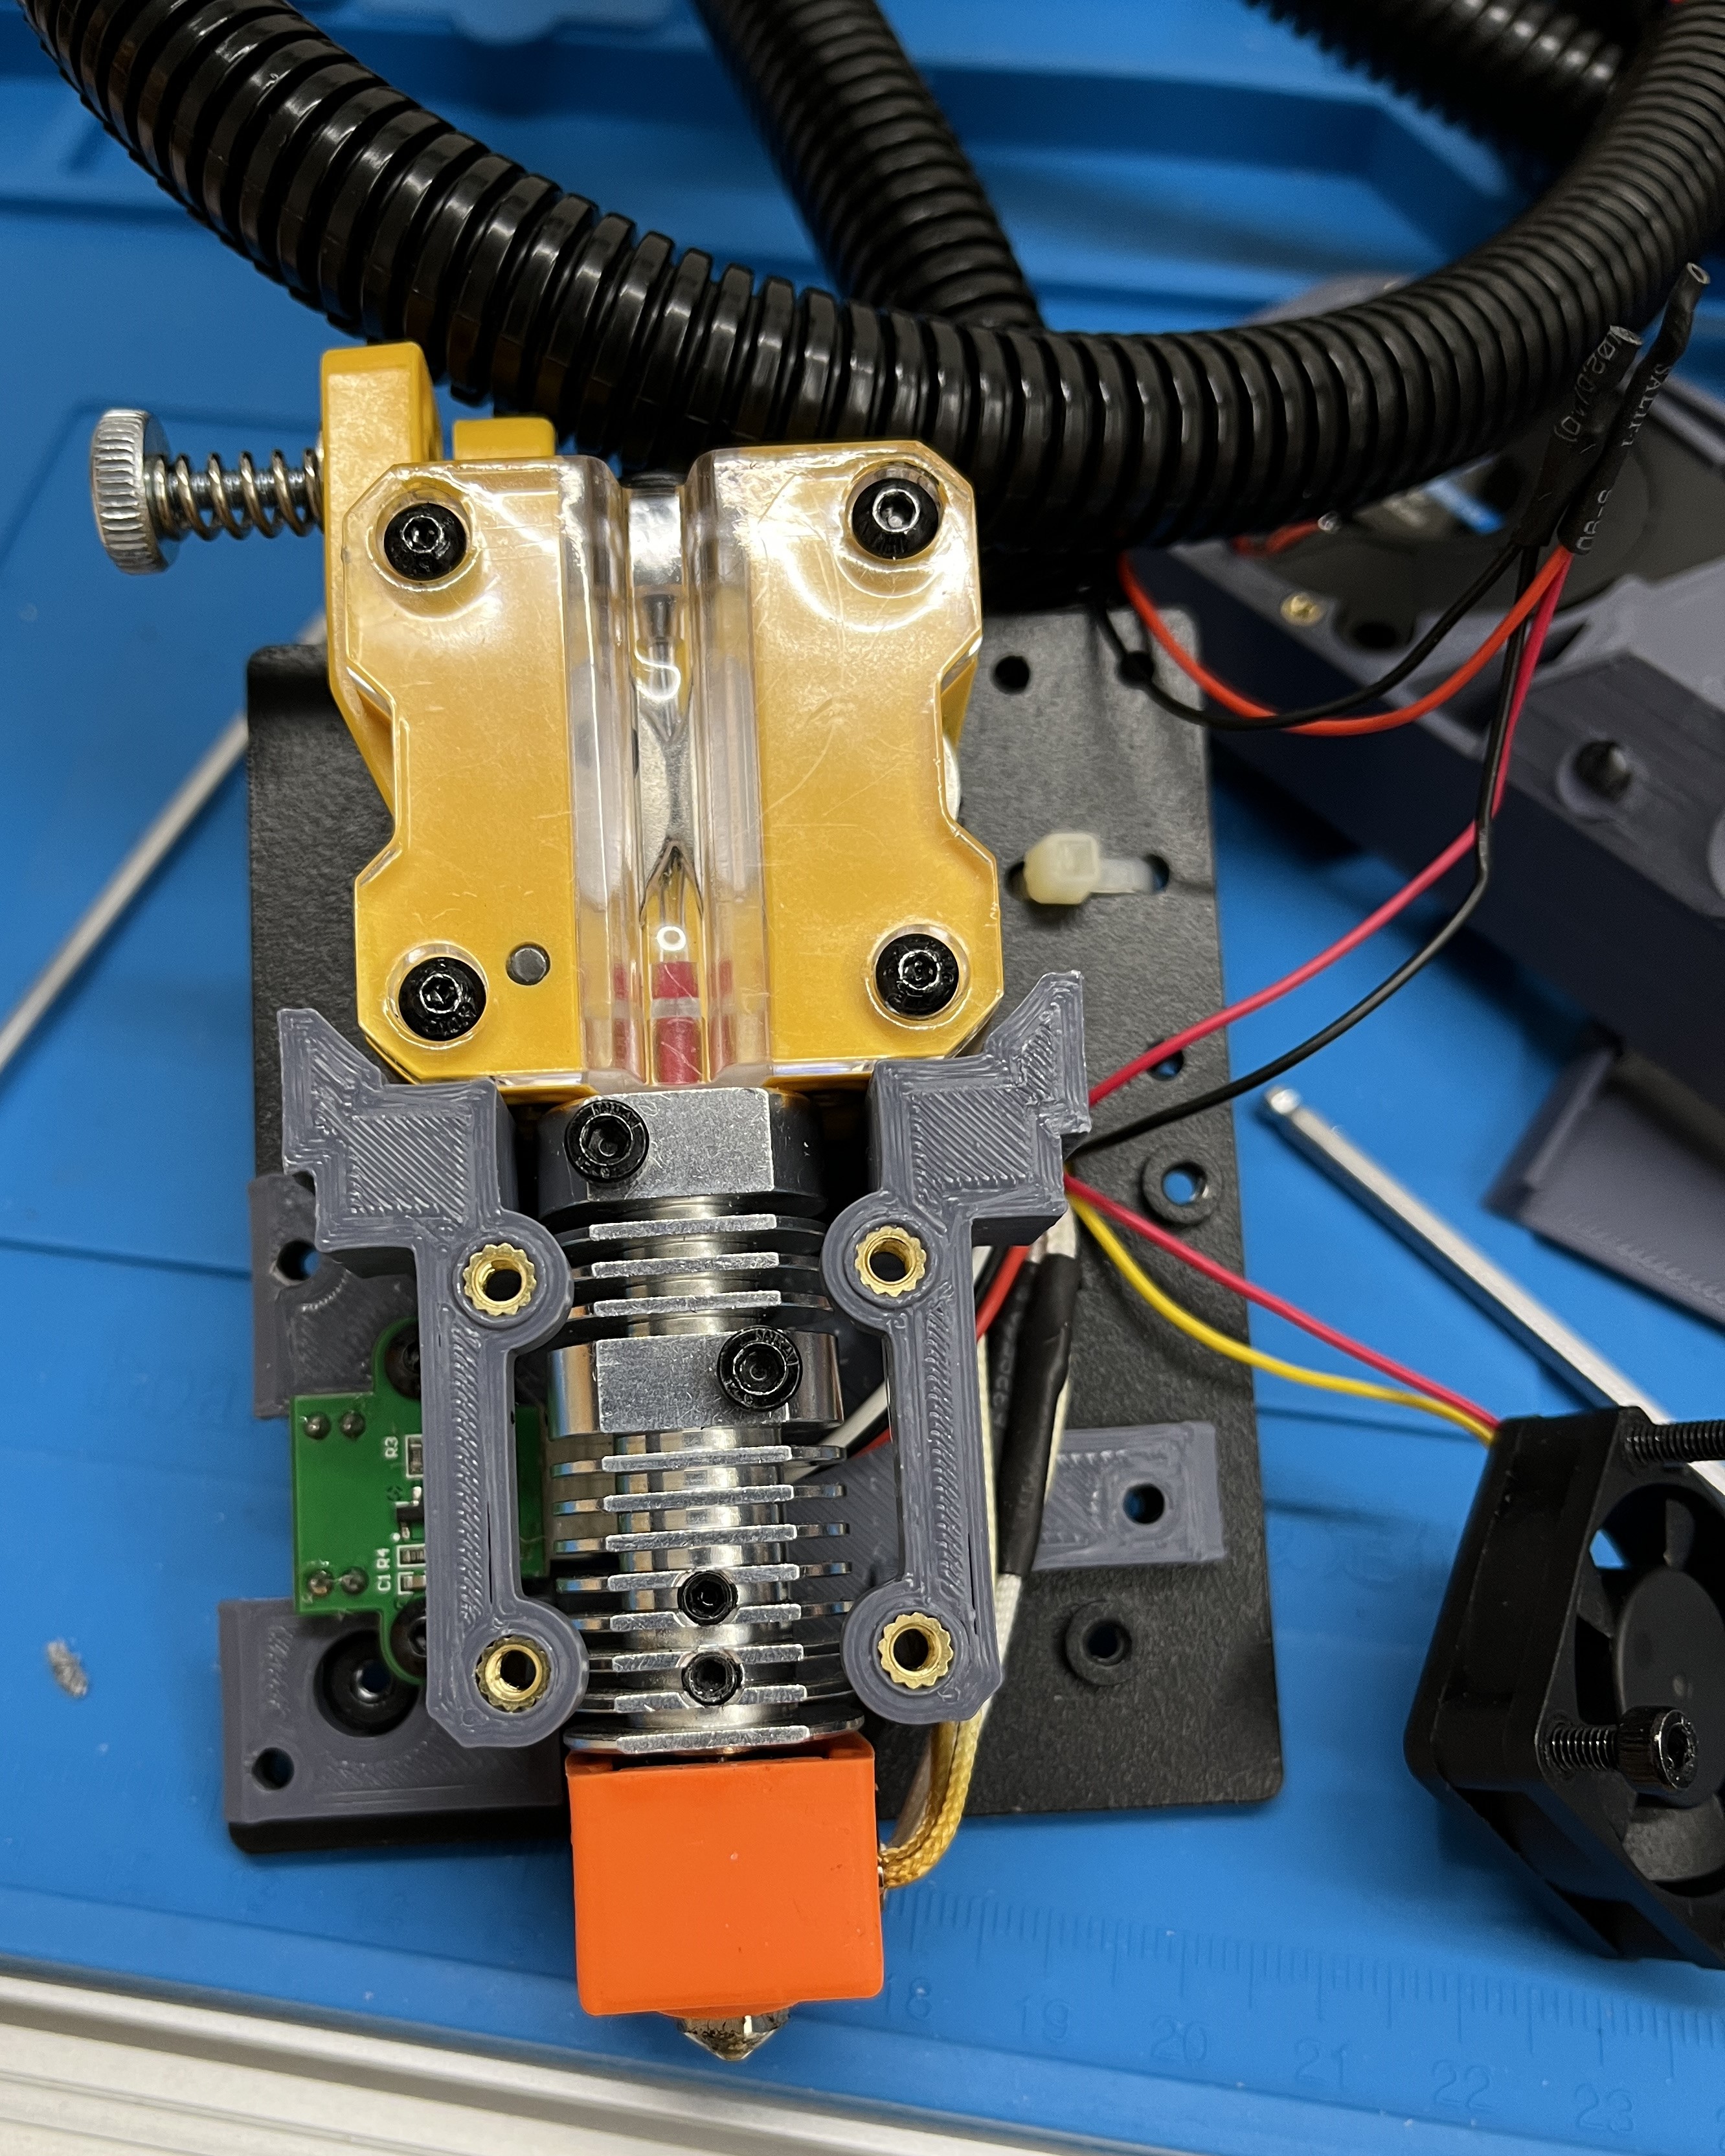
Step-10: Screw the 3010 fan with the M3 x 15-16 mm screws to the mount
Step-11: Install the pre-mounted MAK Vector Duct with the M3 x 8 mm to the mount
Step-12: Install the print head plate back to the Reborn 2 linear rail carriage plate
Step-13: Depending on the installed 5015 fan you might have to adjust your printers firmware.
Hint: For most 5015 fans a kick start value of 0.1s and a frequency of 100 Hz is a good choice.
Step-14: Test your newly installed MAK Vector Duct (e.g. with gcode M106).