MINI 13: Road Runner
We calculate the final price from your selected file. You review and accept it before payment.
Saved on this device.
Model information
- Source
- Printables
- Category
- Action Figures & Statues
- License
- Creative Commons — Attribution — Noncommercial — Share Alike
Opened up Shapr3d to design a mech and this is what I end up making. \_(ツ)_/
UNRELATED NOTE:
When I was a child, I remember being absolutely enthralled by watching Bugs Bunny, Daffy Duck, Wile E Coyote etc conjure items out of thin air. Simply by reaching behind their back they could pull out a mallet, a bouquet of flowers, a sign or whatever the situation called for. I thought that was the greatest skill in the world and for a long time, my standard response to the question “What do you want to be when you grow up?” was “A cartoon” because I thought I would gain this ability.
PRINTING:
- Supports will be needed for the chest and the tail. They are minimal but necessary.
- I print everything with a layer height of 0.12 mm and a speed no faster than 50 mm/s. In my experience, printing any faster than that can cause the fit between parts to be too tight, sometimes to the point where they won't fit.
- On top of downloading my files, you will need to download some of the Mini 13 frame parts. Below is a list of the frame parts and the amount you will need as well as a direct download link for them.
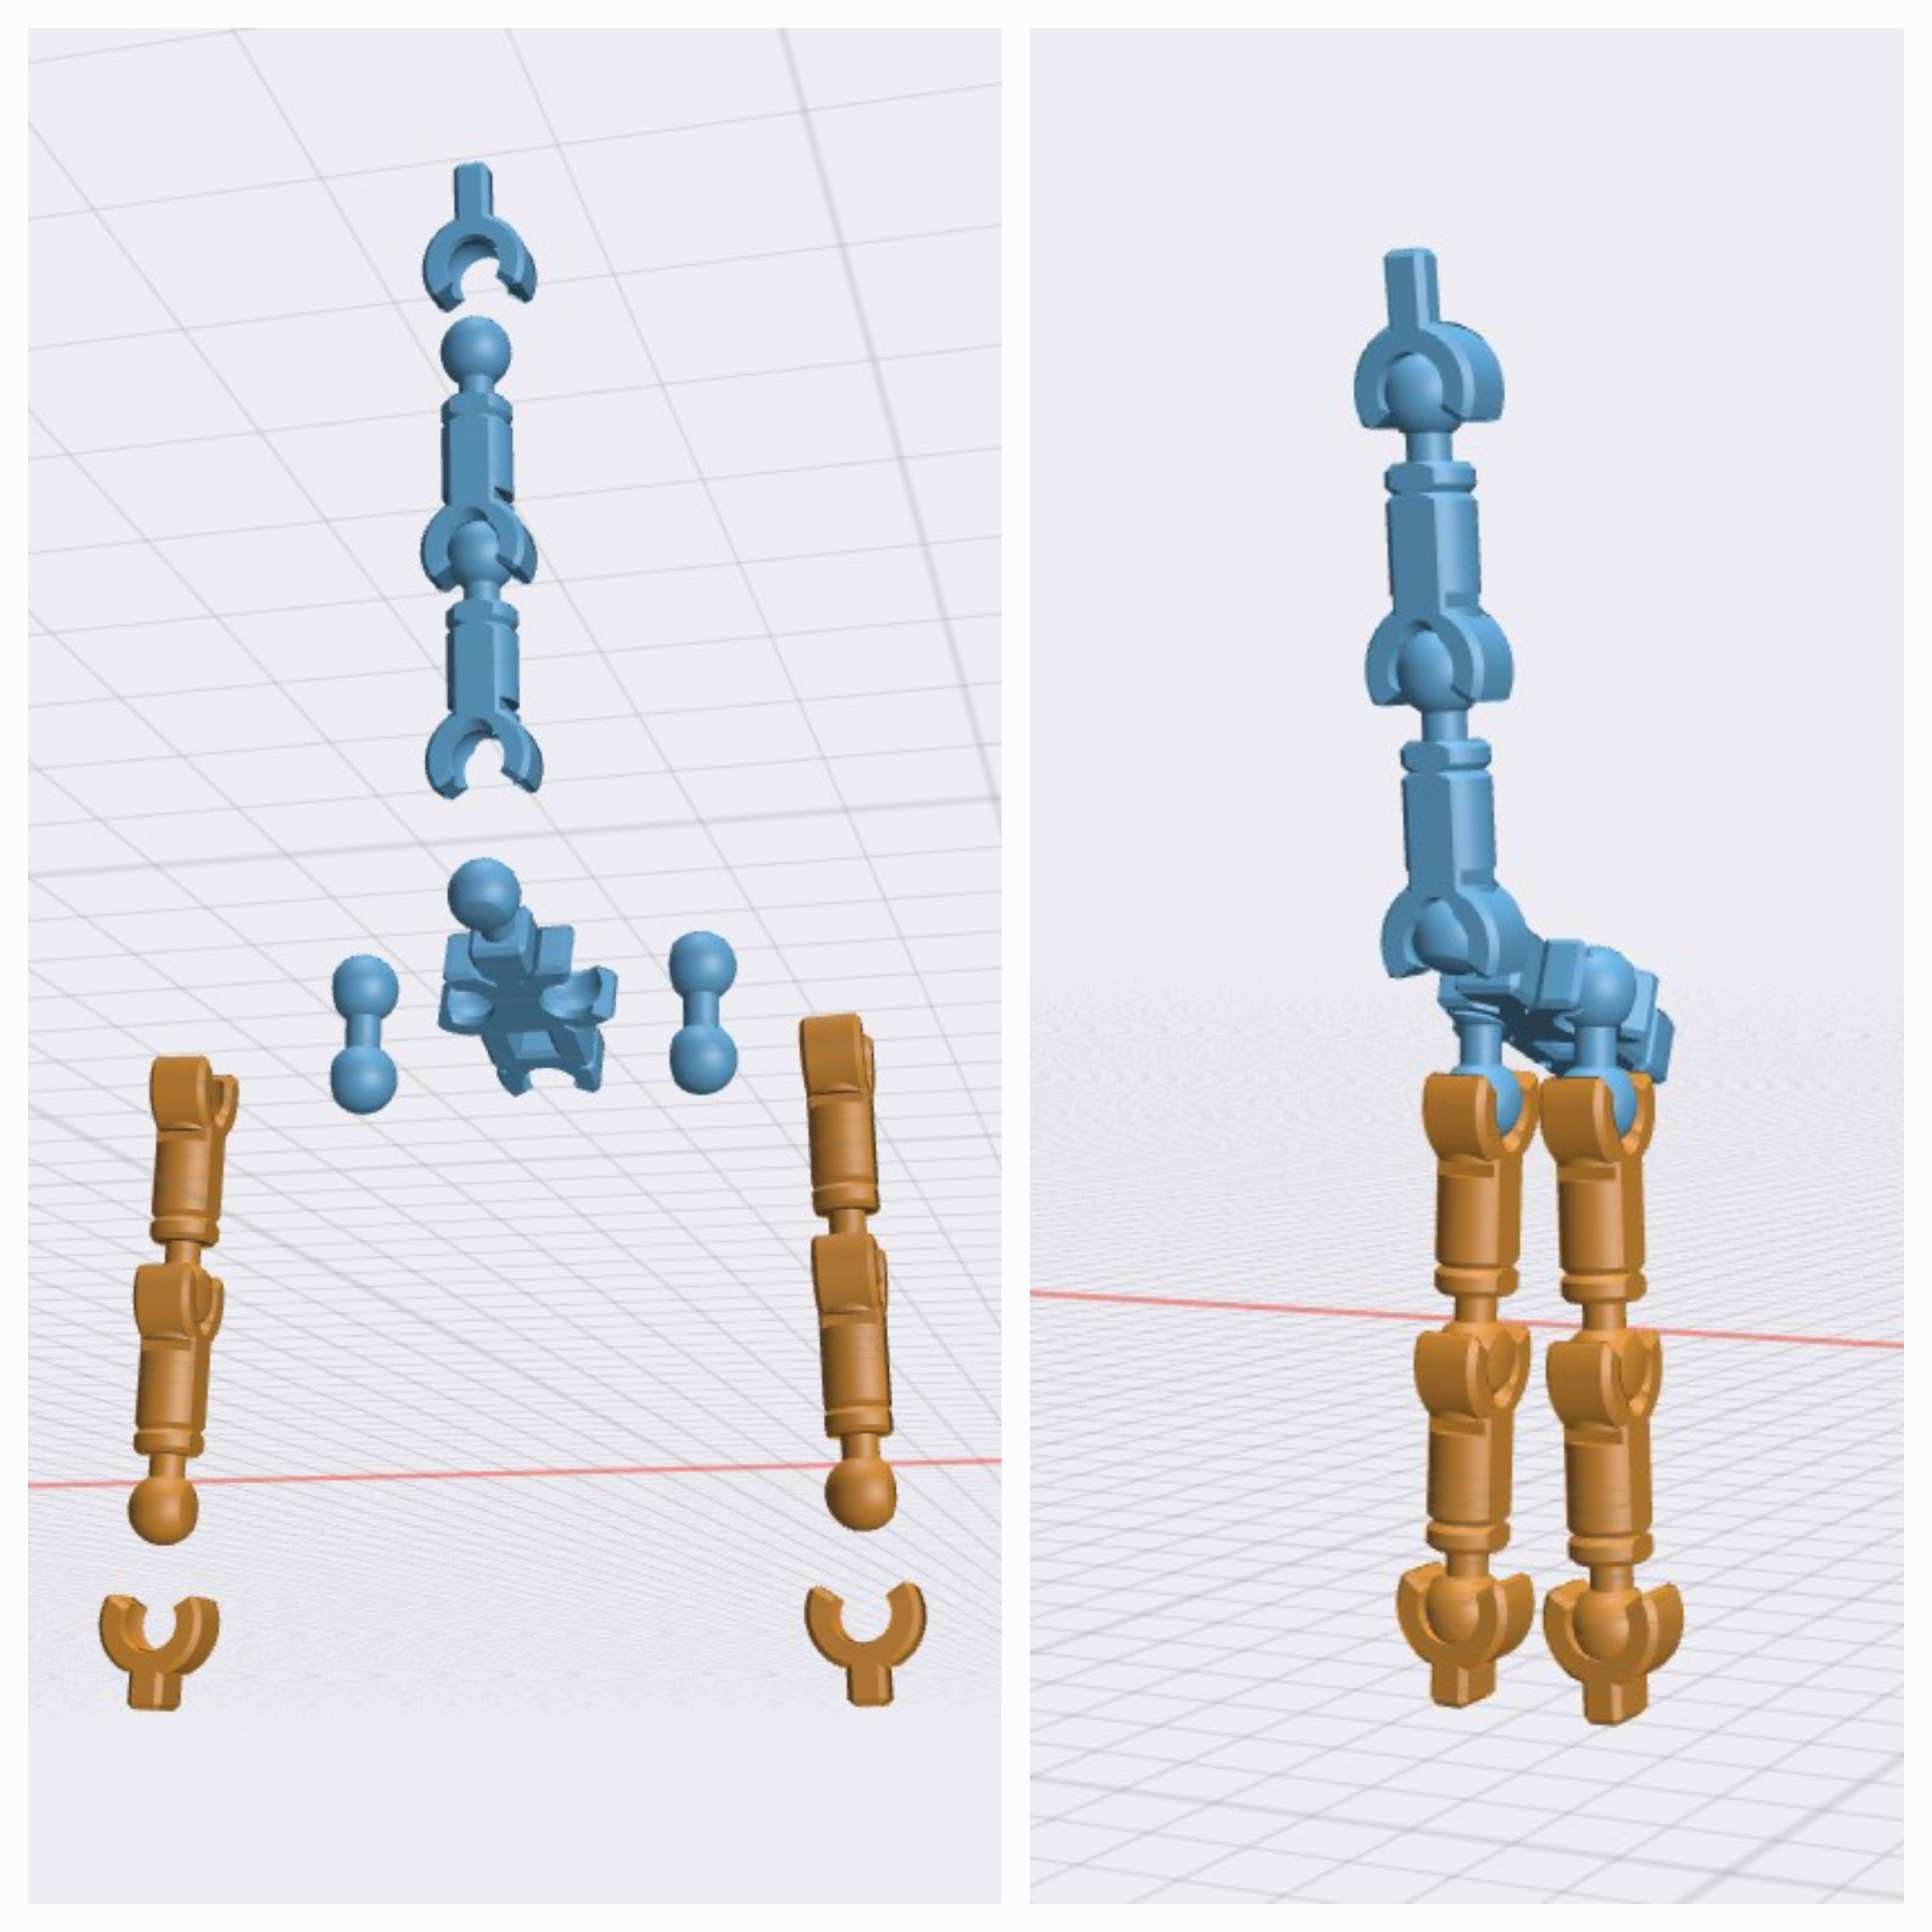
mini13-frame-head.stl x1
mini13-frame-chest.stl x1
mini13-frame-shoulder.stl x2
mini13-frame-leg.stl x6
mini13-frame-foot.stl x2
ASSEMBLY:
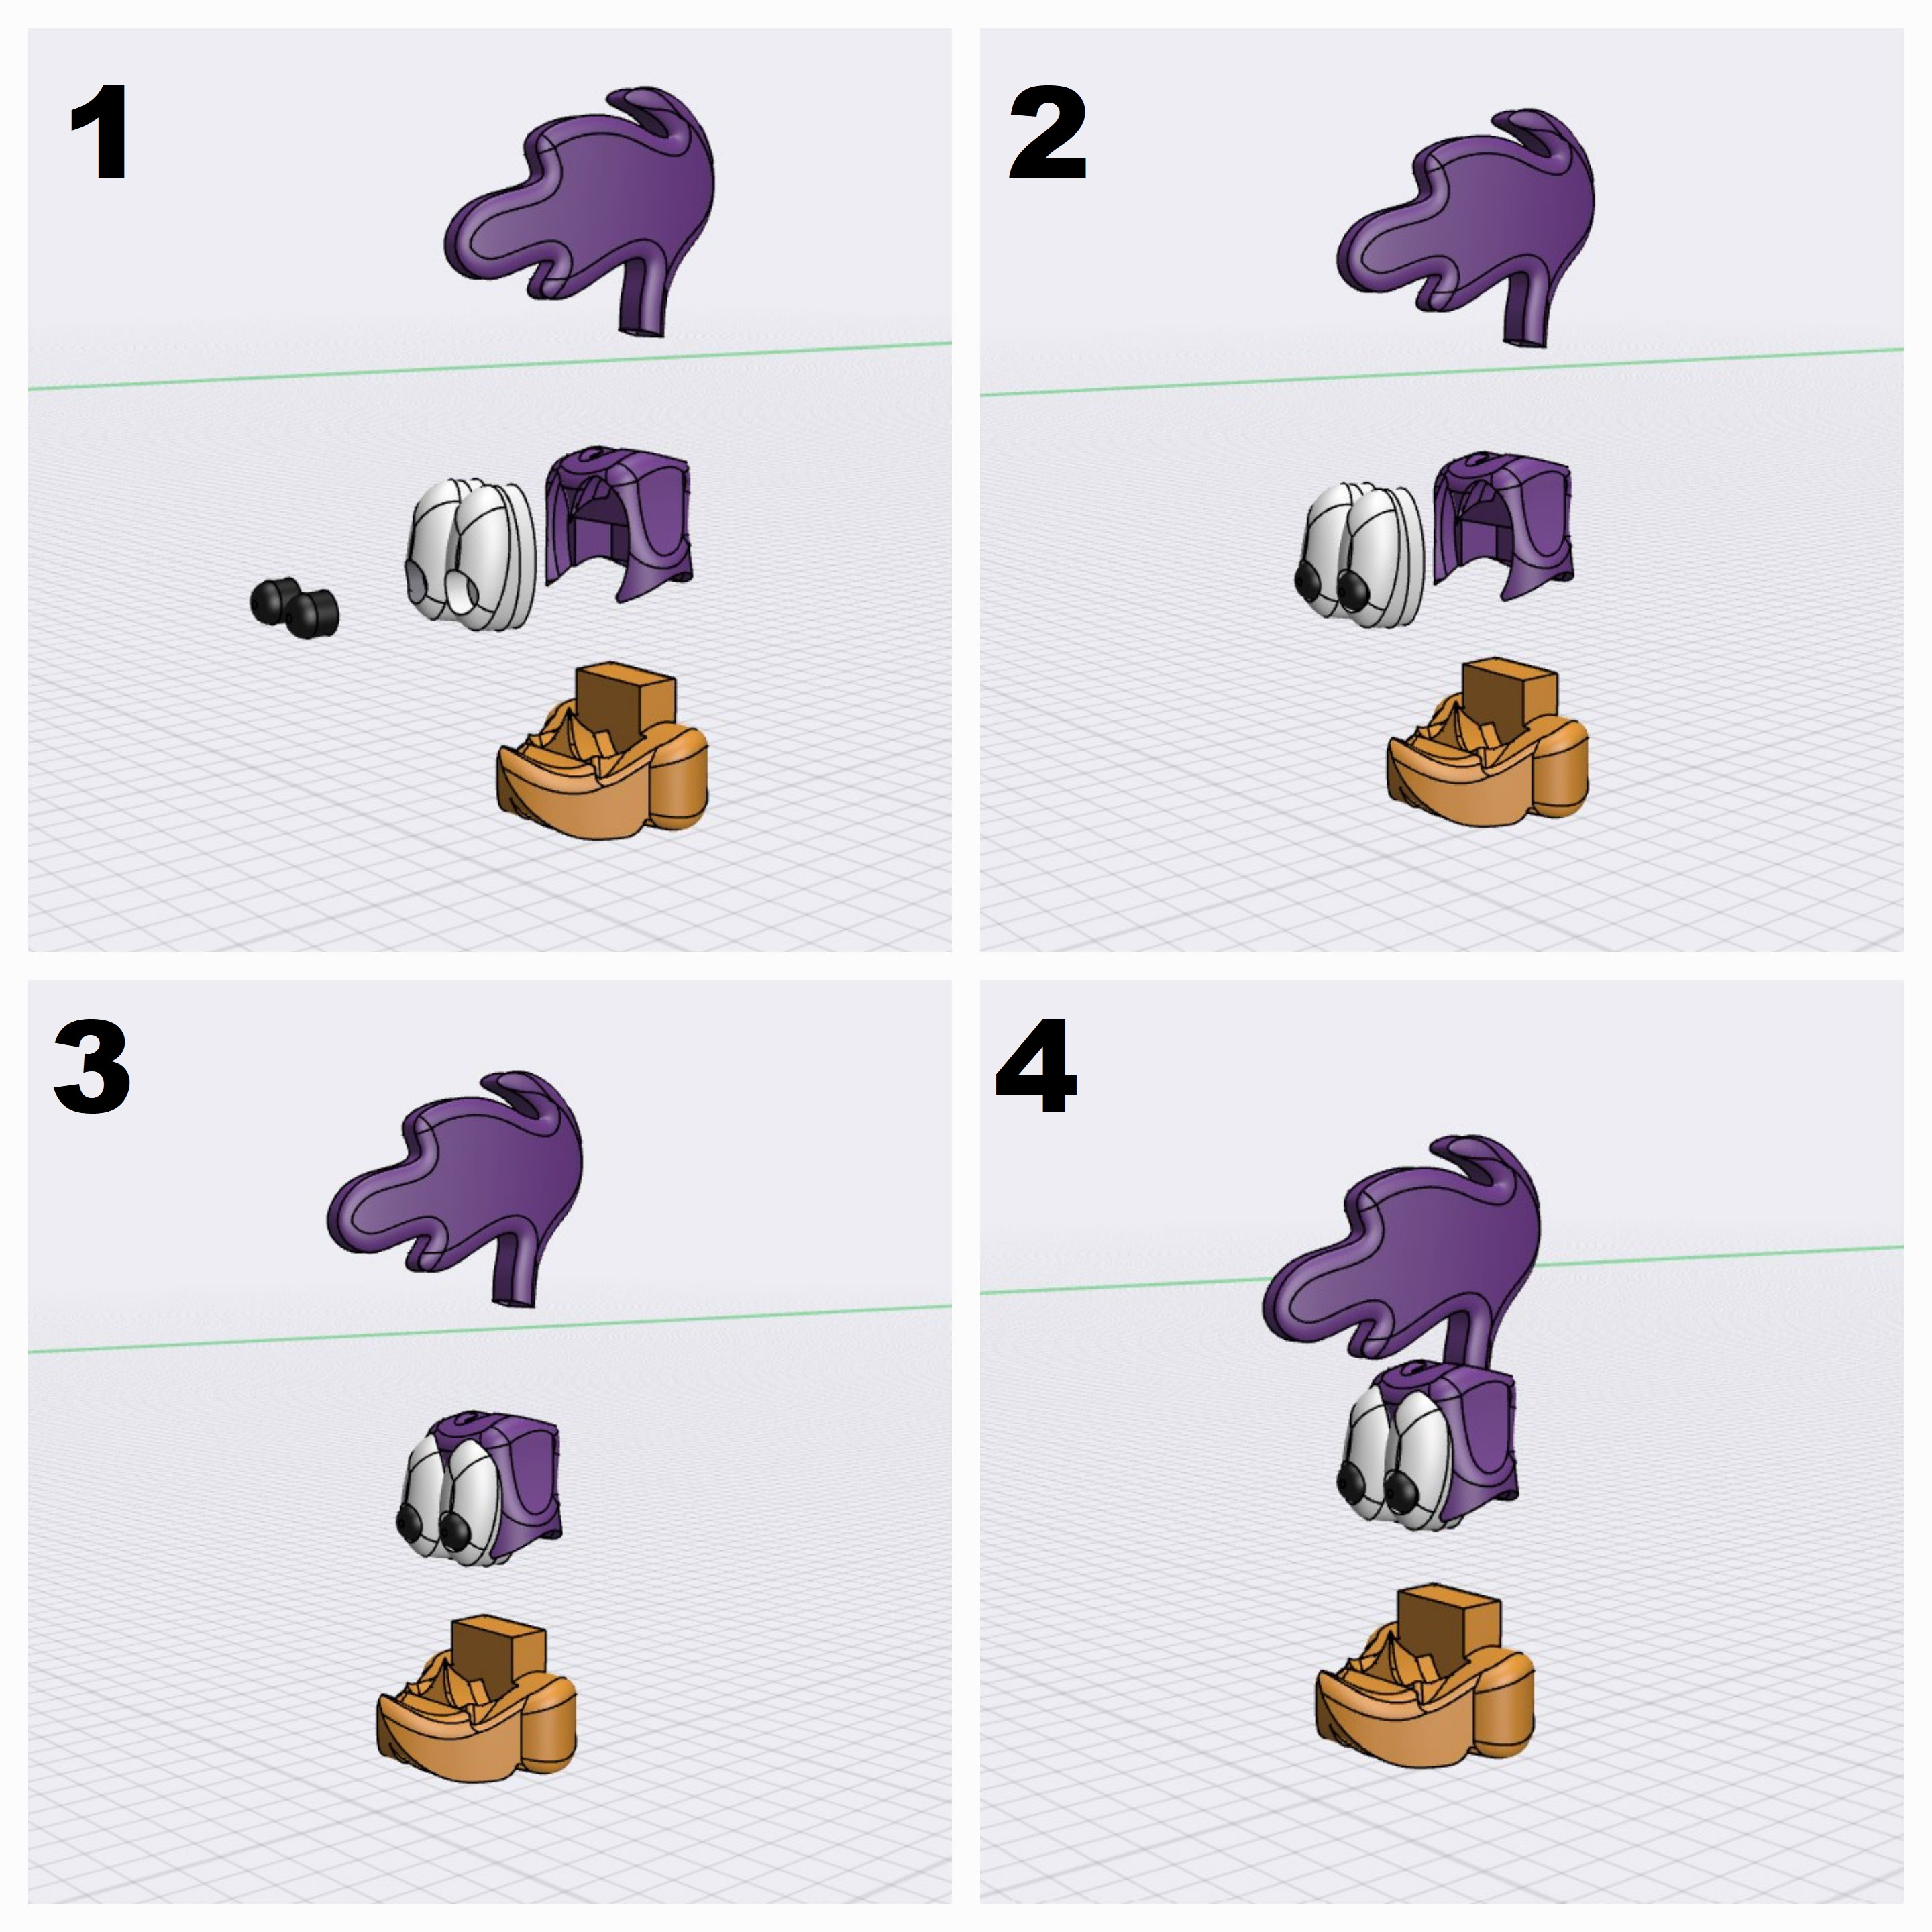
Assembly isn't too difficult, the head is probably the hardest part but it's straightforward. Start by inserting the pupils into the eyes and then fit the eyes into the head. From there, fit the hair into the head as seen in the photo below. At this point, I suggest putting a drop of glue on the beak before fitting the head/hair/eyes on top.