Gridfinity label internal magnet bins
We calculate the final price from your selected file. You review and accept it before payment.
Saved on this device.

This collection of Gridfinity bins with labels all have mangets inside the print so you don't have to use glue.
- Rating
- 5 / 5
- Likes
- 34
- Downloads
- 218
- Makes
- 4
- Views
- 1,369
- Reviews
- 3
Updated at source:
Model information
- Source
- Printables
- Category
- Organizers
- License
- Creative Commons — Attribution — Noncommercial
Overview
This collection of Gridfinity bins with curved lips all have manget inside the print so you don't have to use glue. There are sizes from 1x1x2 to 5x5x6. If you want to make a different bin size not included in this model use my Onshape Gridfinity template here.
You can adjust the size and other features like label, curved lip and filled in. You can also adjust the model for the magnets you have by going into the ‘Driving Variables folder’ and changing ‘Magnet_Diameter’ and ‘Magnet_Thickness’.
Printing Instructions
Print in low infill (5-15%) and high layer height (0.2-0.32mm).
Internal magnets
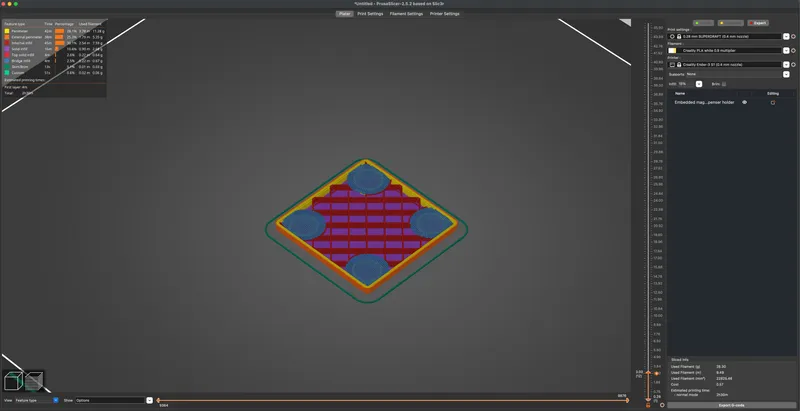
To get the magnets inside of the internal magnets print, either pause the print when the walls of the magnets holes are a a sufficient height so the extruder won't collide with them and place 4x 6x2 or 6x3 magnets in the holes. (A dot of CA glue in each hole can prevent them from rattling).
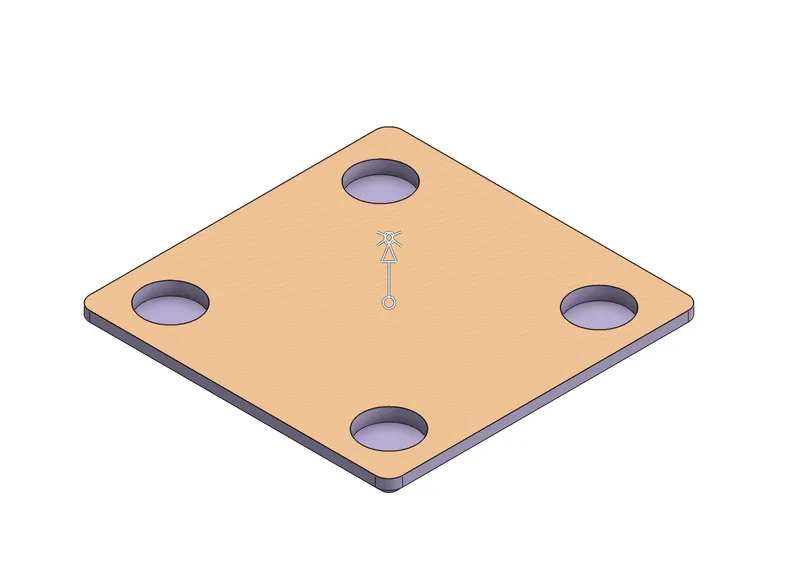
Alternatively, in the slicer you can add a pause at a chosen layer. To do this slice your model and drag the layer slider to the layer which is just above the magnet holes. Next right click the ‘+’ icon next to the layer slider and select ‘Add pause print (M25 ; pause print)’. During the print when it gets to the selected layer it will dock the hotend. Place the magnets in their holes making sure the polarity is compatible with your other bins. A drop of CA glue can prevent magnets from rattling. Press ‘resume’ on the printer and it will continue.