
Top Loading Buffer Base for MMU - Make it your size
We calculate the final price from your selected file. You review and accept it before payment.
Preliminary estimate for PETG
€5.40 – €6.59 net (excluding VAT)
For file: Buffer_Base_scalable_0.4n_0.2mm_PETG_MK4_5h36m.gcode
This is an estimate for one file. You’ll confirm the exact price before ordering.
File and estimate settings
File used for this estimate
Average indicative estimate: €6.00 excluding VAT (range midpoint).
- Weight reported by the author
- 89 g
- Print time reported by the author
- 5.61 hr
- Source material
- PET
- Estimate material
- PETG
- Estimate printer
- Bambu Lab P1S - 0.4 nozzle
- Estimate process
- 0.20mm Standard
Indicative estimate for the selected file only, based on the author’s weight and print time. File variants are not added together. The final price is calculated after file analysis.
Saved on this device.
Scaleable Buffer Base for the MMU Buffer System
- Rating
- 5 / 5
- Likes
- 40
- Downloads
- 157
- Makes
- 3
- Views
- 1,624
- Reviews
- 3
Updated at source:
Model information
- Source
- Printables
- Category
- Prusa Parts & Upgrades
- License
- GNU General Public License v2.0
Cause i have no problems with my MMU2S System, but i really hate the old Prusa Buffer, i decided to upgrade only the Buffer. But for my enclosure i need top loading, cause my filament spools hanging right over the printer.
I grab my CAD and simply rework the new Prusa Buffer.
Material List for this built:
- printed parts from Original needed:
- 5x Wheel
- 10x Segment
- 1x Segmenter
- 6-7x Plate Holder (to close all possible traps for the Filament)
- PTFE Clip (as much as you want or need)
- this part here with a base that fit to your measurements
- 8x M3x30mm cylindric Screws
- 8x M3ns Nuts (took my out of the spare bag of the printer)
- 15x M3 Hex Nuts
- 25x M3x6mm cylindric Screws
- 10x Heatsink Collet for E3D Hotend (if u have time: use Ali Baba, i used this: https://www.prusa3d.com/de/produkt/heatsink-collet-e3d/ )
- 5x Buffer plates from the MMU Buffer or print you stable separations
- 10x PTFE Tube in the length that you need
- 5x 693 2RS Bearings
- Shaft 2.9mmx8.5mm (cut mine from 2,9 mm DIY Steel)
recommended Print Settings:
- choose if u want to print the print ready or scalable variant and download it
- if u want to scale the Base only scale in x- or y- axis
- 0,2 Layer
- Quality Profile (Prusa Slicer)
- 15% Infill
- PETG, ABS etc no PLA
Construction:
- Put the Segment together (https://help.prusa3d.com/guide/7-cassette-buffer-assembly_381796 Step 11-16)
- Install the Segmenter as seen in Step 5
- Install the Base on the opposite side of the Buffer with 4x M3x30 and 4x M3ns nuts
- Install plate Holder like in this picture
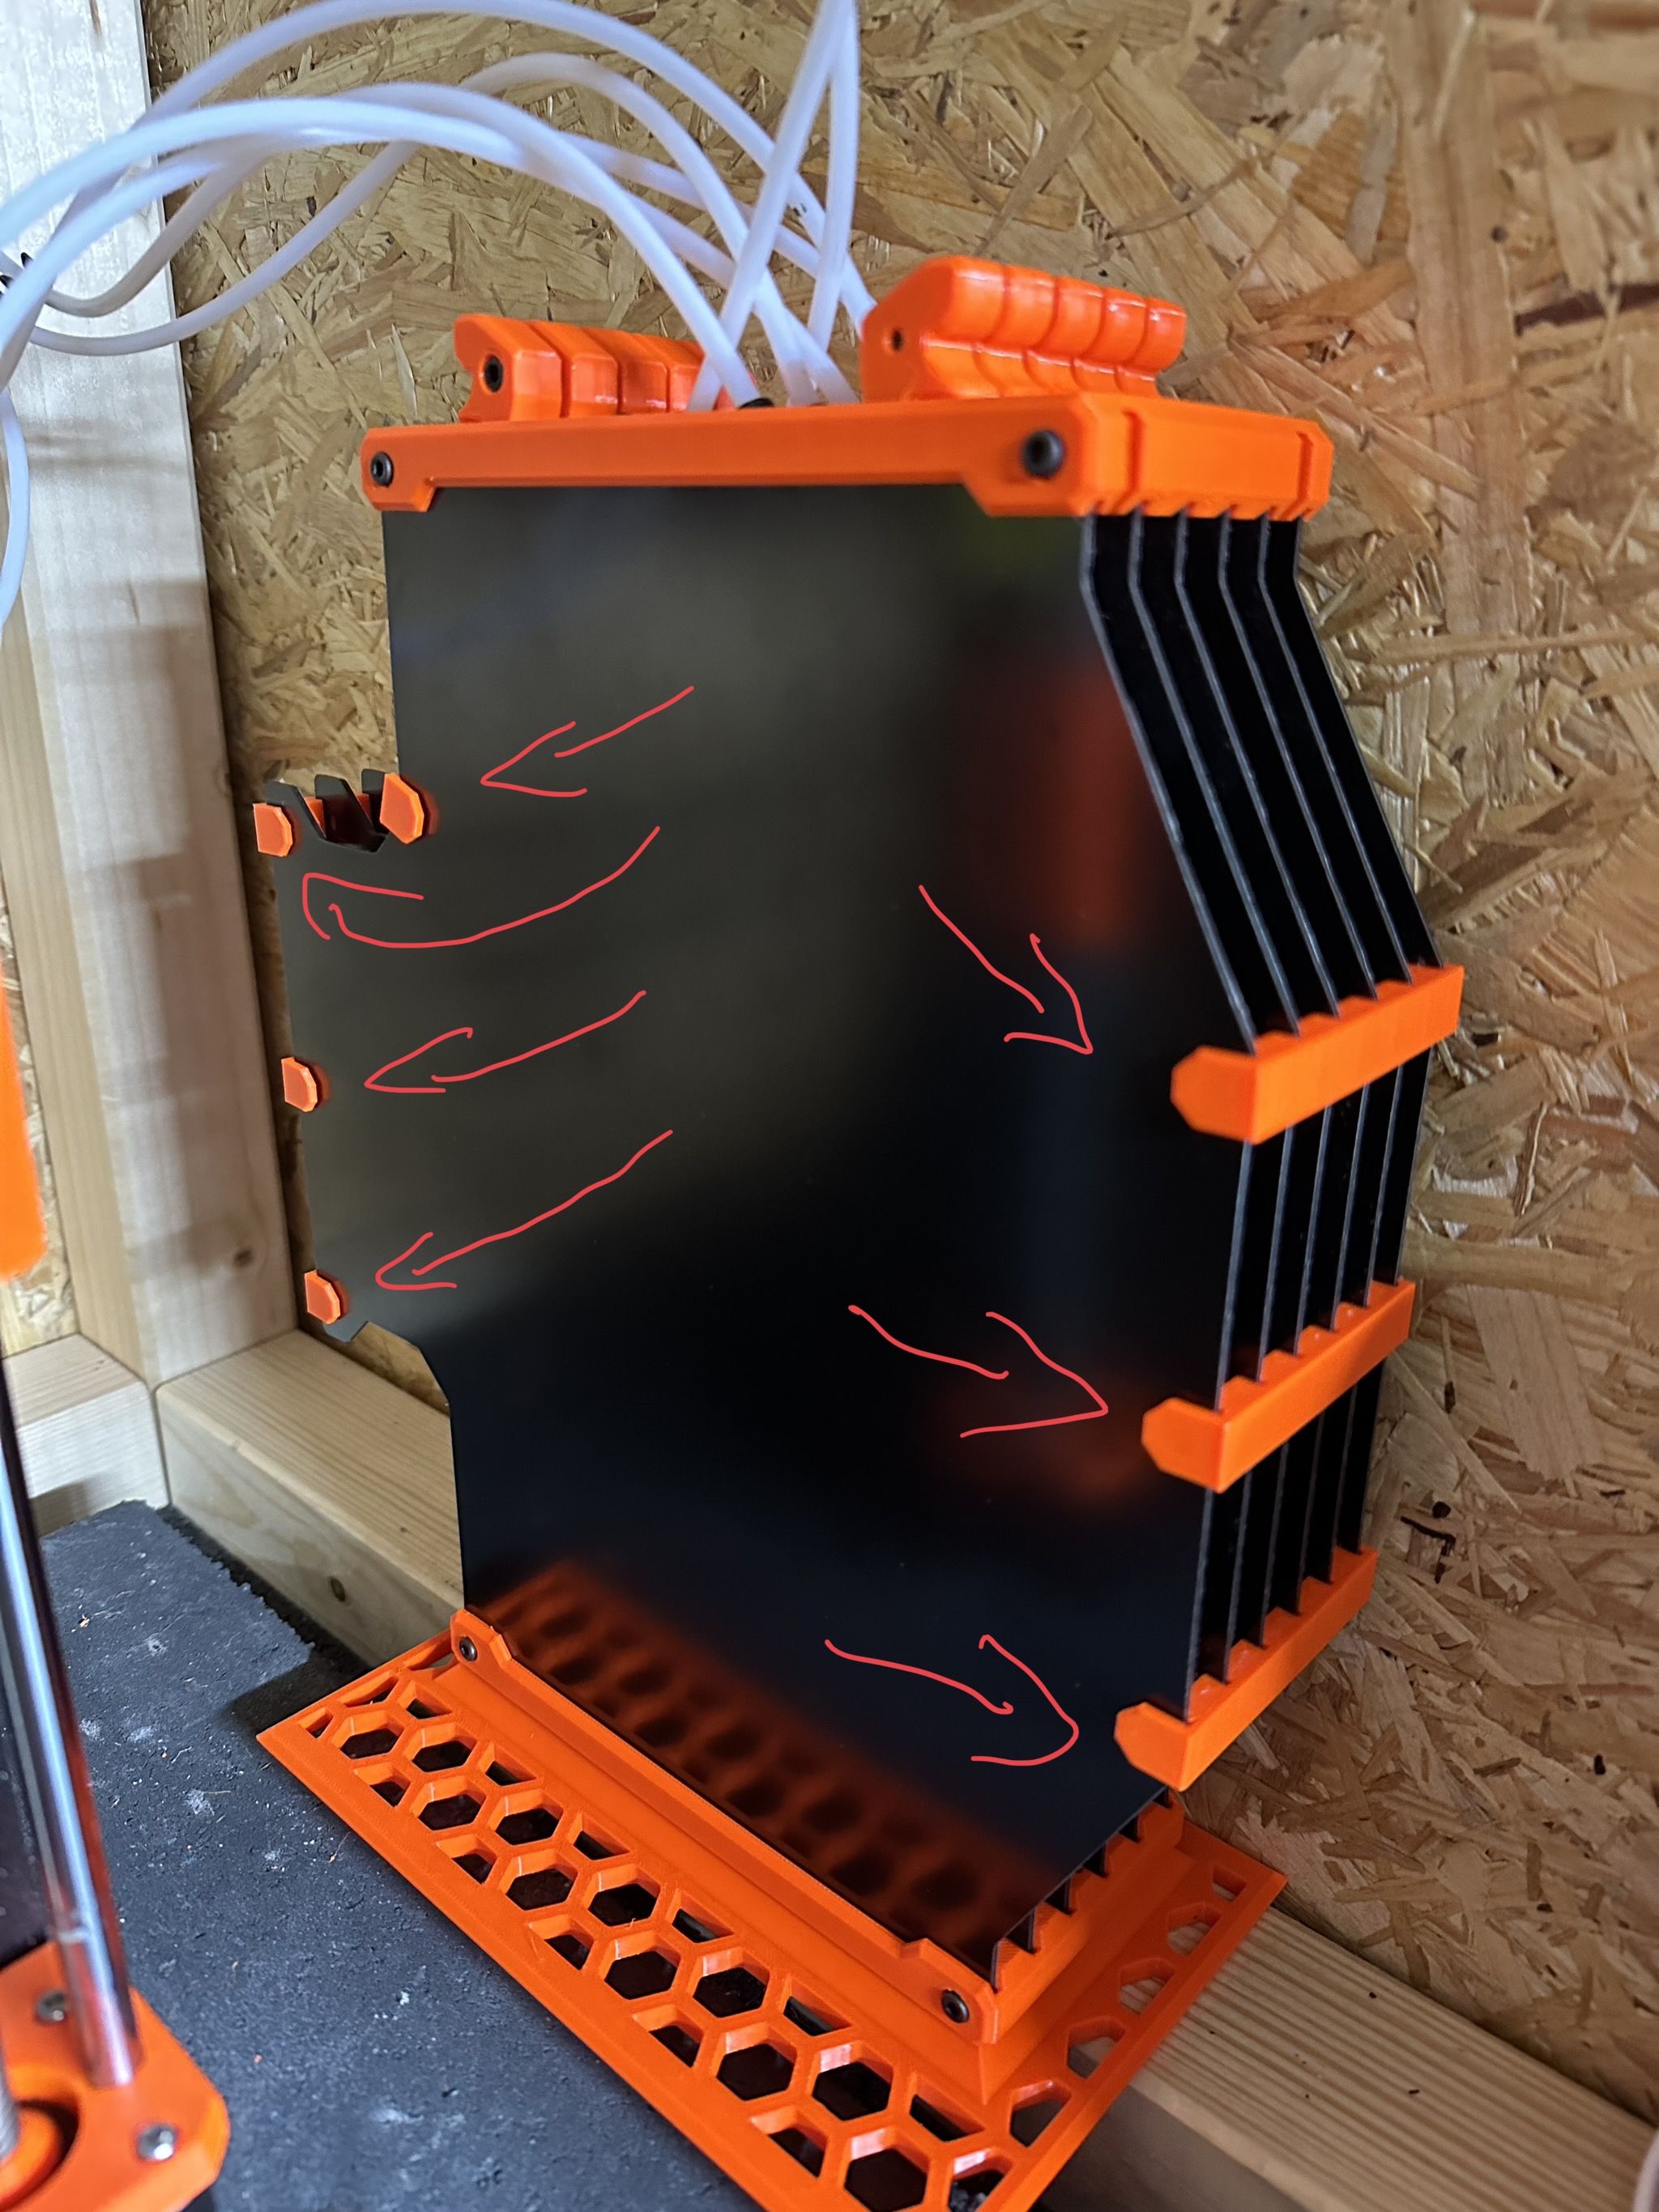
- Connect your PTFE Tubes
- My Filament-Spools sitting over my printer. Cause of that I choose the following connection
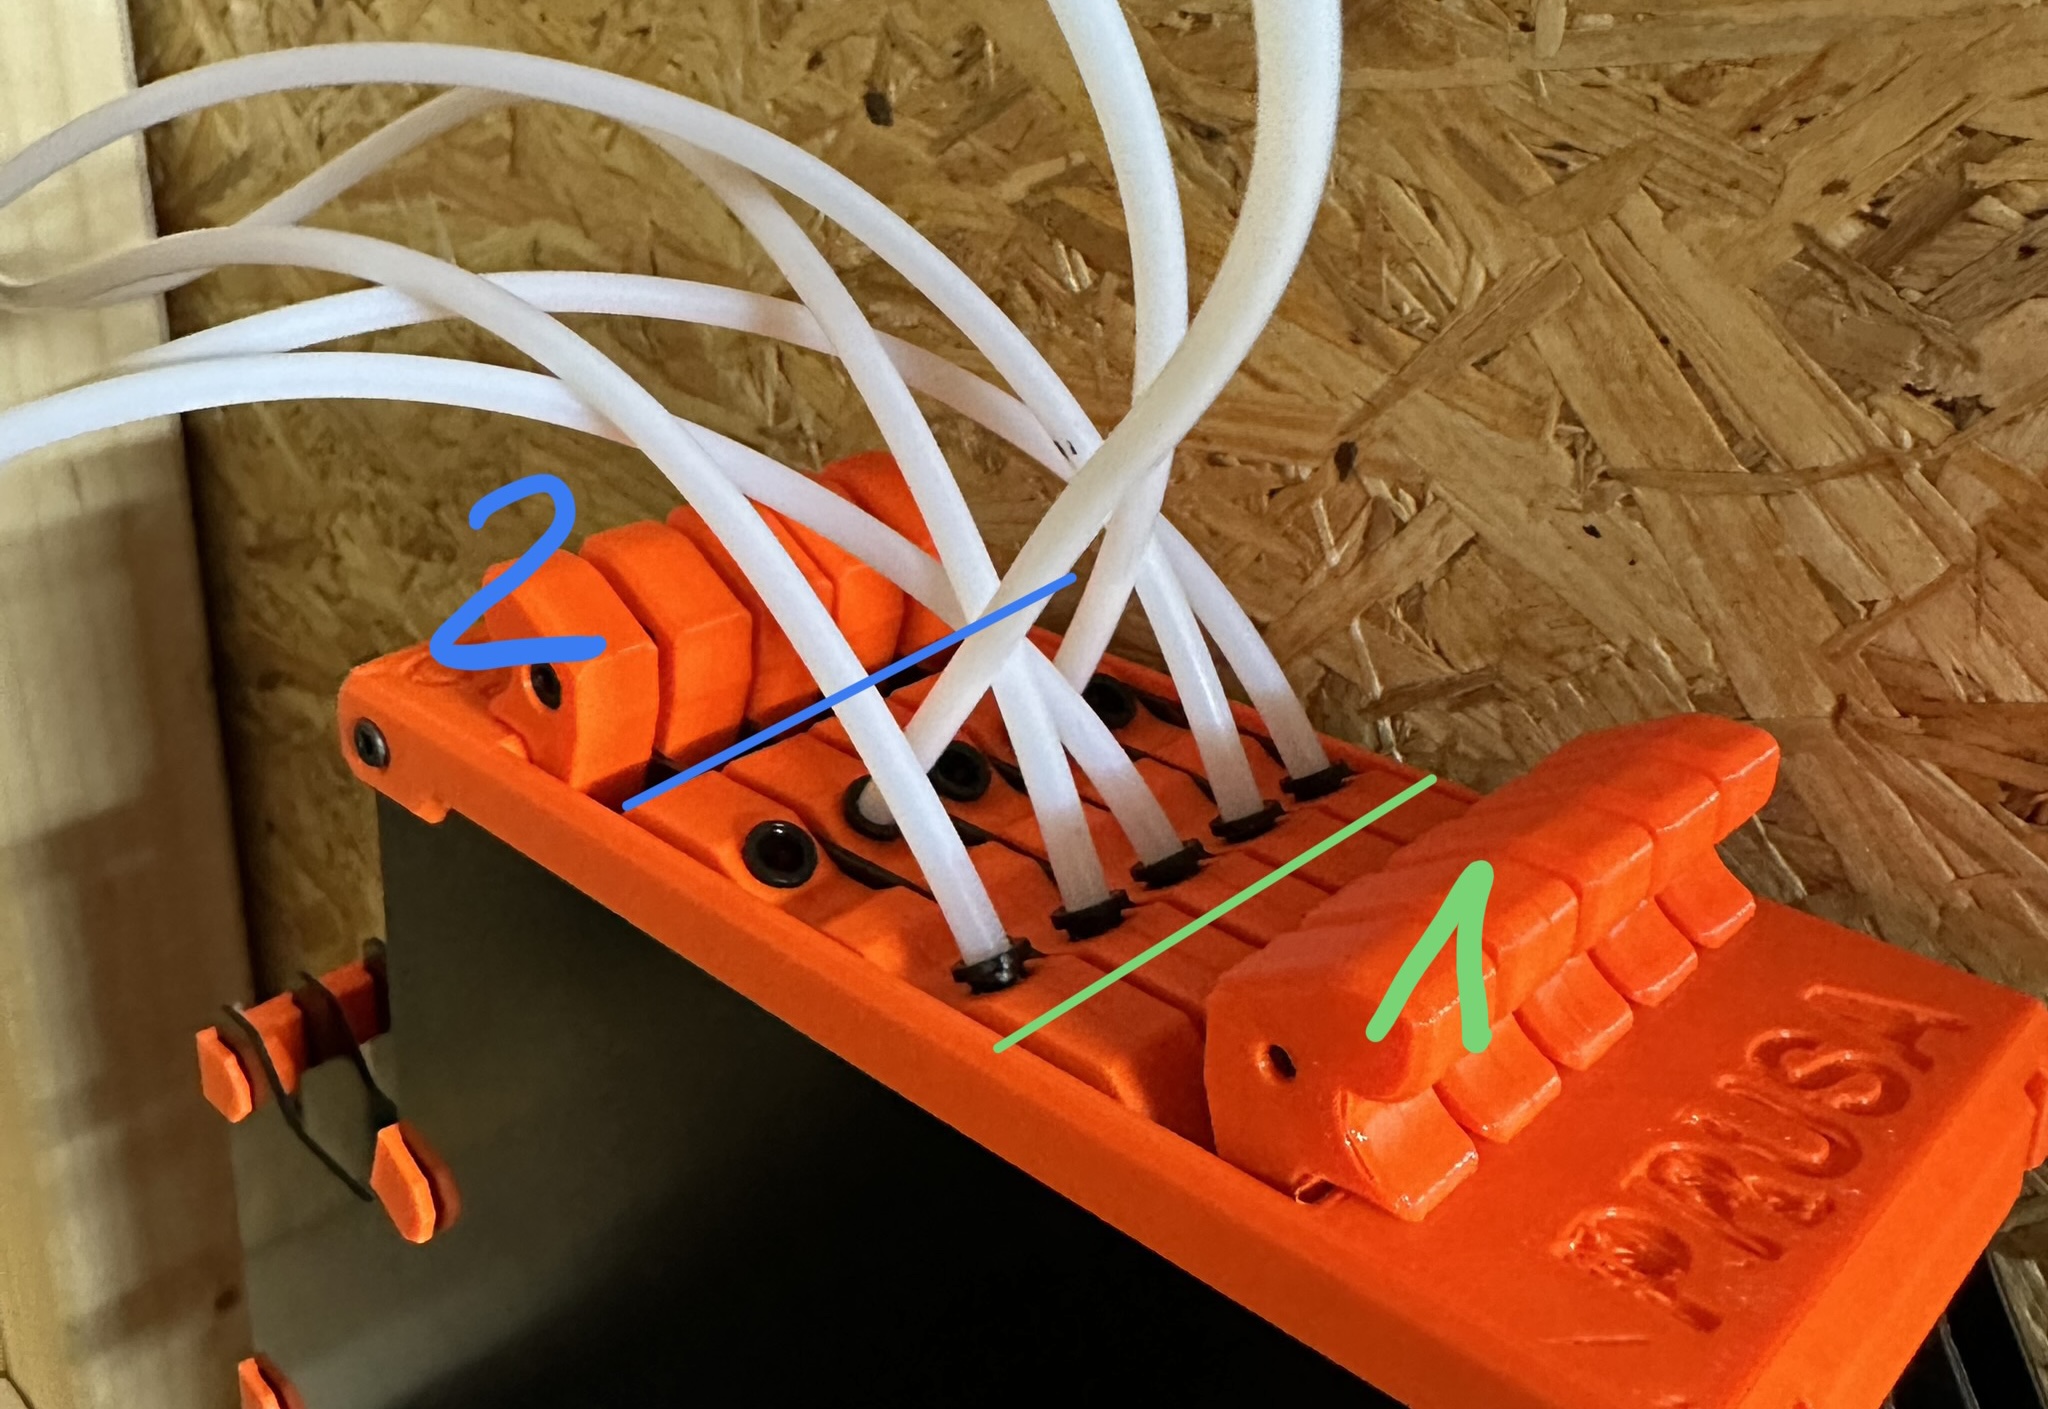
- Incoming Filament from the Spools
- Outgoing Filament tube to the MMU
Happy Printing with your new Top Loading Buffer. :)
Have an Eye on my other models and leave me a like or a comment.
Yours Scab