
Diamond Monster 3D Voodoo 1 Armor
We calculate the final price from your selected file. You review and accept it before payment.
Saved on this device.

A set of armor for the Diamond Monster 3D Voodoo 1 3D accelerator.
- Rating
- 0 / 5
- Likes
- 15
- Downloads
- 41
- Makes
- 0
- Views
- 623
- Reviews
- 0
Updated at source:
Model information
- Source
- Printables
- Category
- Computers
- License
- Creative Commons — Attribution — Share Alike
A sequel to my 3dfx Voodoo 2 armor. This one is for the Diamond Monster 3D Voodoo 1.
These cards have very tiny pins on the main 3Dfx chips and are susceptive to damage if stored/handled carelessly.
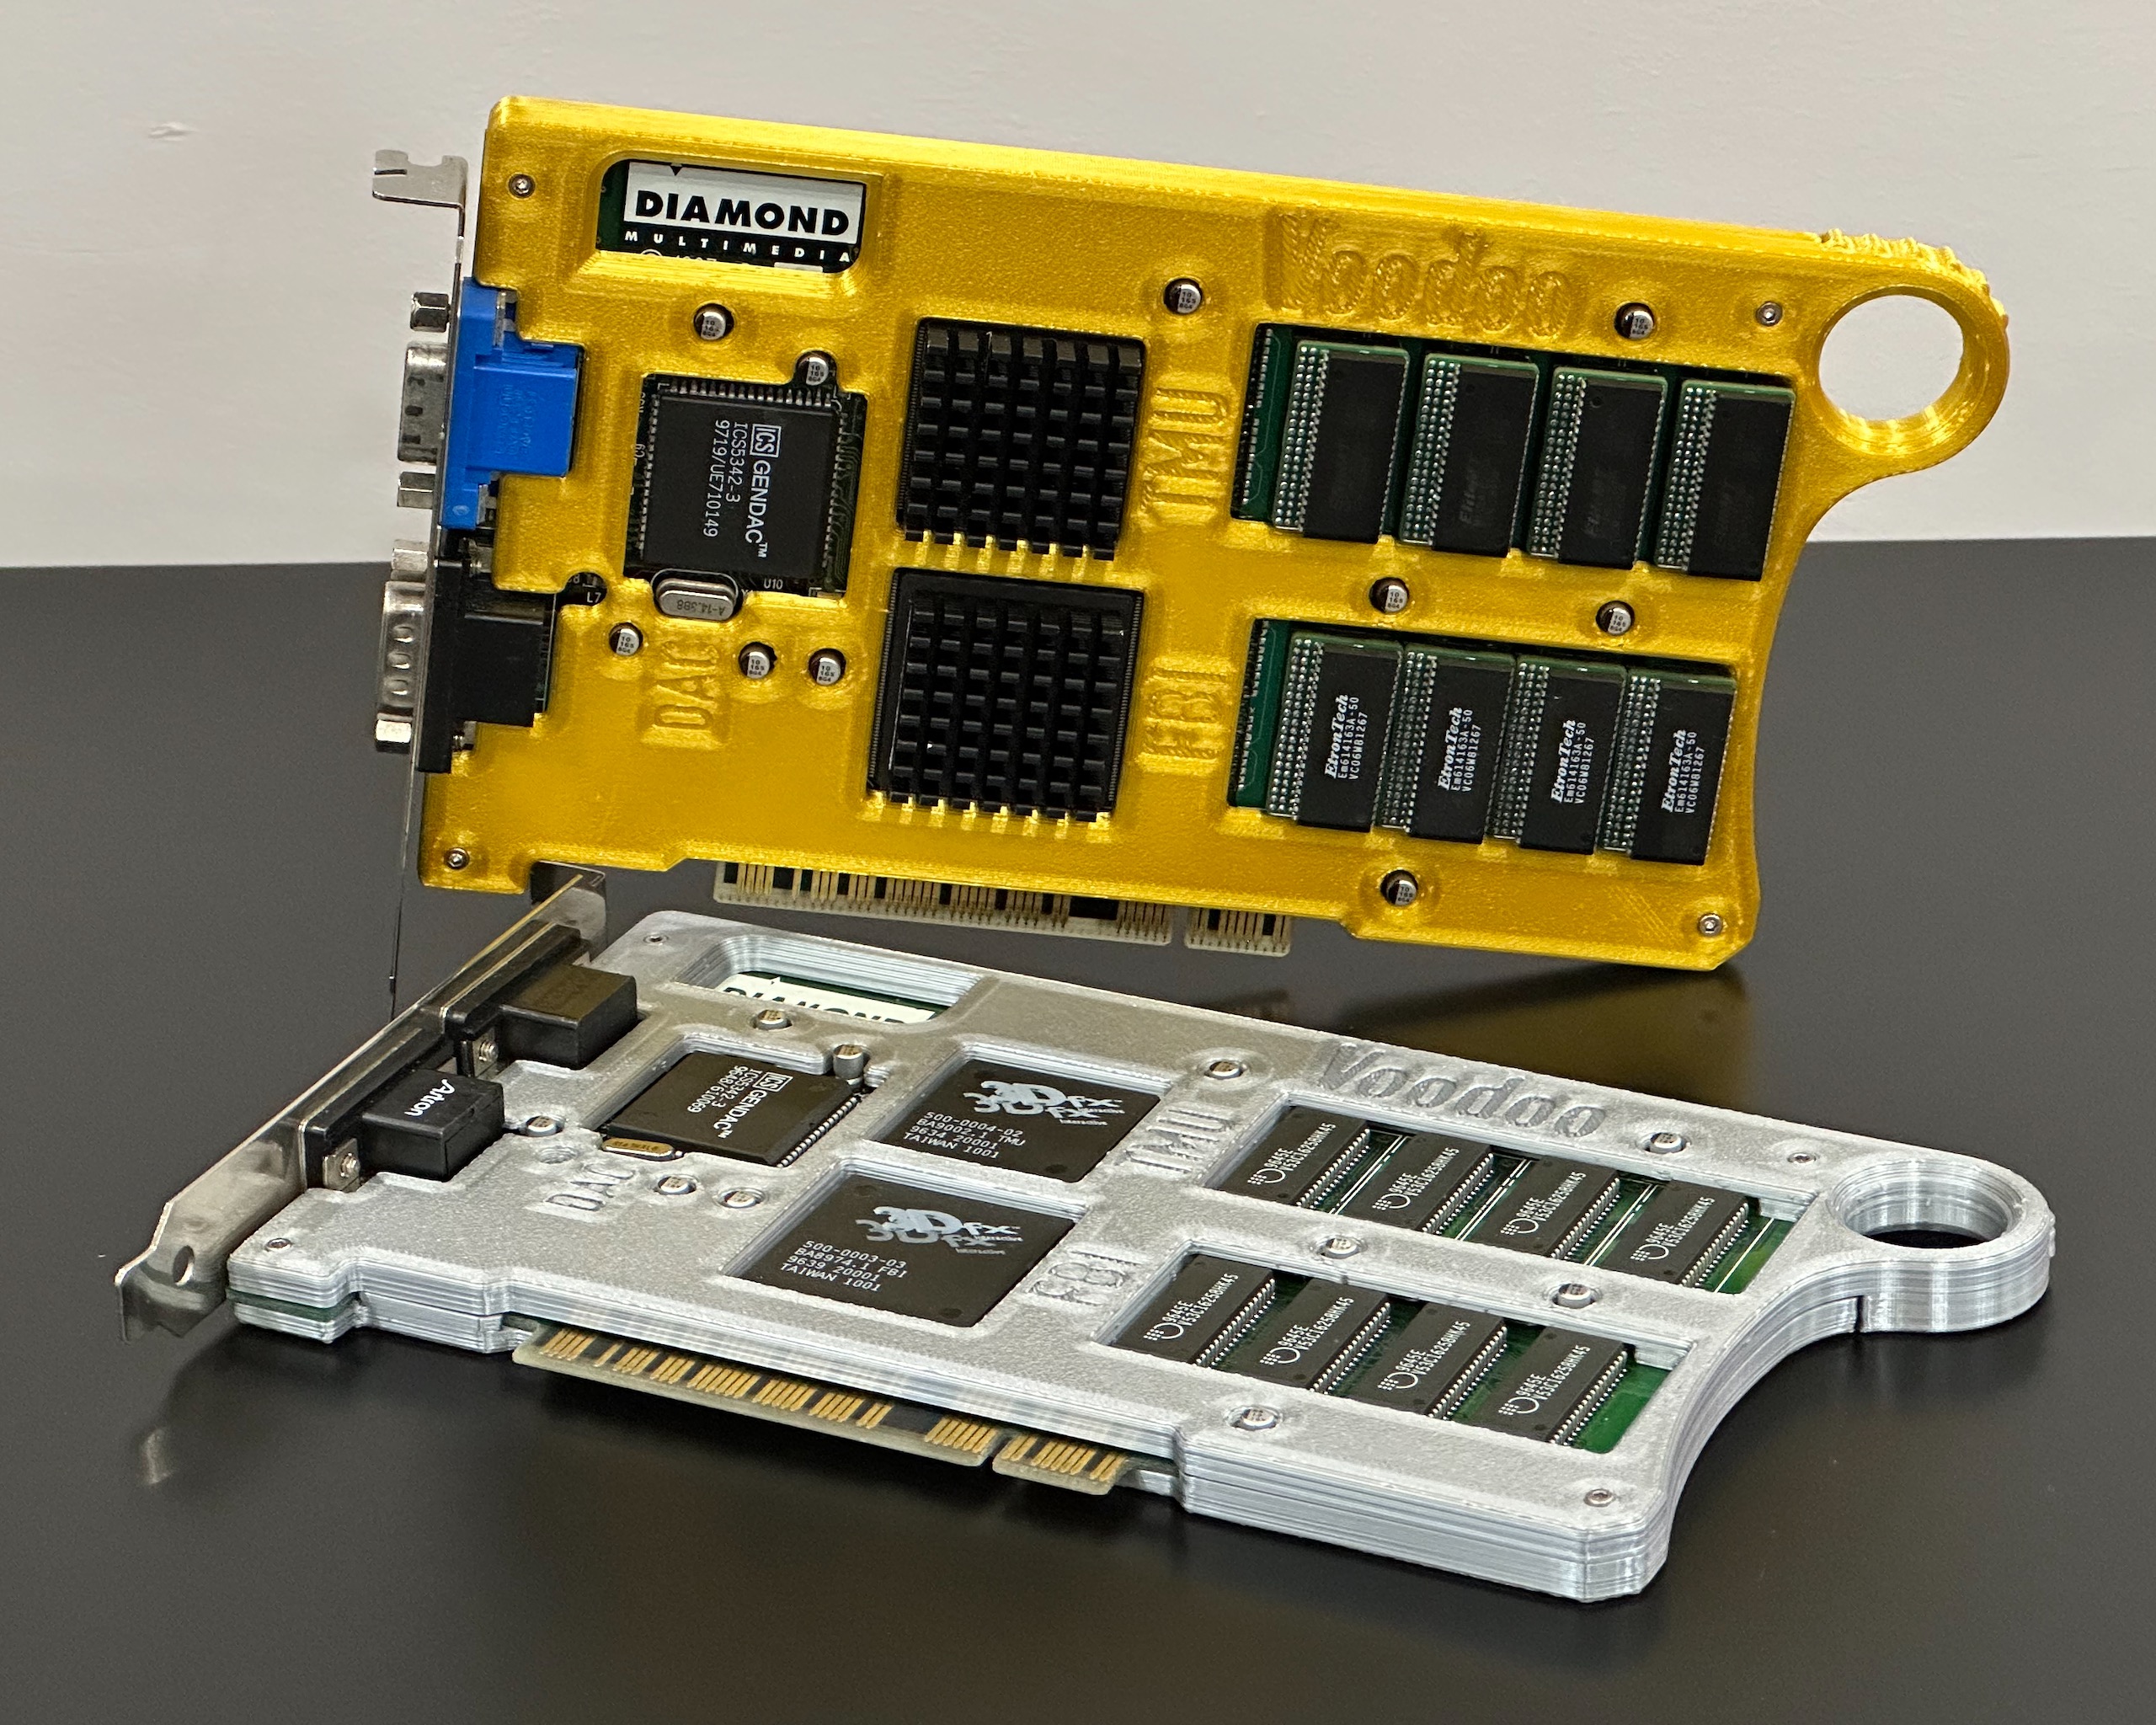 This armor is compatible with both the 1996 and 1997 revision, which are somewhat different.
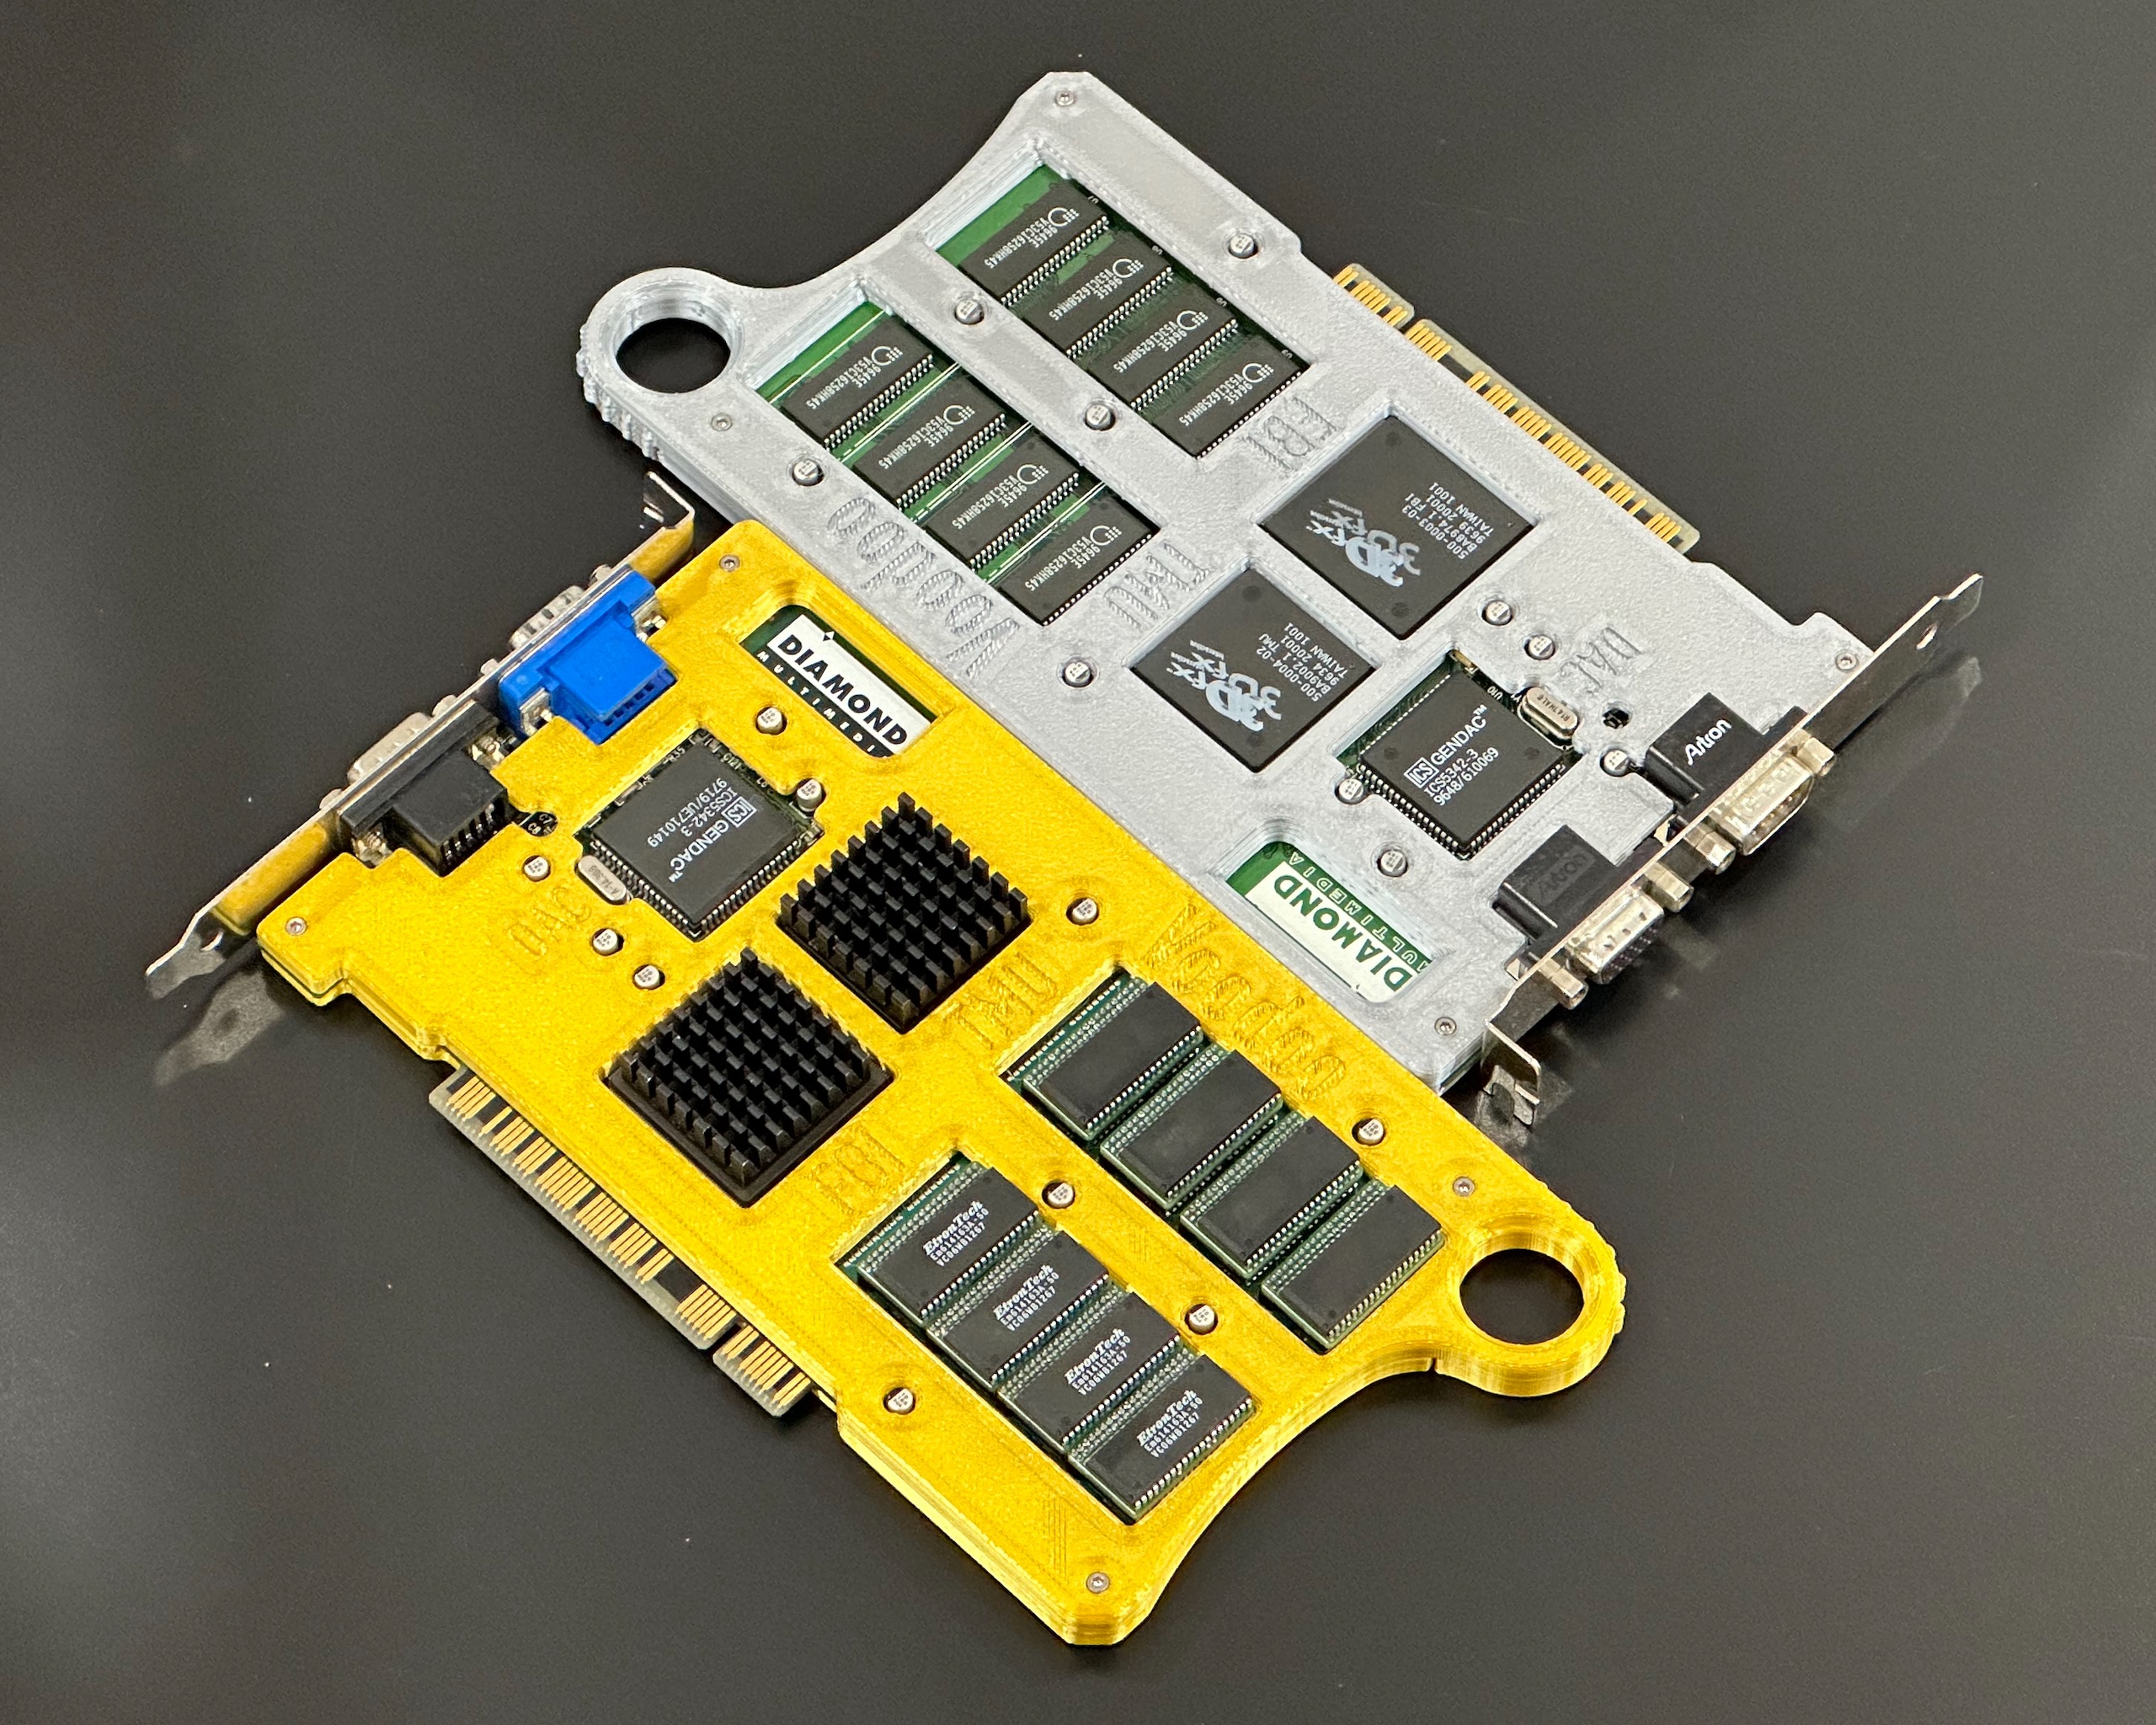 | 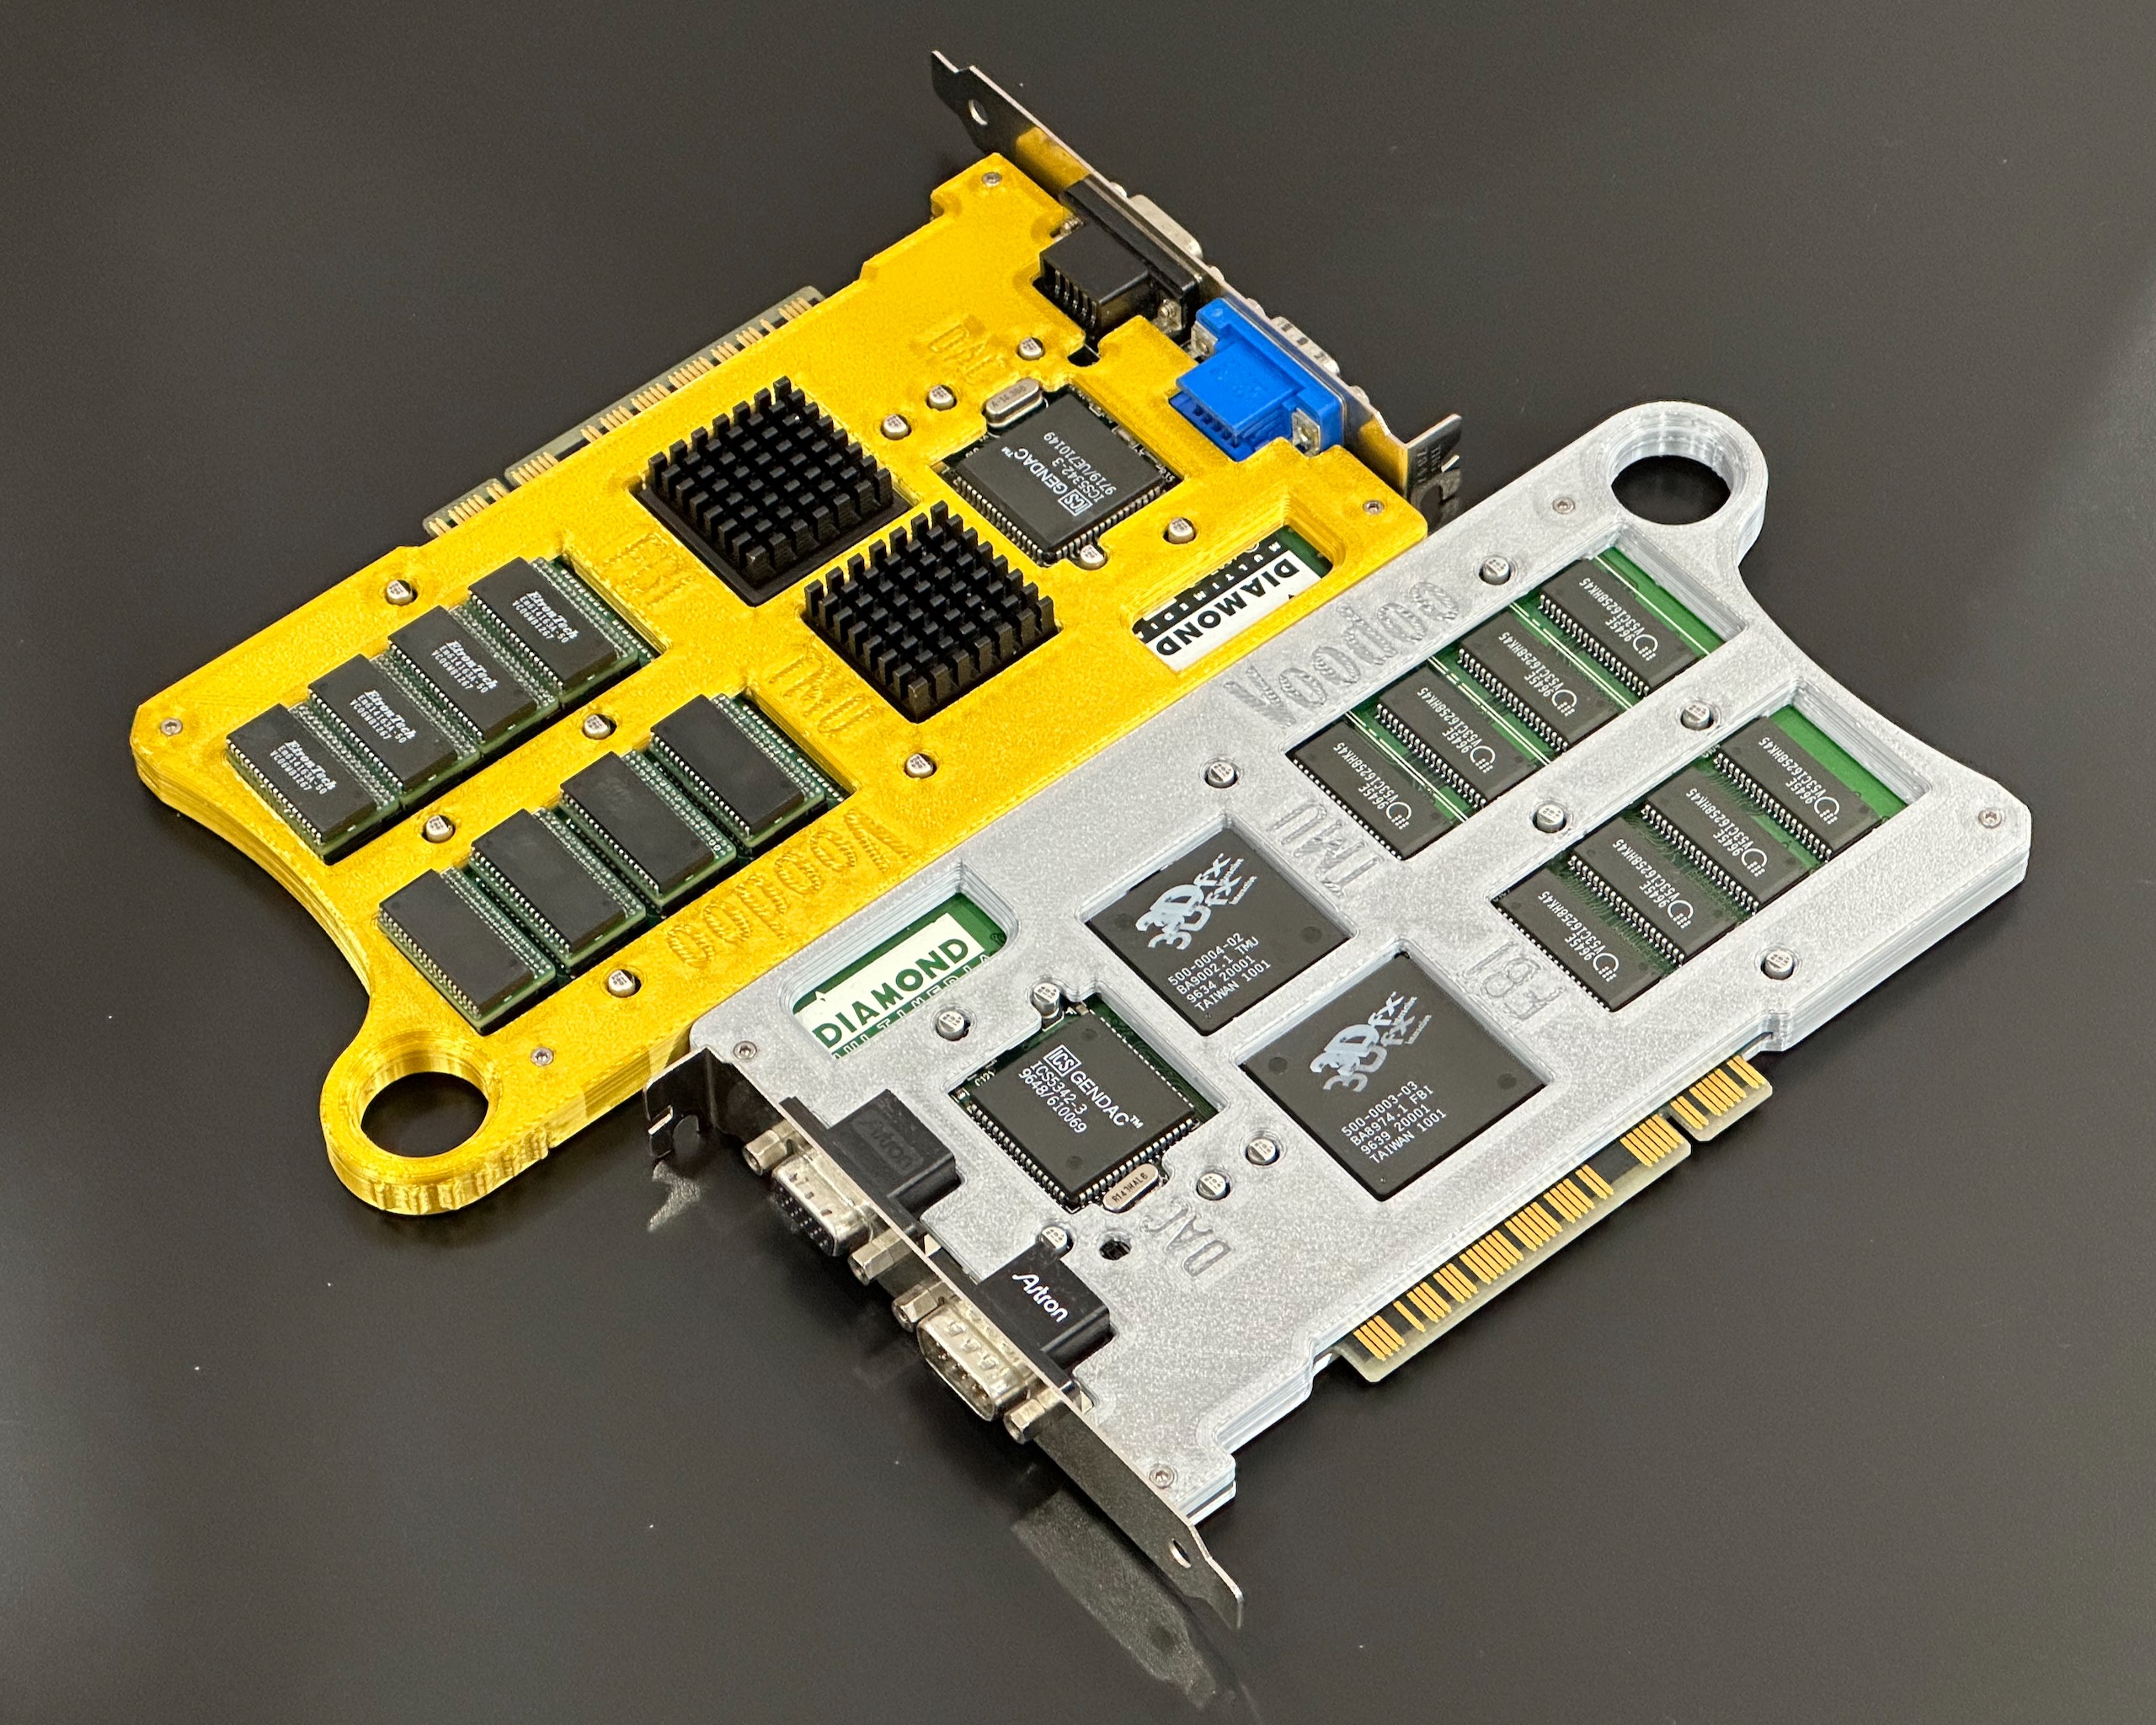 |
Silver - 1996; Gold - 1997.
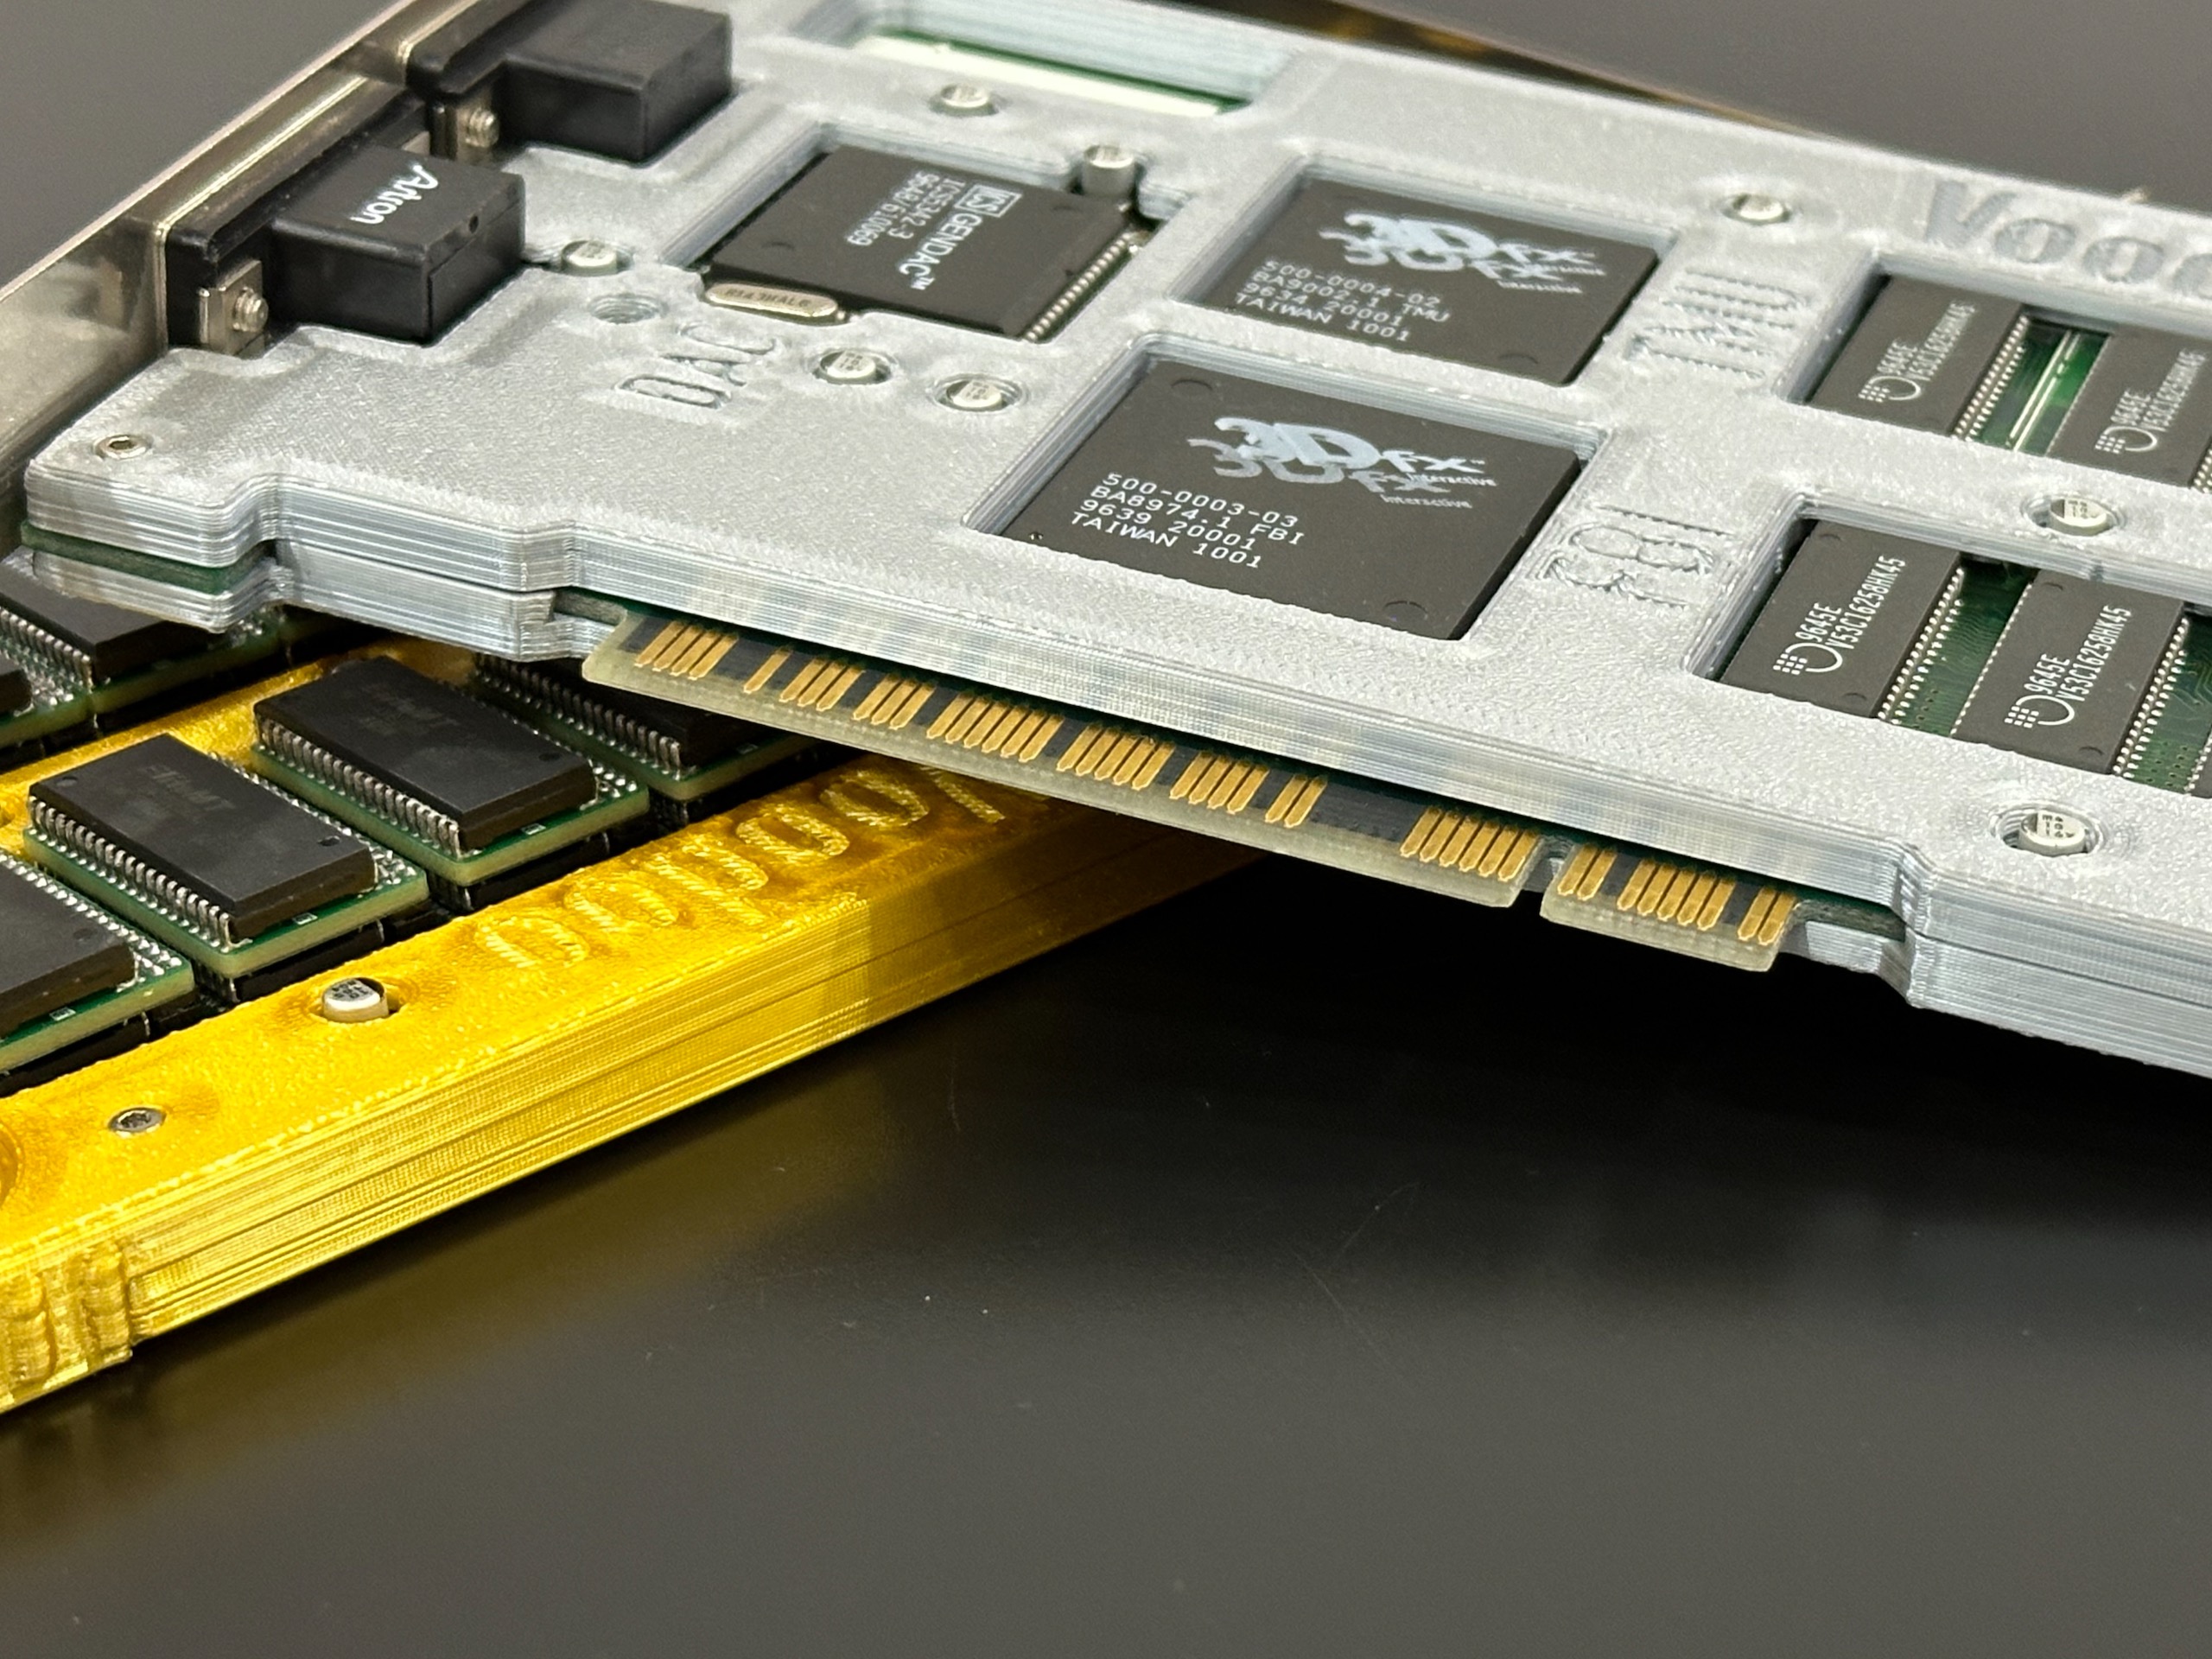
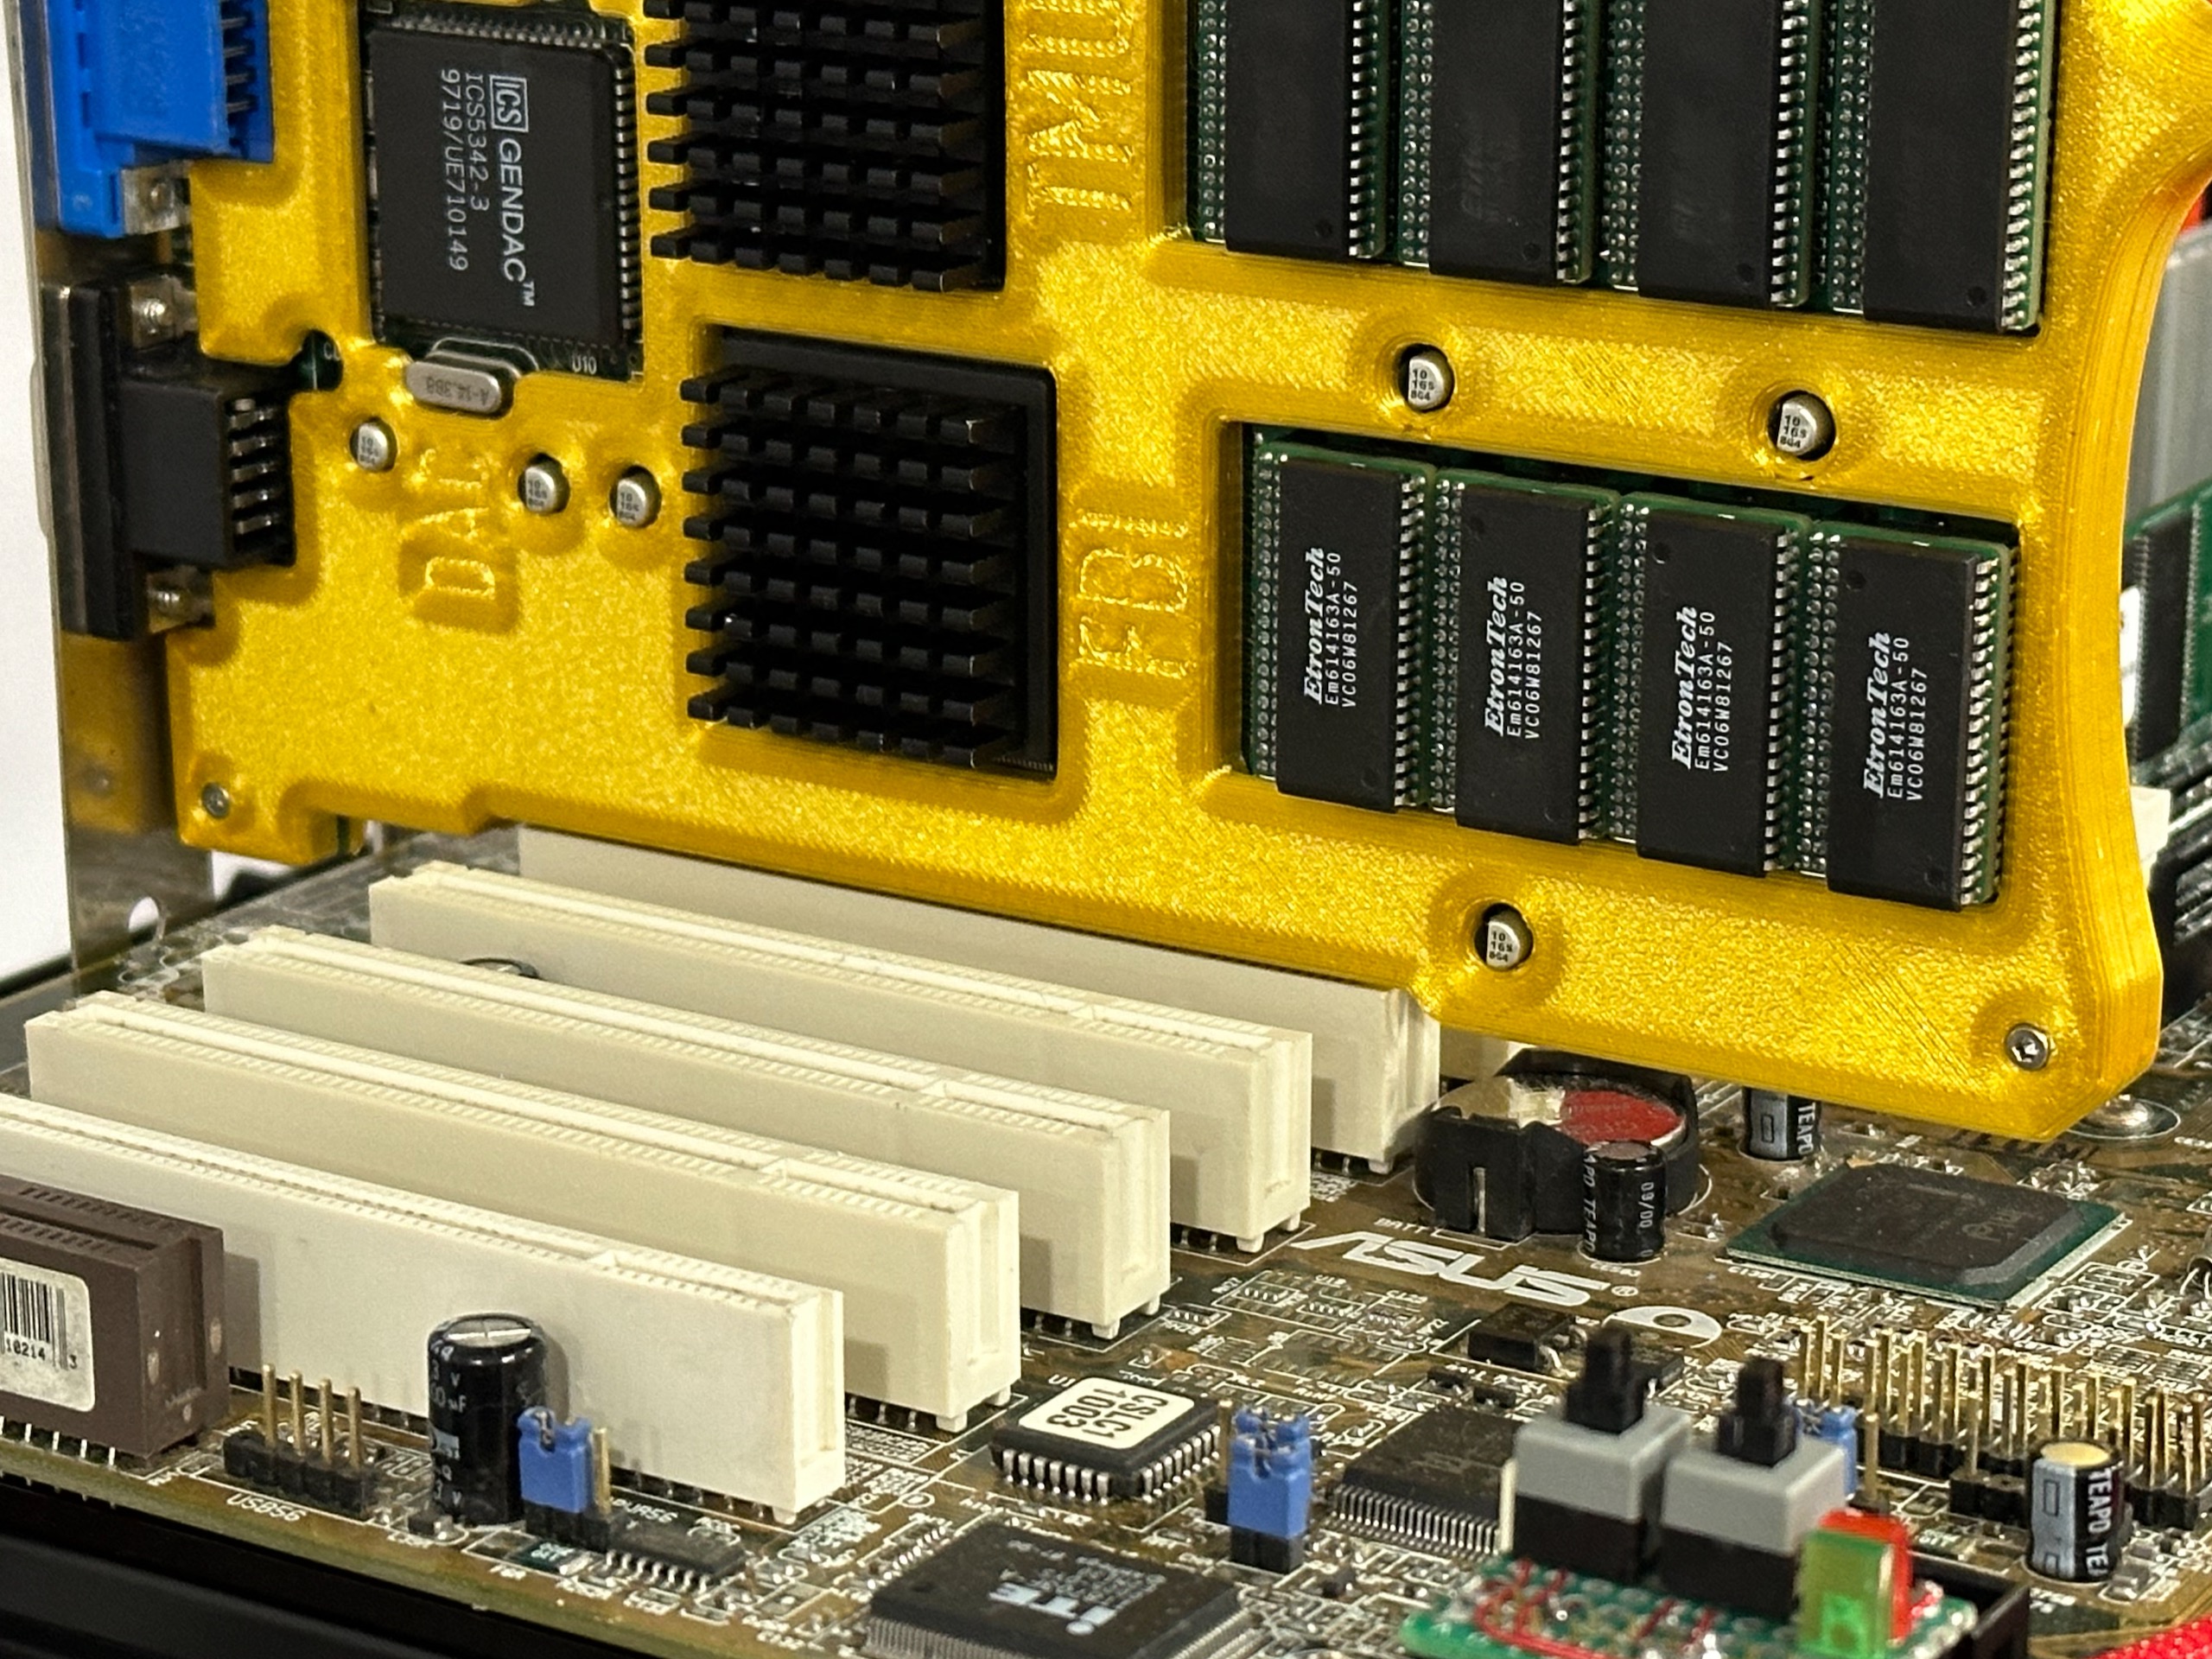
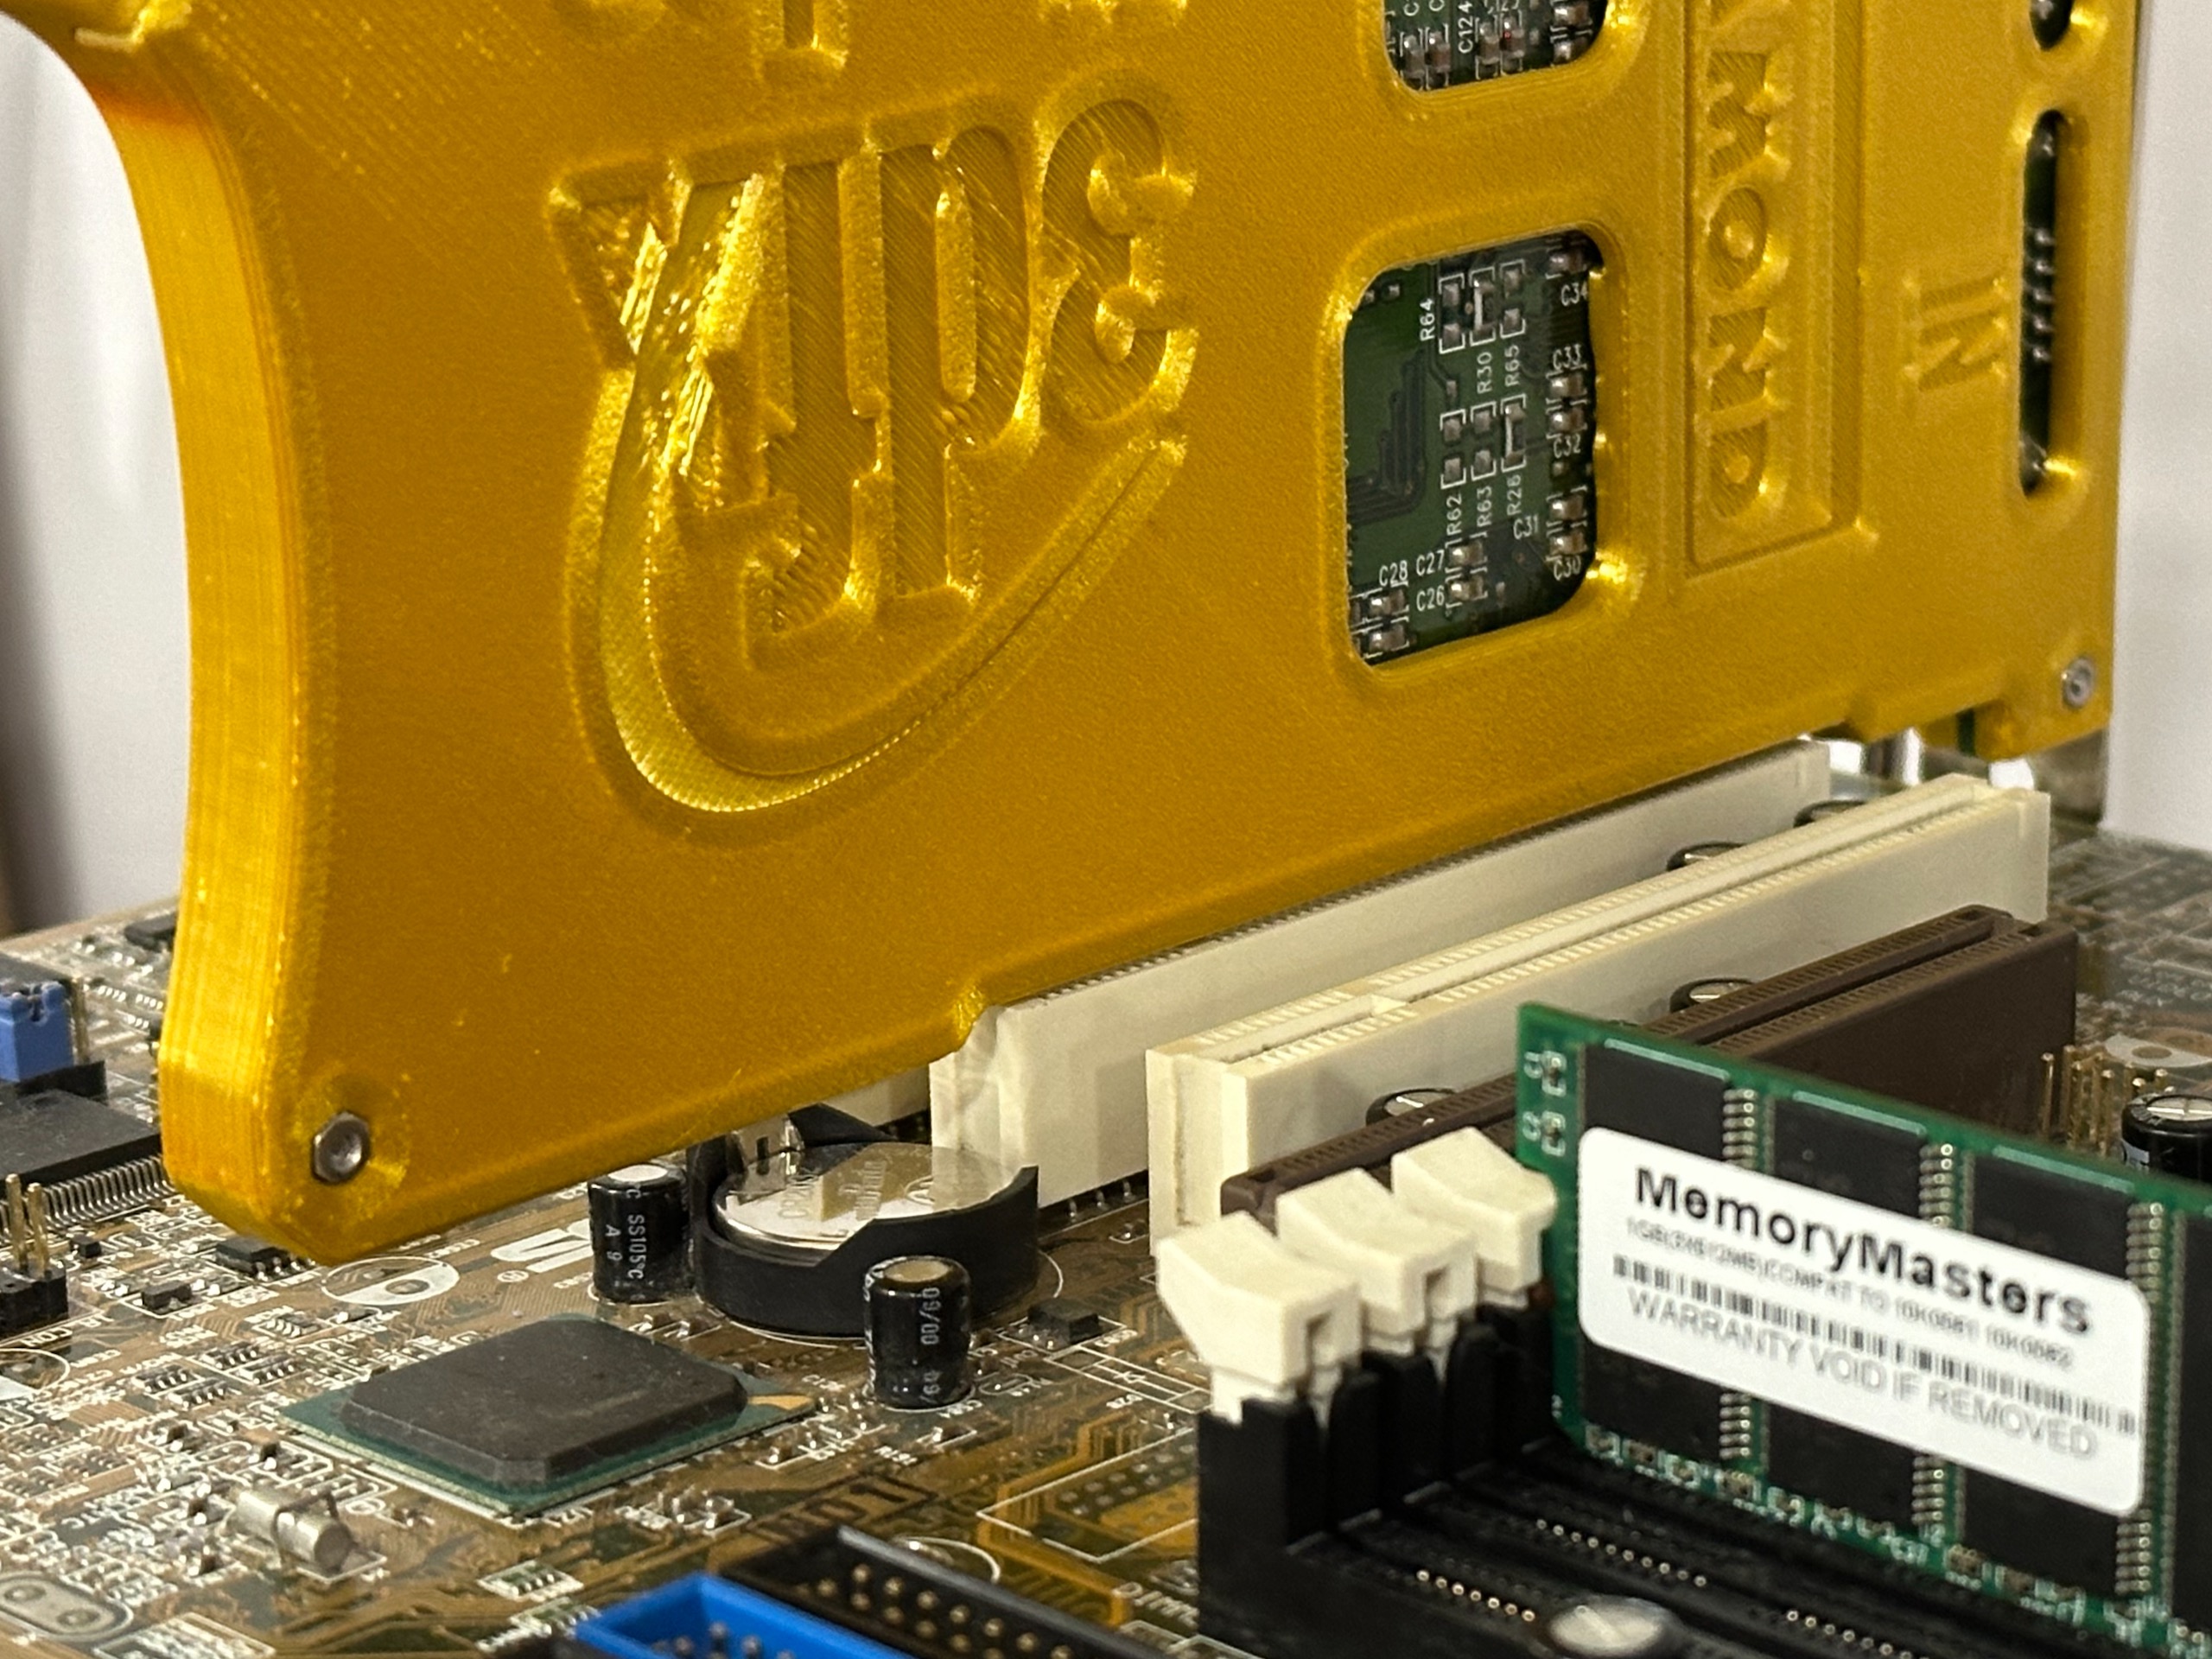
The shell has a protected & strengthened PCI edge, so the card has a better tendency to stand straight up inside the PCI slot.
 |  |  |
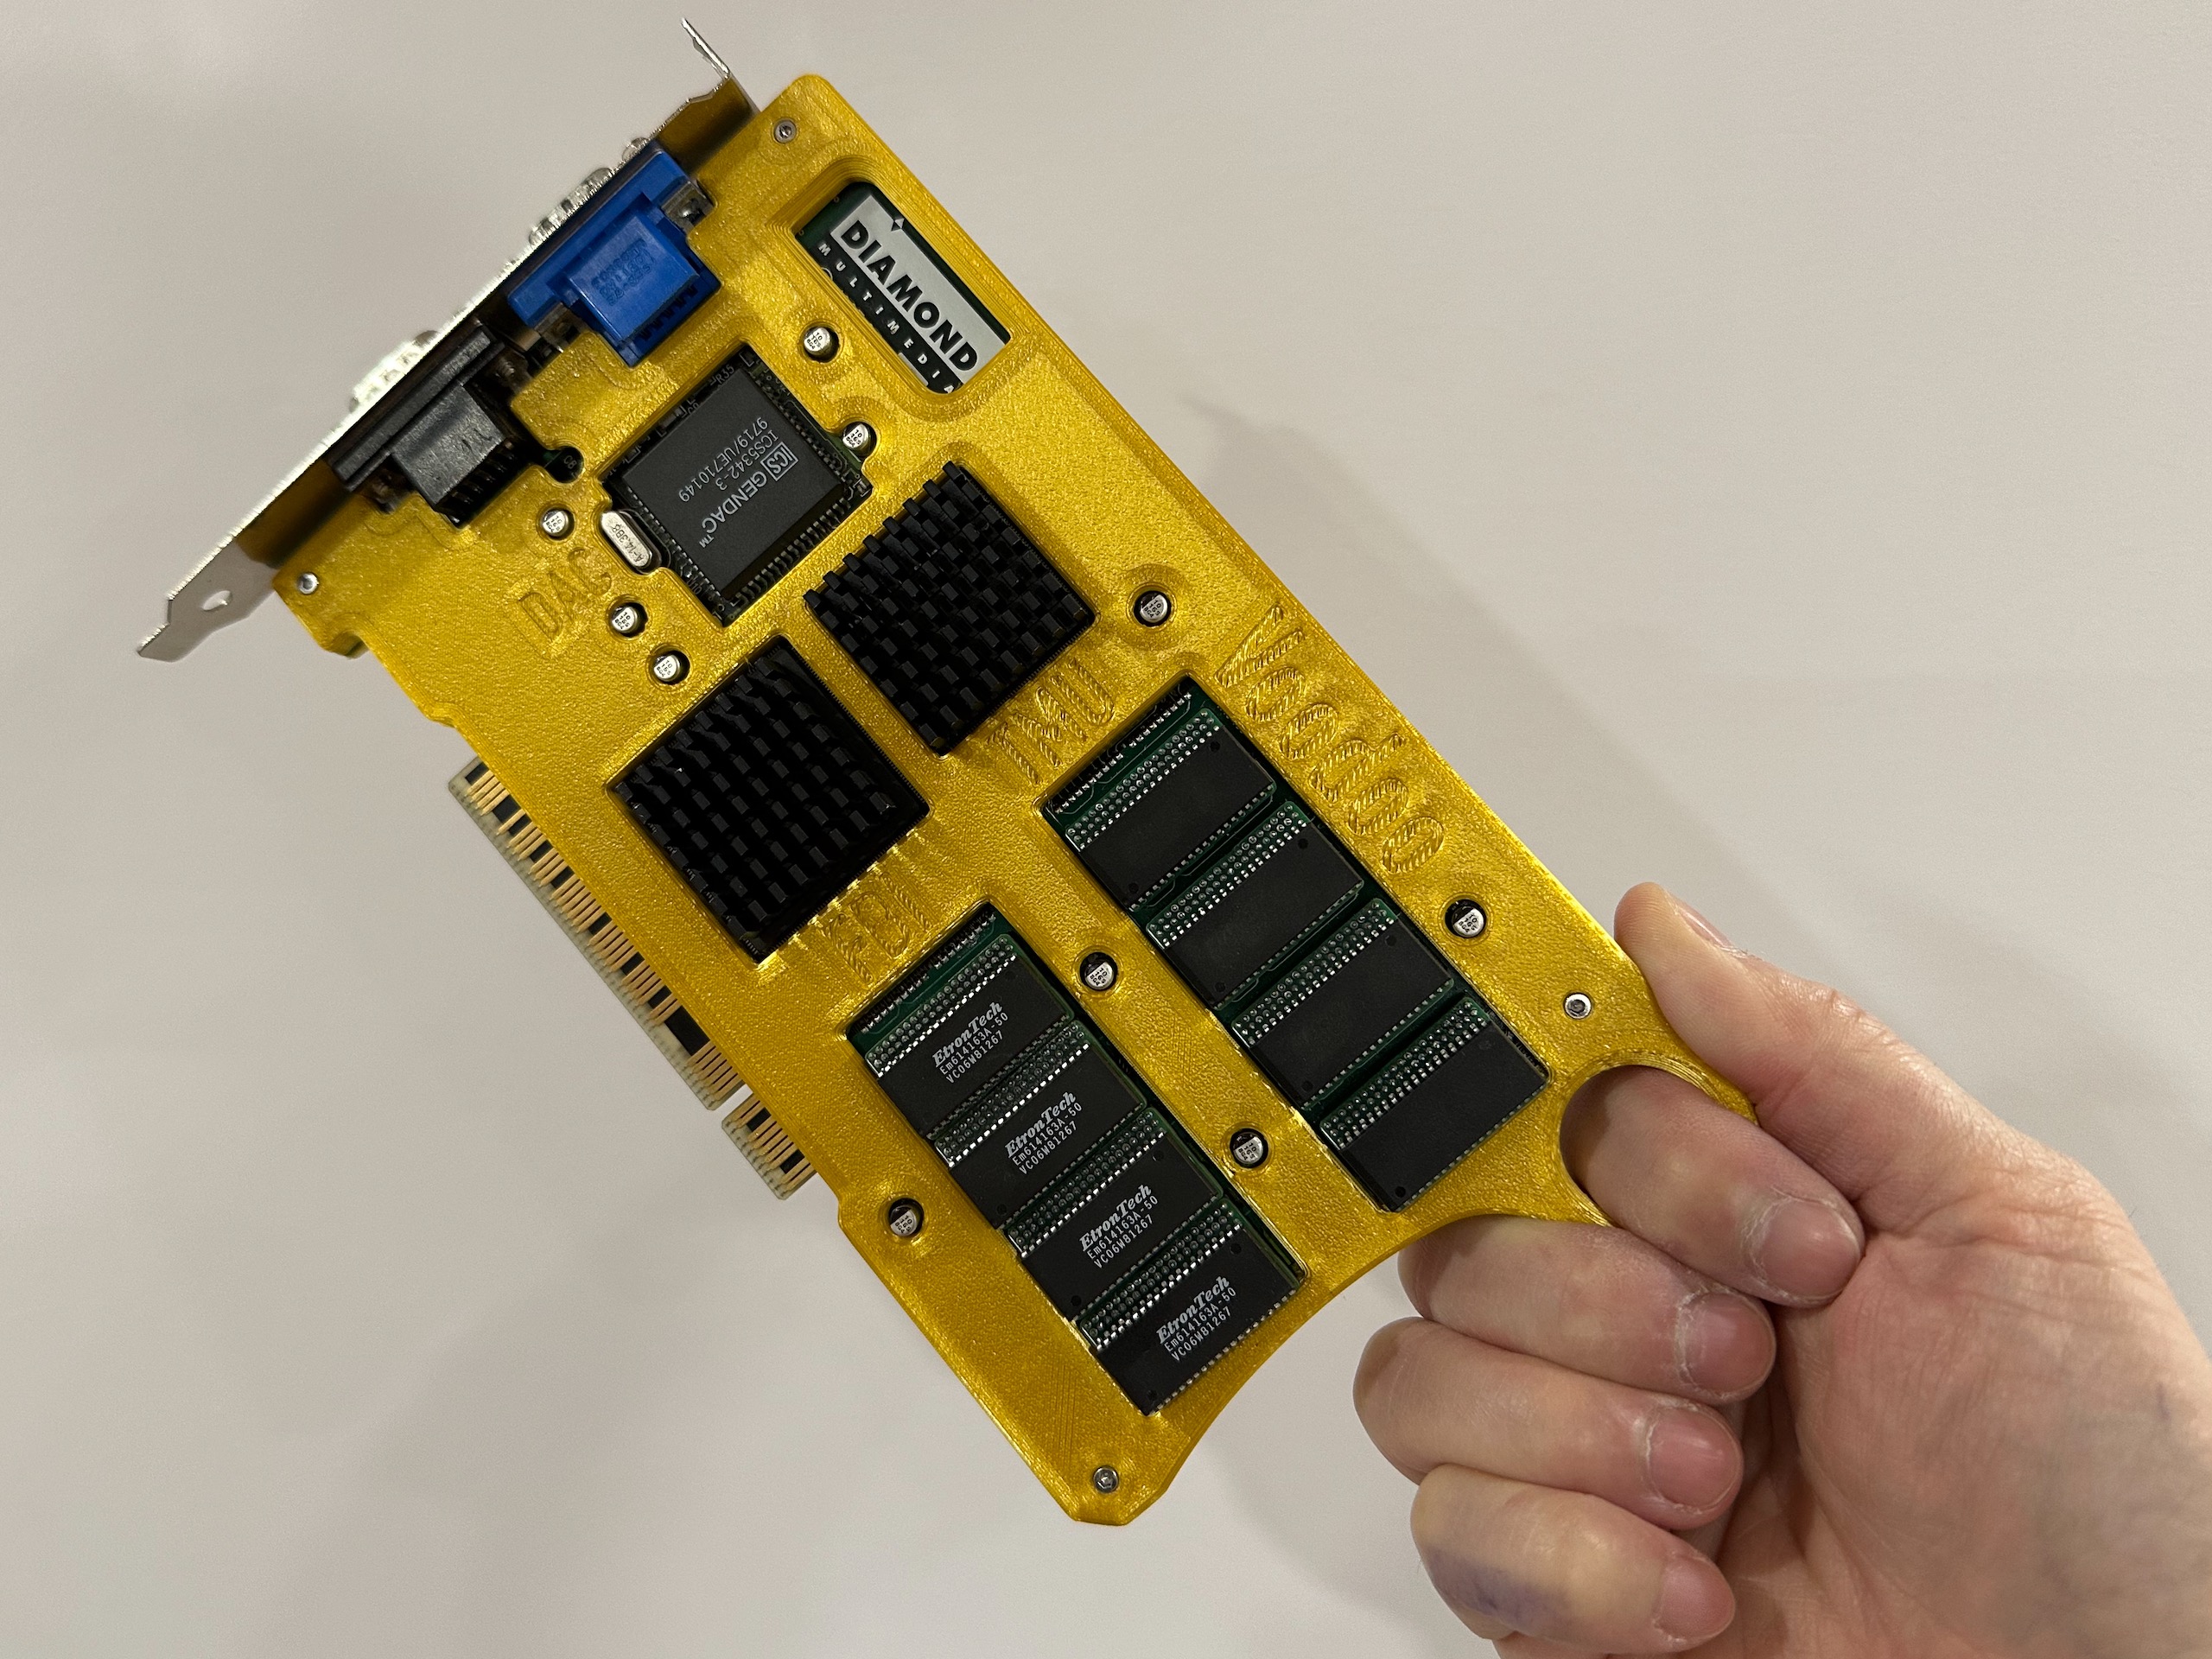
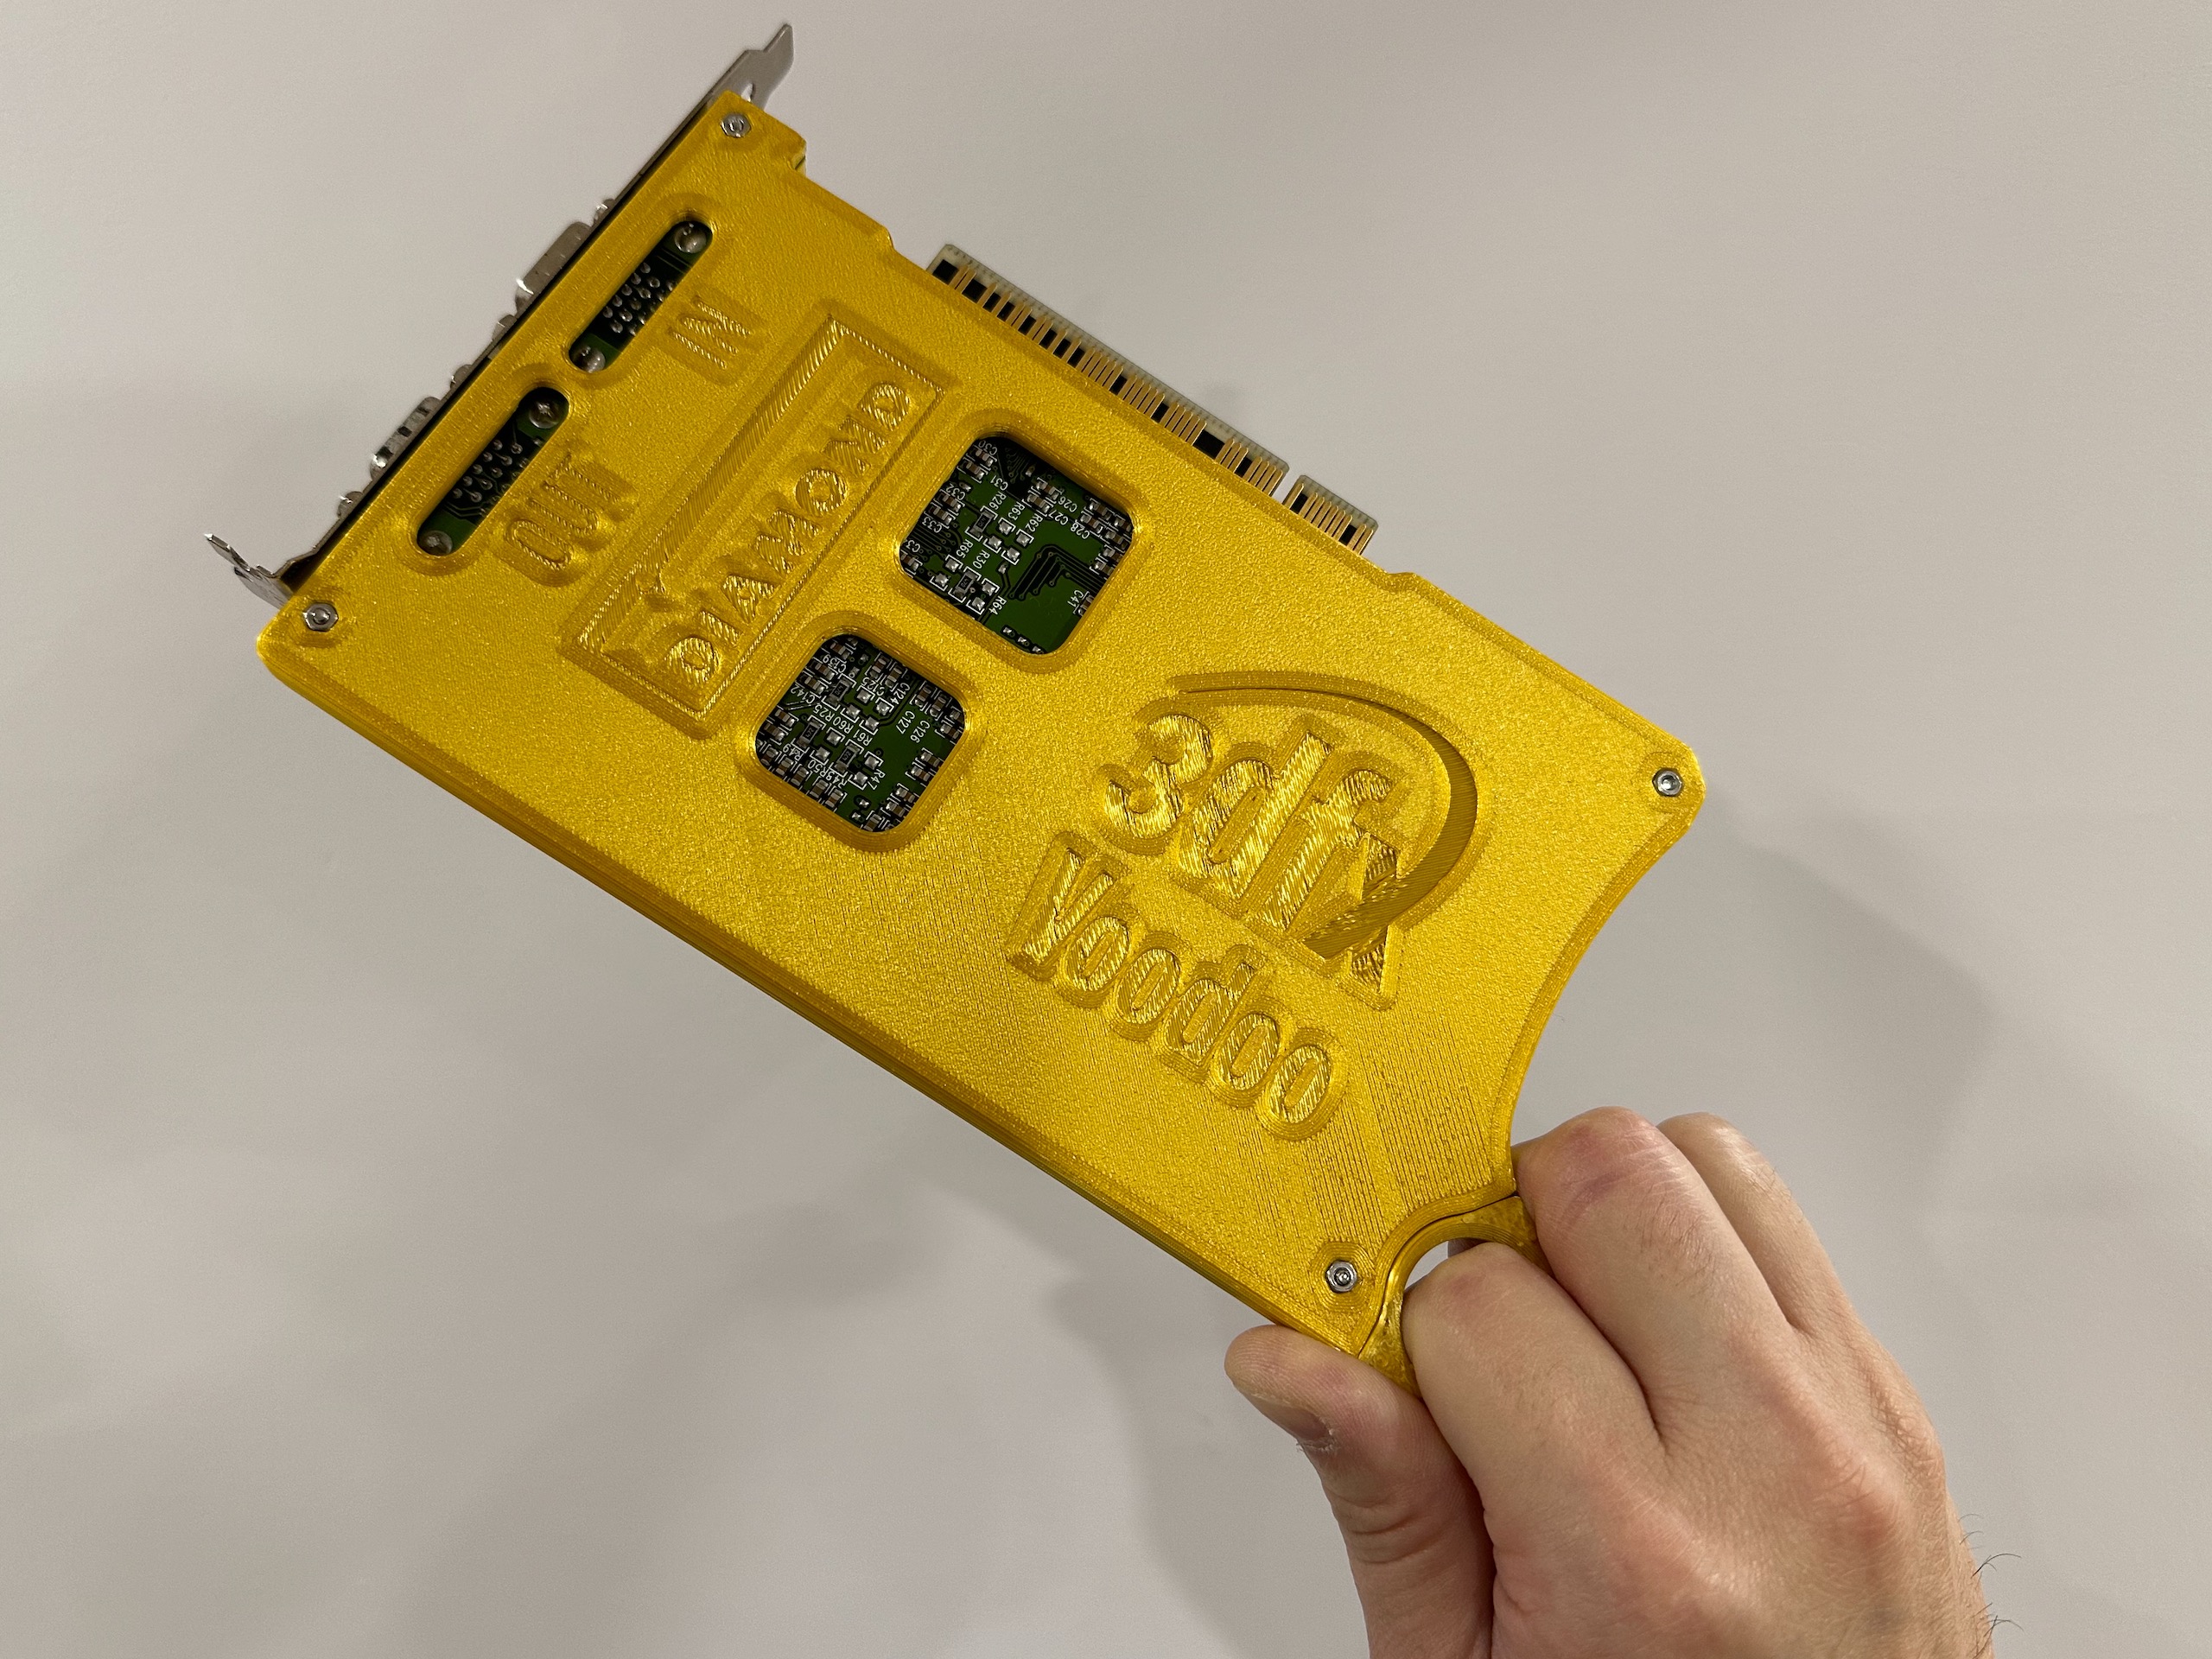
A handle is designed for easier handling of the card.
 |  |  |
This armor is compatible with my Diamond Monster 3D 3Dfx Voodoo 1 VRAM Expansion Mod and serves as a support for the out-most modules, which tend to sag due to lack of support on its own.
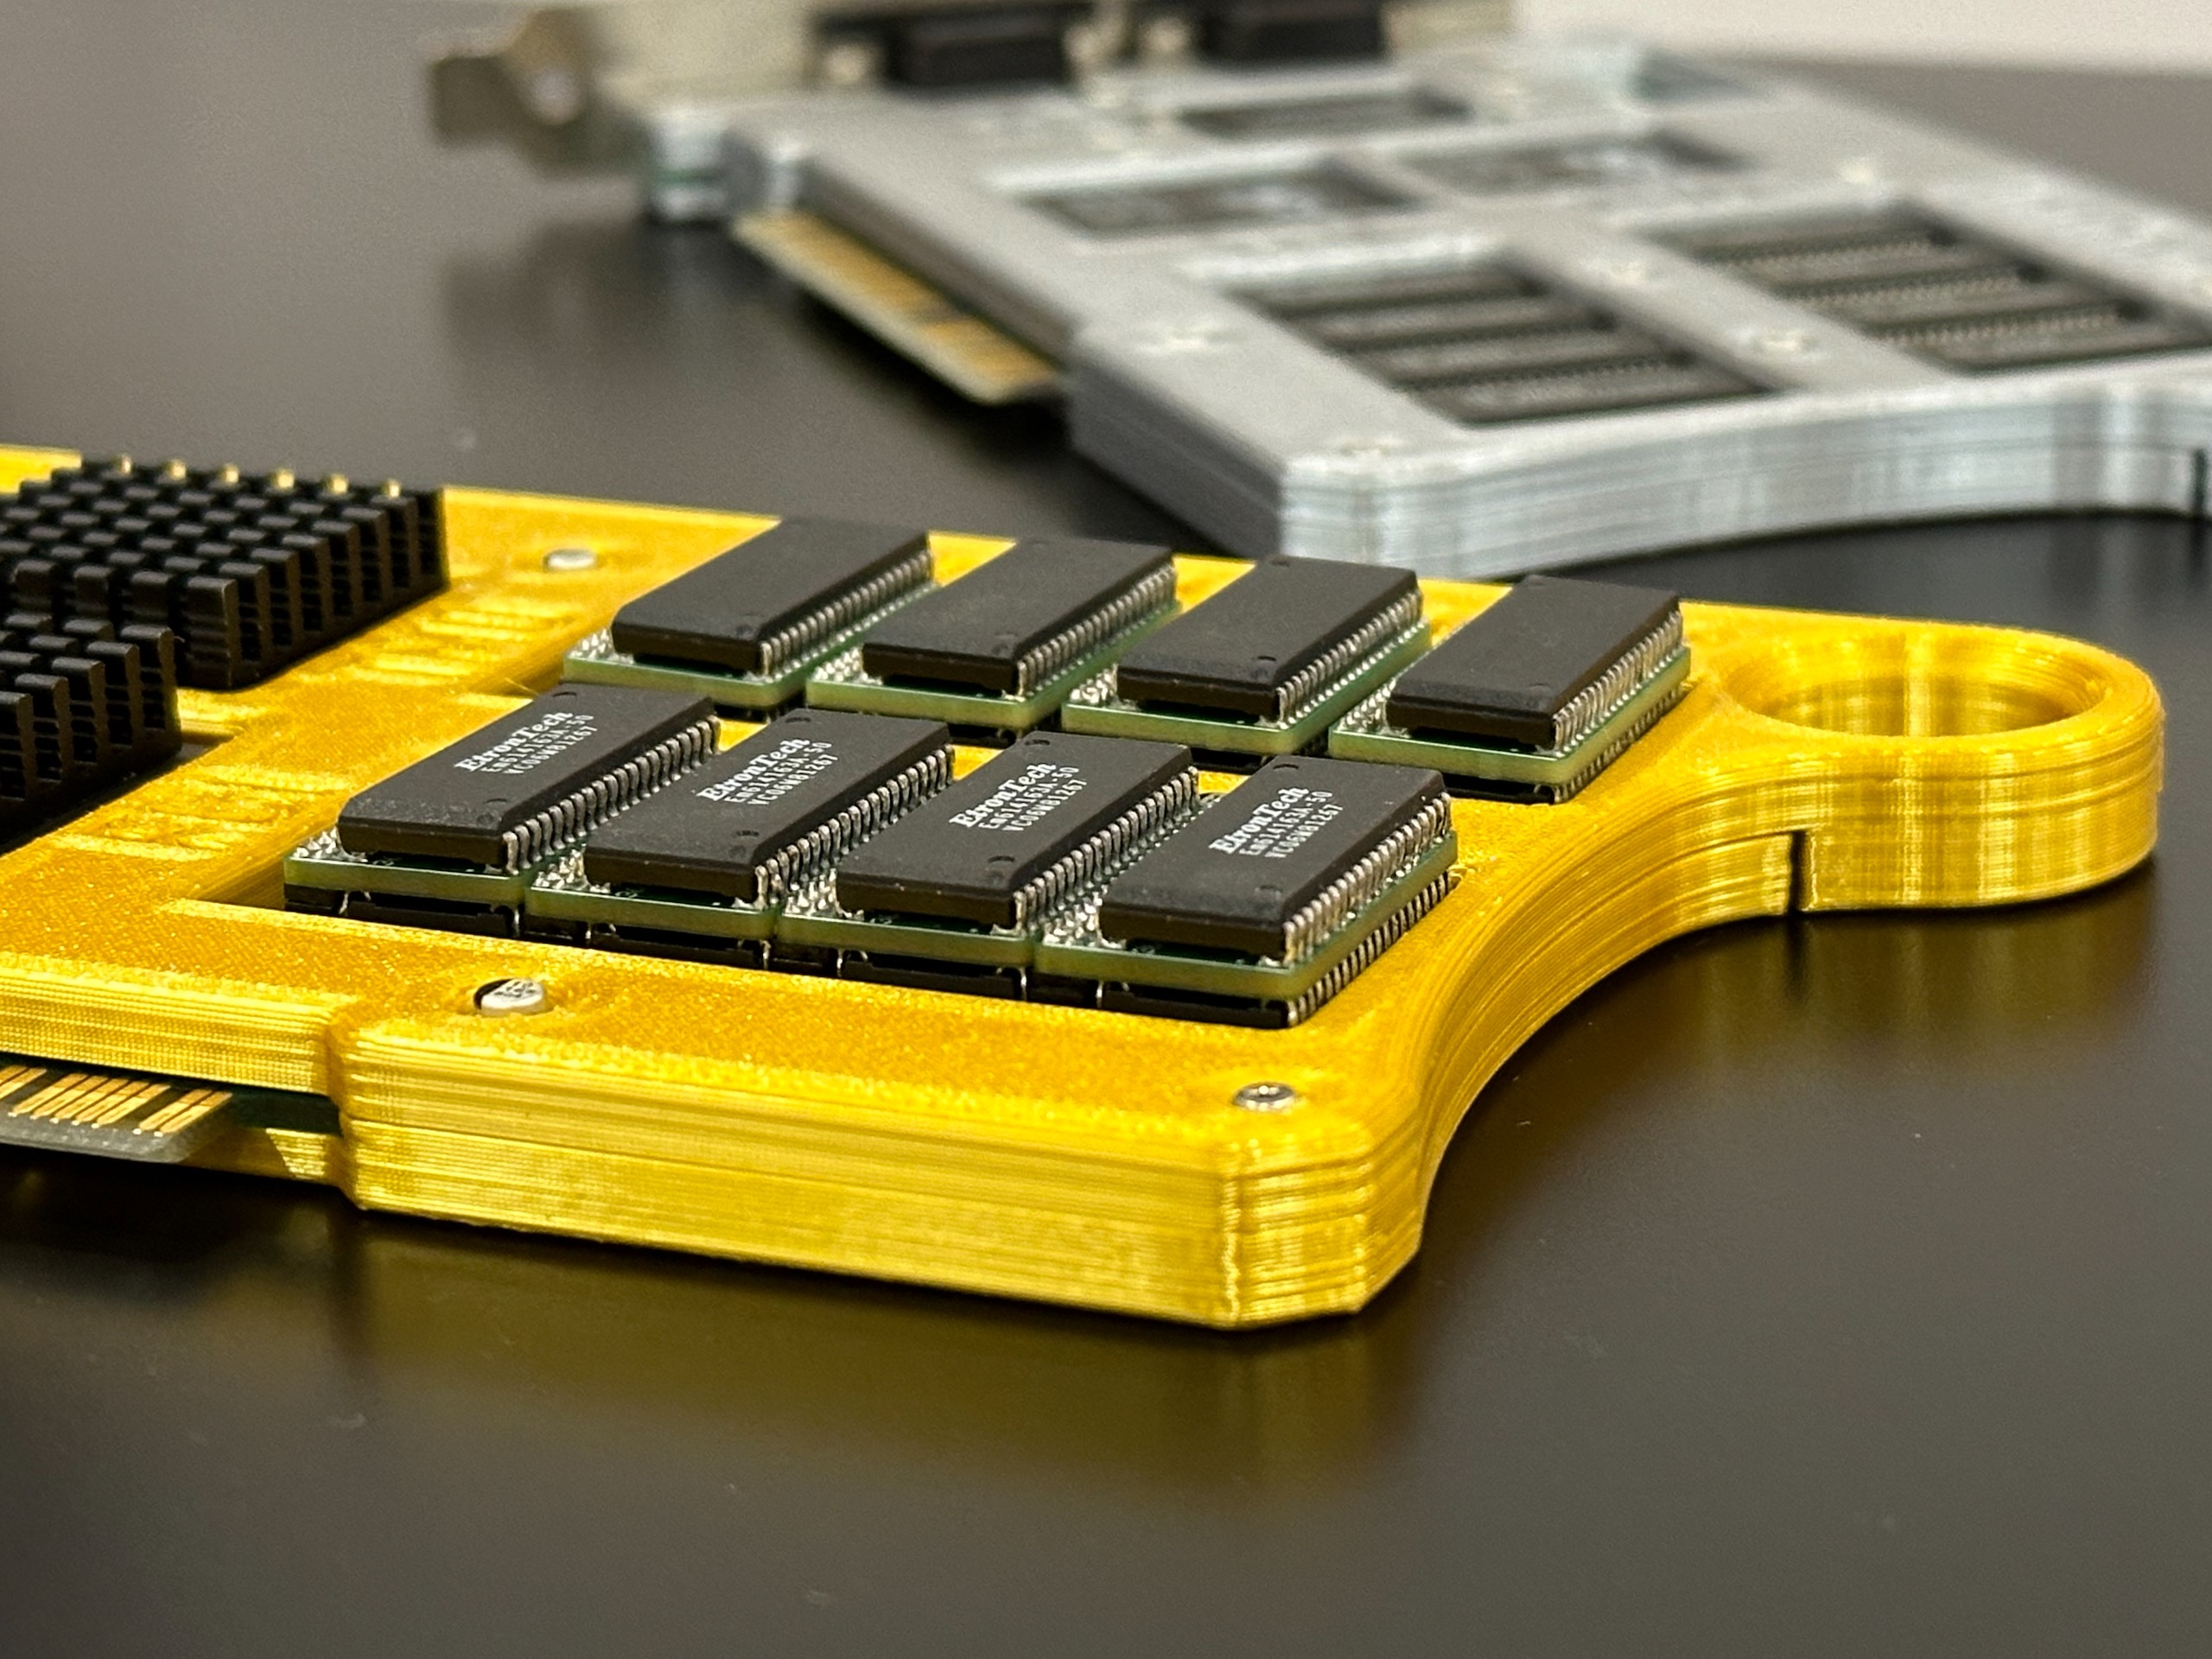 | 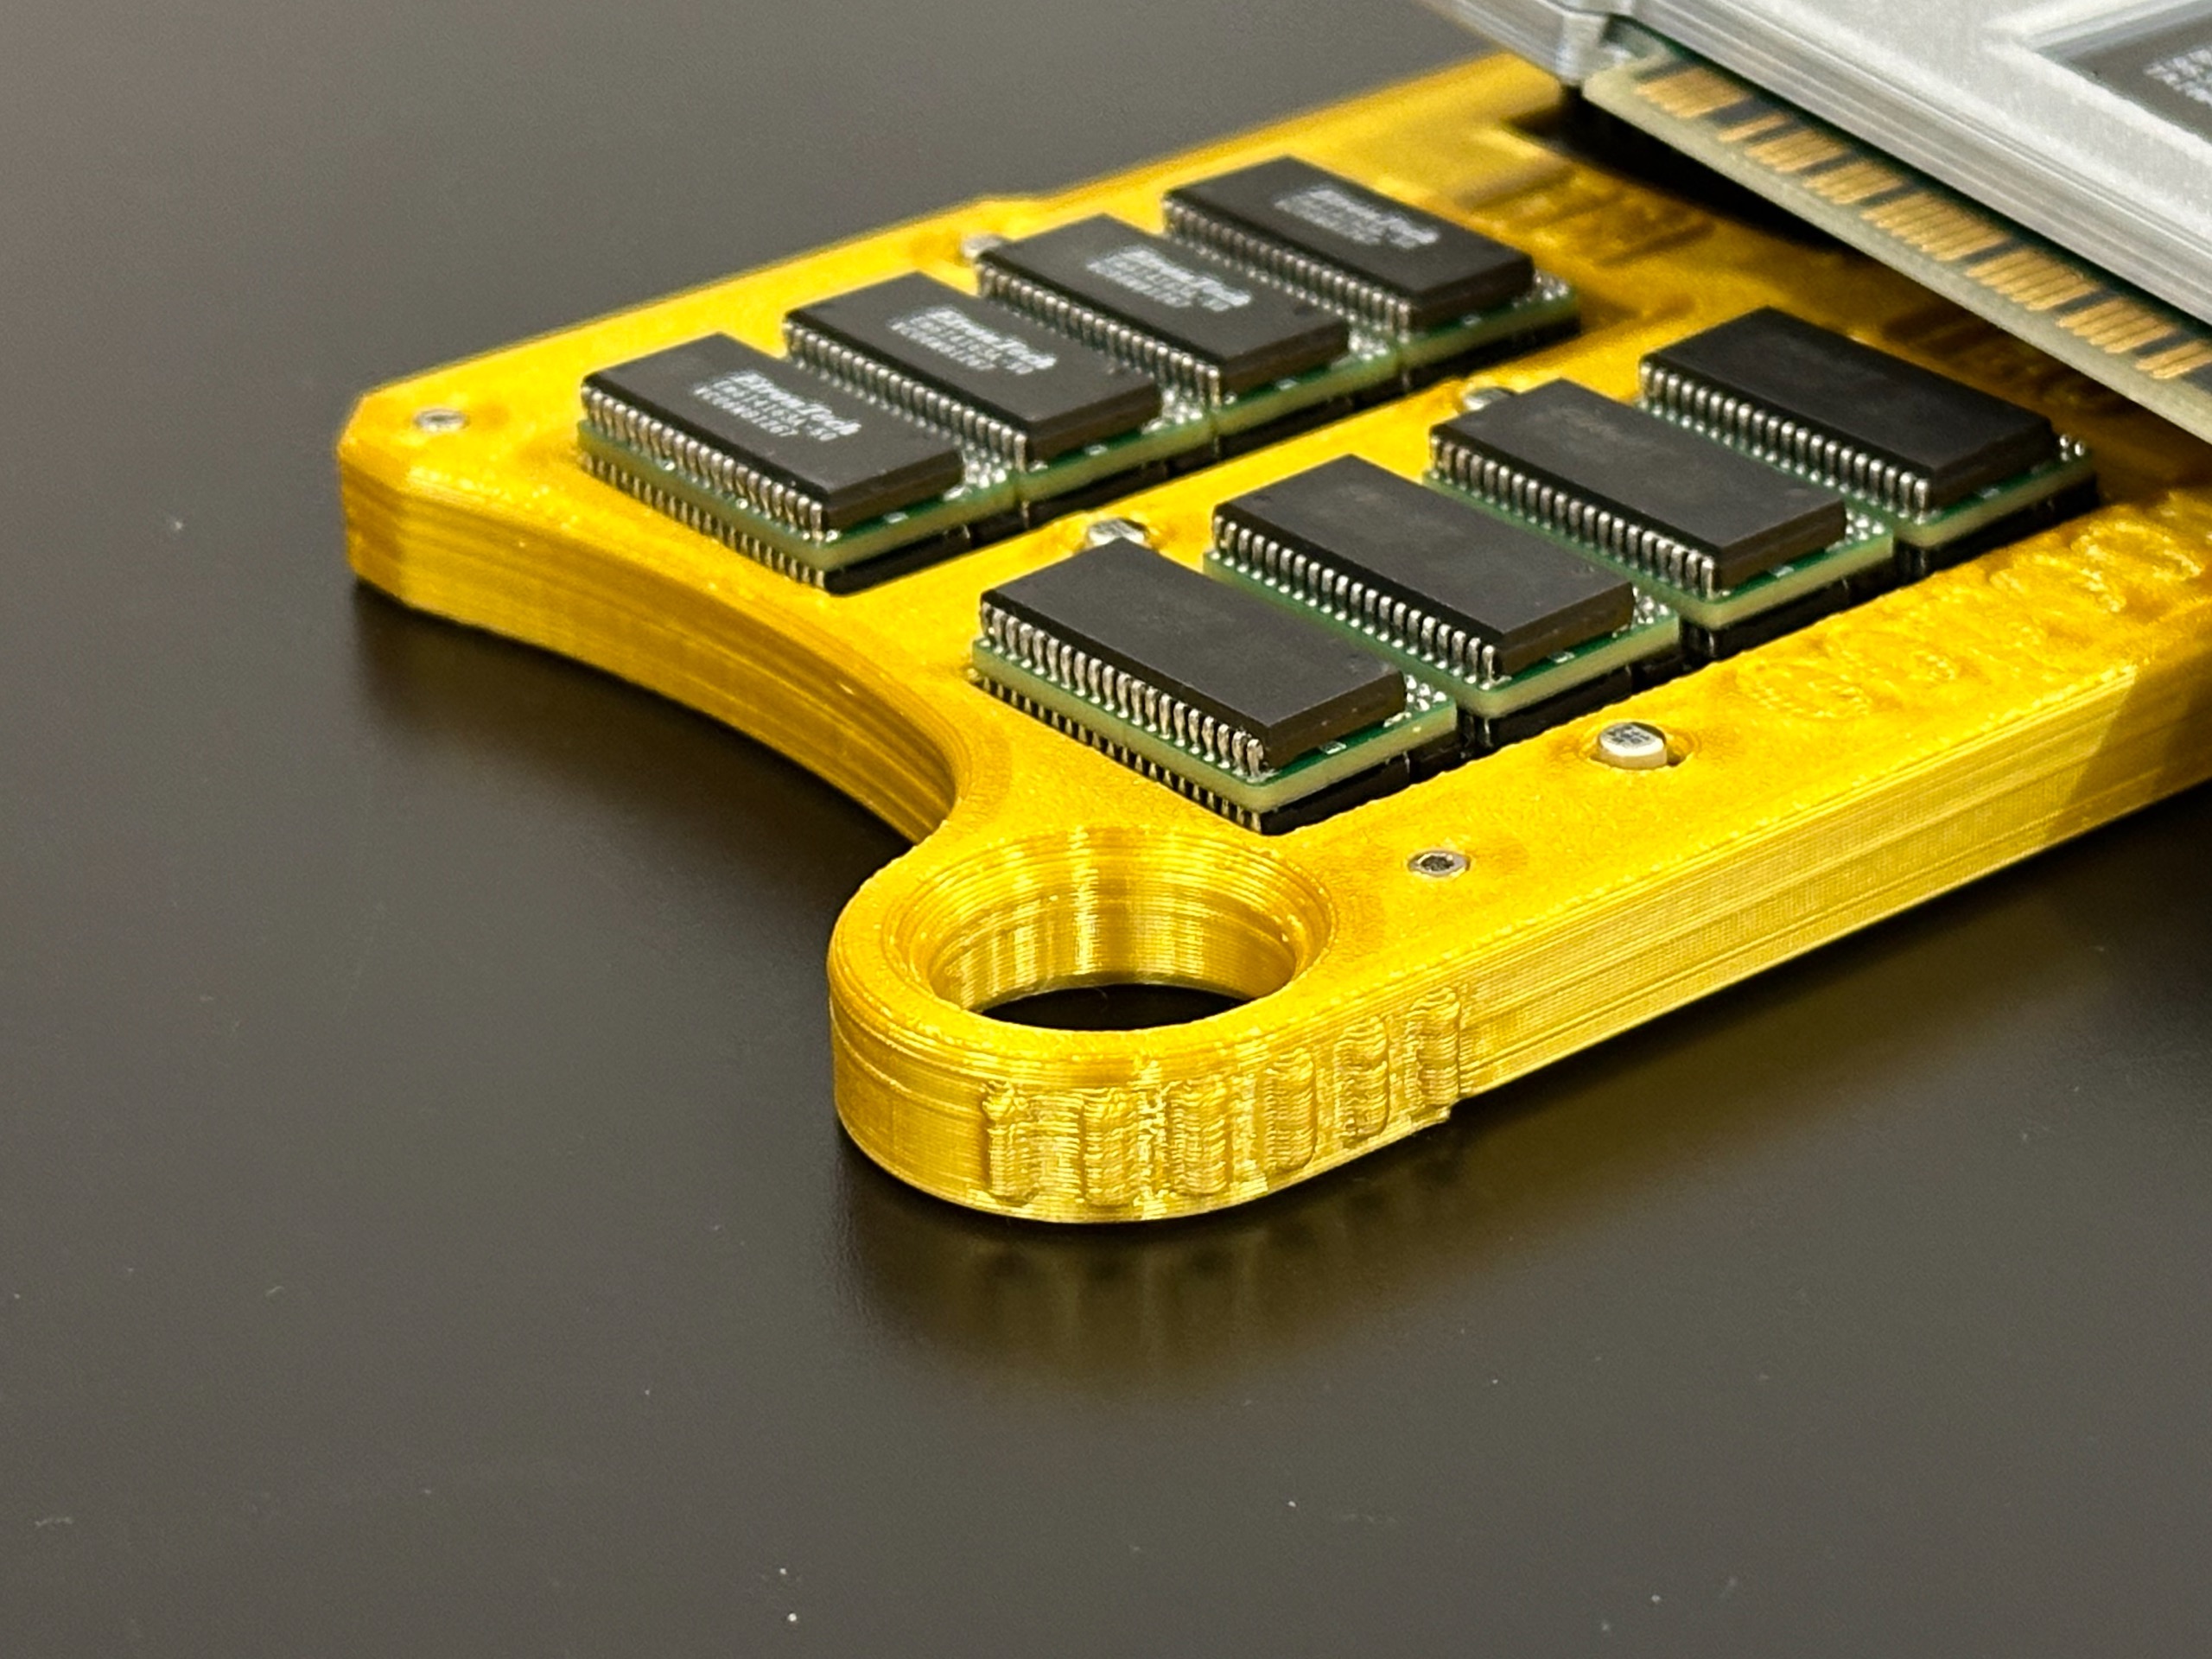 |
Parts
4 sets of M2x8mm hex screw and nuts are needed. Please refer to this page for what to look for and where to purchase them from.
Printing
Print the pieces in their original orientation (face side down).
Support is NOT necessary and NOT recommended.
Special Hollow Print
If you worry too much about solid shell suffocating your card, try the following special print settings:
- Top Layers / Bottom Layers / Initial Bottom Layers = 0
- Infill Density = 20%
- Infill Pattern = Triangles (or whatever you like)
- Infill Line Directions = [-60] (if you want straight vertical lines)
- Infill Line Multiplier = 3
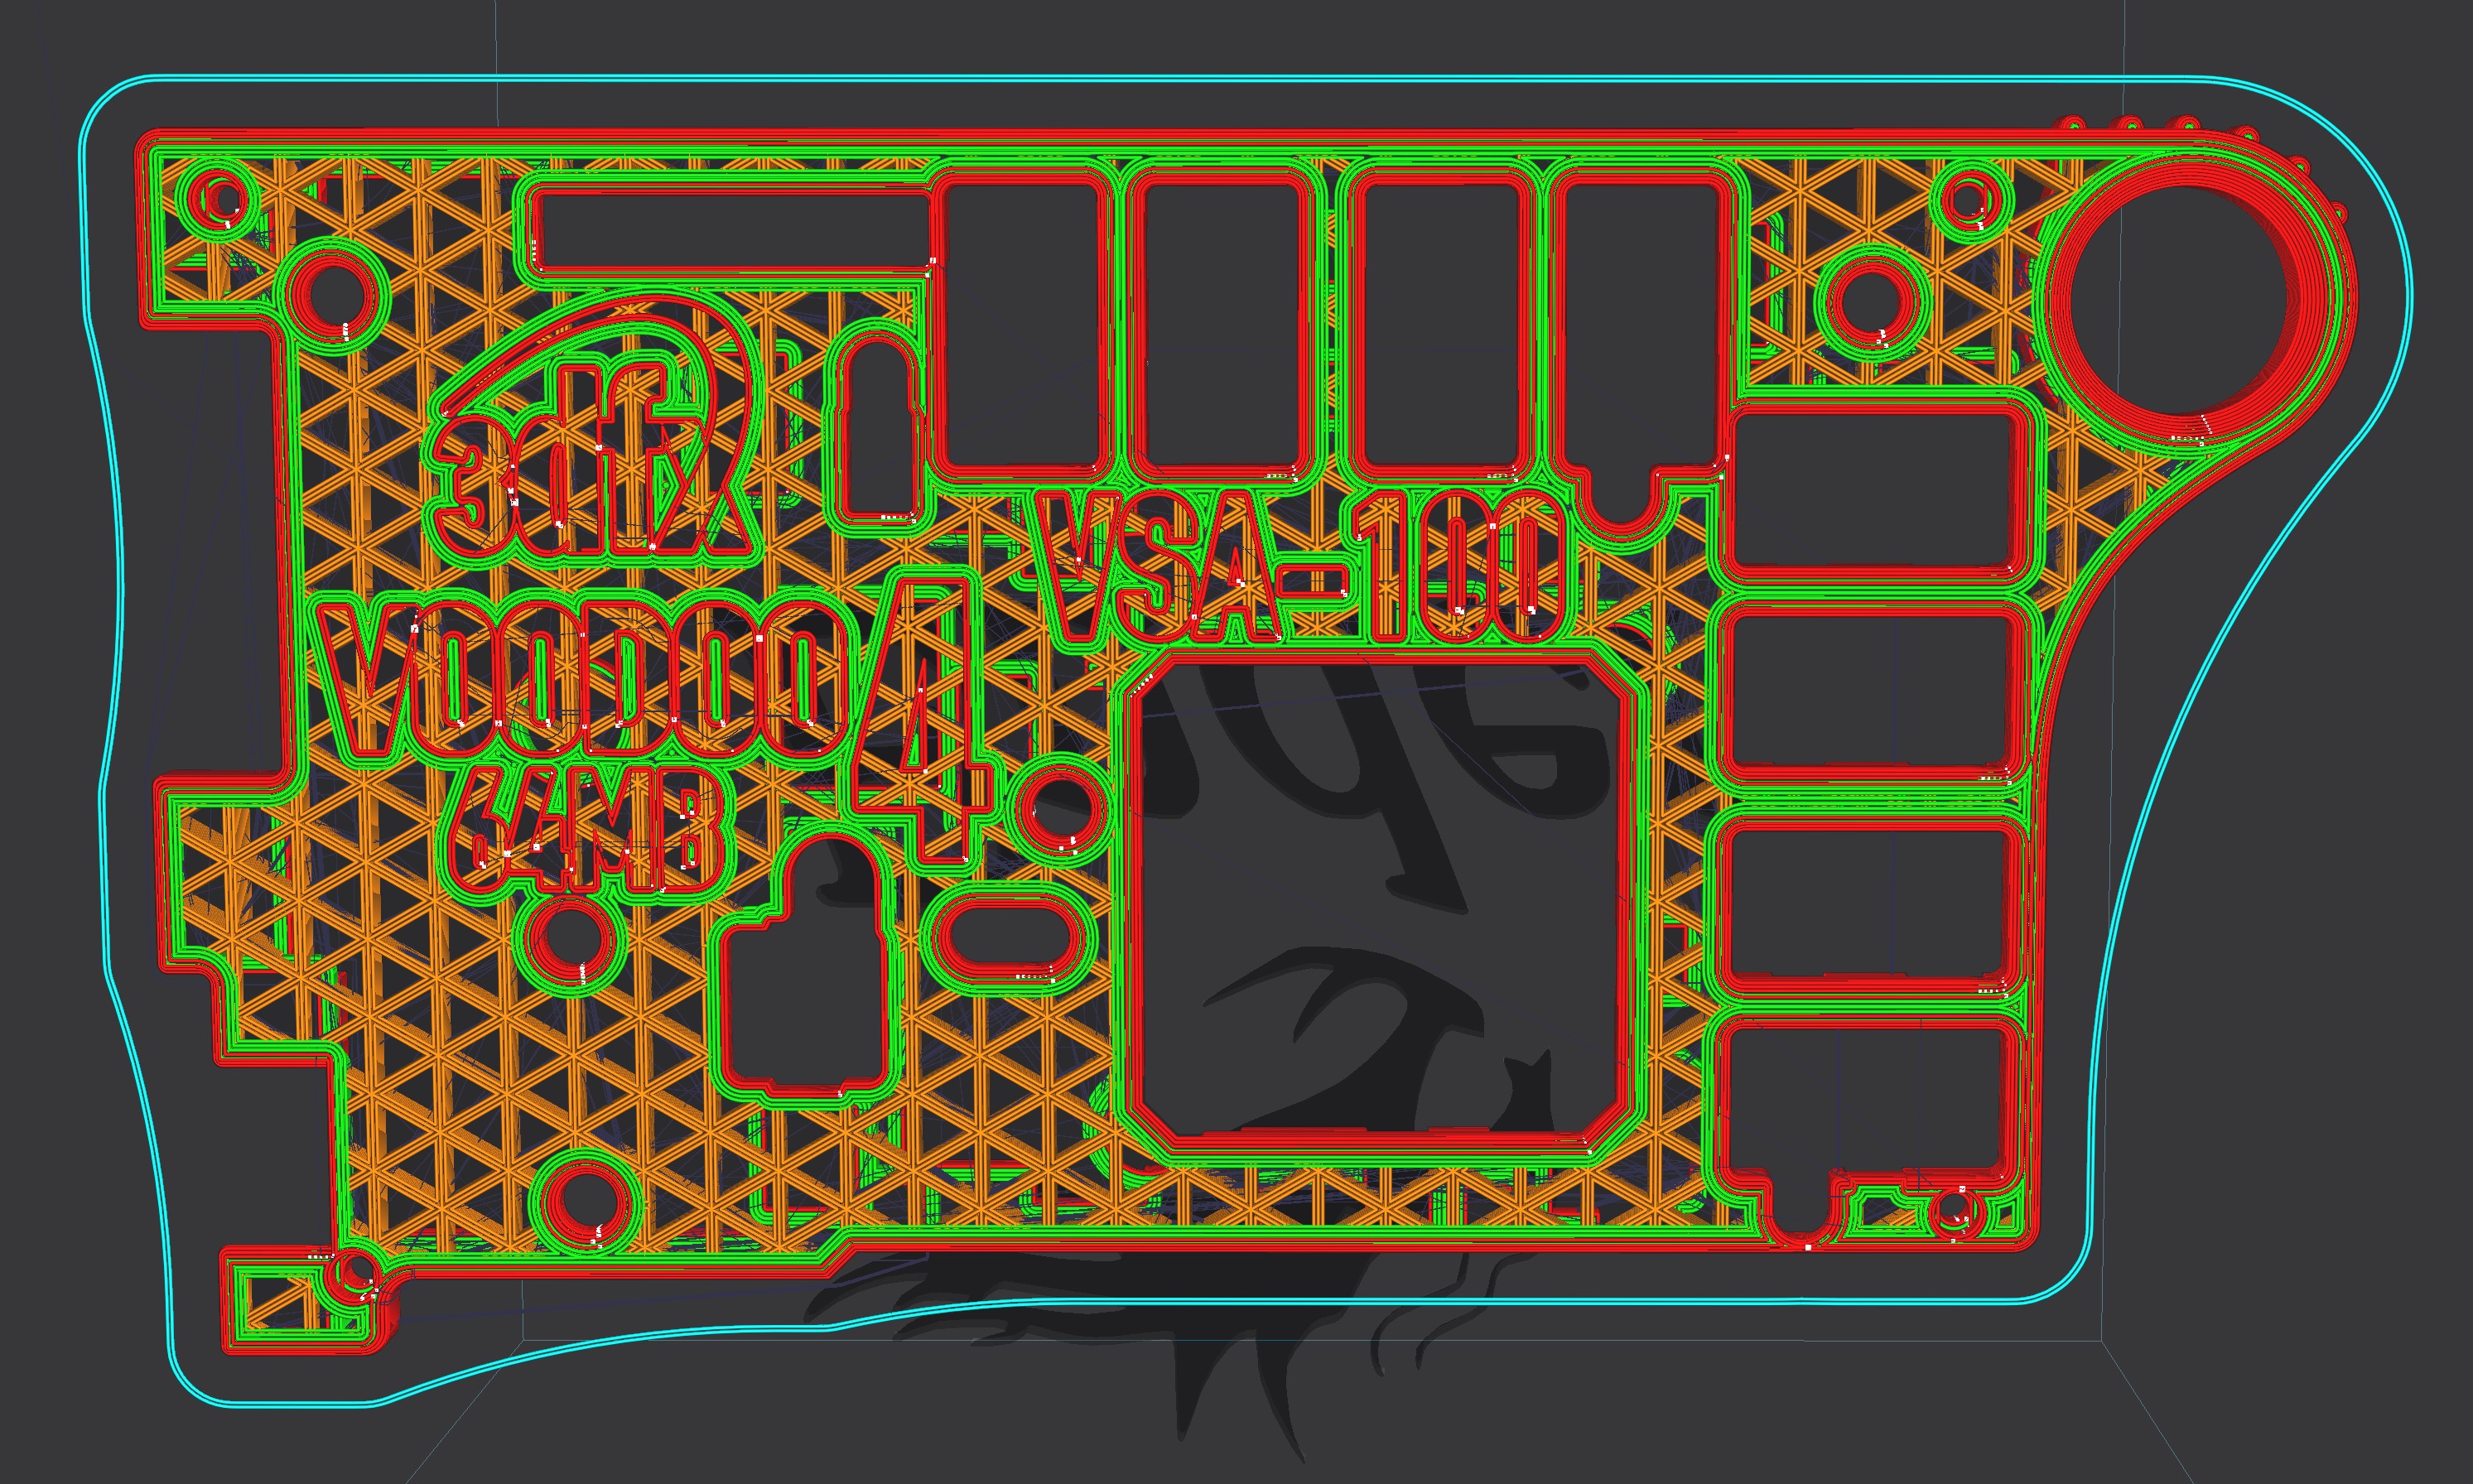
Prepping
In order for the screw holes to work properly, tighten a set of screw and nuts into each of the holes without putting the shell together - do each piece separately.
This will clear the holes nicely to give you the flush end result.
Not prepping the screw holes properly can lead to screws/nuts getting stuck during installation.
Installation
Close the two halves of the shell onto the card, carefully inspect if the armor pieces seat nice and flat to the card. Then install the screws and nuts to finish the job.