Wind Spinner
We calculate the final price from your selected file. You review and accept it before payment.
Saved on this device.

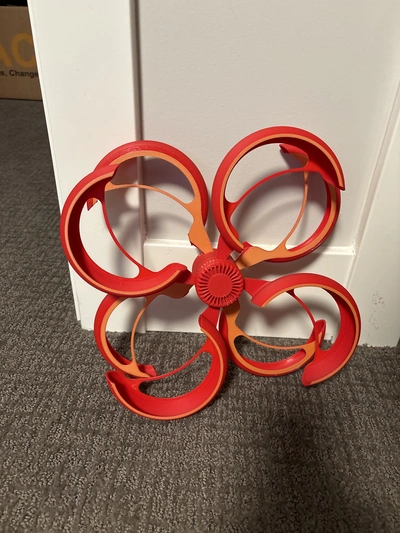
Here's a straightforward 13inch wind spinner designed for your yard, no bearings required.
- Rating
- 0 / 5
- Likes
- 145
- Downloads
- 387
- Makes
- 0
- Views
- 2,678
- Reviews
- 0
Updated at source:
Model information
- Source
- Printables
- Category
- Outdoor & Garden
- License
- Creative Commons — Attribution — Noncommercial — NoDerivatives
Other models can be found here:
https://makerworld.com/en/@AskNinjaTom
Description
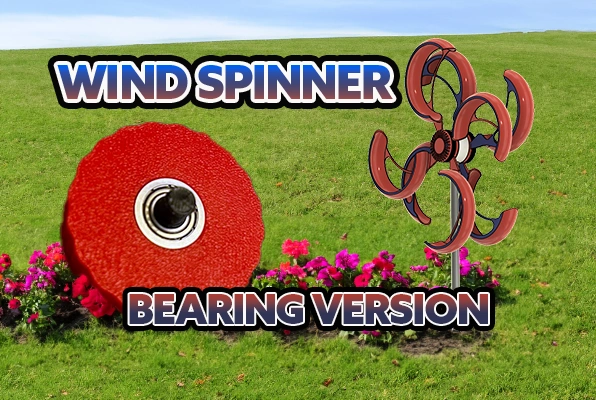
BEARING VERSION NOW AVAILIABLE! - https://makerworld.com/en/models/439471#profileId-345050
I would recommend printing this in PETG for optimal durability although High Temp PLA could serve as an alternative which is what I used.
3/8inch or smaller dowel rod to mount it in the ground.
*NOTE* - Would recommend super glue on the Cap screw to keep it from backing out over time.
Directions: ( See photo for reference )
STEP 1 - Place the wind fins into the puzzle locking "BOTTOM PART".
STEP 2 - Screw on the “TOP PART” to connect the fins to the “BOTTOM”
STEP 3 - Slide the connected fins onto the “MAIN PART”
STEP 4 - Screw on the “CAP PART”
STEP 5 - Insert a 3/8inch dowel rod or something close to that size.
DONE!
Optional Mounting - If you want to mount it horizontally you only need to swap out one of the “CAP PARTS” with the “HORIZONTAL PART”