
Prusa XL fast filament speed loader
We calculate the final price from your selected file. You review and accept it before payment.
Saved on this device.

A PTFE filament loader using an electric screwdriver. No supports; print-in-place
- Rating
- 5 / 5
- Likes
- 85
- Downloads
- 123
- Makes
- 4
- Views
- 3,755
- Reviews
- 3
Updated at source:
Model information
- Source
- Printables
- Category
- Prusa Parts & Upgrades
- License
- Standard Digital File License
Usage, building instructions and materials:
NEW !! 2024-10-21 - version 4:
experimental new multi-material gears with print-in-place bearing
improved design of the main body
1. Usage
This is how this device is used to quickly load filament (TPU and others) into Prusa XL PTFE tube using an electric screwdriver:
2. Bill of materials
Materials you need (with links to buy):
one M3x20 screw (for tensioning the device)
seven M3 6x6x2 square nuts (one for the tensioning screw + three per wheel[ for classic wheels)
two optional M3 10x5.5x2 nuts (for the experimental print-in-place wheels. They work with regular M3 nuts also)
two Z809 bearings (any bearing with 8mm internal diameter, 22mm outerdiameter; 7mm height/width), even a 3D printed one. Not needed for the experimental print-in-place wheels.
two M3 screws ( any 5mm to 20mm length) for rotating the wheels
two M3 washers (for the two screws of the bearings)
2 meters of some abrasive filament for the wheels (wood filament, CF filament or luminous filament)
5.33m of PLA (10$/1 kg spool Geeetech works very good with default prusament settings)
3. Printing and assembly instructions
3.1 Printing instructions
Open the body file in PrusaSlicer. Import as project to keep the settings (3 perimeters, no infill).
Print the body (I used PLA).
After printing, wait for the bed to cool down and remove the body off the plate and place it in the freezer (or fridge) so it shrinks and the bearings fit easily (see the assembly instructions). The bearings should not be cooled down.
Open the wheels file in PrusaSlicer. Import as project to keep the settings (fuzzy skin for outer walls).
Print the wheels using abrasive filament (I had good results with wood PLA) and put the square nuts immediately after printing is done (while the bed is still warm), so they fit easily.
If using 3d printed bearings, print them also (I used metal bearings).
3.2 Assembly instructions
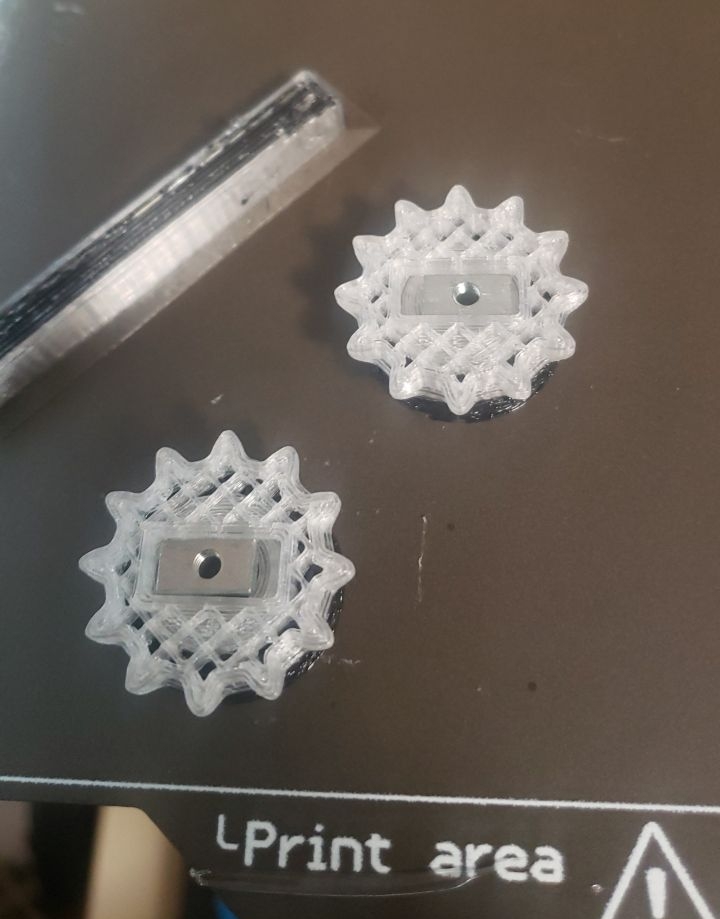
If using the experimental bearing free wheels, just insert the square nut when the printer stop for insertion, then continue printing and skip to step 5 (both experimental wheels are identical). This is how to insert the nuts into the experimental wheels:
Here are the instructions for regular wheels (with bearing):
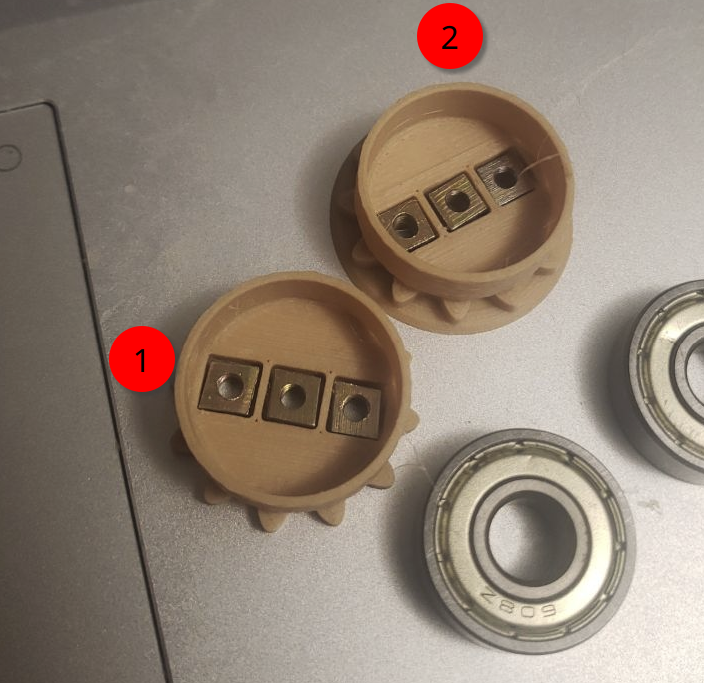
Be sure the M3 square nuts are placed in the wheels:
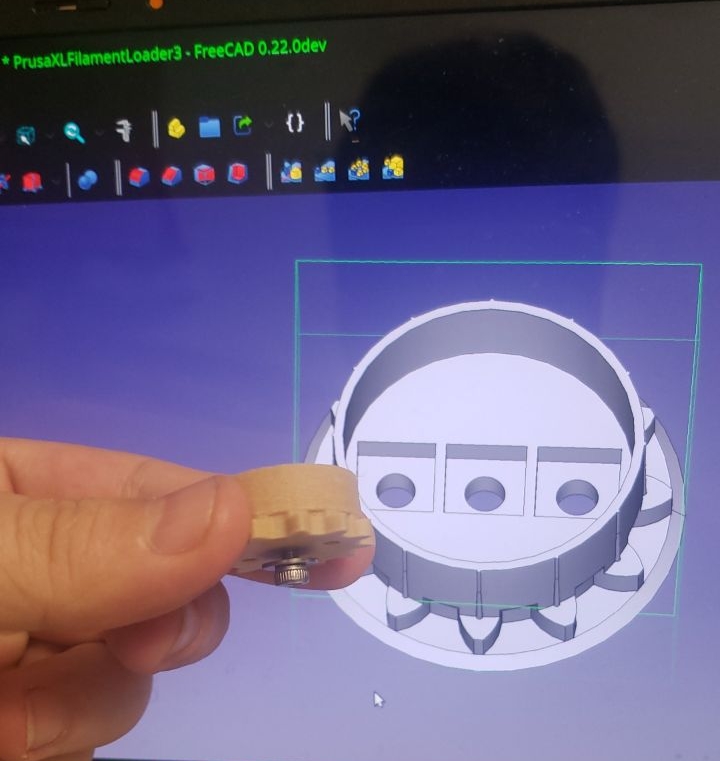
Then secure the middle M3 nut using an M3 screw and washer for each wheel (I used M3 5mm screws):
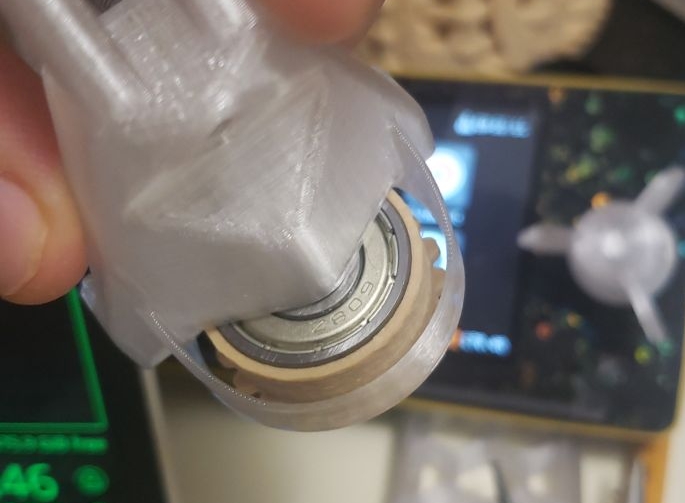
insert the wheels on the bearings. To replace a wheel, it can be extracted off the bearing using 2 additional longer M3 screws that will push it (since version 1.5).
get the body out of the freezer and put the bearings on the device. First put the one with the one number 1 in the picture above (whose teeth aren't covered), then the second one. Push then flush:

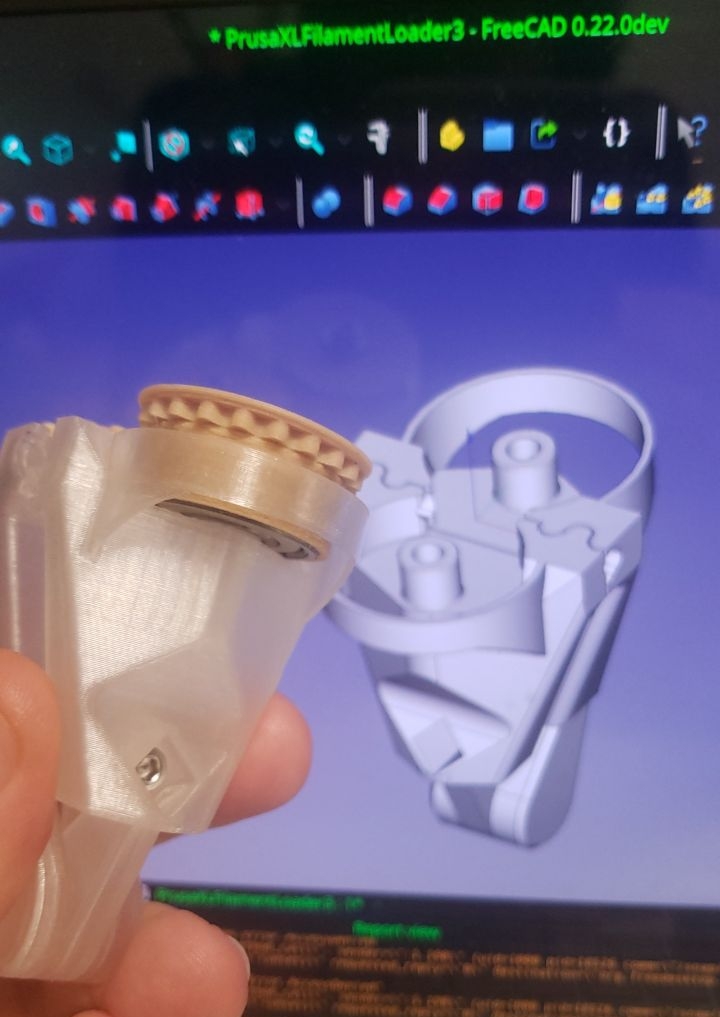
insert the square nut then catch it with the tensioning M3x20 screw from the other side:
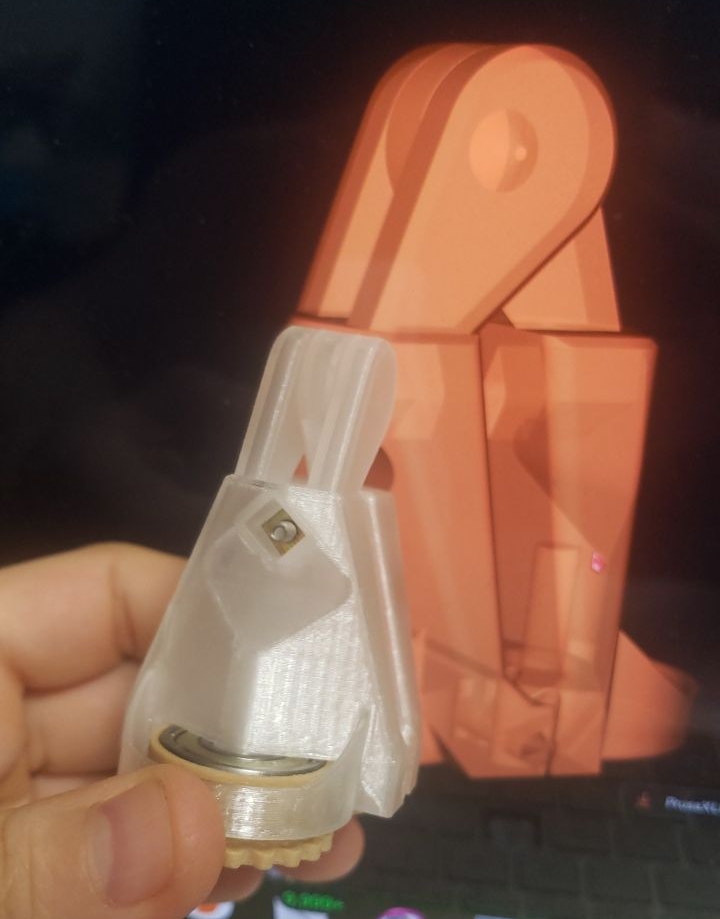
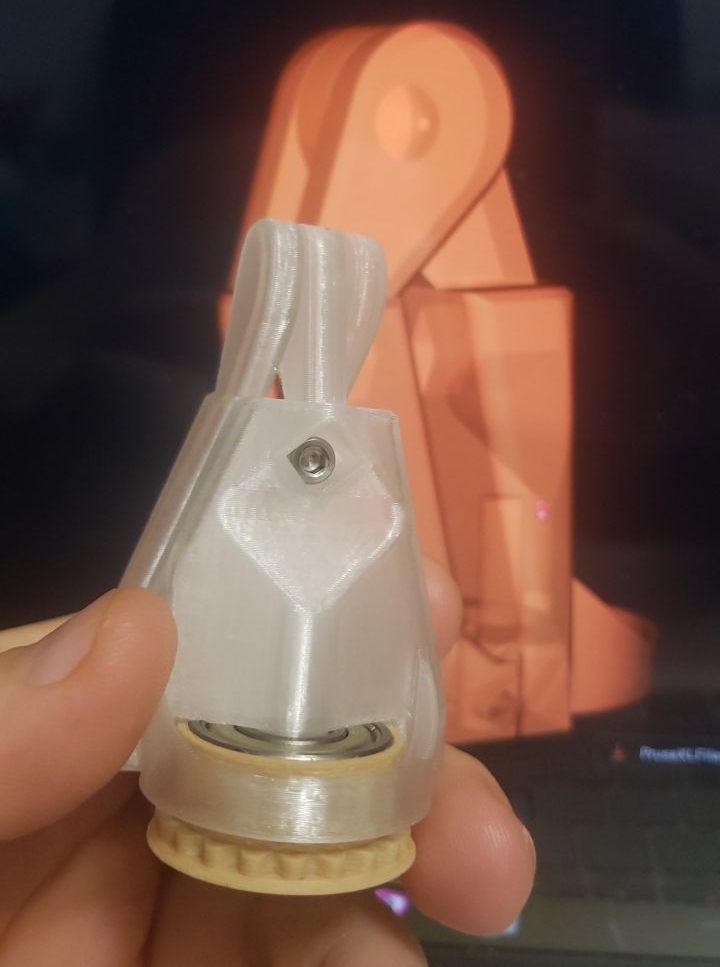
You are finished. Now you can put the device on the filament, tension it with the tensioning screw (or squeezing with the fingers) if the wheels slip and rotate it with an electric screwdriver. See the video above:
https://youtube.com/shorts/ymKu7iRbYMk
You should use the front wheel on right side of the printer and the back wheel for the left side (so you always screw clockwise).

4. Prototyping and versions
2024-10-21 - version 4:
new gears with print-in-place bearing
improved design of the main body
2024-08-24 - version 1.5: new gears:
ball bearing ejection mechanism ( with 2 additional square nuts per wheel)
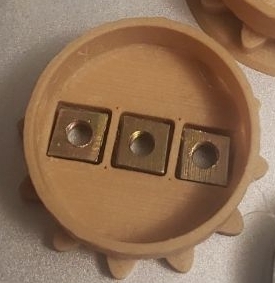
involute gears:
2024-08-18 - version 1.0: initial release
A lot of prototyping before the v1:
