
Pikachu Light Stand
We calculate the final price from your selected file. You review and accept it before payment.
Estimated printing price per file
€2.59 – €3.16 net (excluding VAT)
For file: Stand_0.2mm_PLA_MK3S_2h58m.gcode
This is an estimate for one file. You’ll confirm the exact price before ordering.
File and estimate settings
File used for this estimate
Average indicative estimate: €2.88 excluding VAT (range midpoint).
- Weight reported by the author
- 34 g
- Print time reported by the author
- 2.97 hr
- Source material
- PLA
- Estimate material
- PLA
- Estimate printer
- Bambu Lab P1S - 0.4 nozzle
- Estimate process
- 0.20mm Standard
Indicative estimate for the selected file only, based on the author’s weight and print time. File variants are not added together. The final price is calculated after file analysis.
Saved on this device.
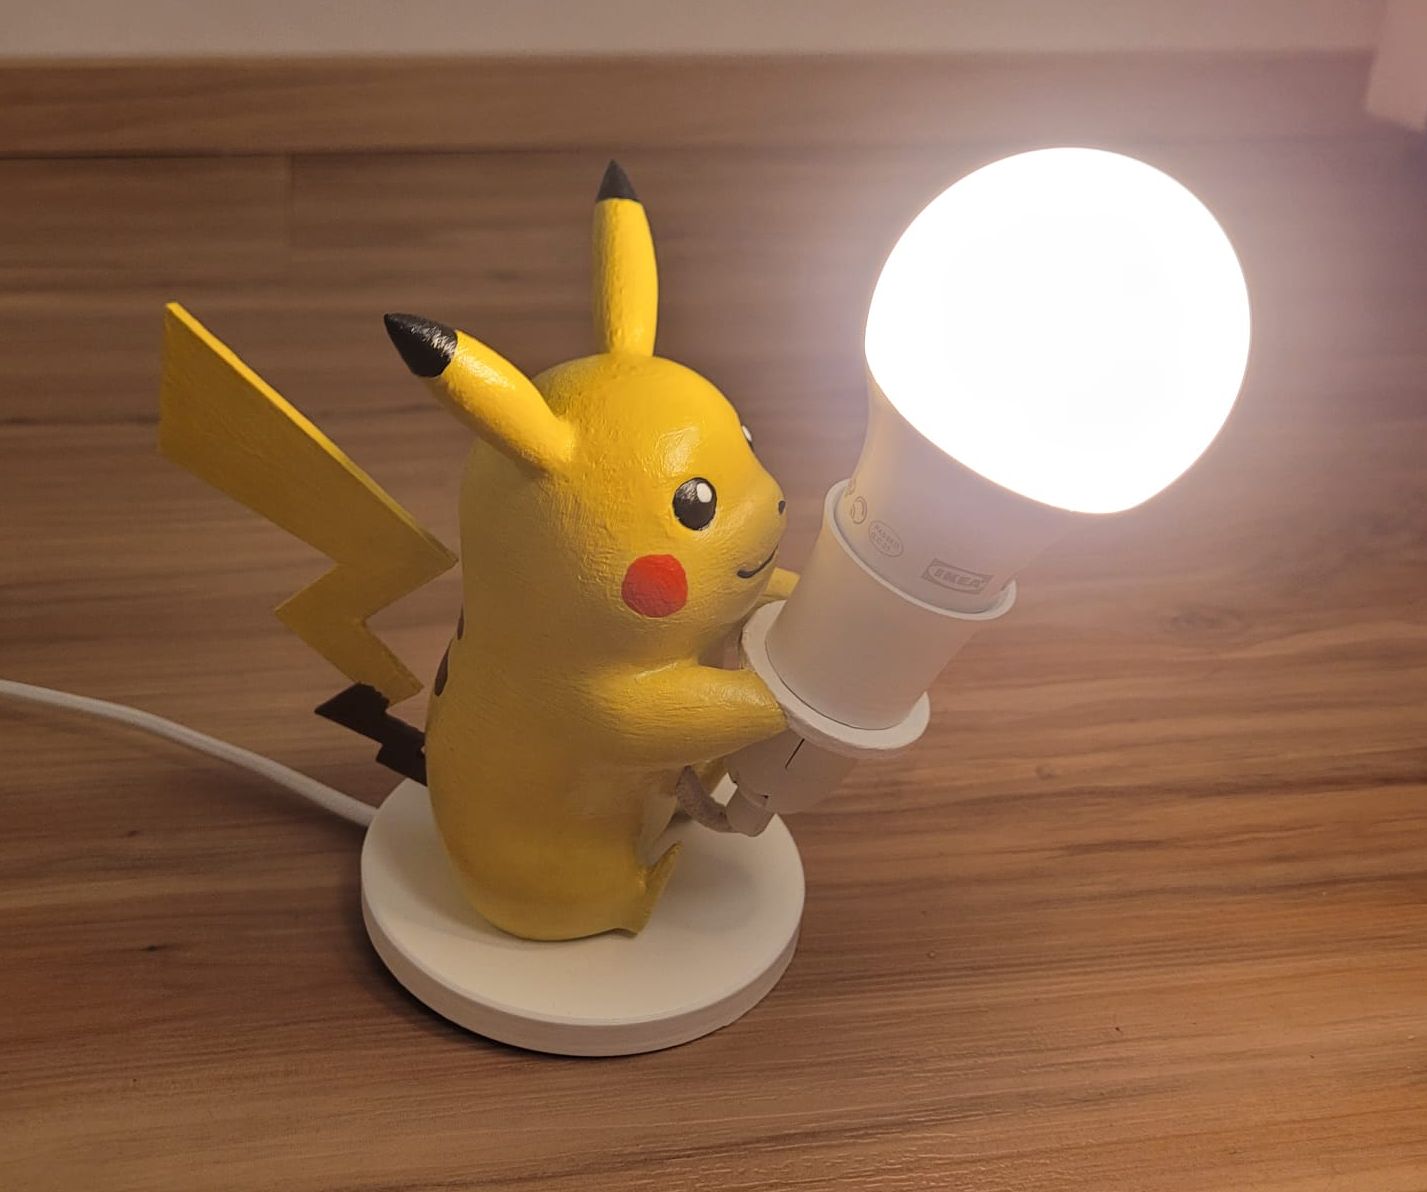
Pikachu powering a Lamp
- Rating
- 5 / 5
- Likes
- 209
- Downloads
- 920
- Makes
- 5
- Views
- 6,436
- Reviews
- 3
Updated at source:
Model information
- Source
- Printables
- Category
- Sculptures
- License
- Creative Commons — Attribution — Noncommercial
I needed a present for secret Santa in my girlfriends family and knew that she liked Pokemon and Pikachu in particular. So i made her a Lamp "powered by Pikachu”.
i will include my g-code file put please just use it as reference and slice it yourself!
Printed with PLA in 0.2 layer height, 0.4mm nozzle and 8% gyroid infill. I auto-generated the support with Prusaslicer and painted over the ears so they don't get supported (its not needed and they come out perfect).
I paused the print at Layer 70 to add sand to weigh it down a bit (DO NOT fill it up too high leave 5-10mm, otherwise the filament fan will blow it out again! i learned the hard way) because i wasn't sure if he would tip over with the lamp attached.
Afterwards i glued the tail on with superglue(its easier to print seperate), spray painted it with a few layers of primer, painted it with acrylic colors and sprayed on a few layers of clear coat so the paint layer is protected.
After it dried and you are happy with the result you can glue the base plate and Pikachu together (i used superglue). Watch out! → make sure the holes on Pikachu's bottom and the stand line up and you don't glue it on the wrong way!
Next steps:
I accept no responsibility nor assume liability if you harm yourself, it should be disassembled/reassembled by a professional!
- disassemble the lamp (i used THIS ONE) so the cord and the lamp head is separate
- push the cord trough the hole from under the base plate trough the Pikachu
- reassemble the lamp
- from below, push the lamp head through the ring Pikachu is holding
- secure it with the ring for the outer thread that is included in the files (it was designed for IKEA TRÅDFRI lamps but it may fit others as well)
- pair the remote if you use a TRÅDFRI RGB
- enjoy your new lamp!
Hope you like my design, if you did please leave a like and/or comment.
would be interested how yours came out so please feel free to send pictures/post a make!
Have a great day and Happy Holidays!