
Brewista (kettle) Handle
We calculate the final price from your selected file. You review and accept it before payment.
Saved on this device.

I was asked to create and print a replacement handle for an Brewista electric kettle - here it is available to everyone.
- Rating
- 0 / 5
- Likes
- 1
- Downloads
- 20
- Makes
- 2
- Views
- 207
- Reviews
- 0
Updated at source:
Model information
- Source
- Printables
- Category
- Kitchen
- License
- Creative Commons — Attribution — Noncommercial — Share Alike
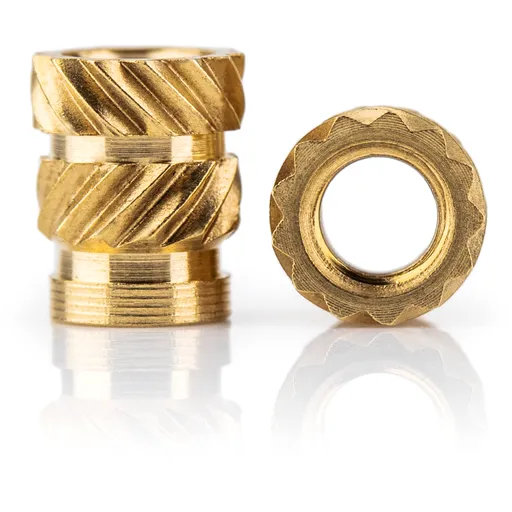
First of all, definitely do not use standart PETG or PLA. Naively, I tried to make a replacement from PETG, and even though everything fit perfectly, the handle couldn't withstand the heat, and the threaded inserts literally slipped out.
The model is prepared for threaded inserts - I personally use inserts from CNC Kitchen. Here are the links to purchase/insert dimensions:
- https://www.prusa3d.com/product/threaded-inserts-m3-standard-100-pcs/
- https://www.3djake.com/cnc-kitchen/threaded-inserts-m3-standard
Given that the kettle's body is metal, you should consider the maximum possible temperature - which is very close to 100°C. Suitable materials for printing are likely ABS, ASA, or possibly extremely durable specialty materials that operate in this range.
As a last alternative, there is heat annealing – I personally have no experience with it, but I've seen a few videos on the topic. In any case, the final decision is up to you! For example, Fiberlogy HD PLA, which I’ve read has heat resistance up to 140°C after annealing in an oven.
I am attaching the instructions for Fiberlogy HD PLA, from which I personally draw information:
We recommend monitoring the temperature with a suitable digital thermometer inside the oven. The print needs to be watched during the heating process. For large prints, you may gradually increase the temperature to 120 °C or extend the annealing time.
|
GOOD LUCK PRINTING!