P
PrintablesBenedict Roberto
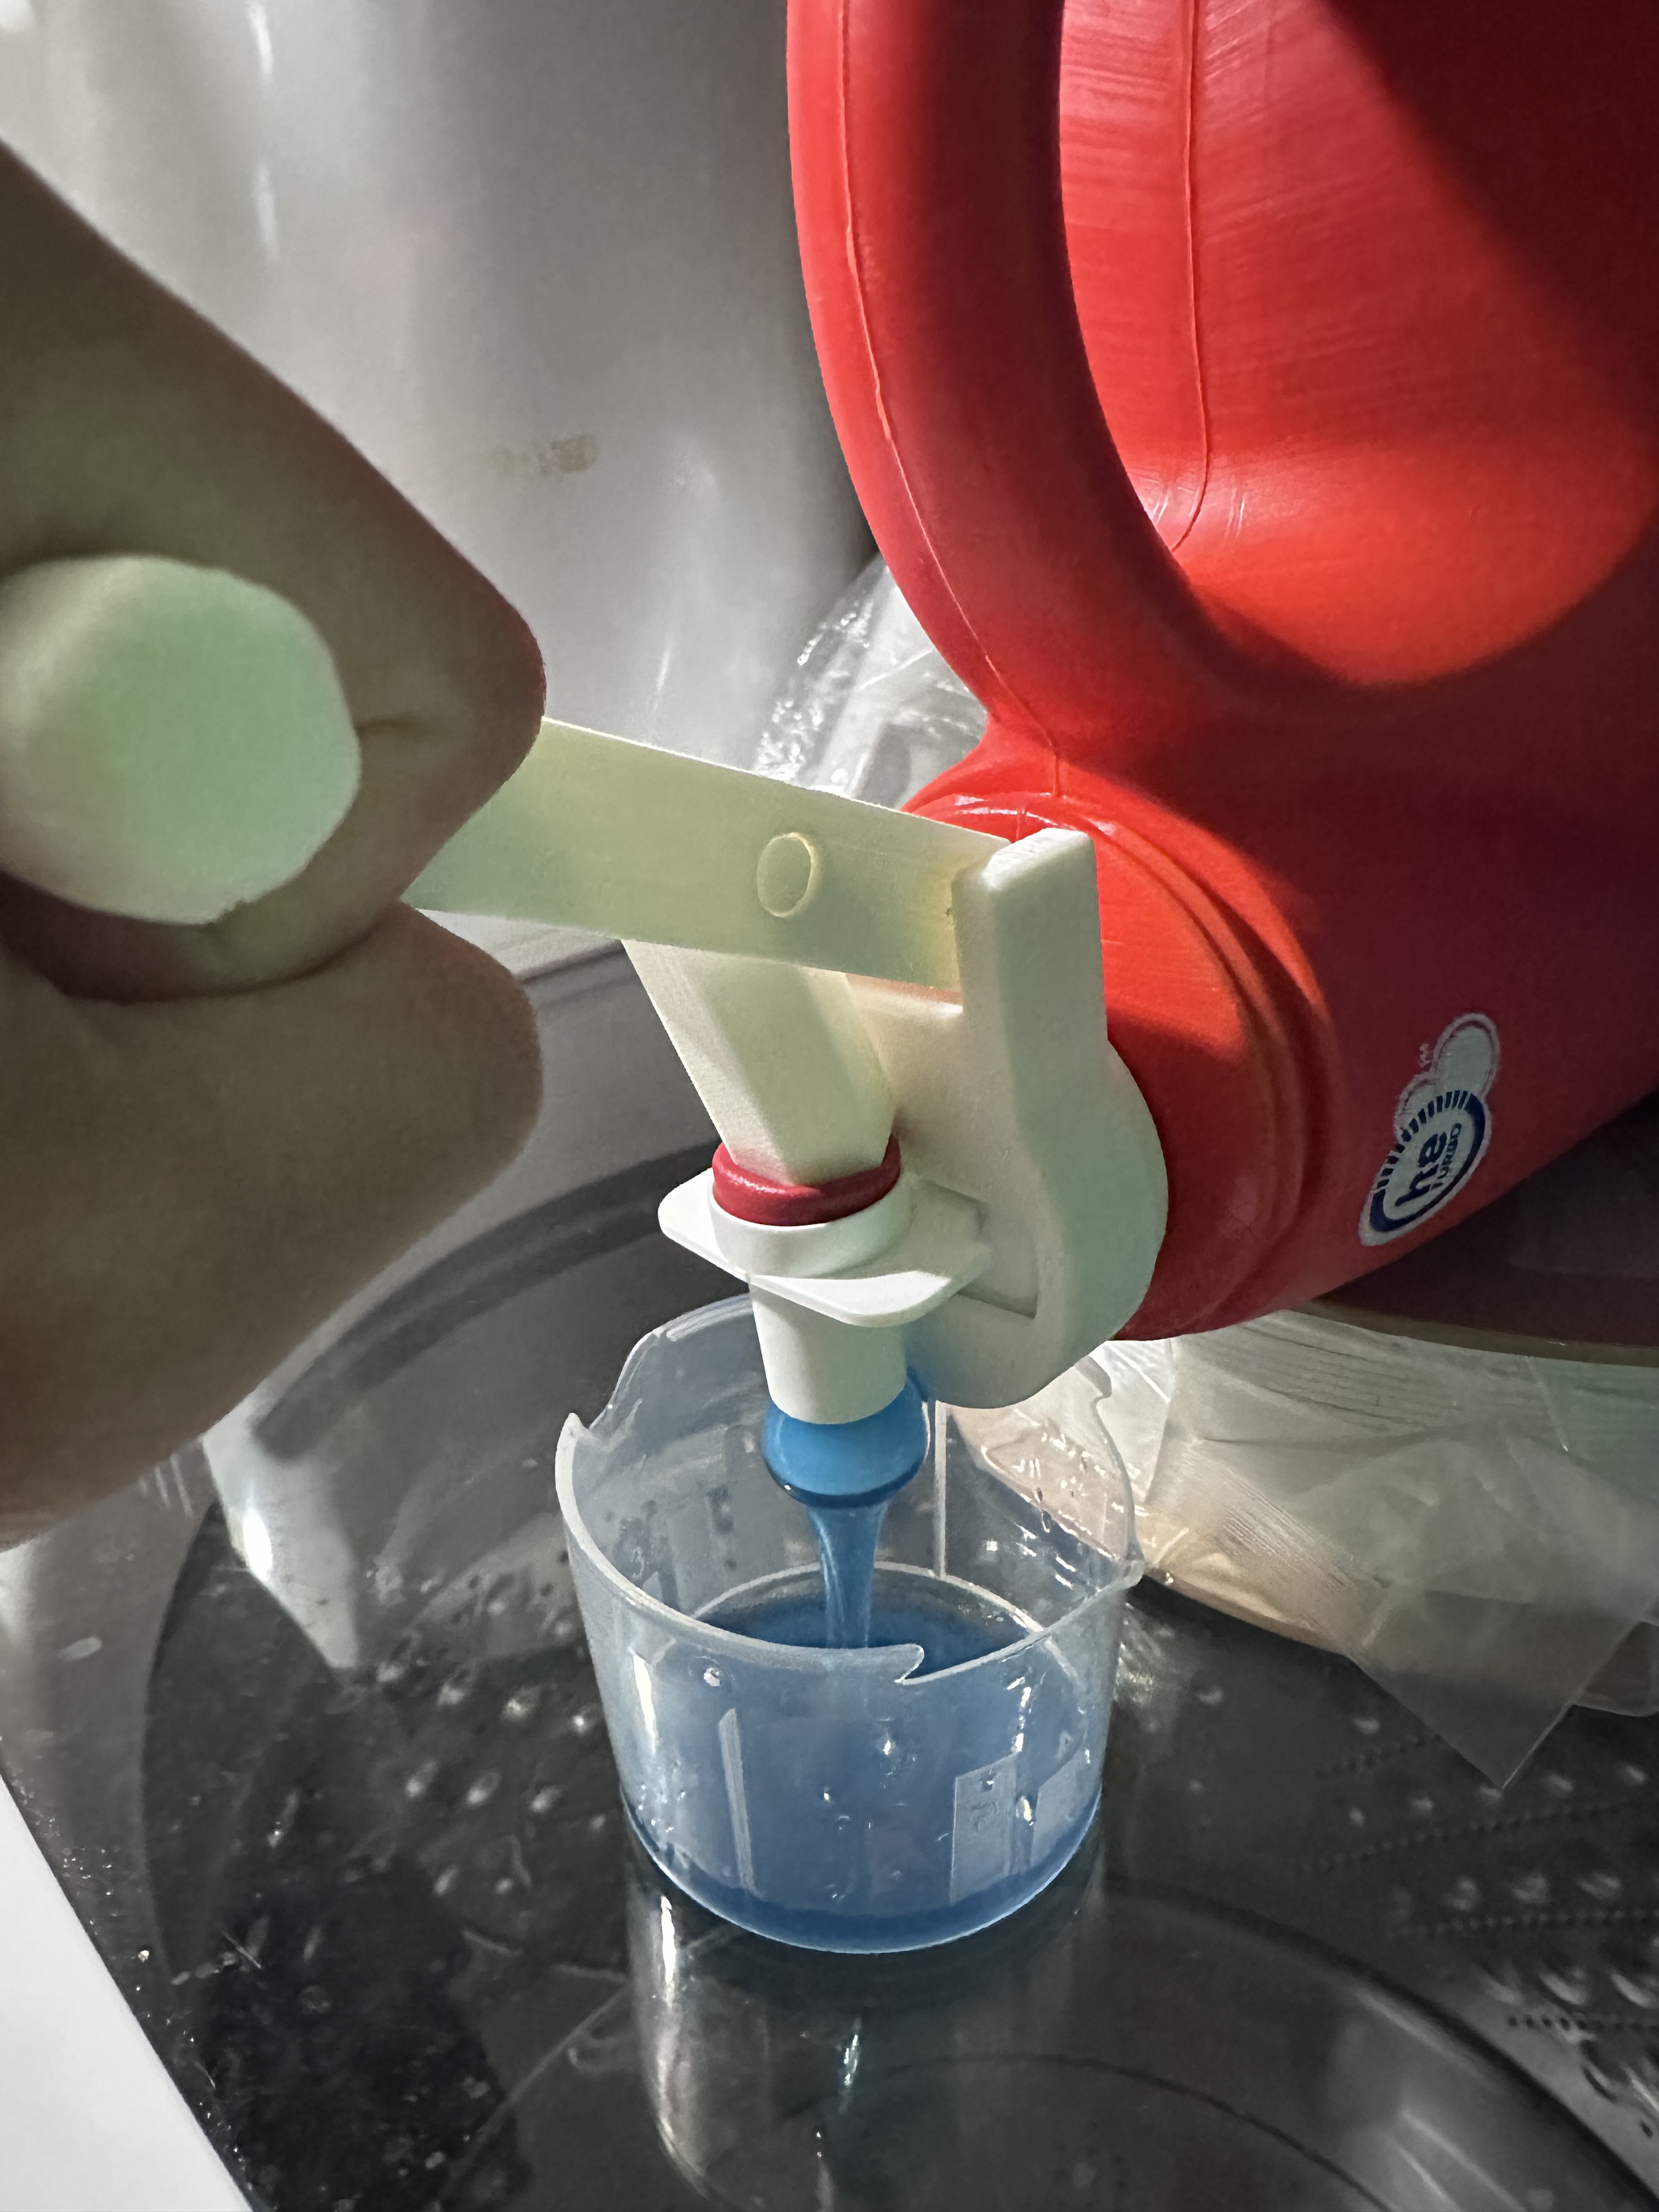
laundry detergent spigot lever
no supports needed print in one piece
- Downloads
- 356
- Likes
- 128
- Rating
- 5
Counting matching models…
no supports needed print in one piece
Uses the screw in the back that holds the metal rim in place. May fit on other bowl lift stand mixers but not tested. No supports needed print with .4 nozzle can be printed in pla, petg or tpu(when using tpu do not wrap cord as tightly or…
Print with .2 nozzle and .05 layer height or as small as your printer goes No supports needed
Can be used for sponges, soap dispensers, dish wands, dishes(if you make it big enough), etc. This has two versions, one without magnets and one with magnets embedded in the frame(for rust prevention). The Clickfinity system is based on…
For instructions and router tables files, please see the original model. F3D File: To adjust parameters, open the F3D file and go to modify parameters : Dremel_d: Adjusts inner diameter.
Print Settings: Layer height: 0.05mm Nozzle: 0.4mm or 0.2mm Material: PLA Supports: snug, rectilinear Brim: optional(depends on printer), I used in and outer brim with 12mm width Extra materials: Magnets: Here are the magnets I used;…
no need for supports as I've built them in print how you like, but I used .4 nozzle with .25 layer height
does need supports but I have added a file with supports built in print with whatever nozzle and layer height you want
Print Settings: Layer height: 0.05mm Nozzle: 0.2mm Walls: 4 Top and bottom layers: 4 Infill: 10% Material: PLA Supports: snug, rectilinear Brim: optional(depends on printer and filament), I used an inner and outer brim with 12mm width…
This is an archive of the various parts used for our cornerstone final project. We were tasked with creating a functional catapult prototype to deliver life-saving medical supplies (ping-pong balls). This catapult was meant to be capable…
Made specifically for this shower door, but may fit with other brands and models. Added a hook on the opposite side for wash clothes and other hangables. Installation: Hook the flat part to the rail first, then snap the curved portion…
These are all currently available results.