P
PrintablesDigital Jedi898

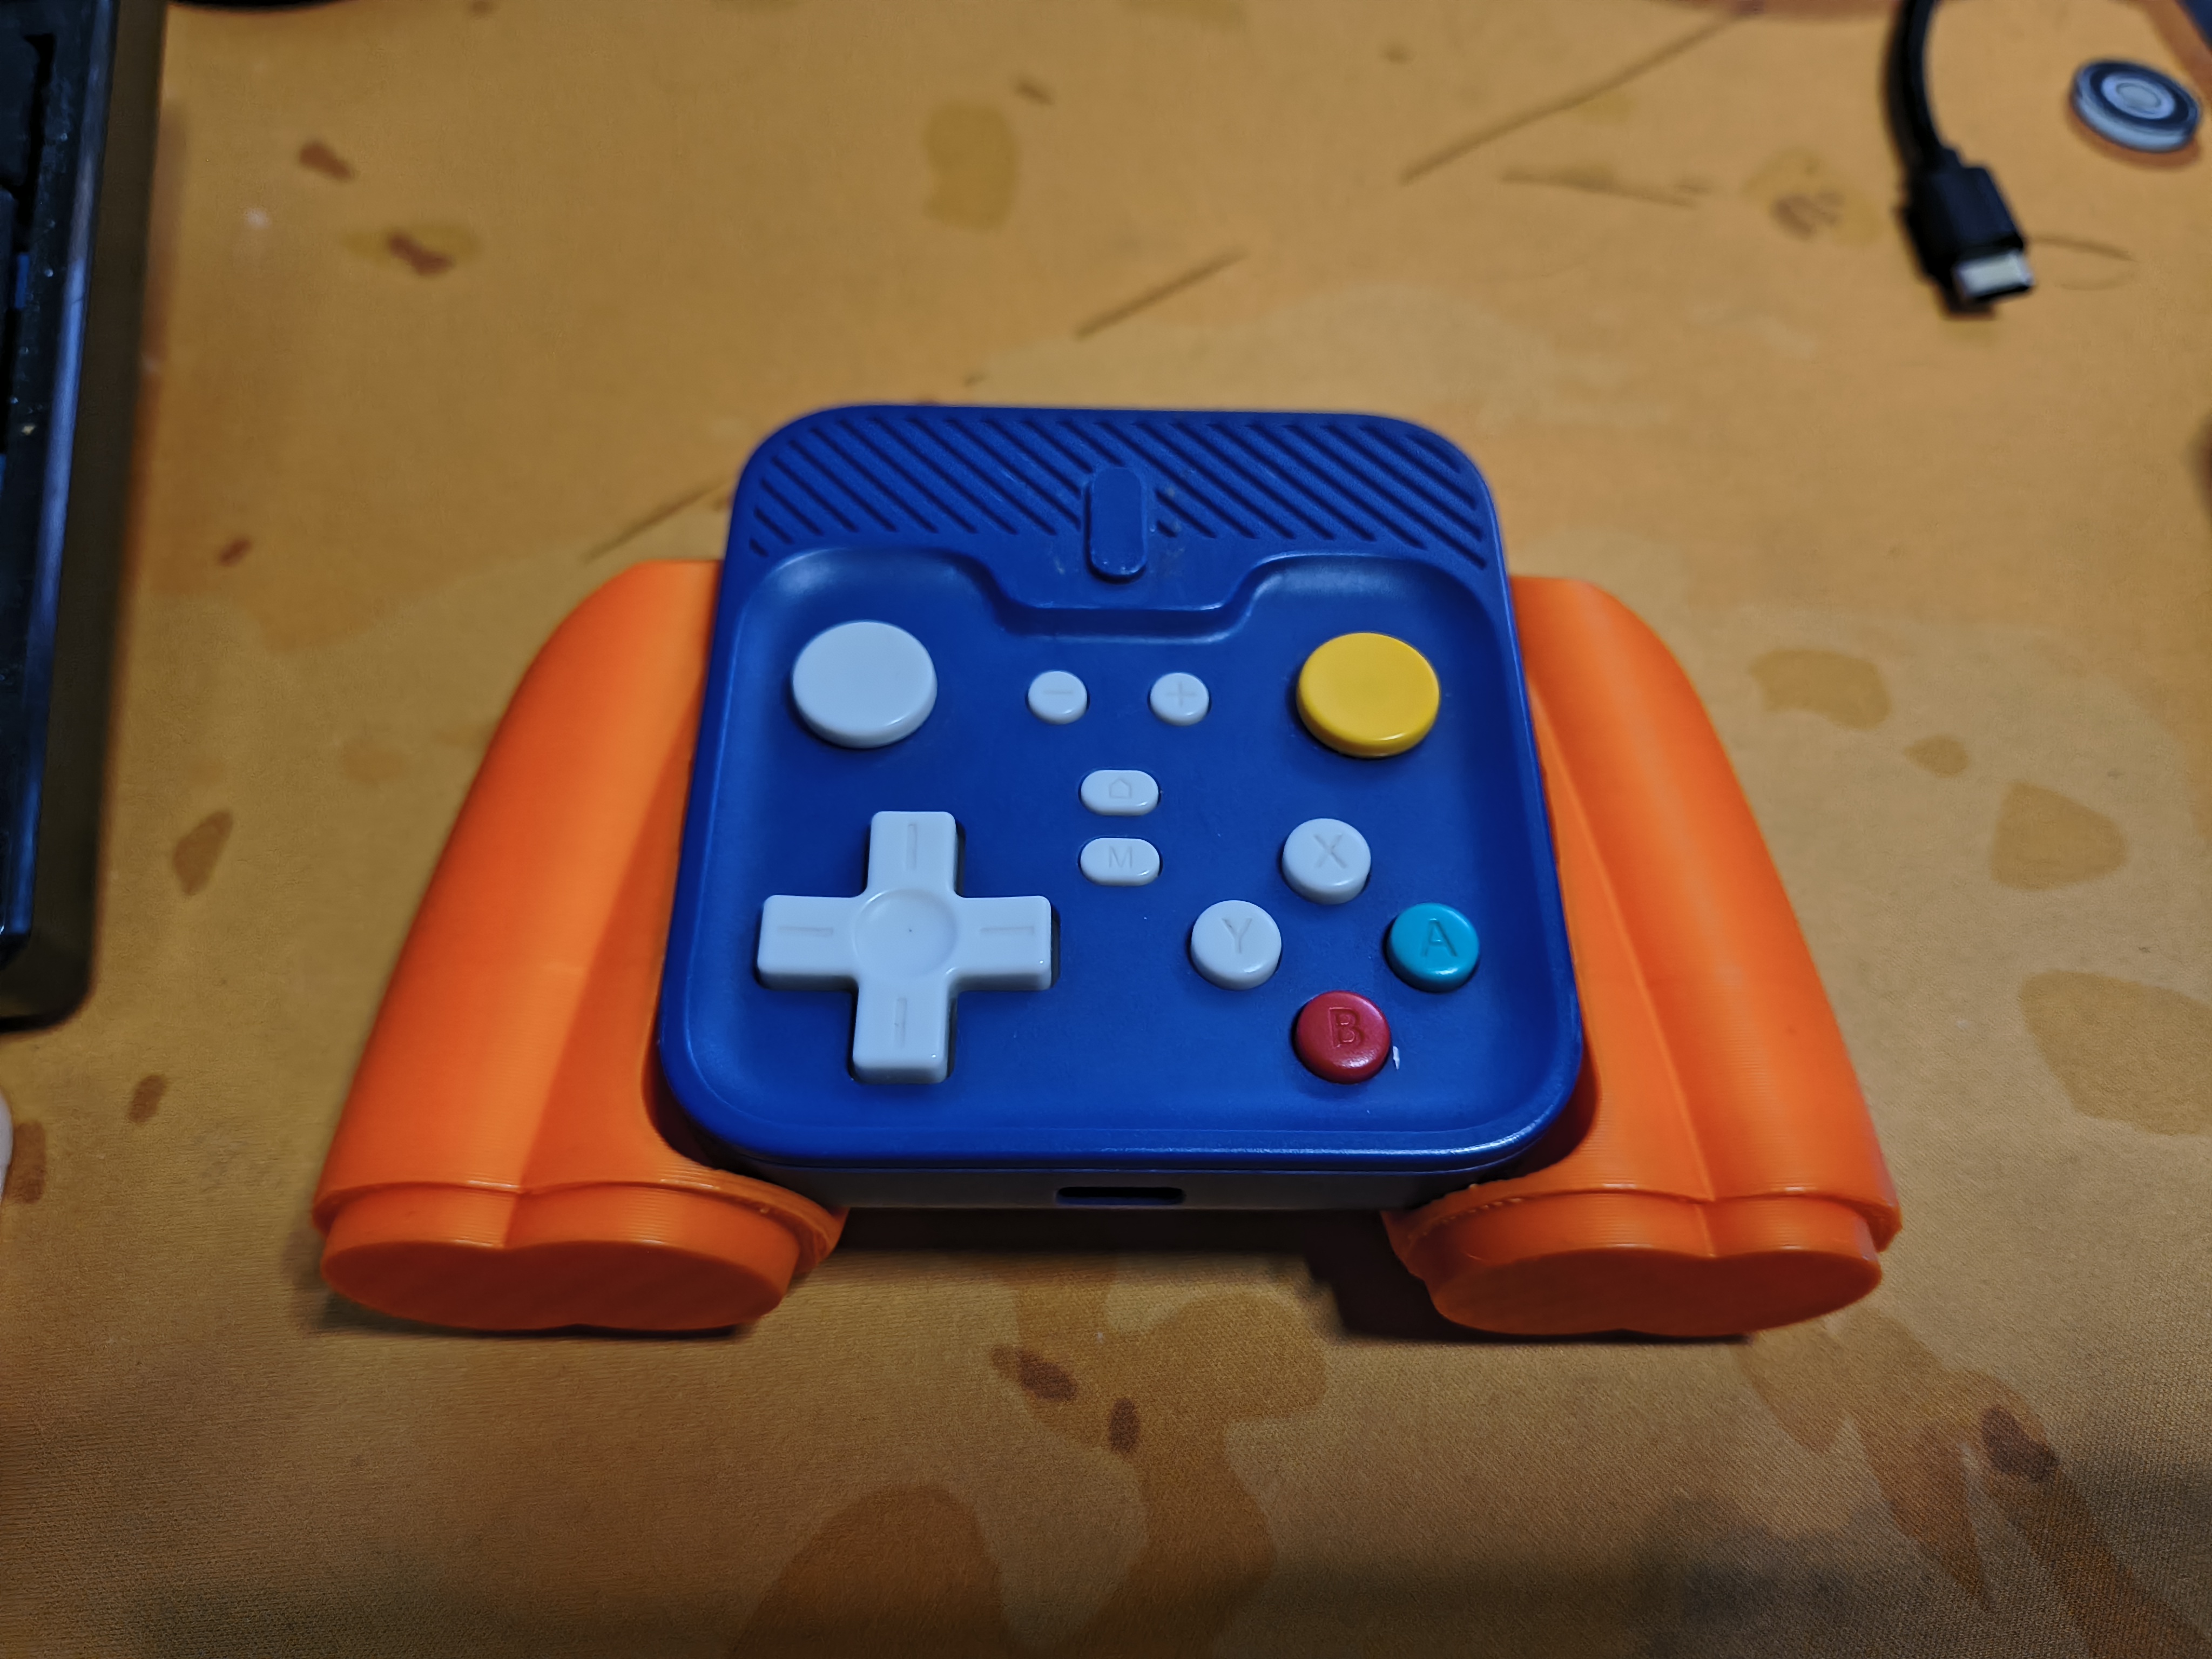
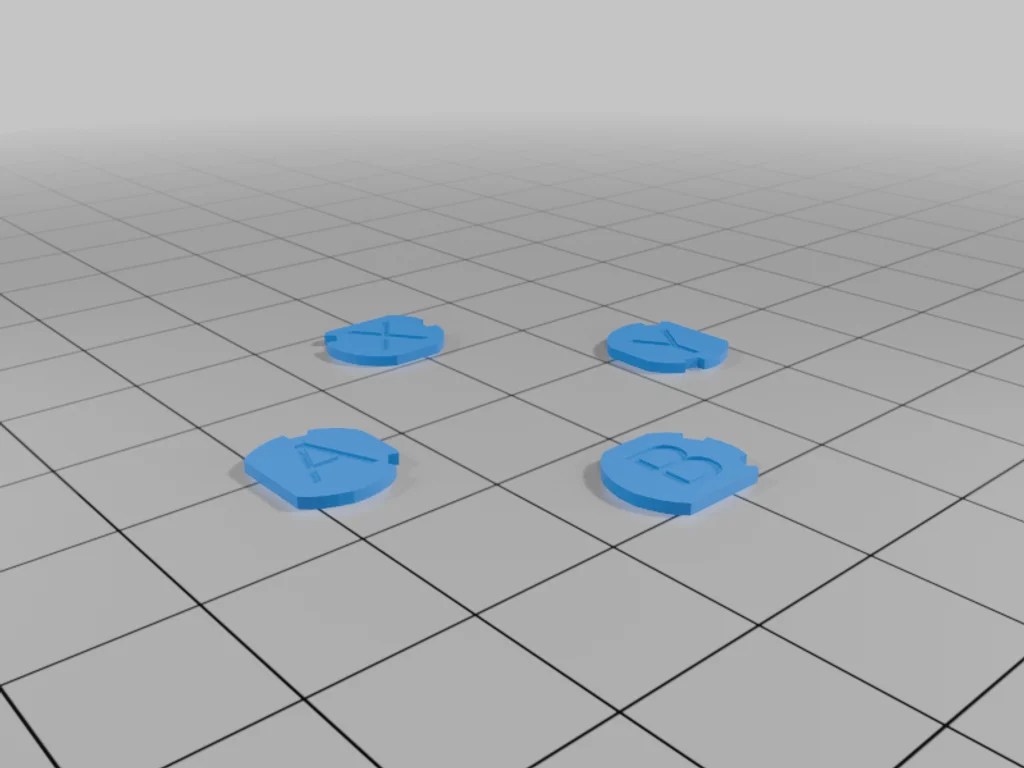
R36S ABXY START/SELECT FN Buttons
ABXY FN Start/ Select Buttons for R36S game console designed for FDM Printer Printed in PLA with .10 Layer Heught
- Downloads
- 599
- Likes
- 48
- Rating
- 4.67
Counting matching models…
ABXY FN Start/ Select Buttons for R36S game console designed for FDM Printer Printed in PLA with .10 Layer Heught
Better Buttons for the R36s Handheld with tabs, so they don't rotate anymore in the case. Made in 4 Styles: blank Nintendo stlye ABXY Playstation Playstation bold I printed them in smokey black ABS-Like 3.0 Resin by Elegoo on a Anycubic…
I created this variant of the buttons, inspired by the design of @DigitalJedi8_1743801 (I didn't use the 3D model itself, but it seemed better than the initial layout I took inspiration from) I made it thinking about my glow-in-the-dark…
As the name suggests, a mod to make the ABXY button on the Cyclone 2 shorter to press. I made some from 0.2-0.4mm thickness, try what best for you. I use 0.2mm on mine. Modeled as accurate according to my caliper measurements. The printed…
ABXY buttons for SPEEDLINK gamepad. dia 10,3mm height 9mm Print instructions Category: Replacement Parts Summary ABXY buttons for SPEEDLINK gamepad. dia 10,3mm height 9mm Print Settings Printer: Anet A6 Rafts: No Supports: No Resolution:…
A grip for the Abxylute M4 micro controller so that its a bit more comfy. 0.4 nozzle PLA No supports needed
The abxylute s9 will fit an iPad Mini for a handheld gaming experience but there are a few inconveniences. The iPad without a case is too thin so it will not rest against the back. The left side of the abxylute s9 will push the volume…
If you don't like the stock buttons with shapes, you can print your own! The file contains A, B, X and Y buttons, but you can make your own! Remixes are welcome. How to replace: remove the batteries and power off the controller (only…
Small press-fit cover for the Abxylute m4 so it can be chucked into a bag or pocket without worries.
Dies ist ein halterung zum befestigen des Iphone via Magsafe.
Important notes: Each spacer should fit inside its respective button housing with enough play to not get snagged when the button is fully pressed up or down. Adjust the thickness of the spacers as needed. Print notes: Slicer settings…
Print 1x of the bottom, and 2 of the walls, and get to making your very own silicone mold. for the first part of the mold, attach 1x wall piece to 1x bottom piece, and secure it with hot glue on the outside. place the buttons on the…