P
PrintablesAndizzle
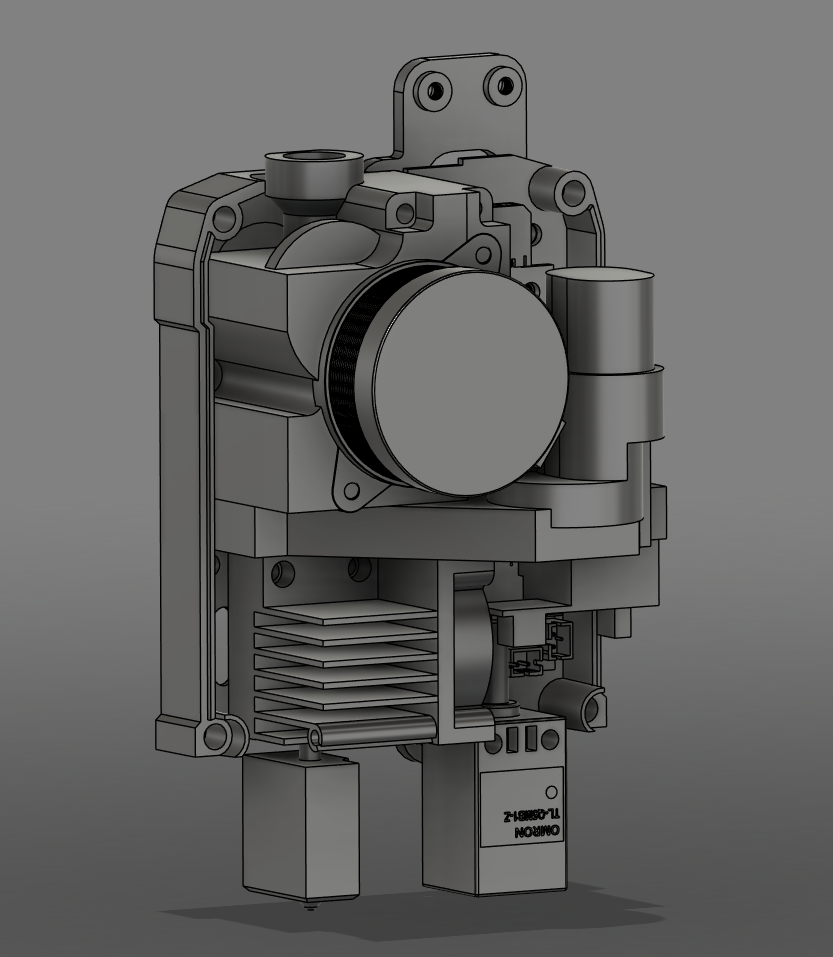
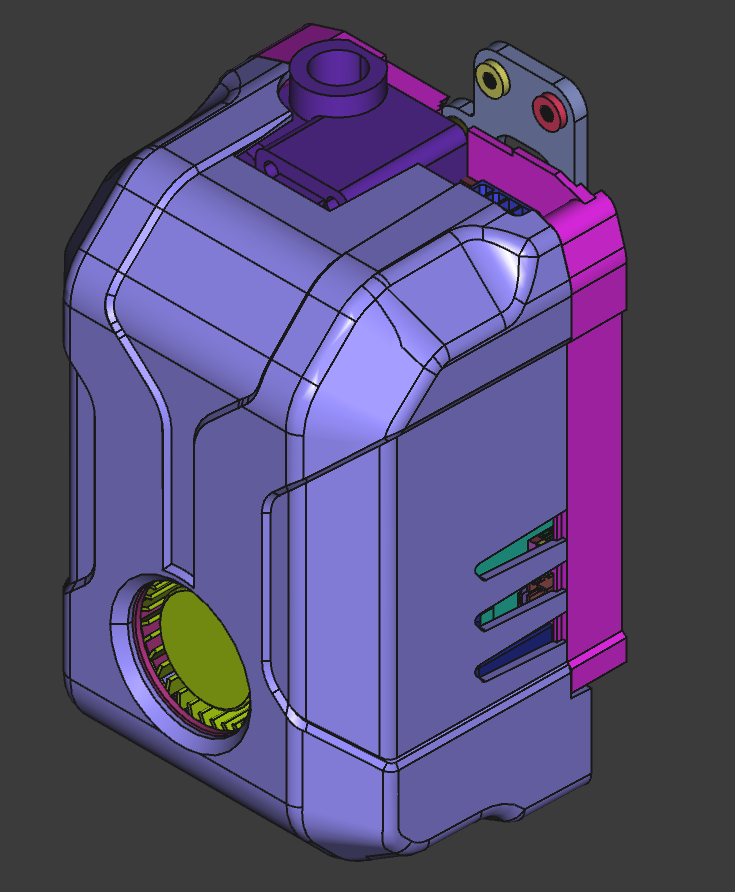
Co Print Chromahead Model
NOT 100% ACCURATE This is a rough model, but close enough to help when modeling parts for the head.
- Downloads
- 167
- Likes
- 8
- Rating
- 0
Counting matching models…
NOT 100% ACCURATE This is a rough model, but close enough to help when modeling parts for the head.
PRINTING Use tree supports Use brim Use classic wall generator if holes in slicing Use .4 nozzle MOUNTING Needs at least one M3x20 and M3x8 screw and one M3 nut. Use existing screw in front of heatsink fan and next to extruder. Use M3x8…
PRINTING The model is already oriented as it prints. Will need a brim about 5 mm. Will need tree supports. You can exclude the supports inside the tips of the ducts. Works best with .4 nozzle and classic wall generator. Otherwise holes…
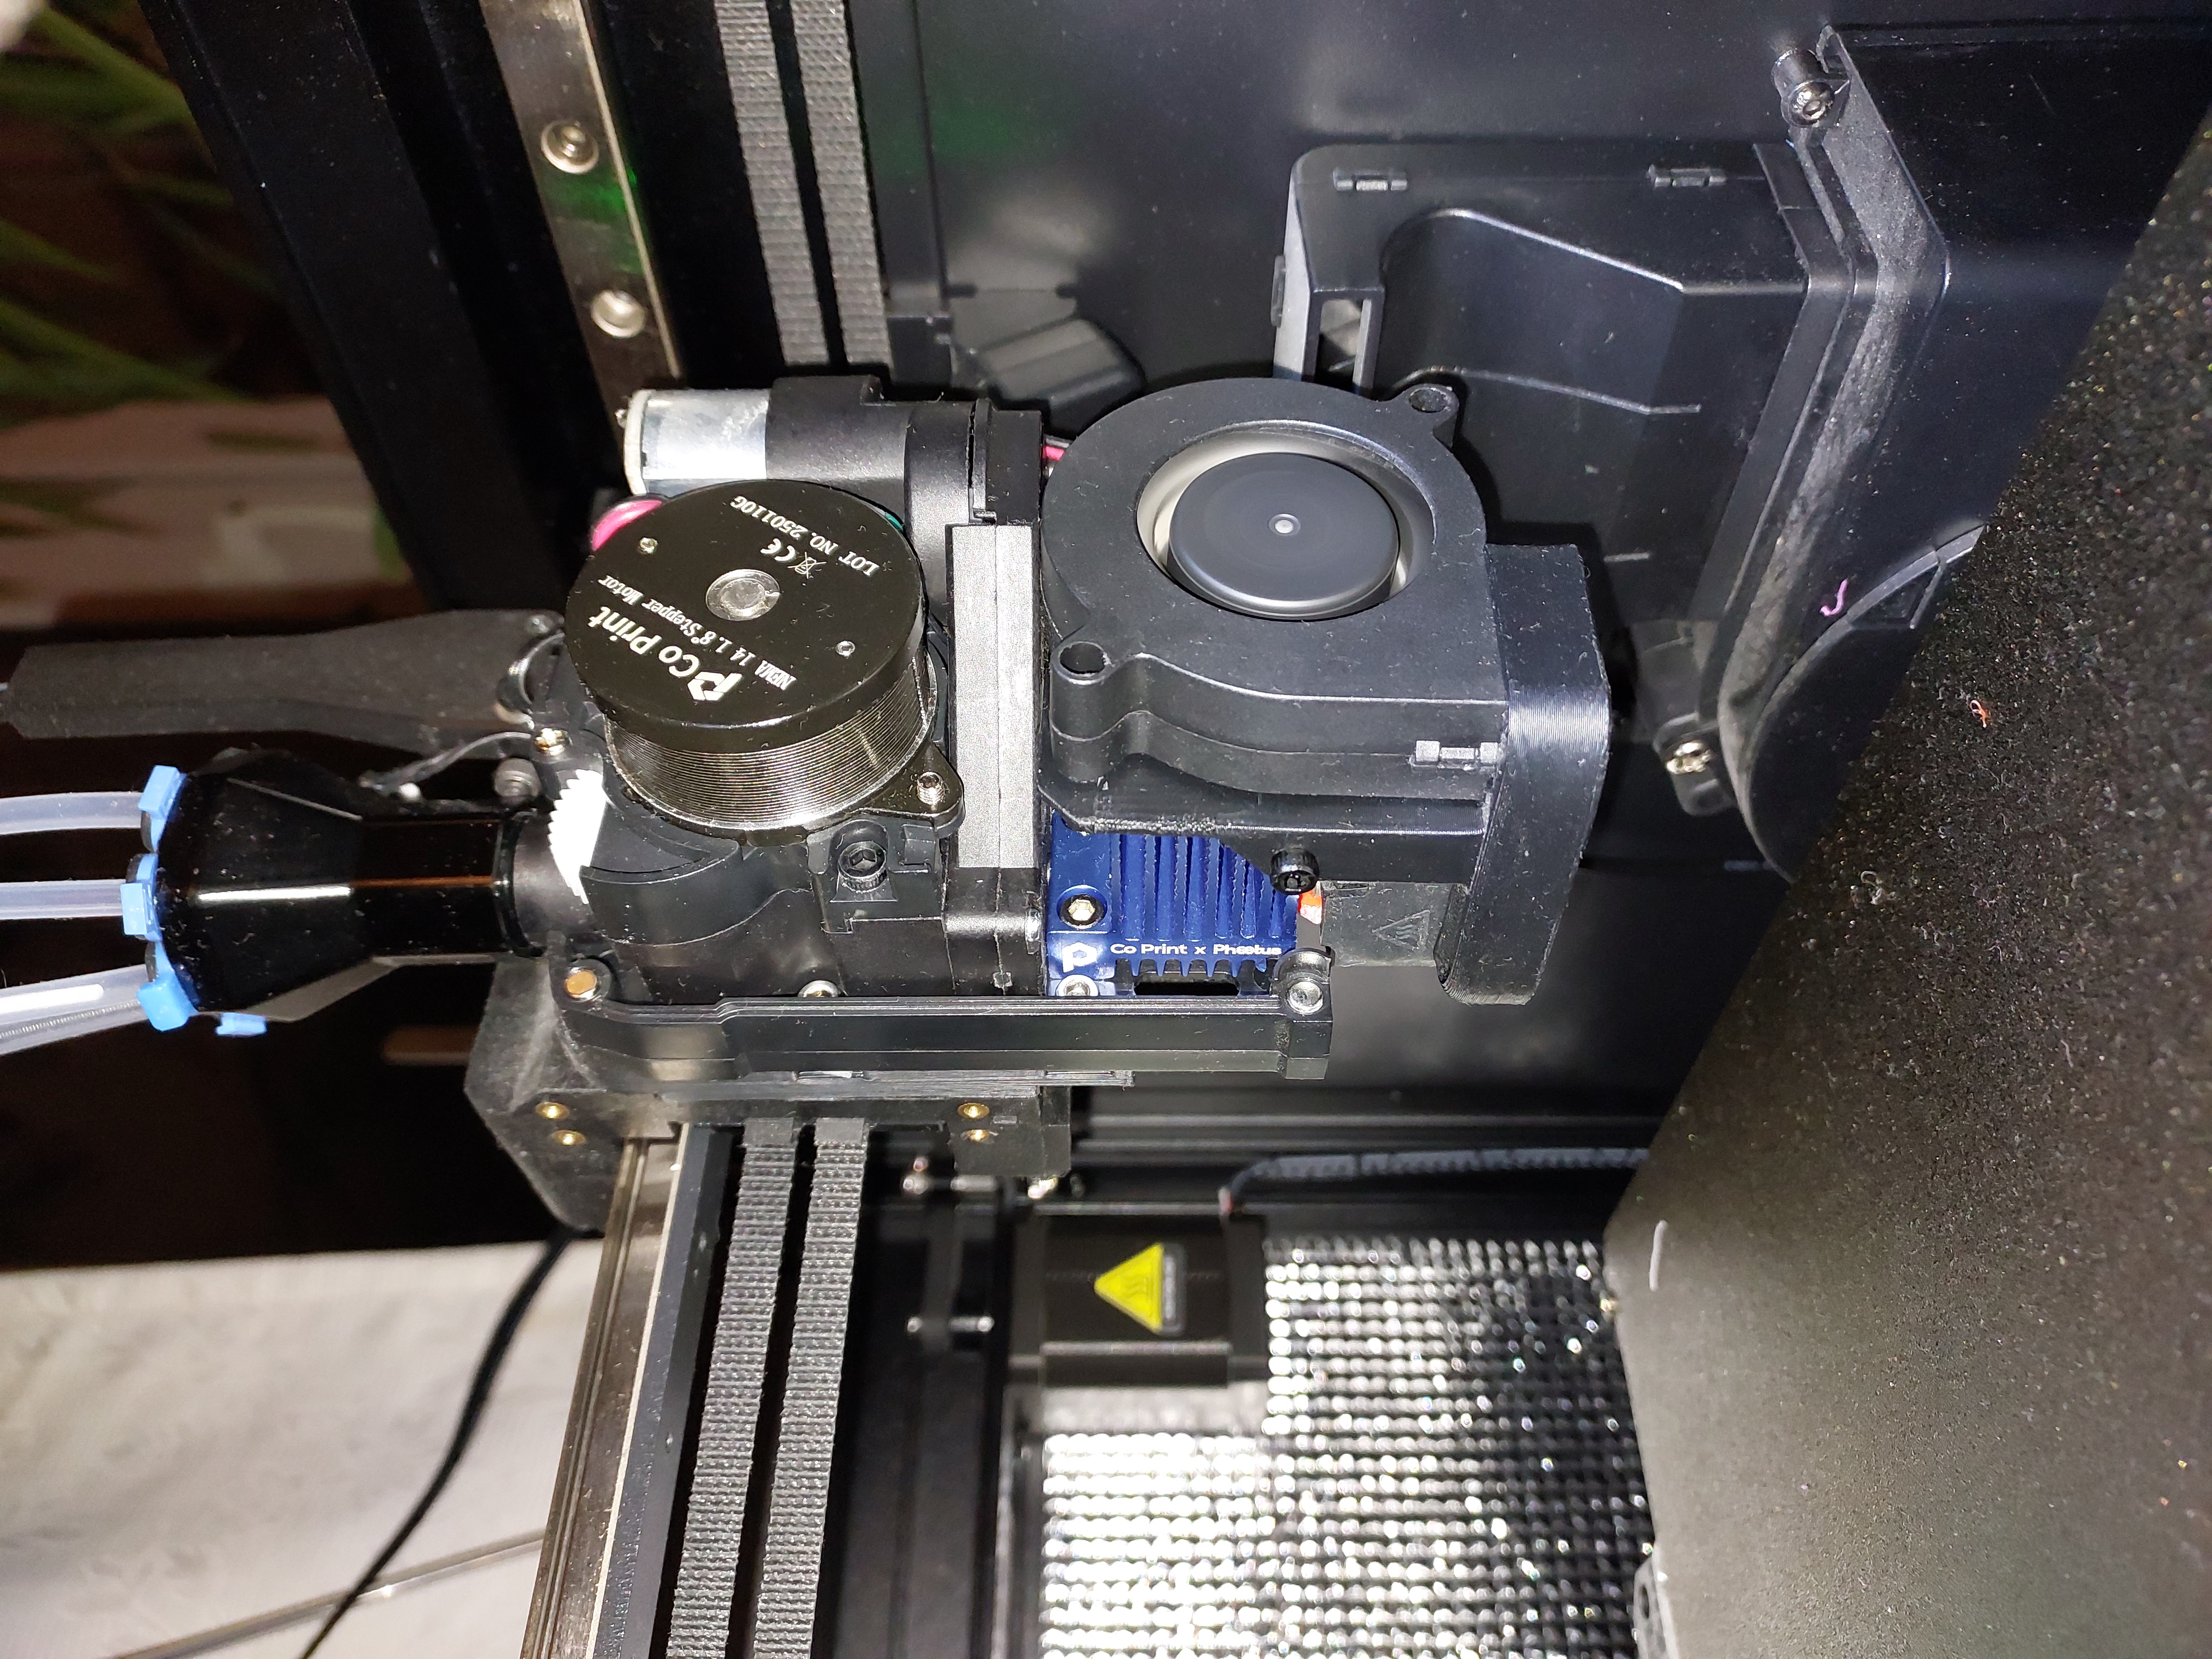
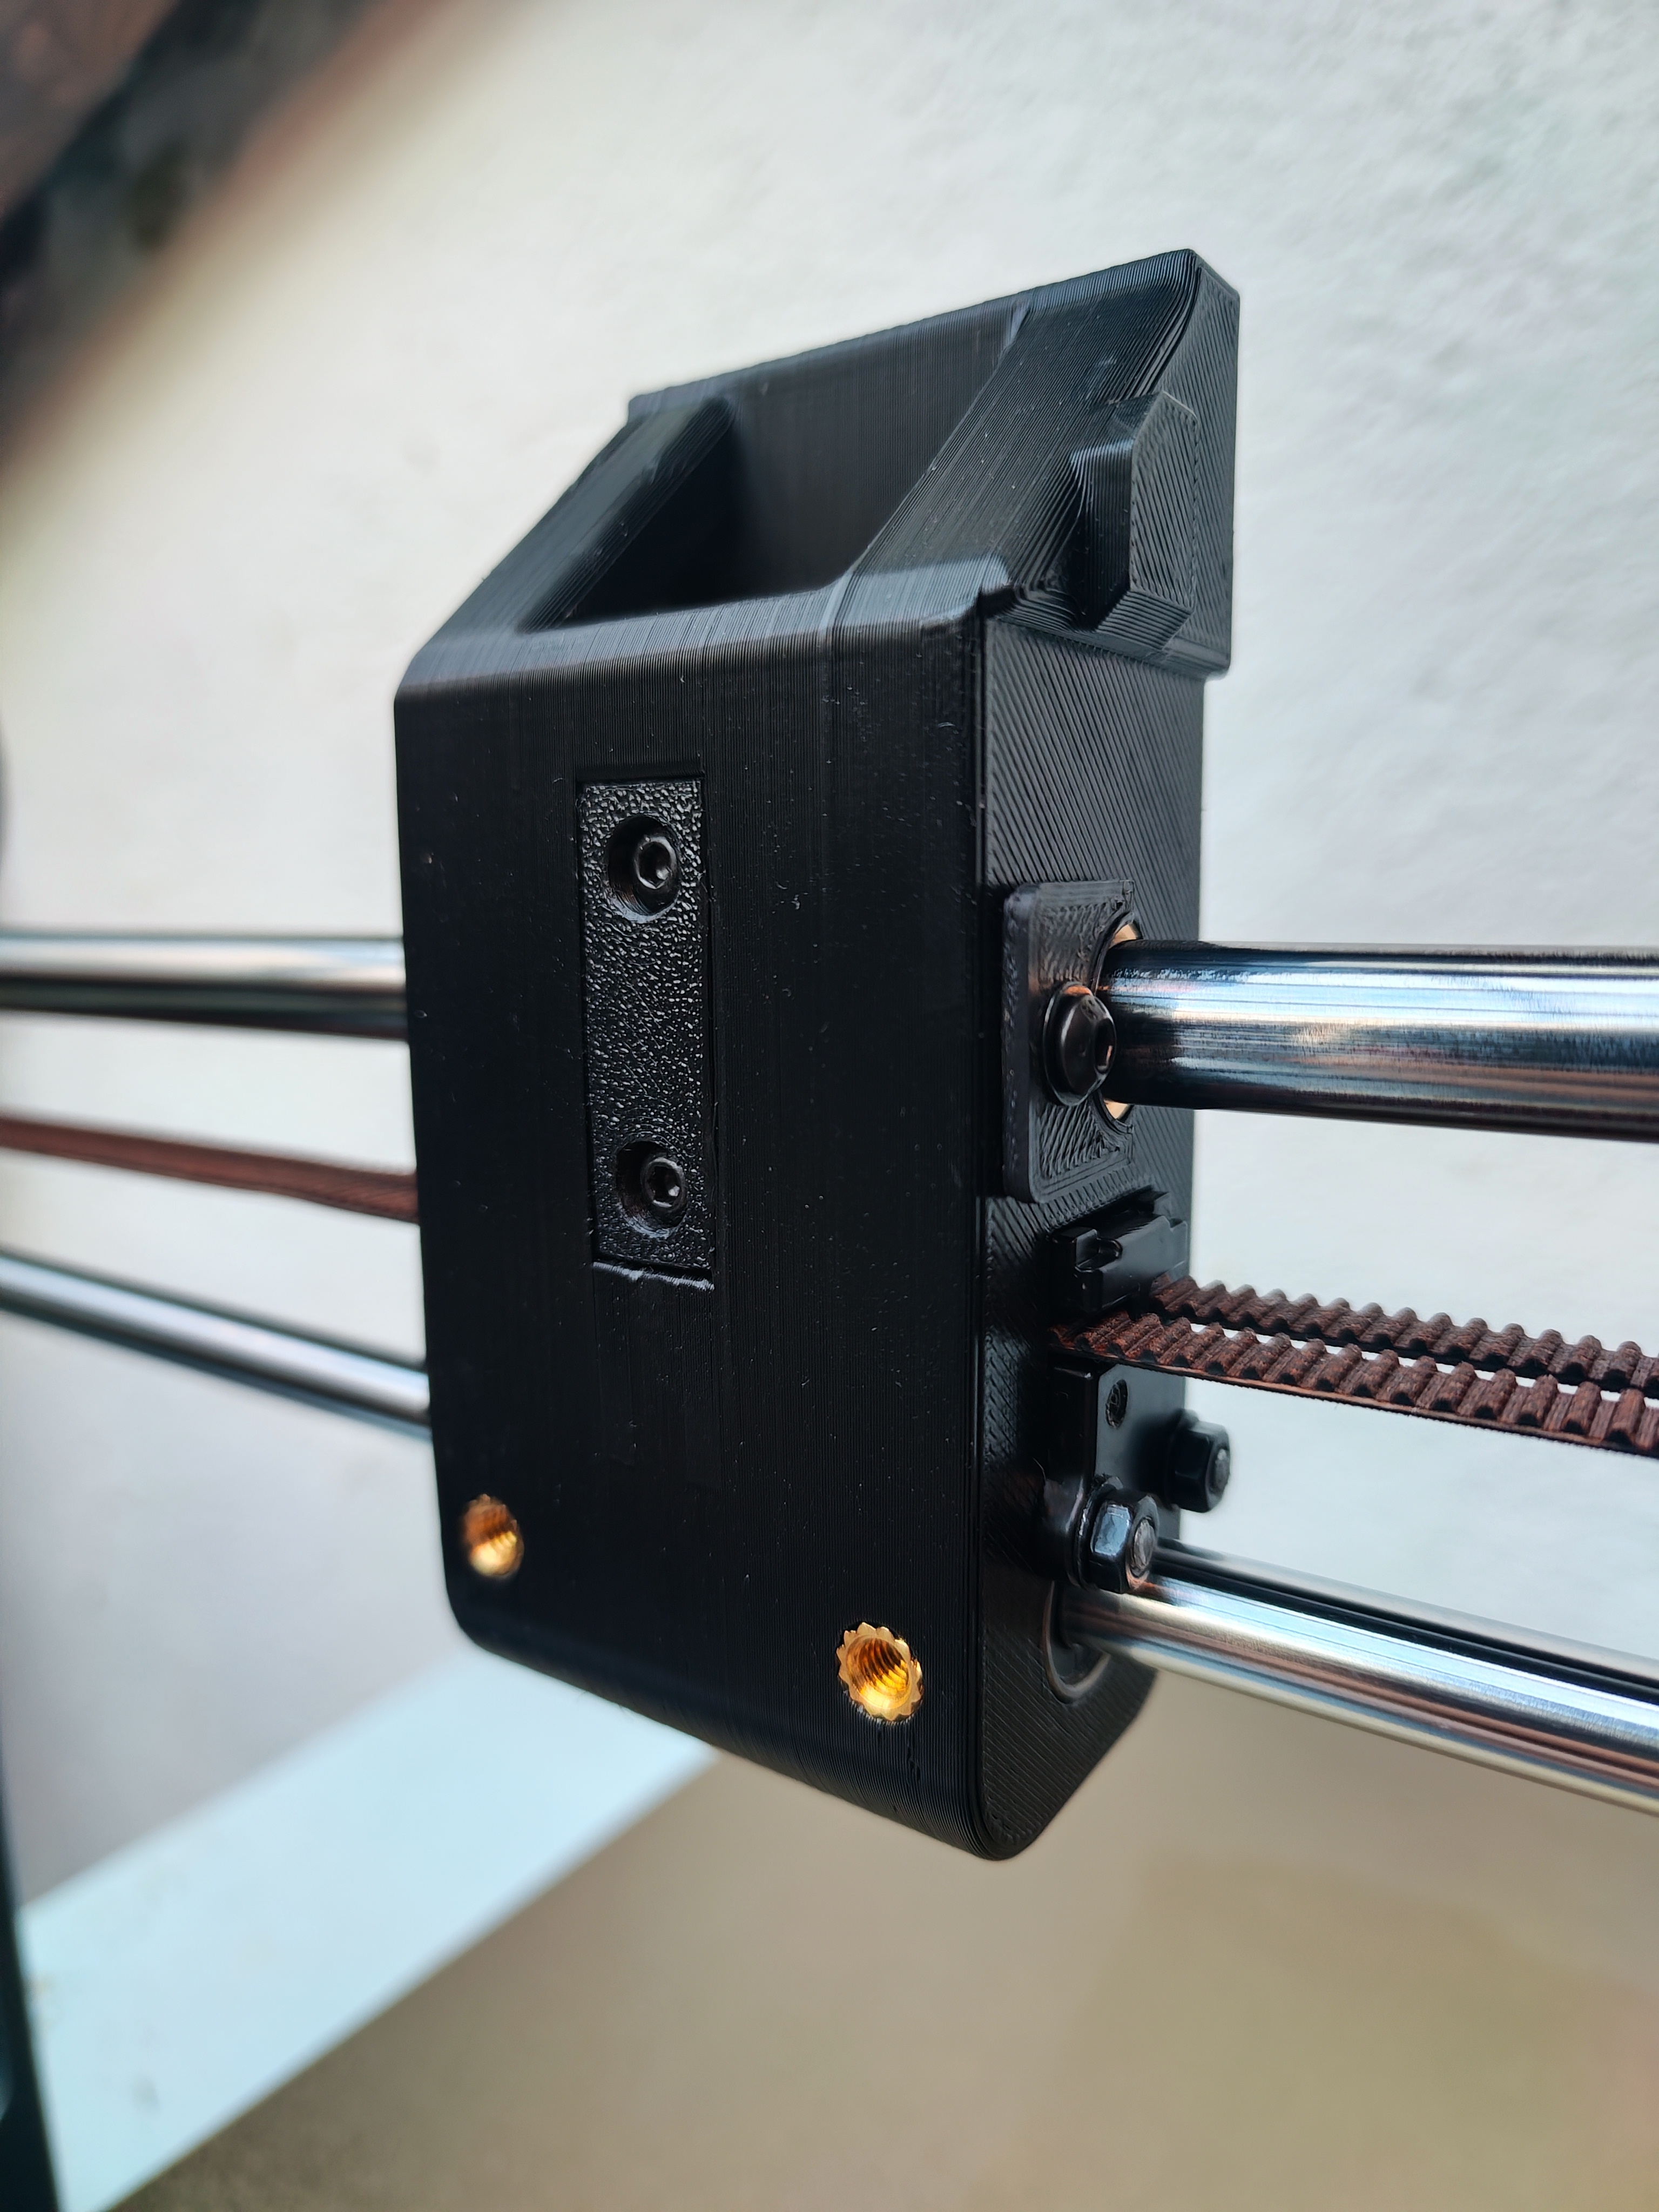
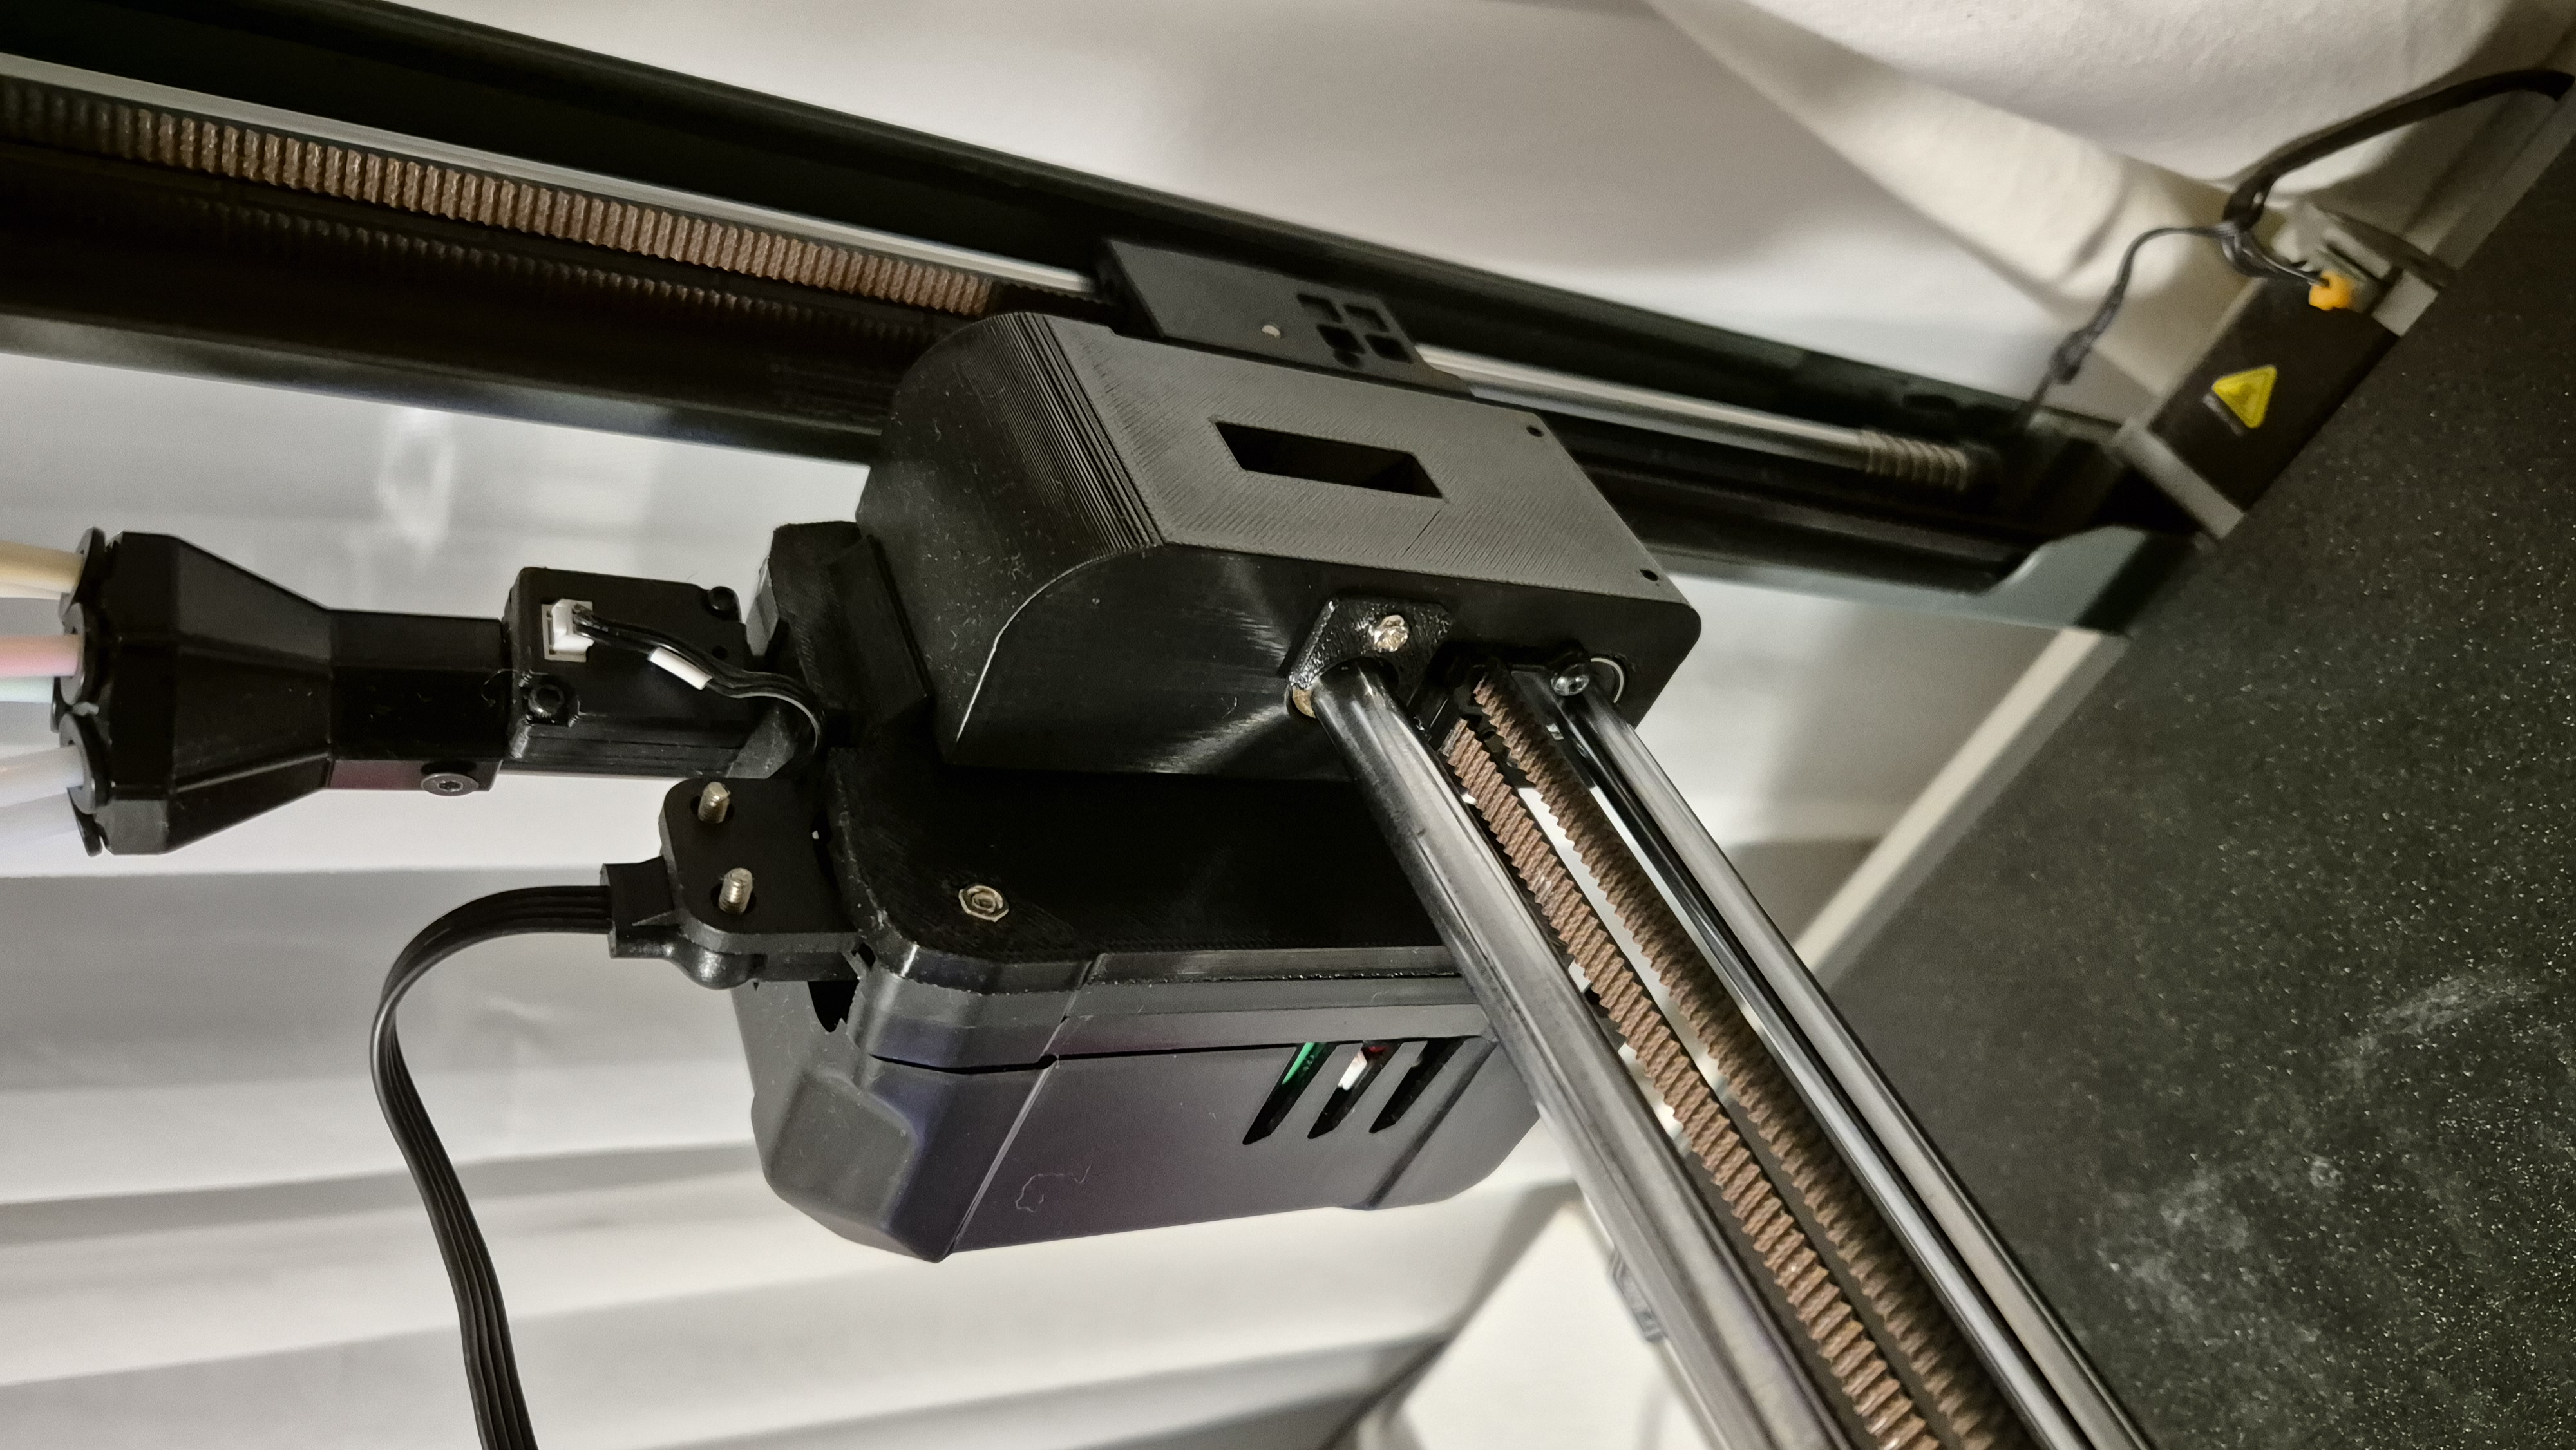
I thought there was room for improvement on the Creality/Coprint multicolor kit. The Chromahead mounted on the stock carriage sticks out quite far and in combination with the assymetric nozzle placement it reduces the print area from…
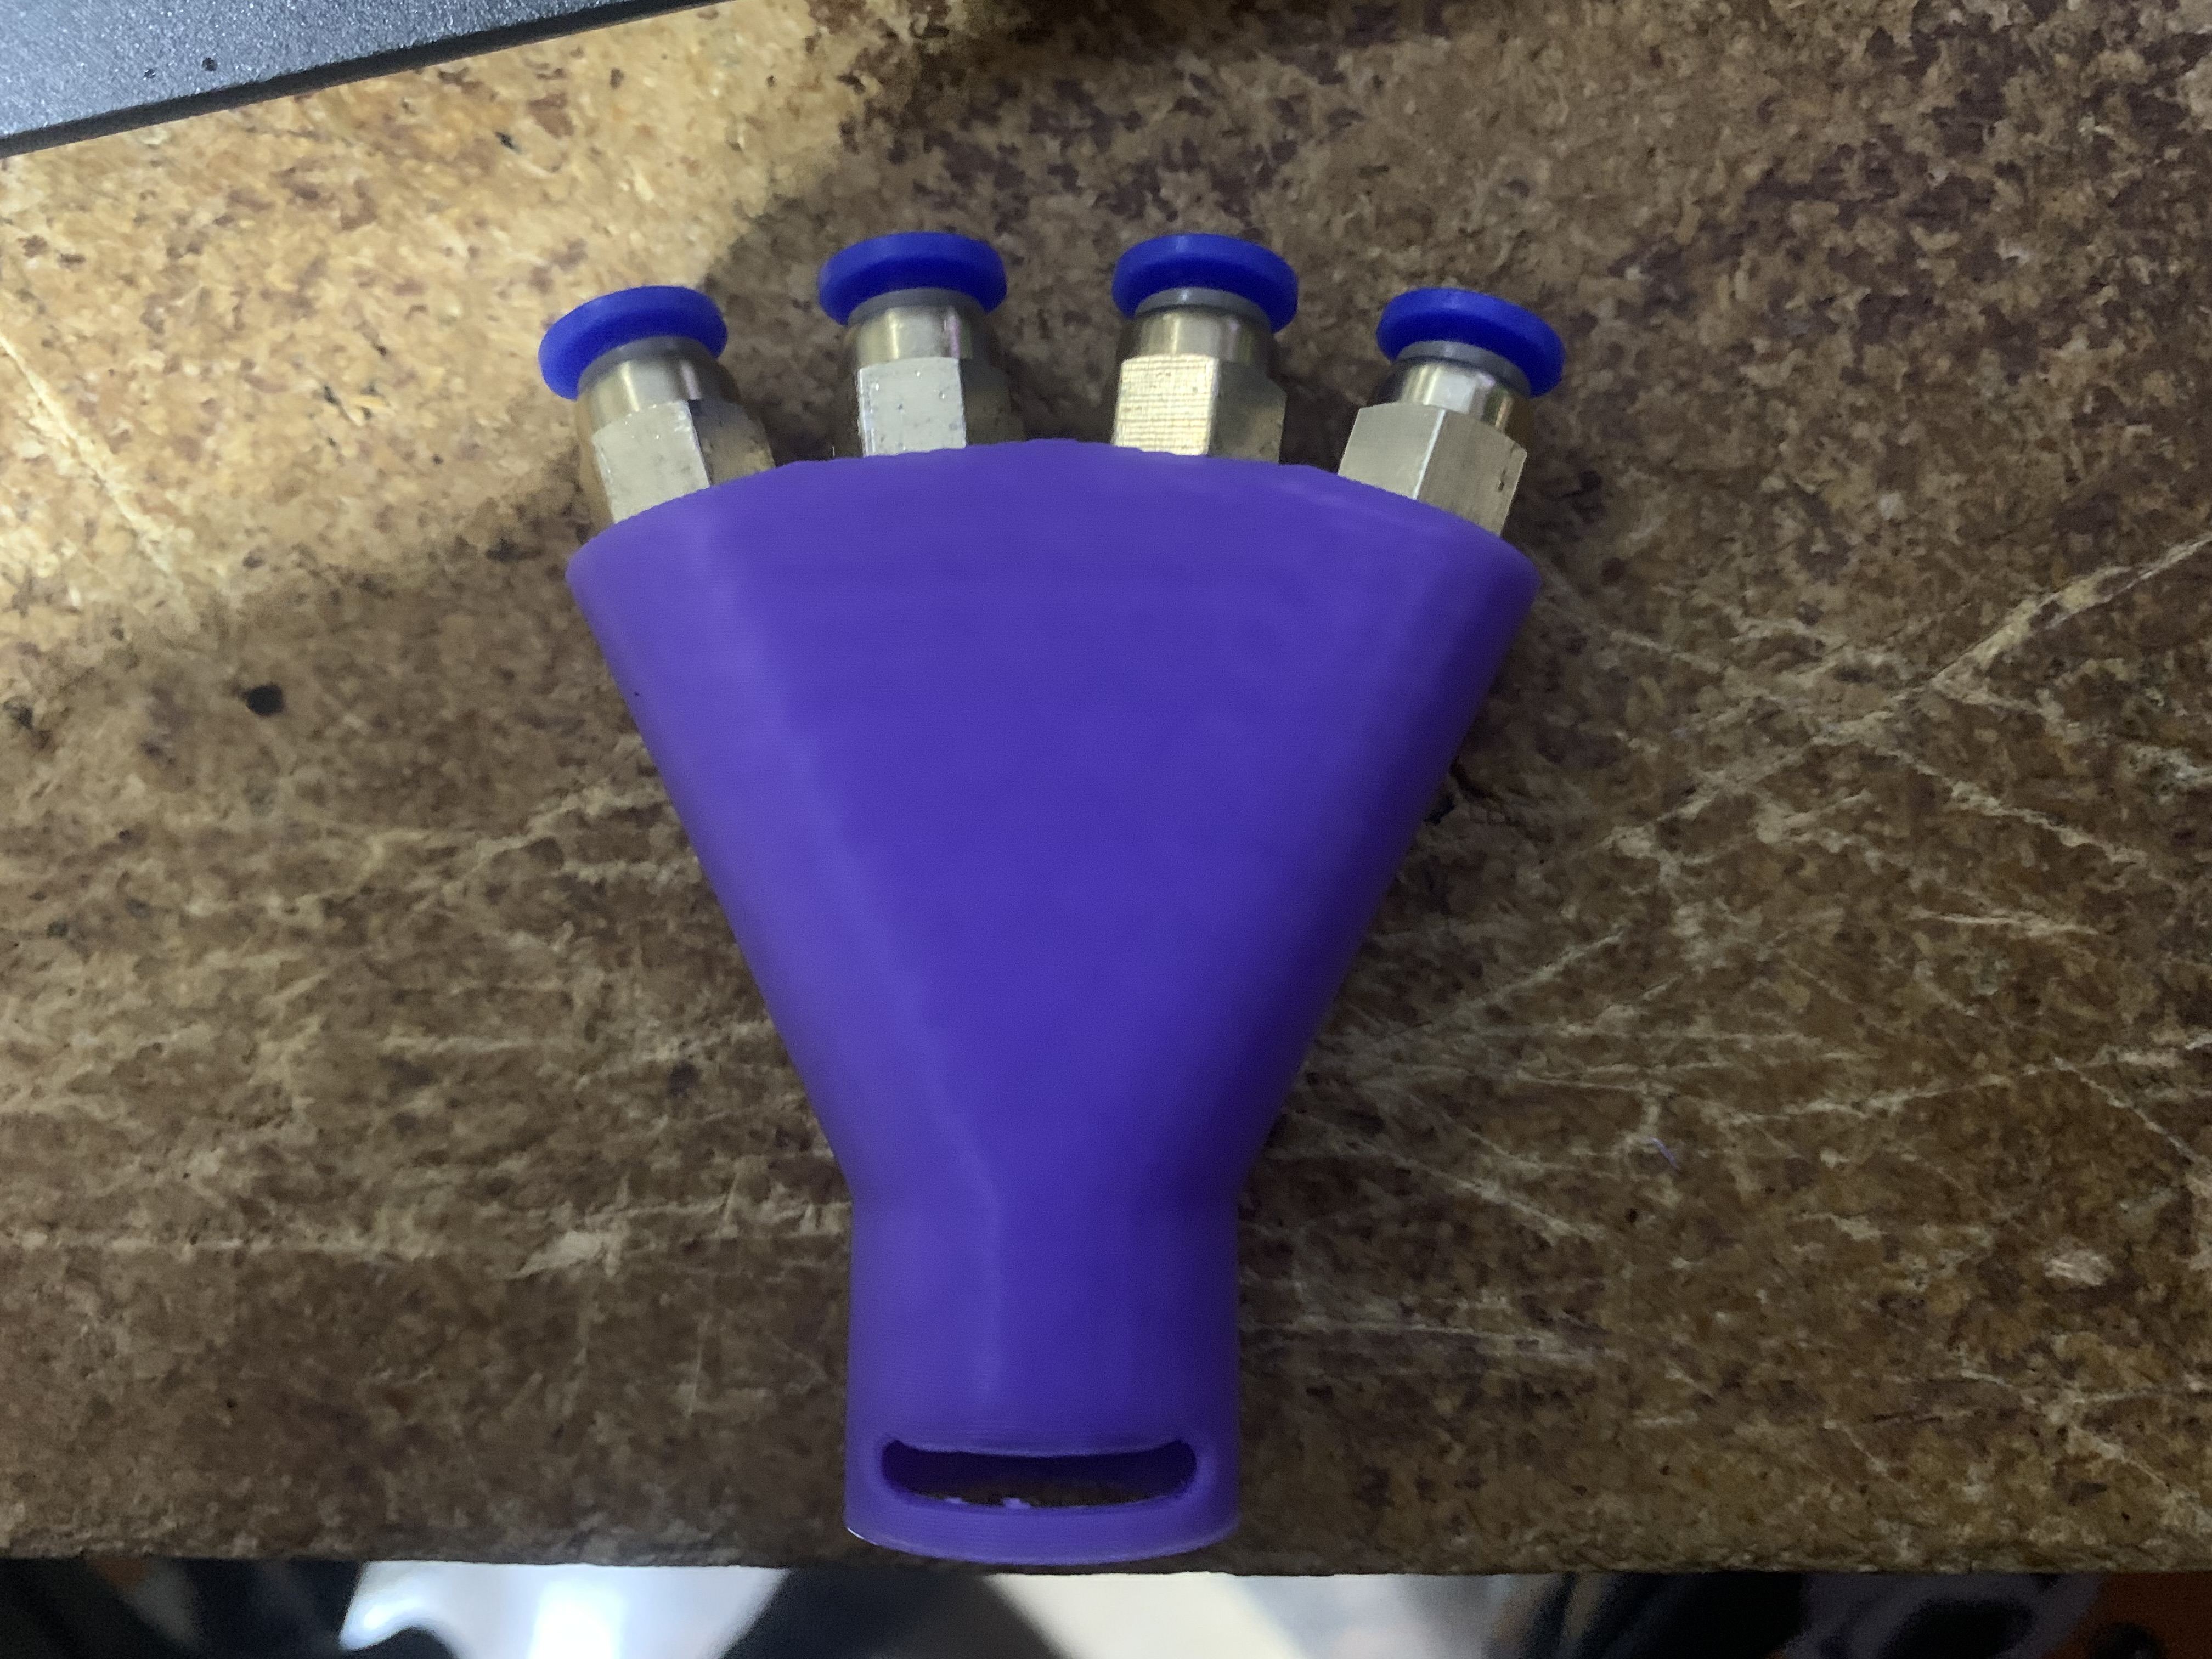
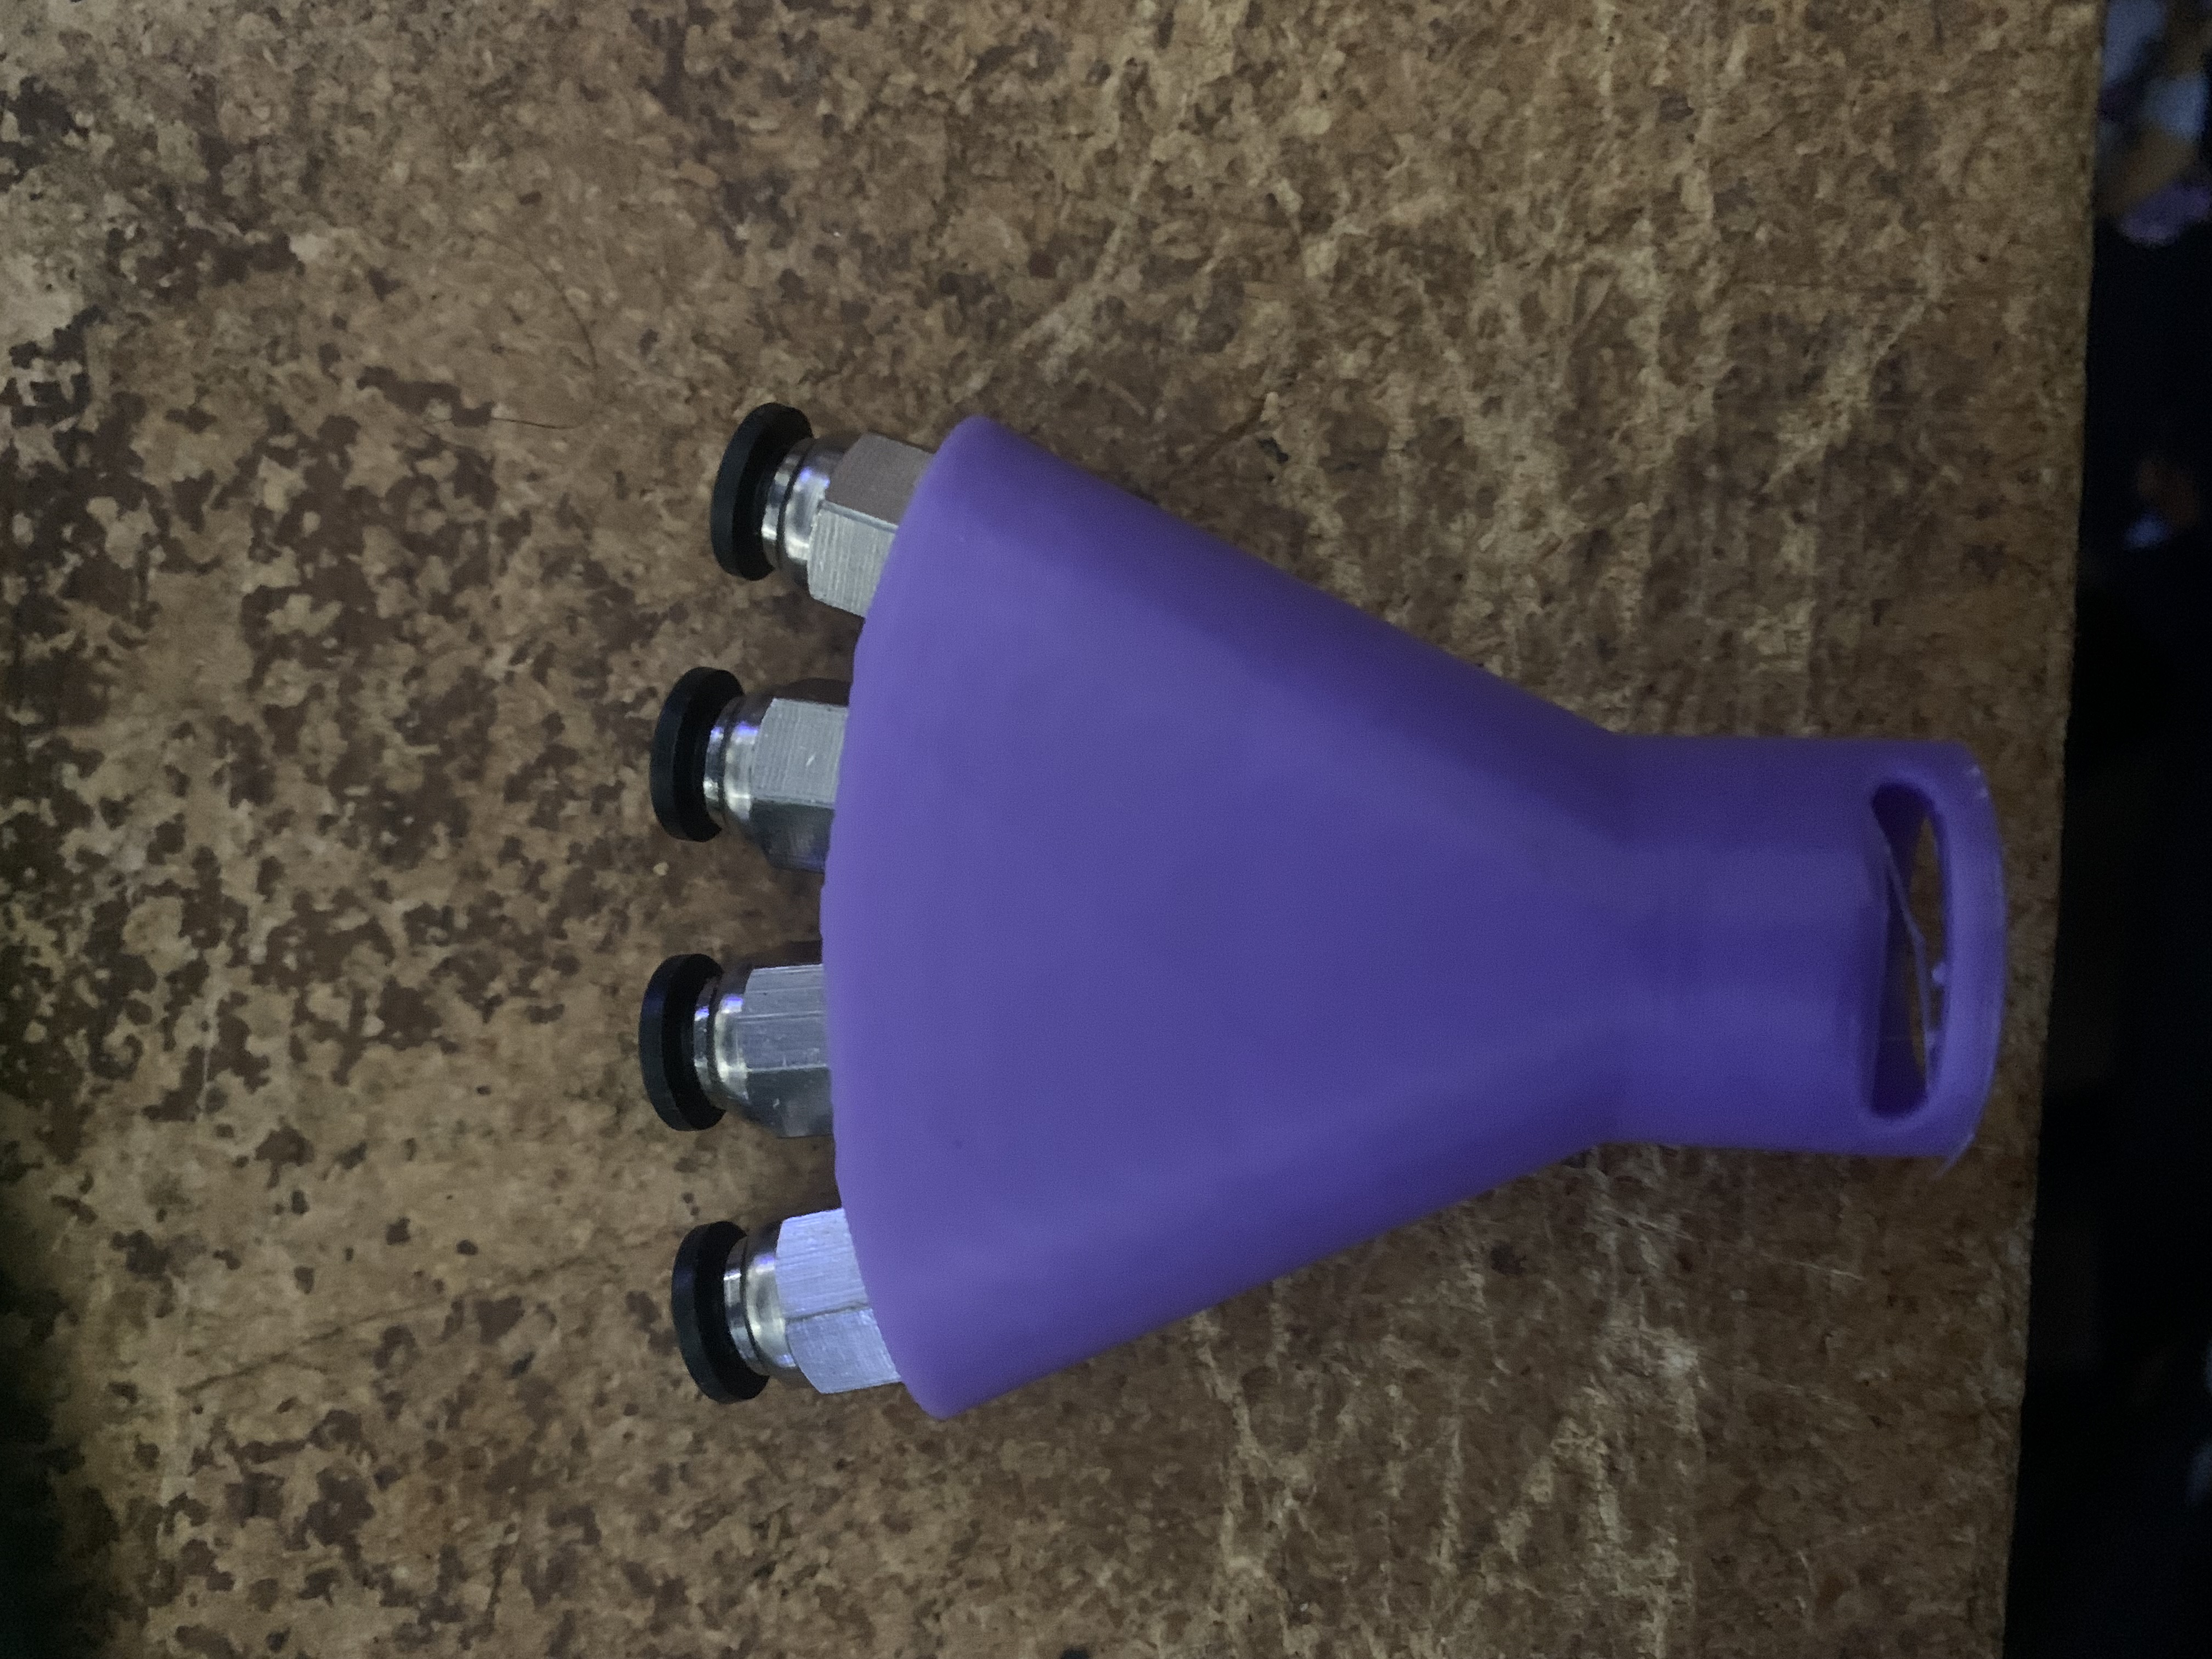
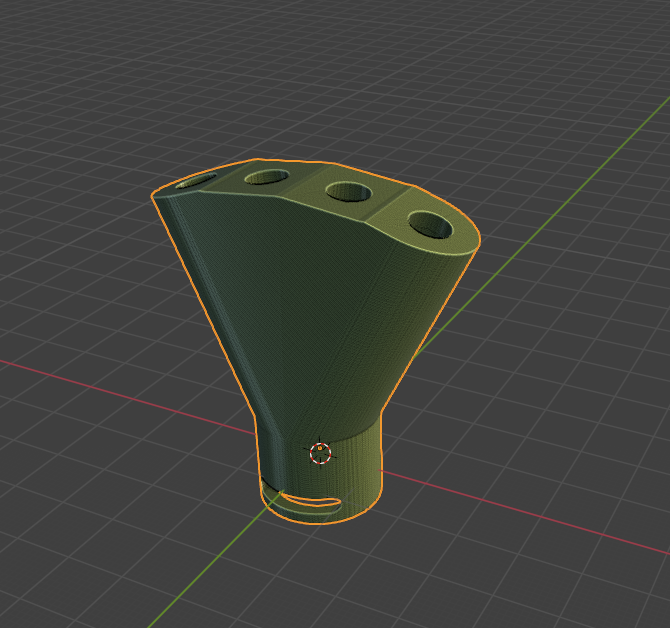
This is a follow up to my previous 4 in 1 adapter for the CoPrint Chroma head. This one is threaded for PC4-M6 connectors. Great option is all you are going to use is 4 colors.
Print in TPU laying flat. The sacrificial bridging will have to be cut away after printing EDIT: Added a second version to be printed out of non flexible. Just add two strands of FIlament (~80mm?) onto the top to create the desired…
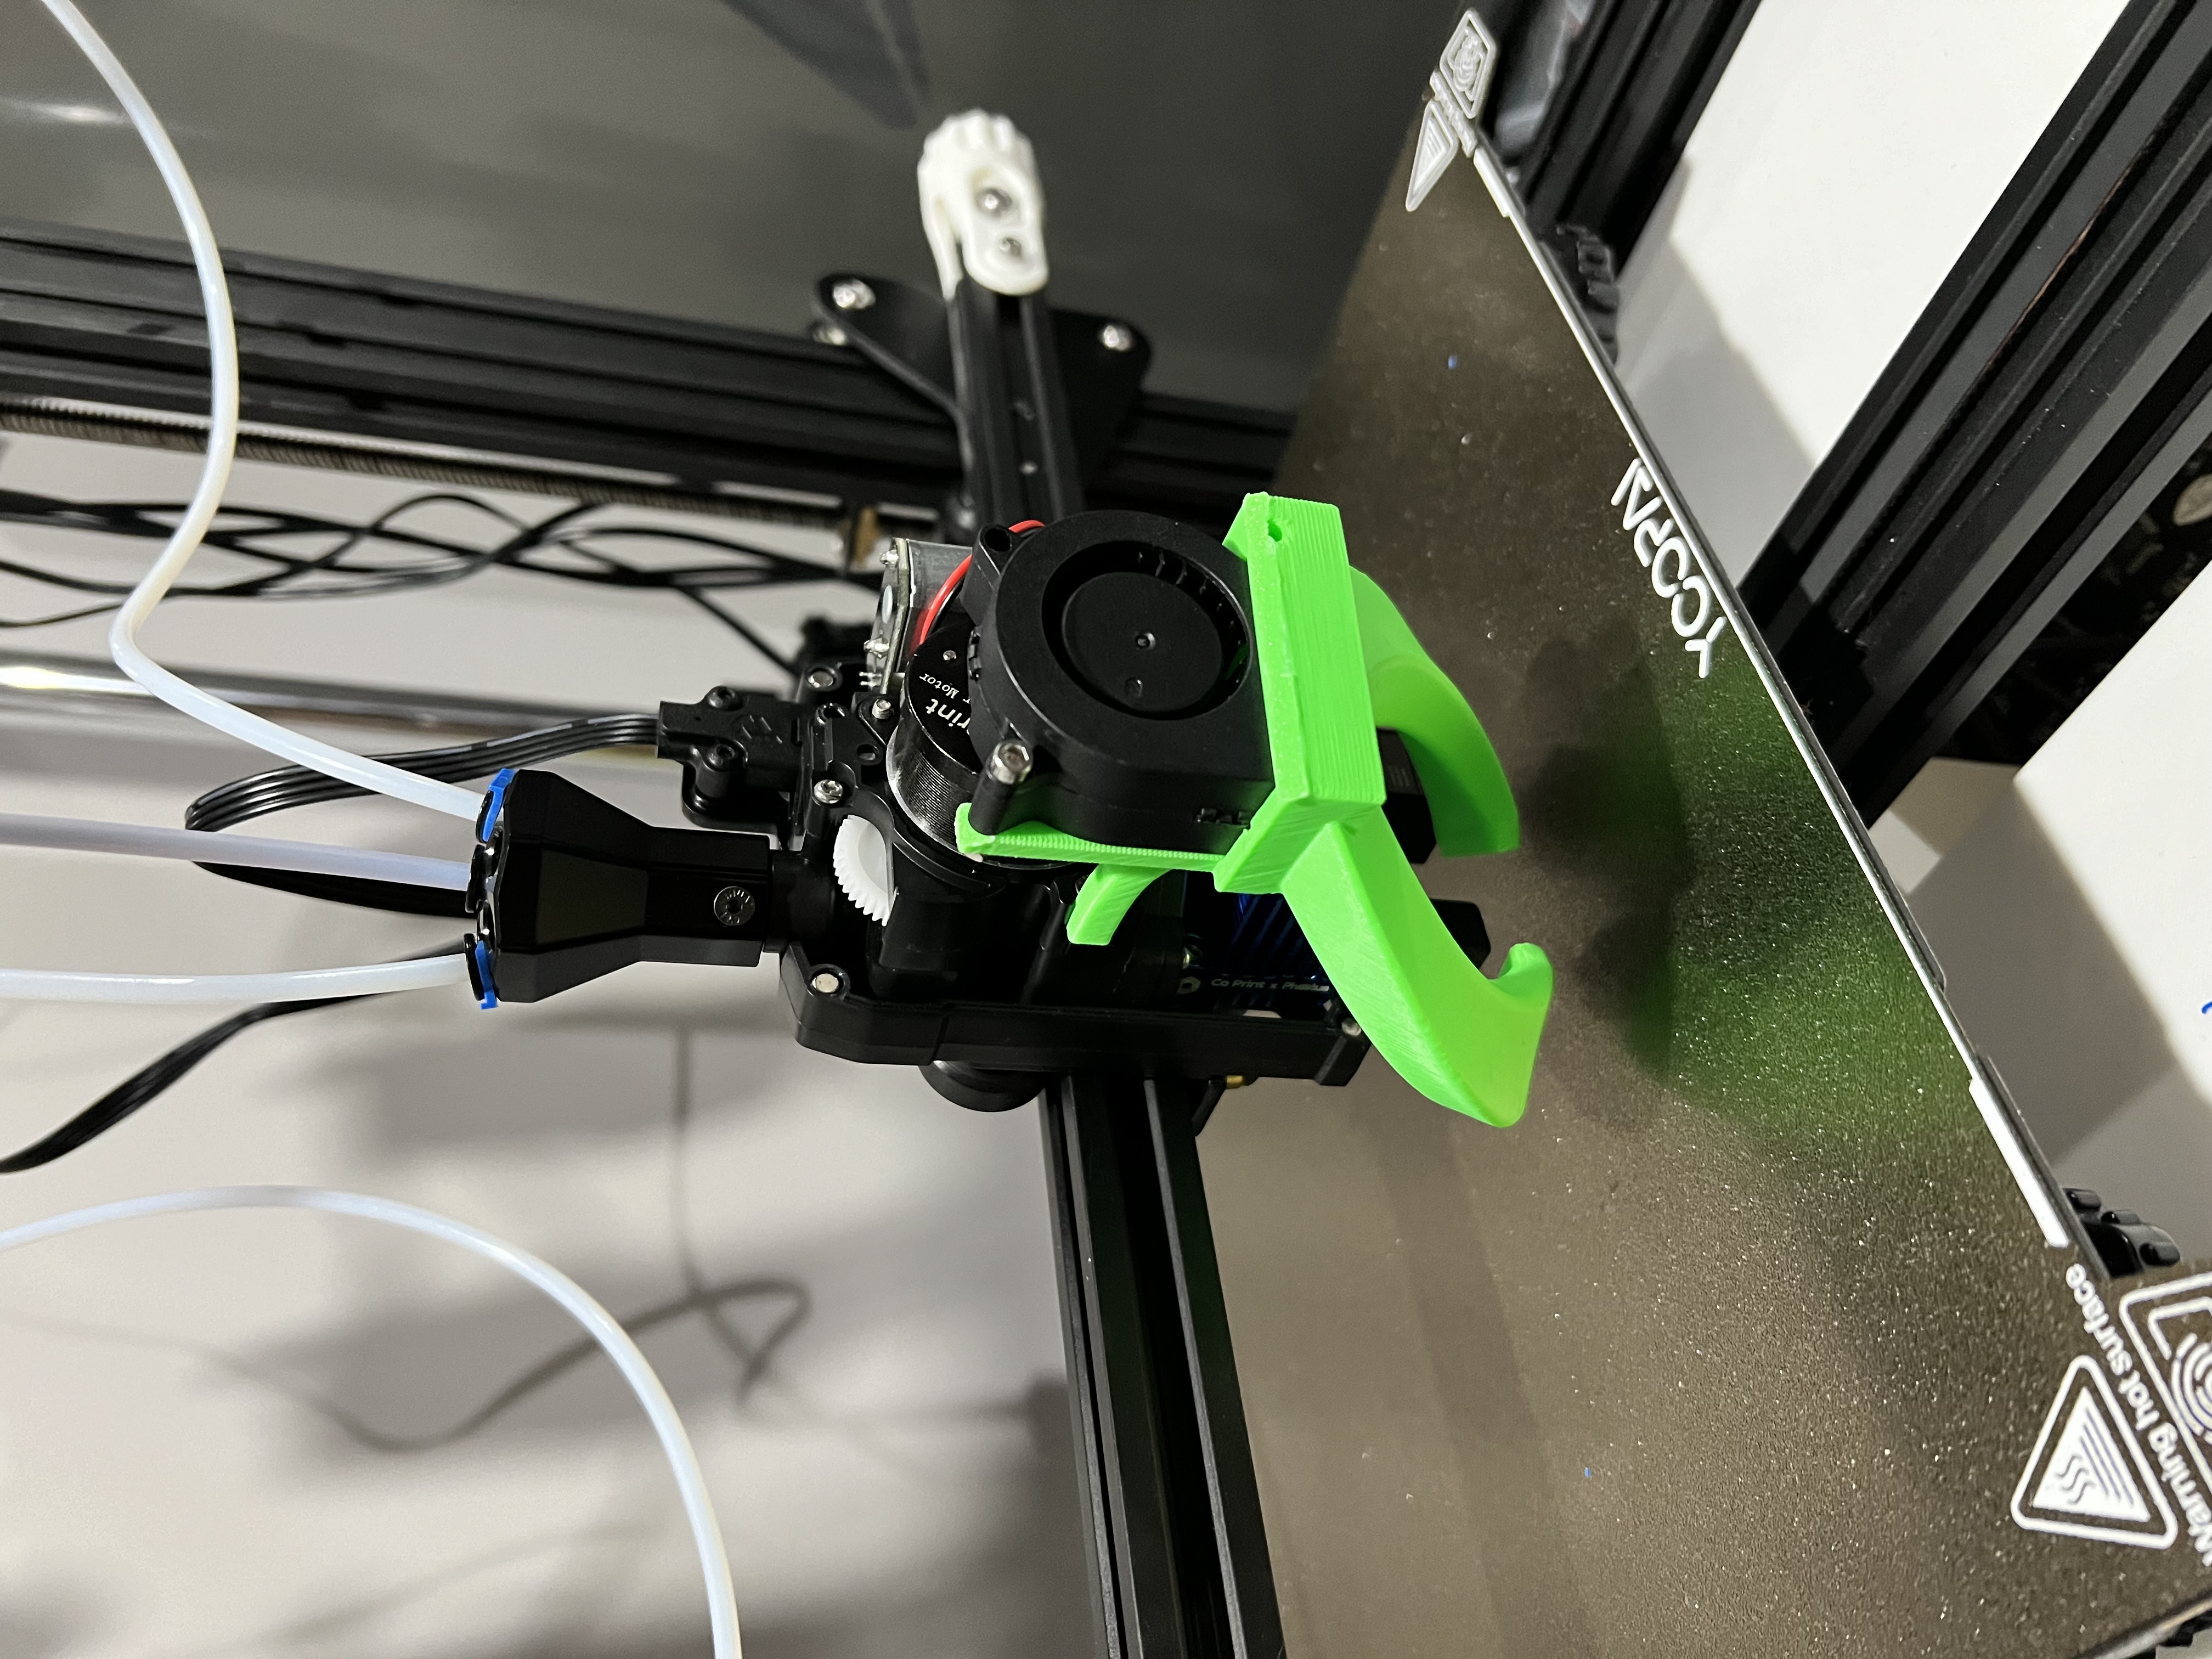
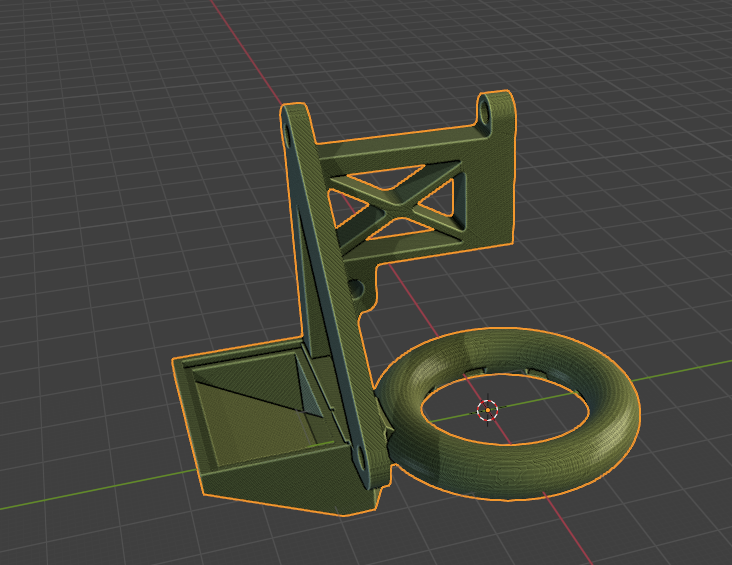
Circular Ring Cooling setup. Designed to fit both the Stock and Ceramic Ring Hotend. Centered around the nozzle tip. Uses stock fan. Screws: 1x Short M3 screw (8-10mm up to 20mm) 3x M3x20mm 1x M3x25mm Installation: Installed by mounting…
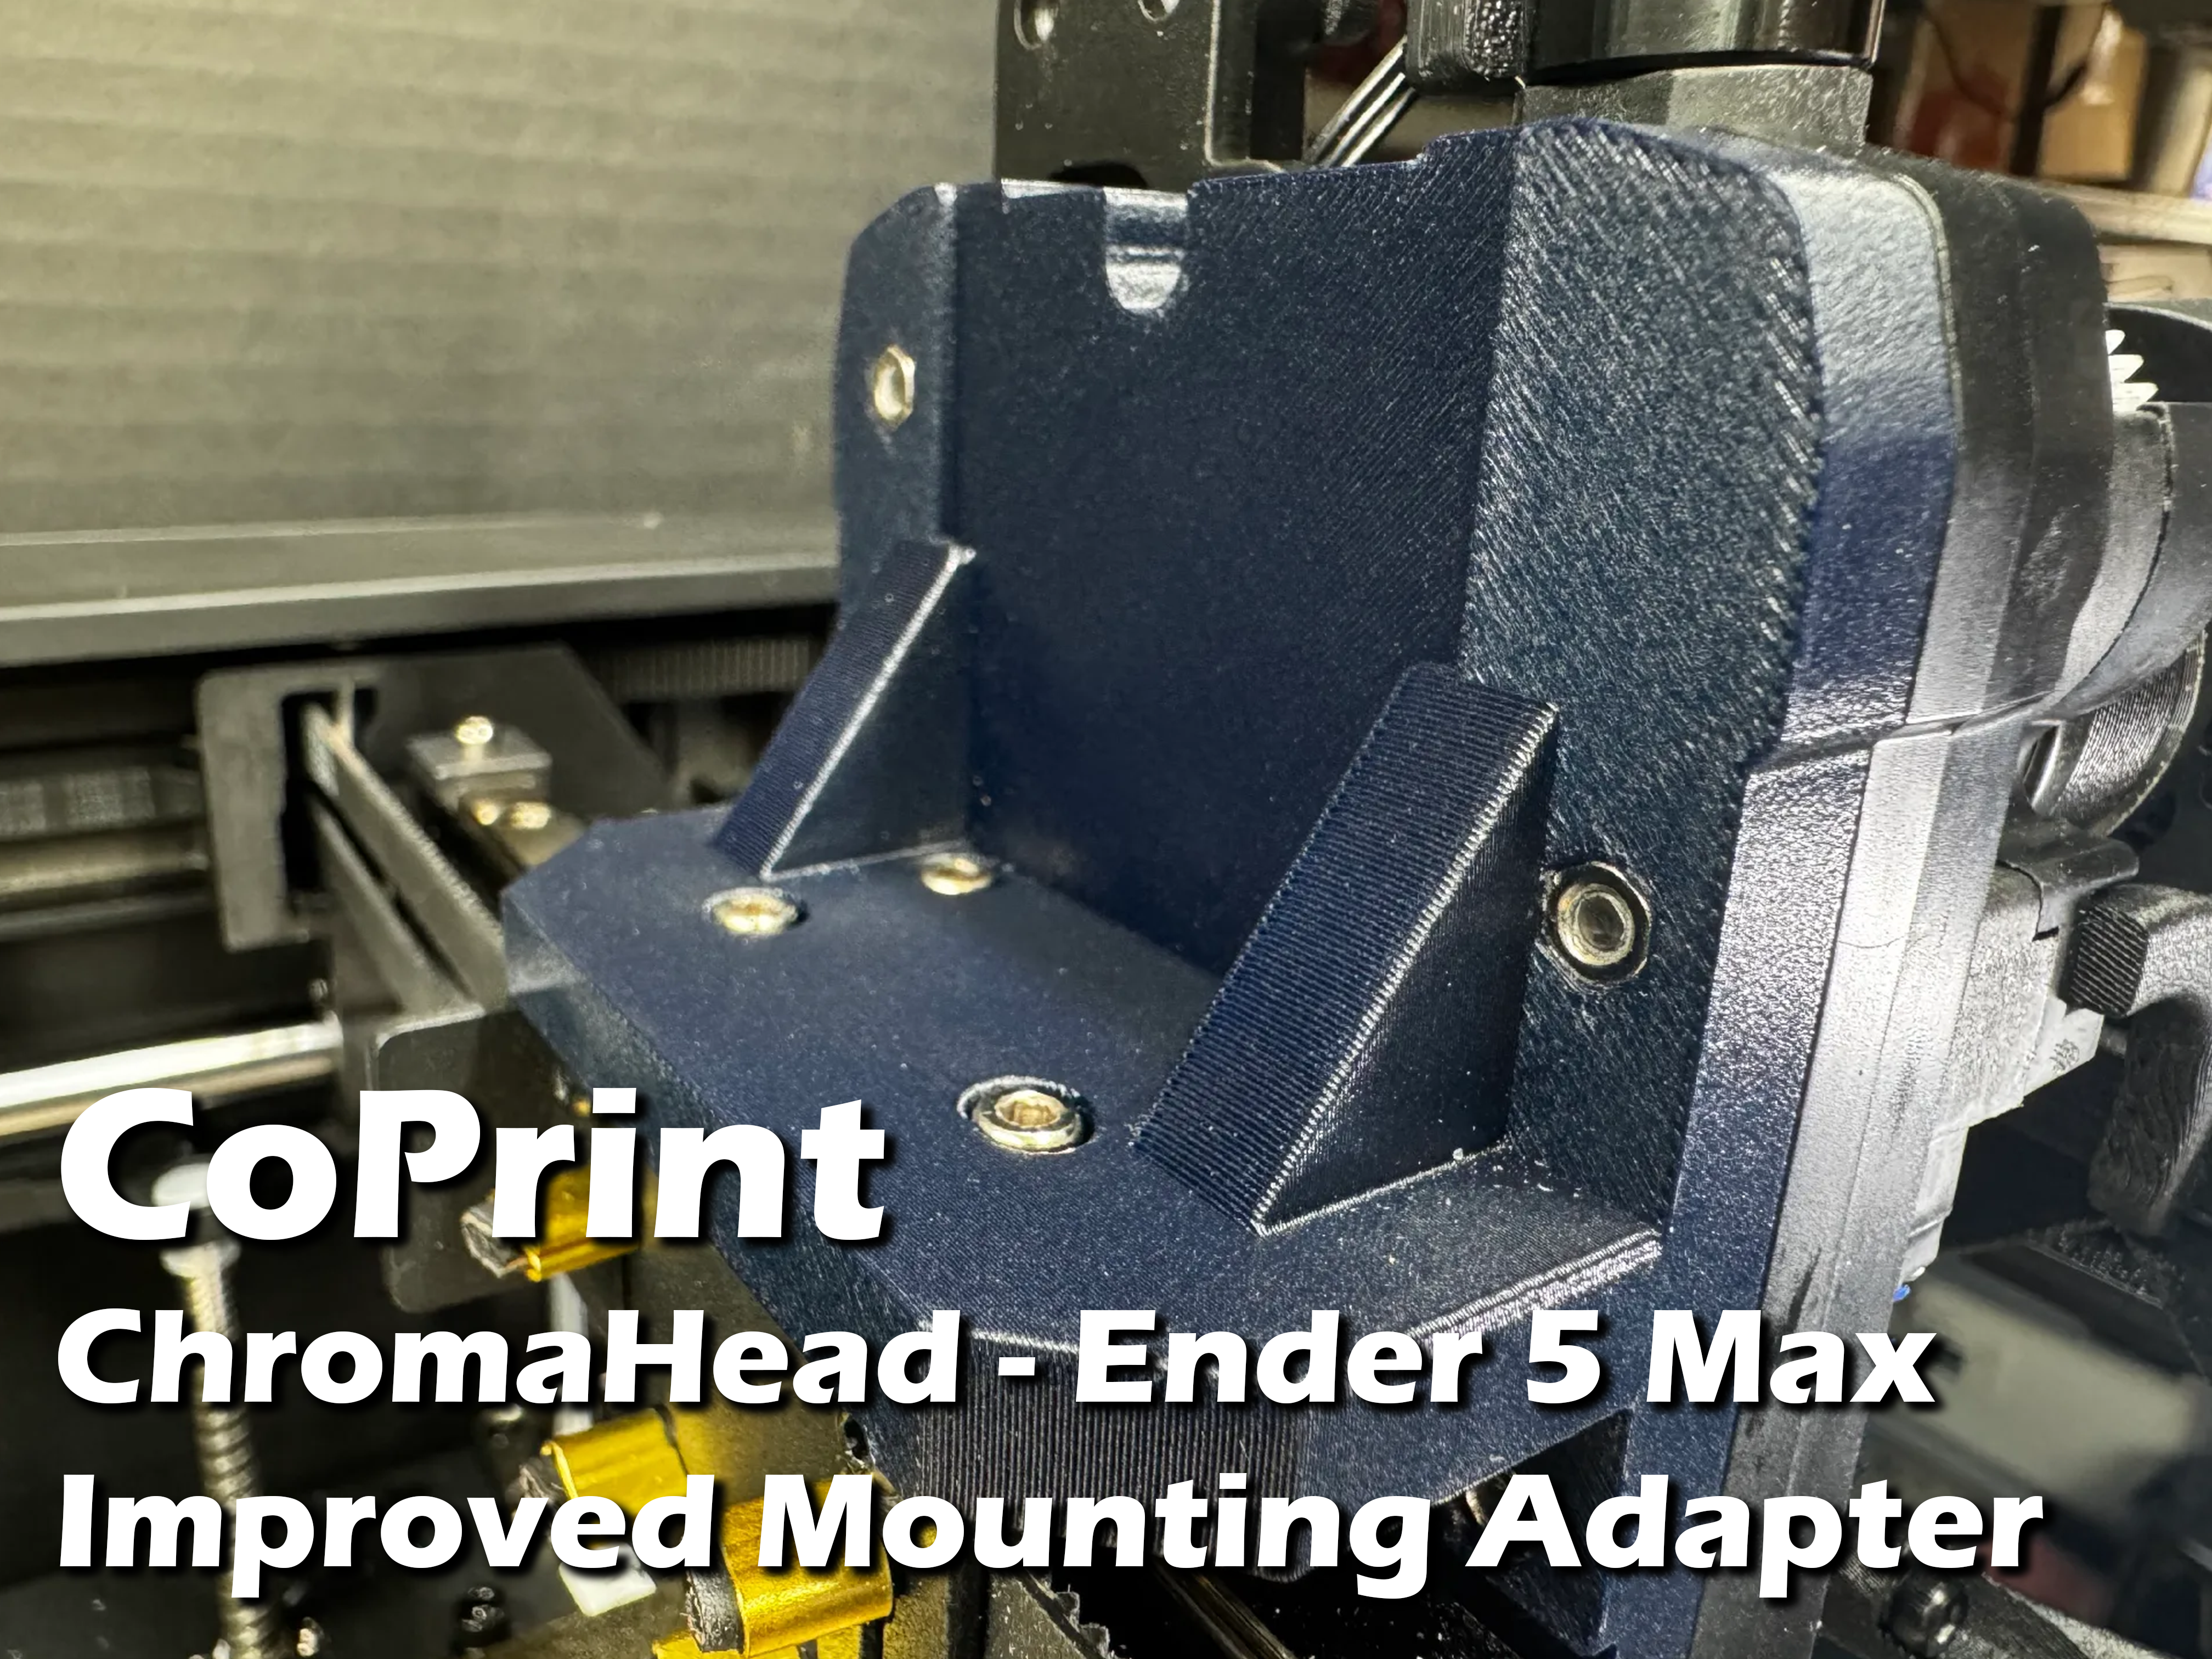
This remixed model is used to attach CoPrint's ChromaHead to the Creality Ender-5 Max, and solves issues I had with the print head coming loose with the original model. Shown printed in Flashforge PETG-CF Recommend printing with PETG, but…
Co Print ChromaHead, ChromaPad, KCM and ECM provided from the Co Print github https://github.com/coprint/Series-II-Product-Models Why upload them? well I was looking for a model of the ChromaHead, ECM, KCM and CX-1 Extruder to allow for…
This is the corrected version of the original. The ring inner diameter was too tight, and it was causing it to melt. Increased clearance around the nozzle to prevent the ring from getting too hot and melting. The original CoPrint cover…
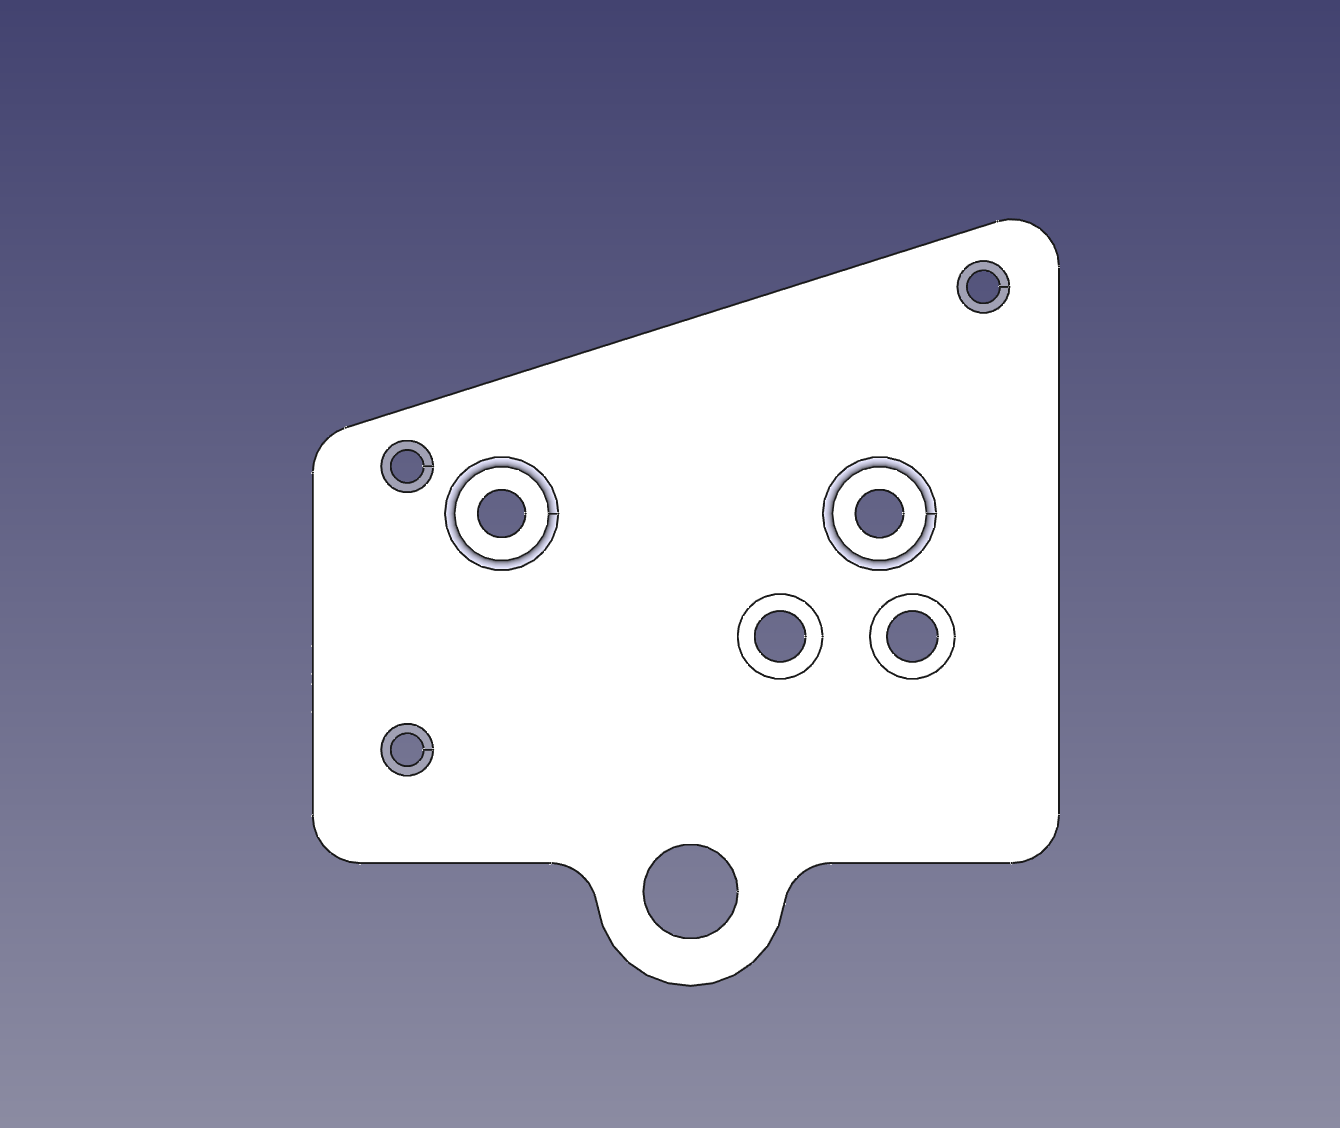
Align the 3 holes, use screws from the original hotend to mount to bracket, put square nuts in and screw Chromahead to them
This adapter enables the Creality K1 to work with the Co-Print Chromahead. It’s easy to install and enhances multi-material printing.
I MESSED UP ON THE V1 OF THIS. I HAD MY NOZZLE IN THE WRONG POSITION ON THE MODEL. IT CREATED A HOT SPOT AND MELTED THE RING (SEE PIC). THIS IS AN UPDATED VERSION WITH A SLIGHTLY LARGER RING AND MY NOZZLE ORIENTED IN THE CORRECT POSITION.…
This is a follow up to my follow up of the original adapter for the CoPrint ChromaHead. If you are only going to use 4 colors, get rid of the heavy 8 in 1 and opt for the lighter 4 in 1 option. Now available in M10 threads.
I don't have plans right now to go beyond 4 colors, so designed a 4 in 1 to replace the 8 in 1 and get rid some wasted space and weight. Printed in PLA. Slotted the front screw hole to allow for adjustment of head to be parallel with…
This model makes it possible to install ChromaHead on the Ender 5. Can be printed using PETG or PLA.
Another attempt to fit a 5015 radial fan to the CoPrint head. This improves cooling performance significantly and while also being extremely compact. I have a TwoTrees SK1 in which I struggle to maximize the building volume. Mounts to…
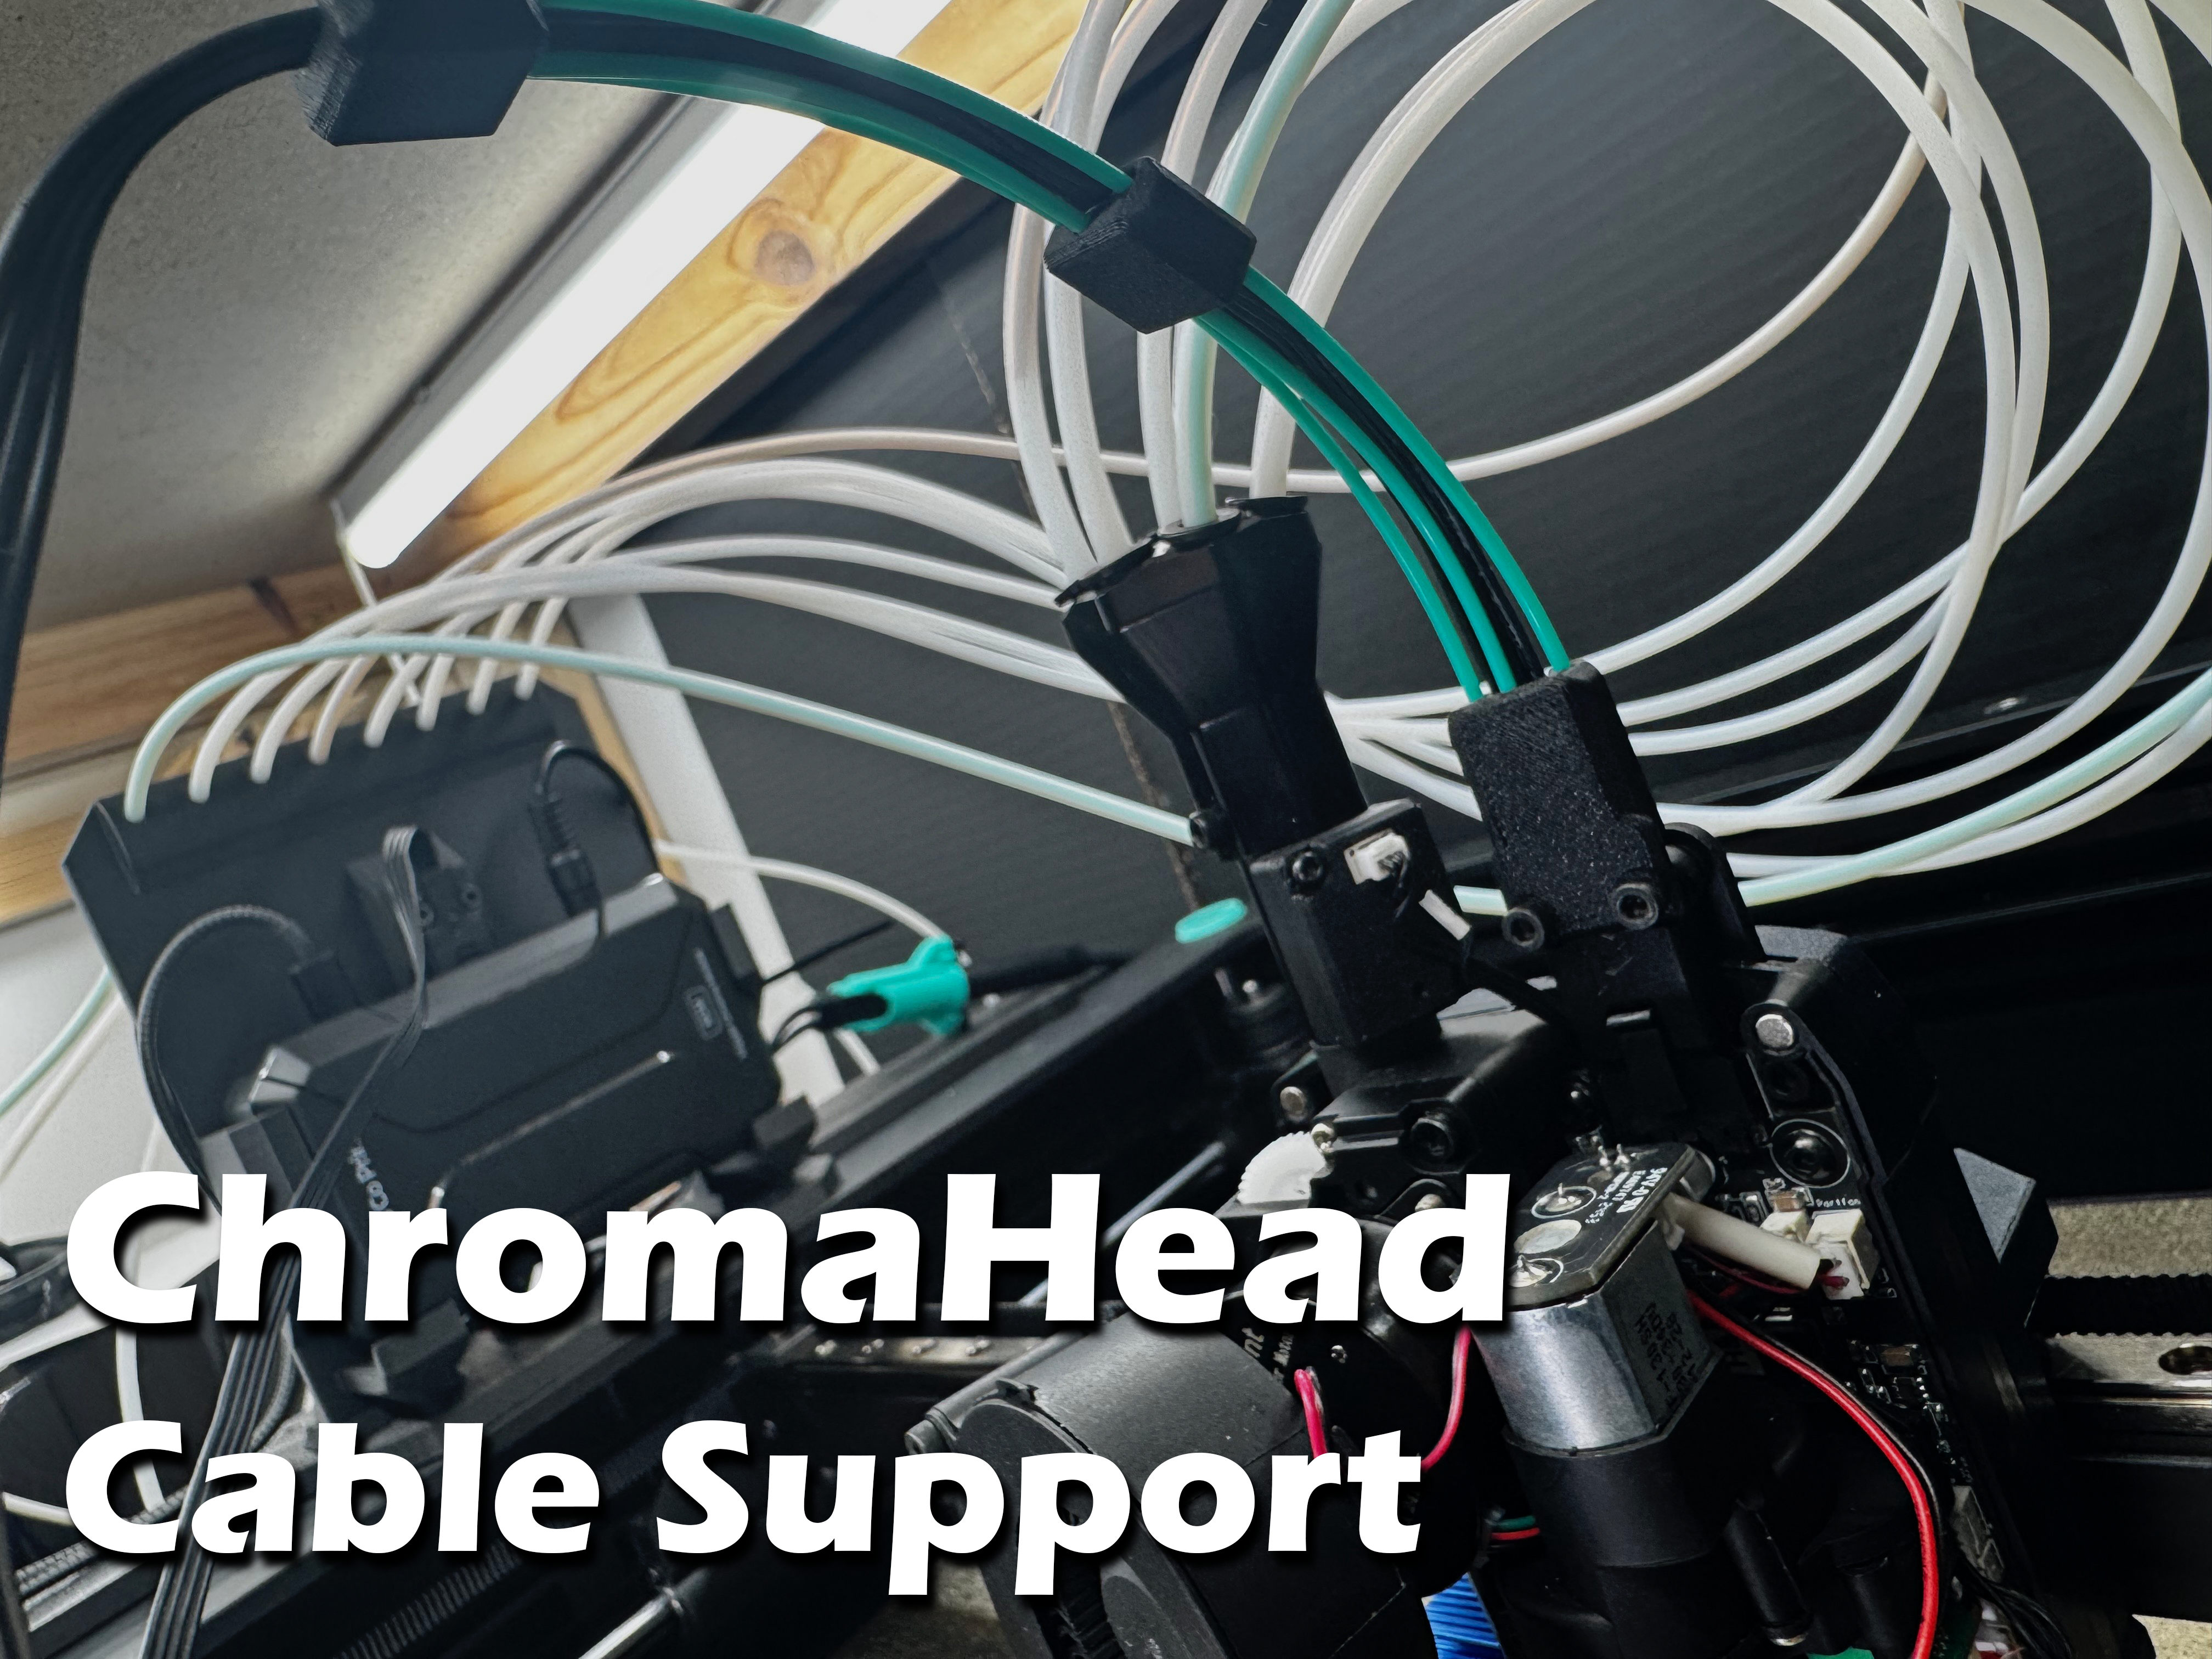
I needed something supportive to hold the cable up and out of the way of moving parts on my Ender 5 Max, as it was catching on things. Prints in two or three parts as desired, and uses three strands of 1.75mm filament to connect them…
I liked the original project and I thank its original creator for this. What this stl gives: 1) Weight reduction: Original carriage weight following the CoPrint tutorial: 169 g This carriage weight: 120g 2) Build plate area back to…
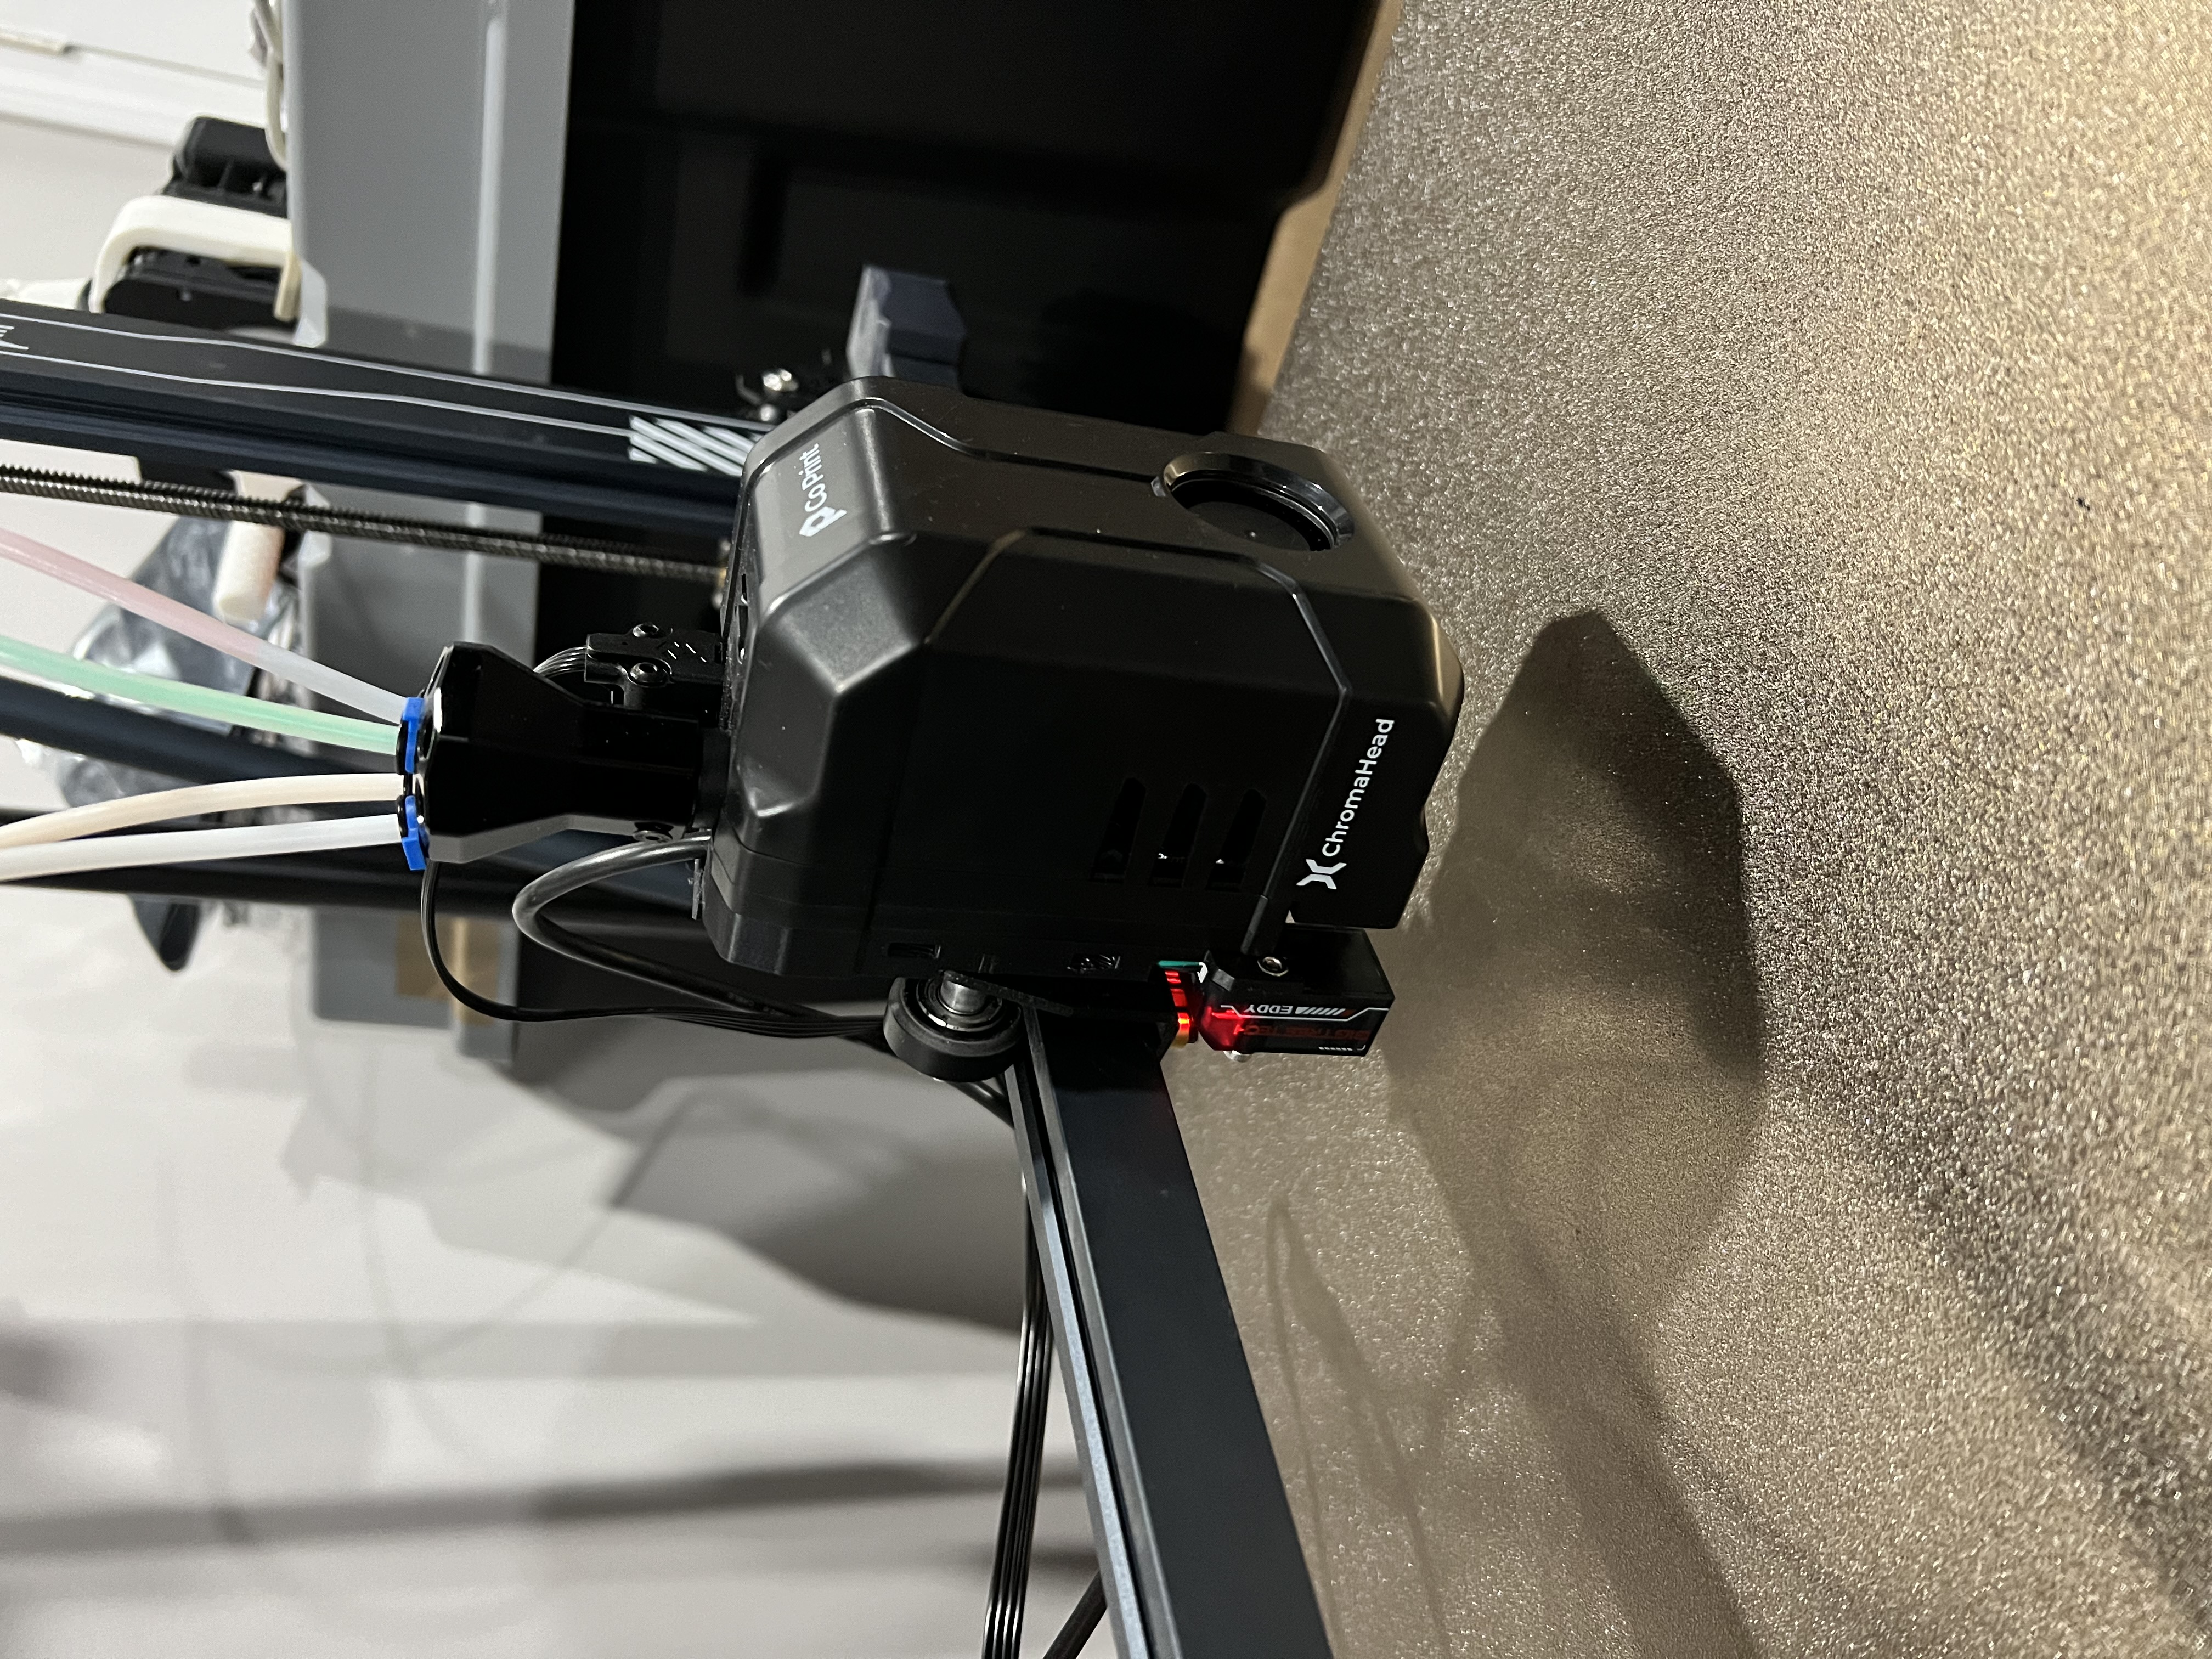
Should be printed with at least PETG Place in the square nuts Plug in cable to Eddy, route the cable in mount, mount the Eddy with shorter screws provided Screw the cable holder at the top of the mount Place mount onto bracket lining up…
See original model for instructions. Nothing changes. If you do any other changes from the original model, like trying to take it slightly further away from the x-axis linear rods (thicker “Head connector.stl” for instance), make sure the…
Adjusted the holes to match the existing SV05 bracket holes. You will also need some appropiate screws and nuts (M5 and M6, 40-45mm long) Note: For me to be able to properly use the whole bed for the printer, I ended up having to move the…
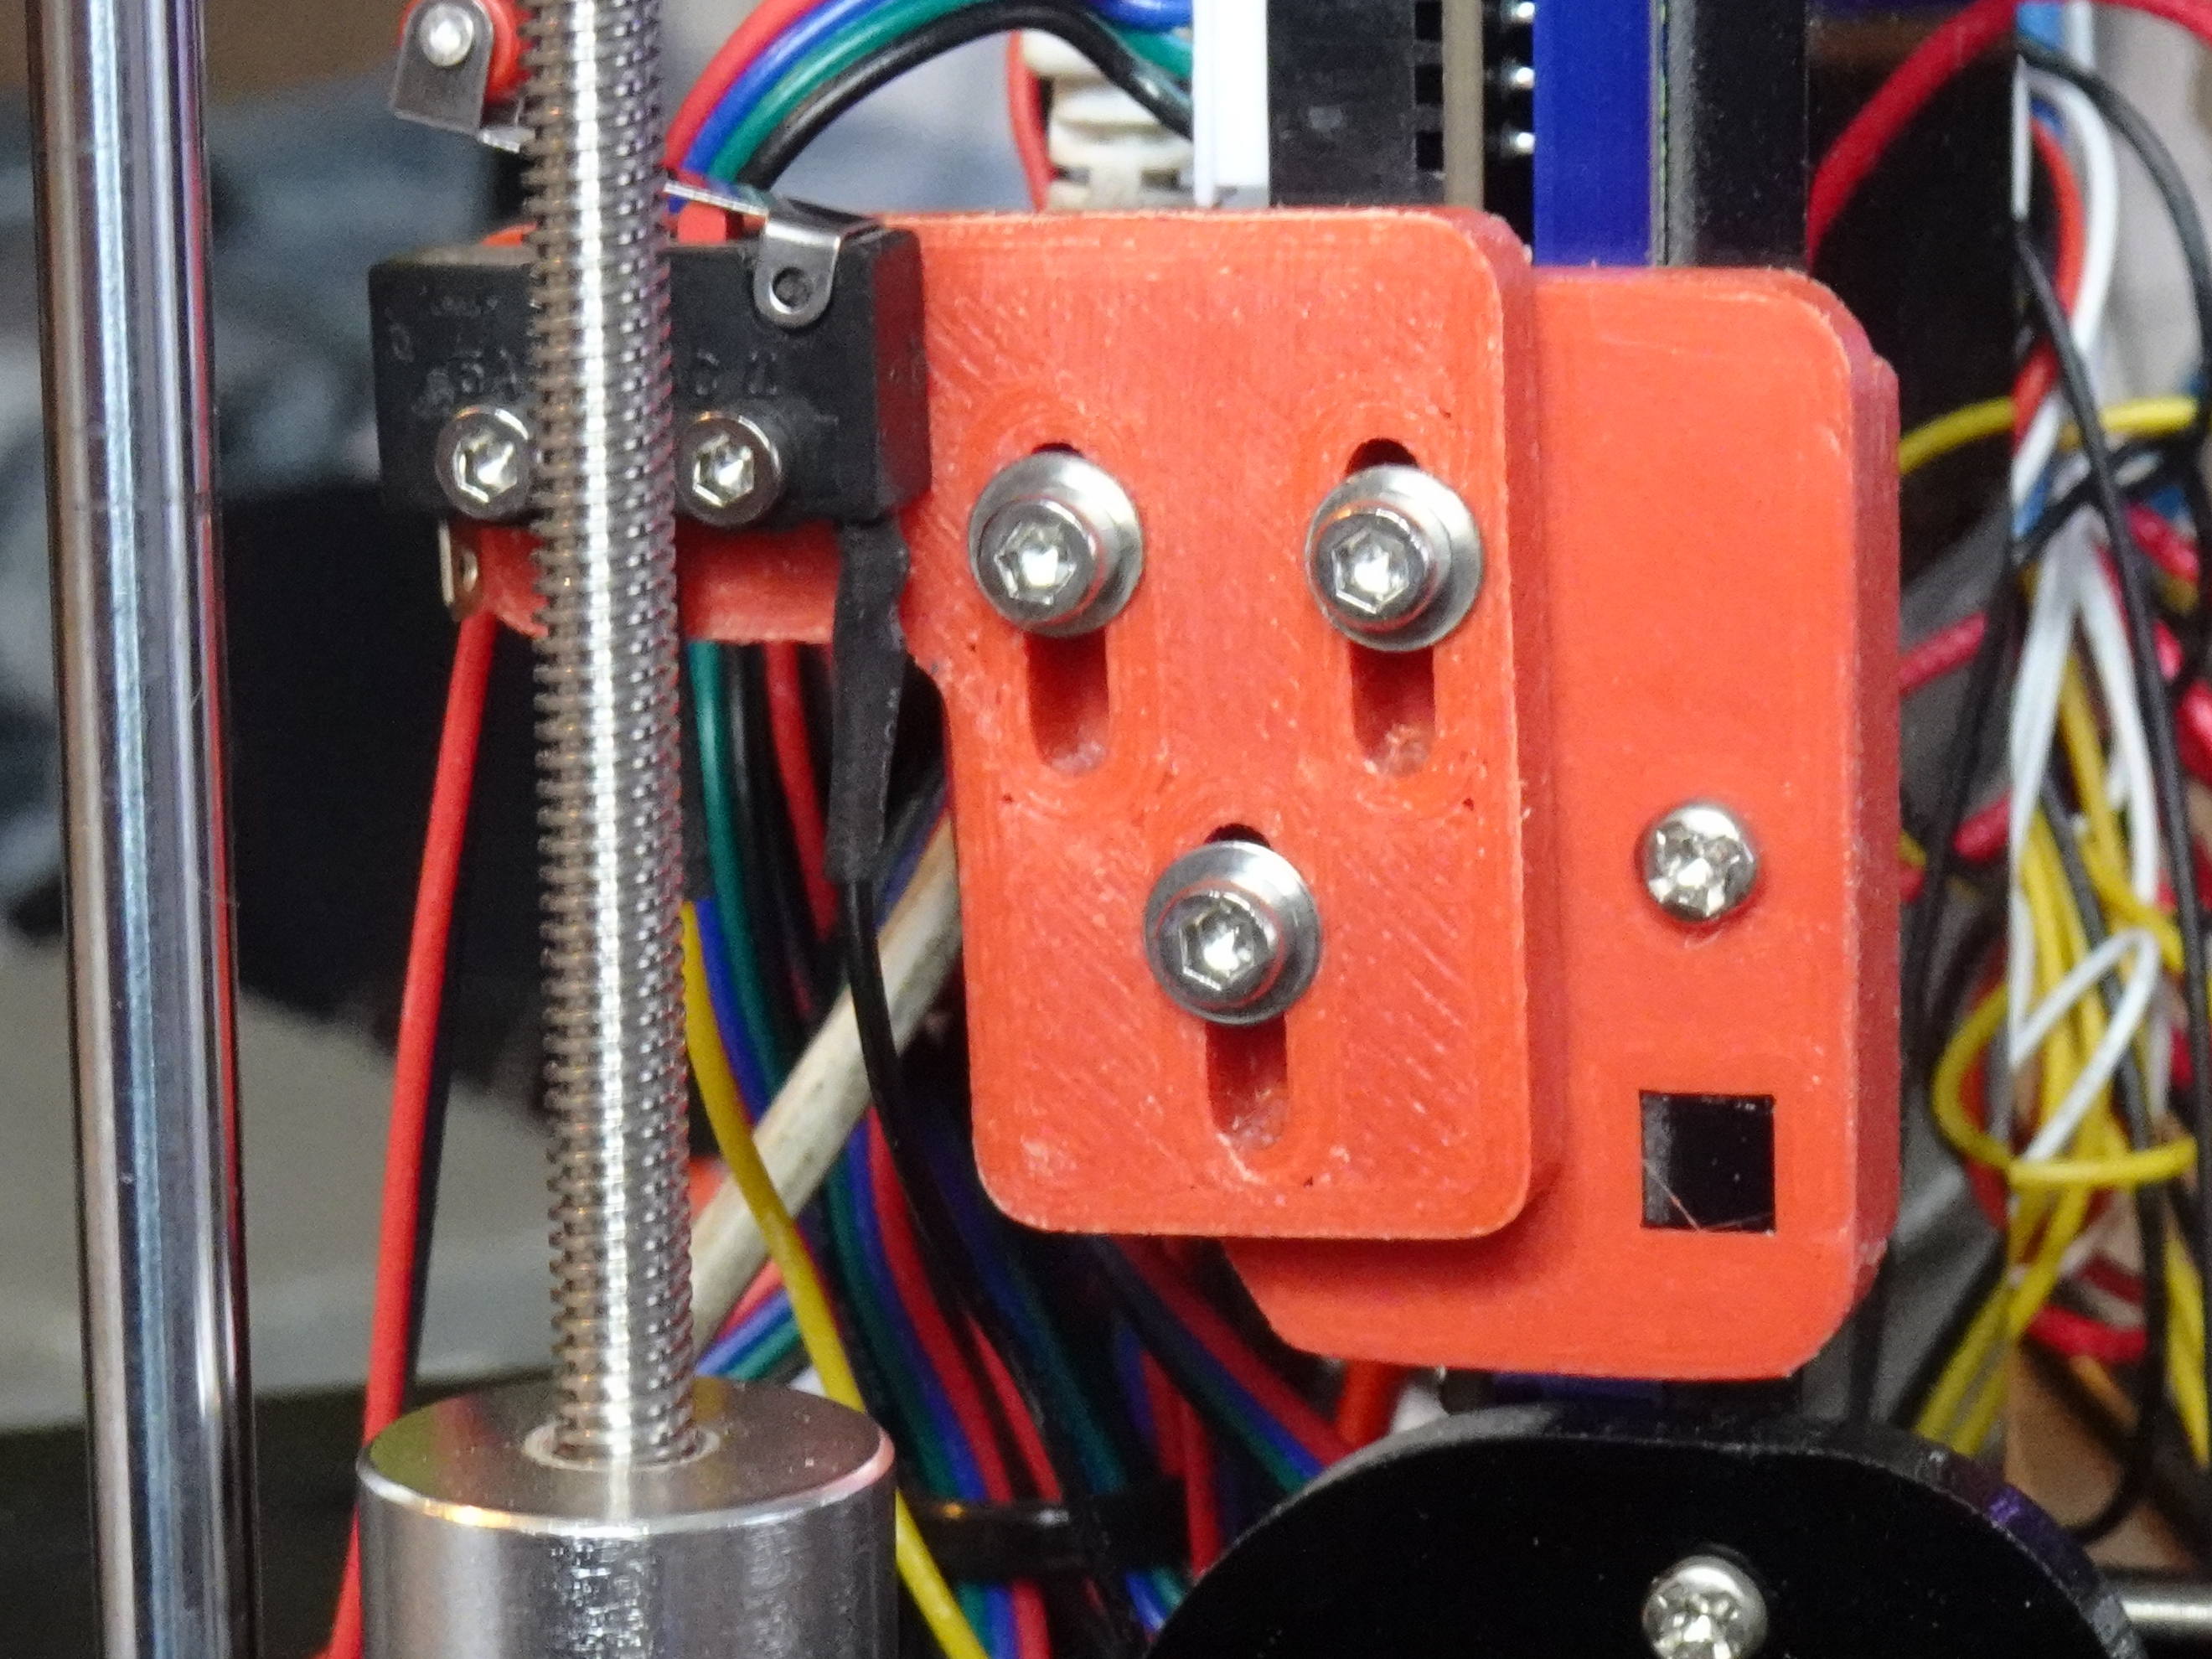
As part of our plan to upgrade our TronXY XY-100 (also sold as iMakr STARTT) printer with a CoPrint system it was necessary to move the Z endstop up by quite a large distance in order to accommodate the considerably larger Chromahead that…
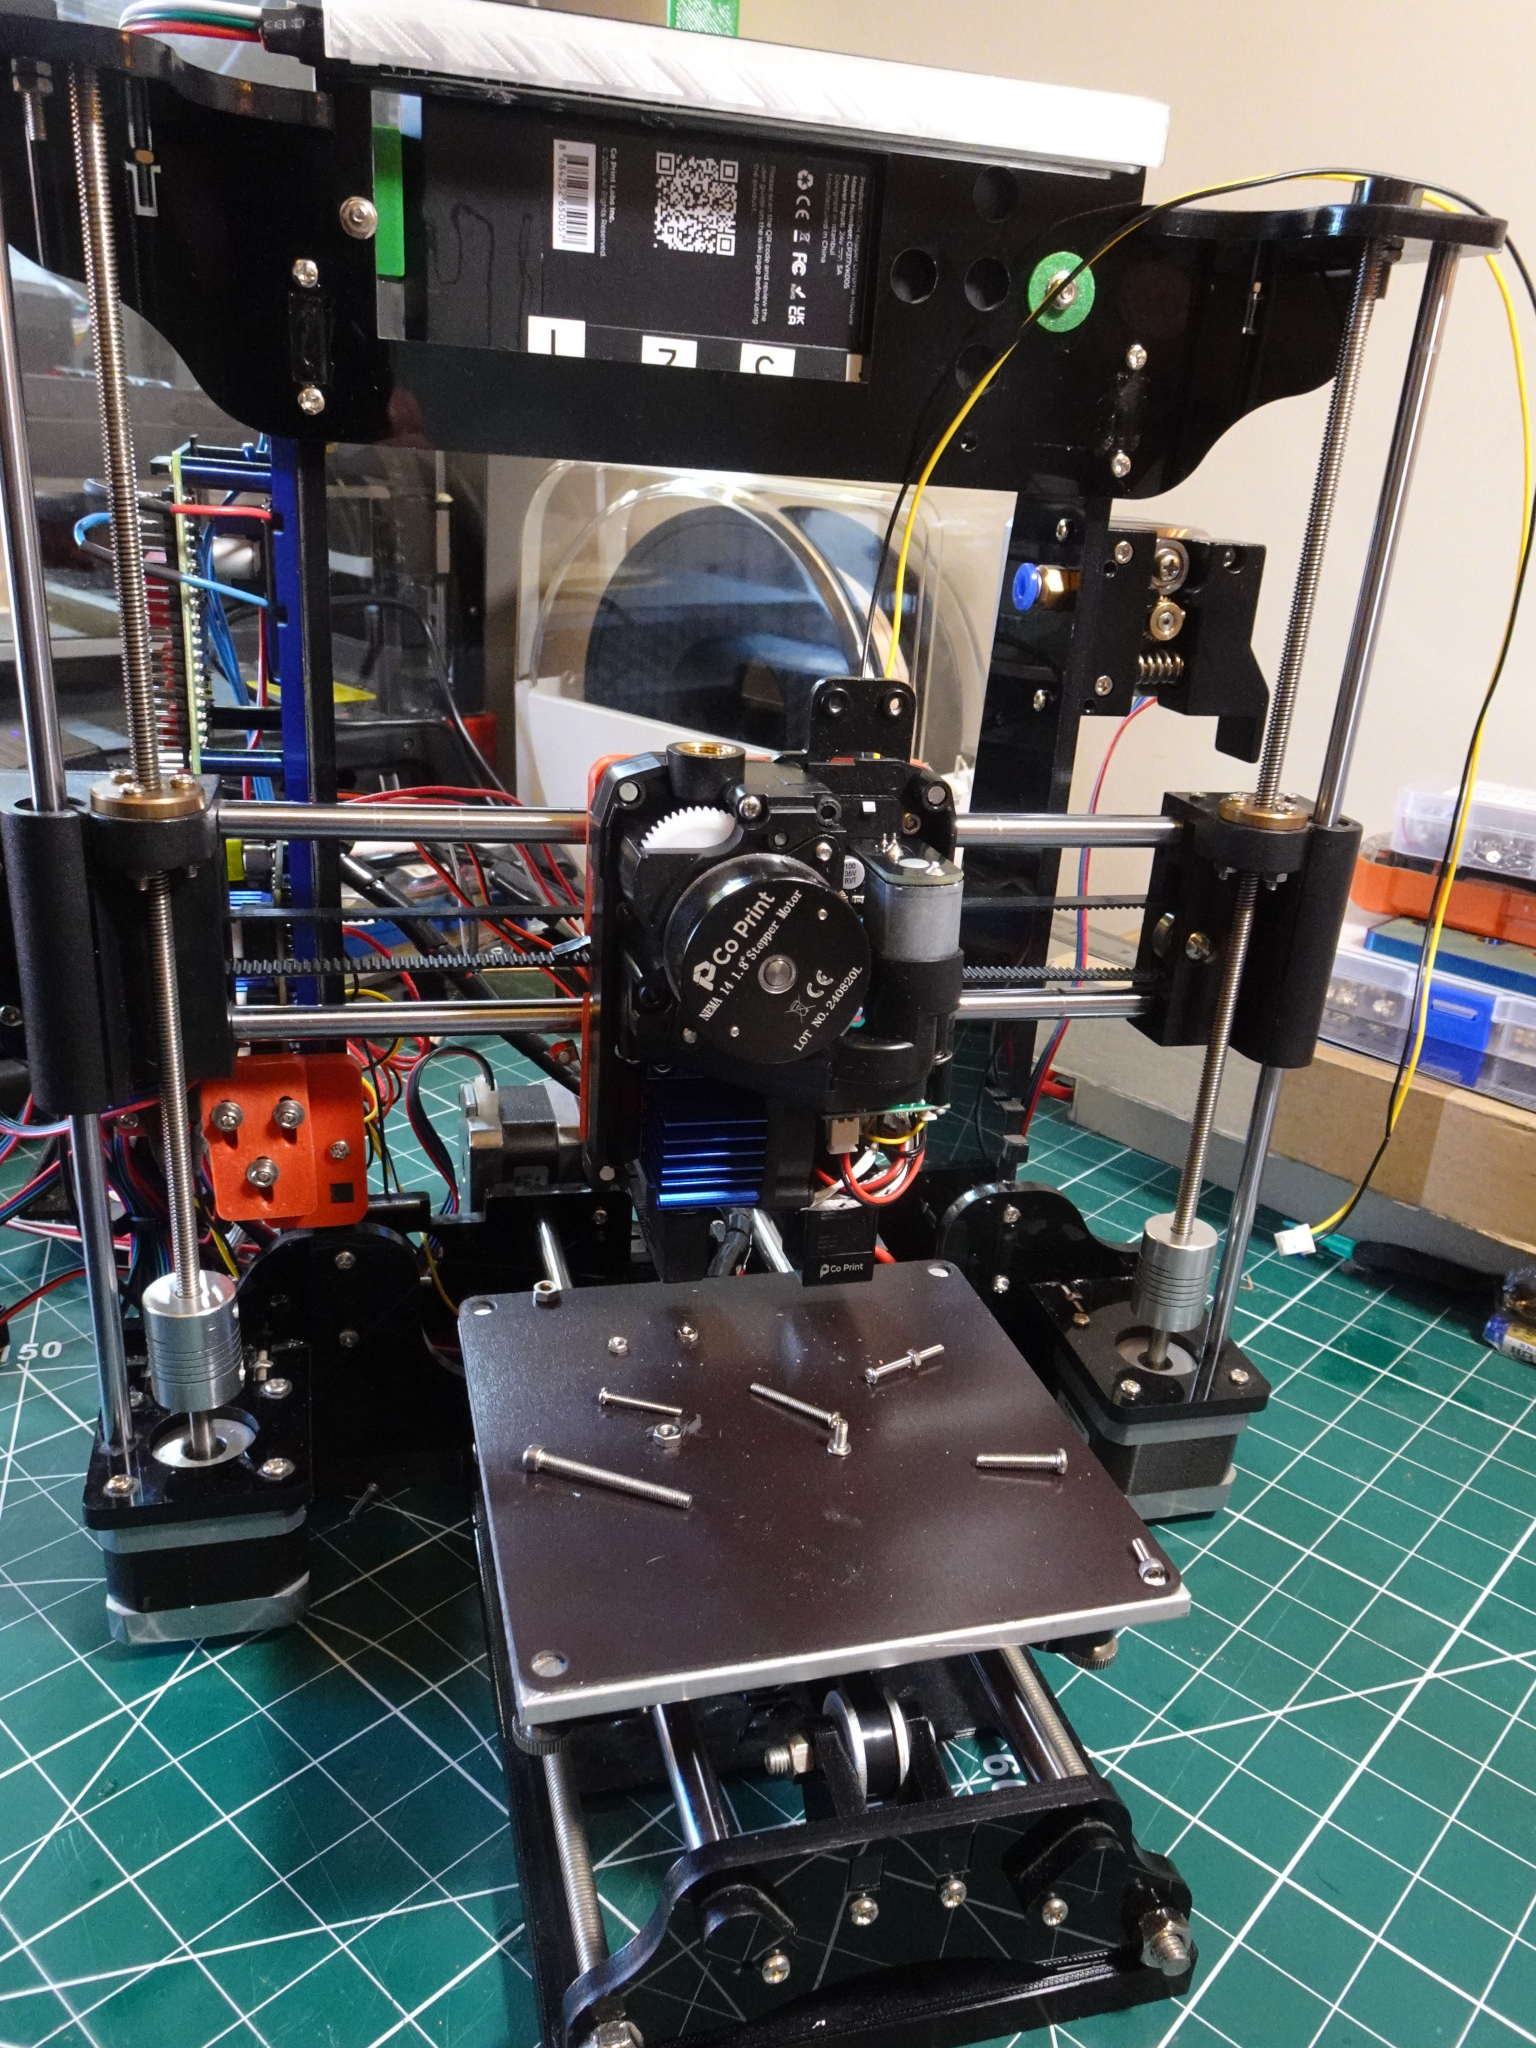
As part of our plan to upgrade our TronXY XY-100 (also sold as iMakr STARTT) printer with a CoPrint system it was necessary to mount the ChromaHead to the printer, and while I was redesigning the head mounting plate I took the opportunity…