P
PrintablesSkodeward
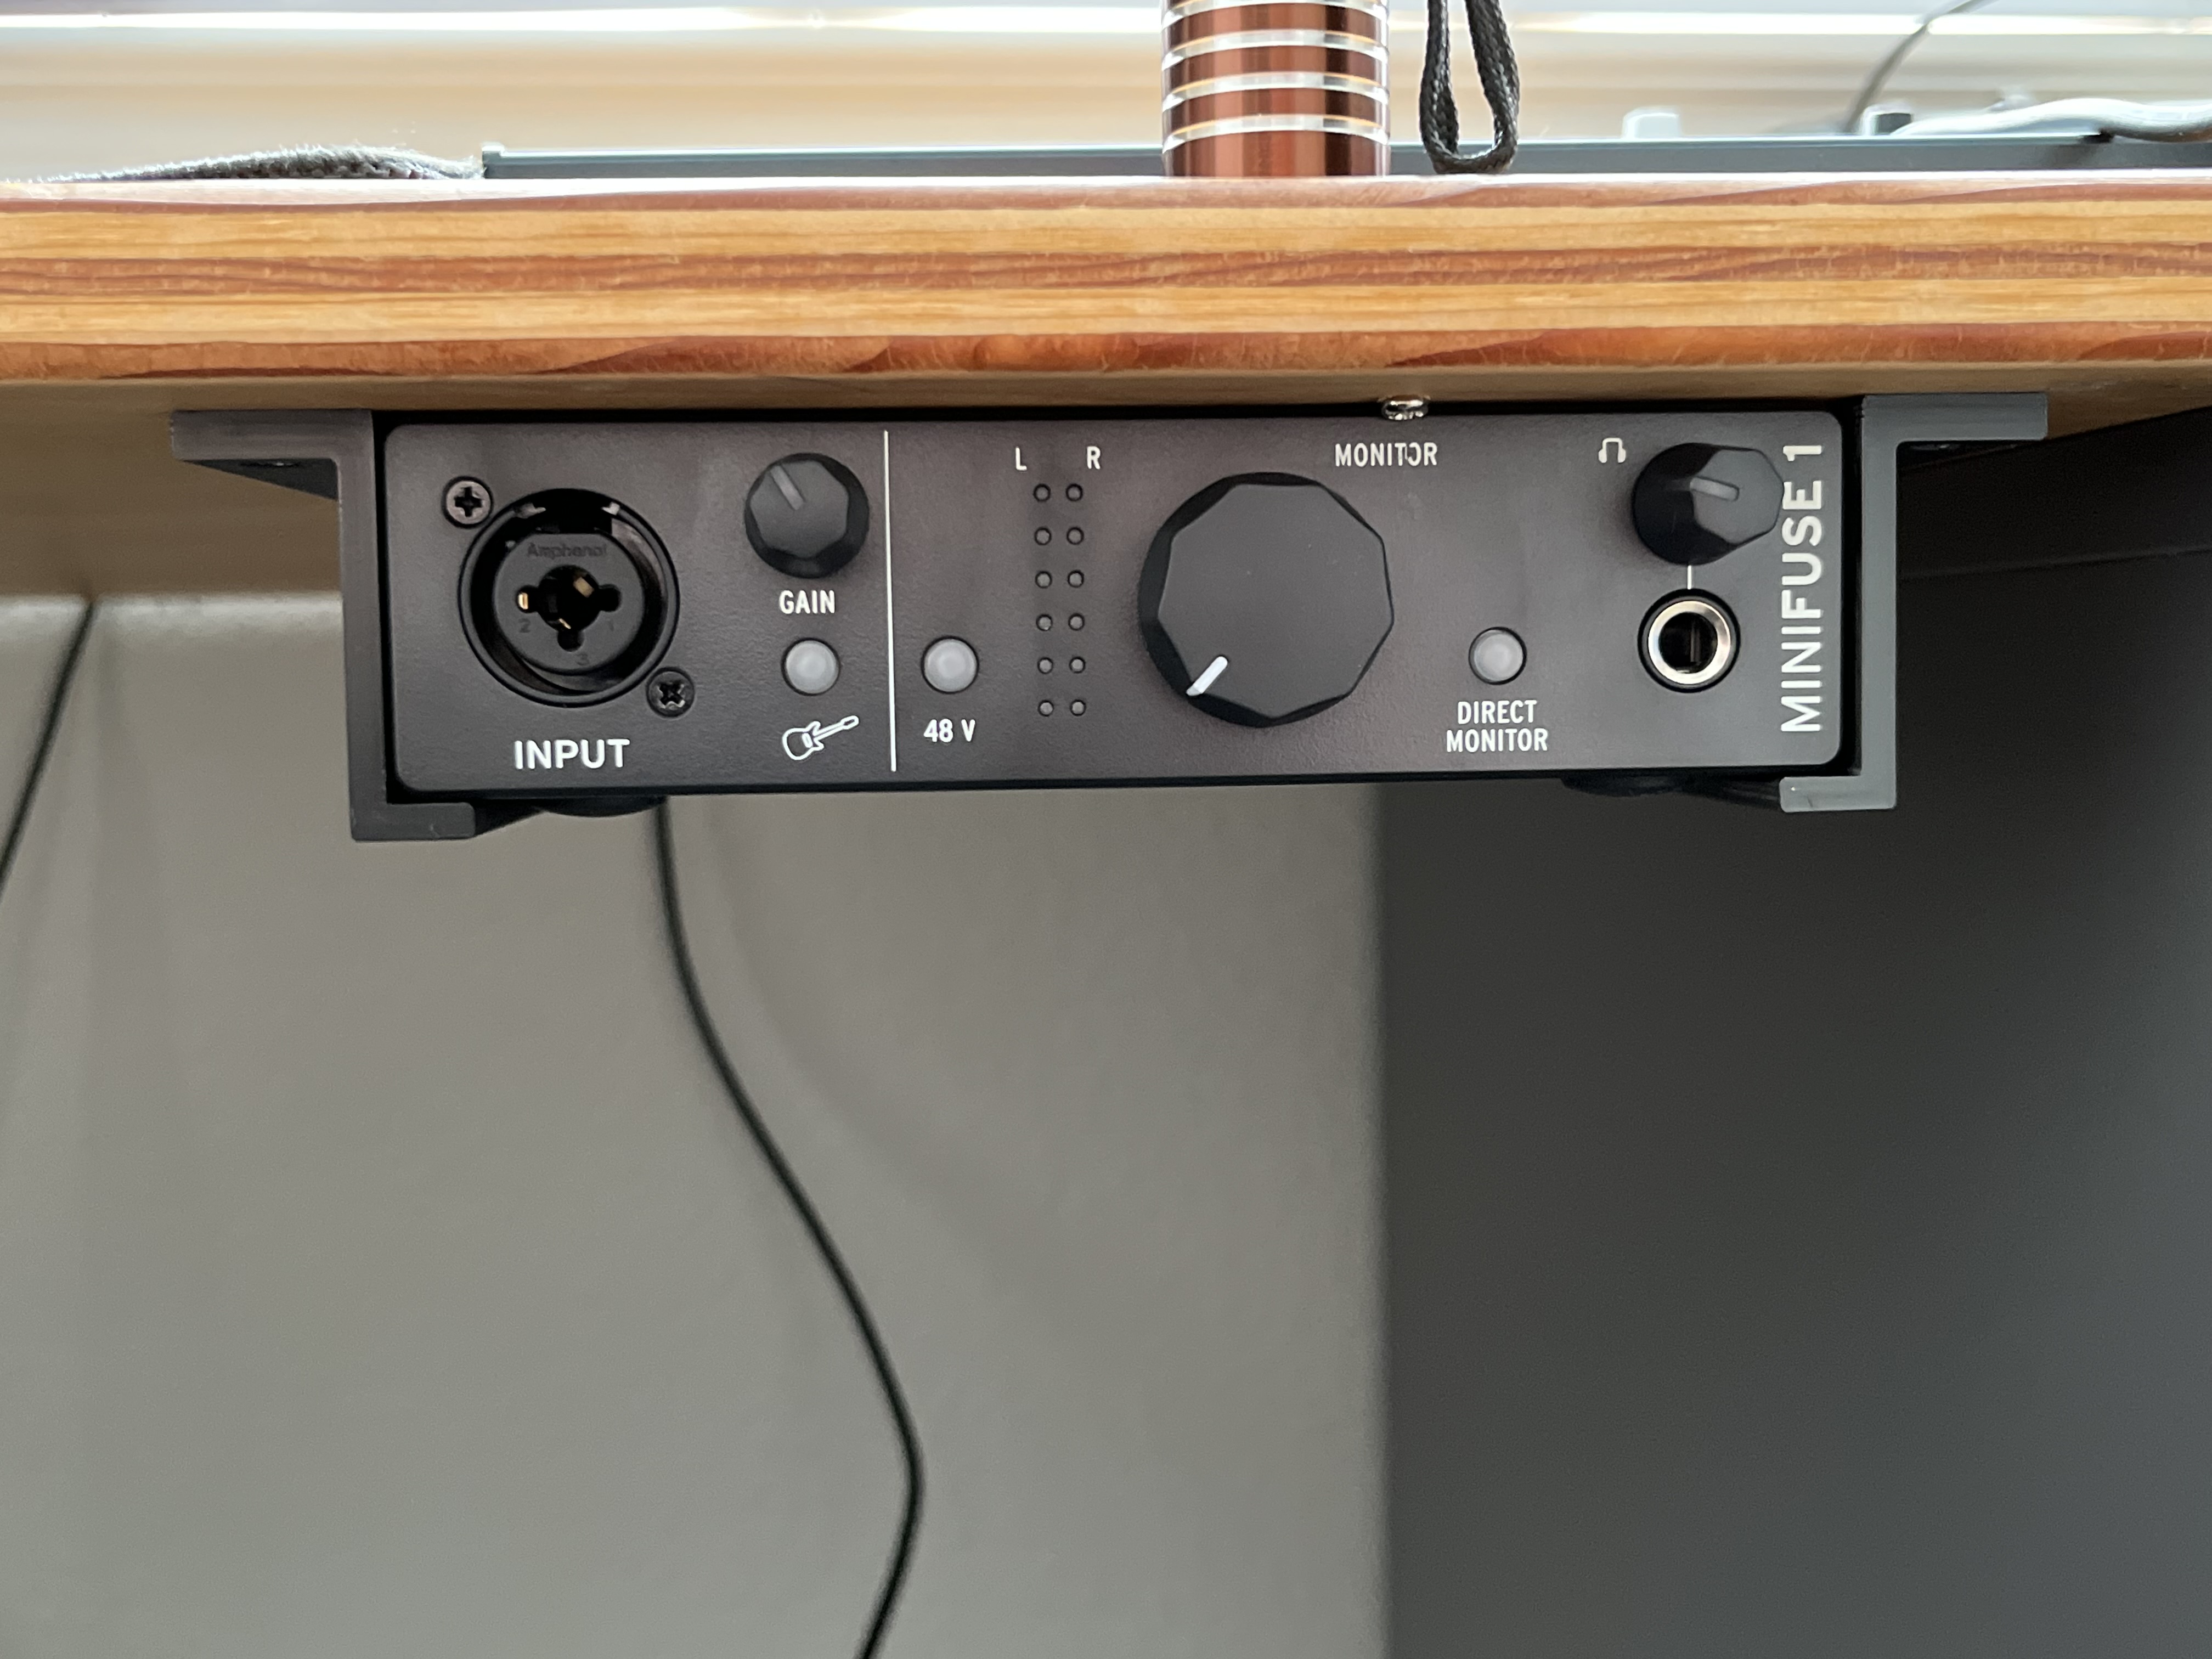
Minifuse Under Desk Mount
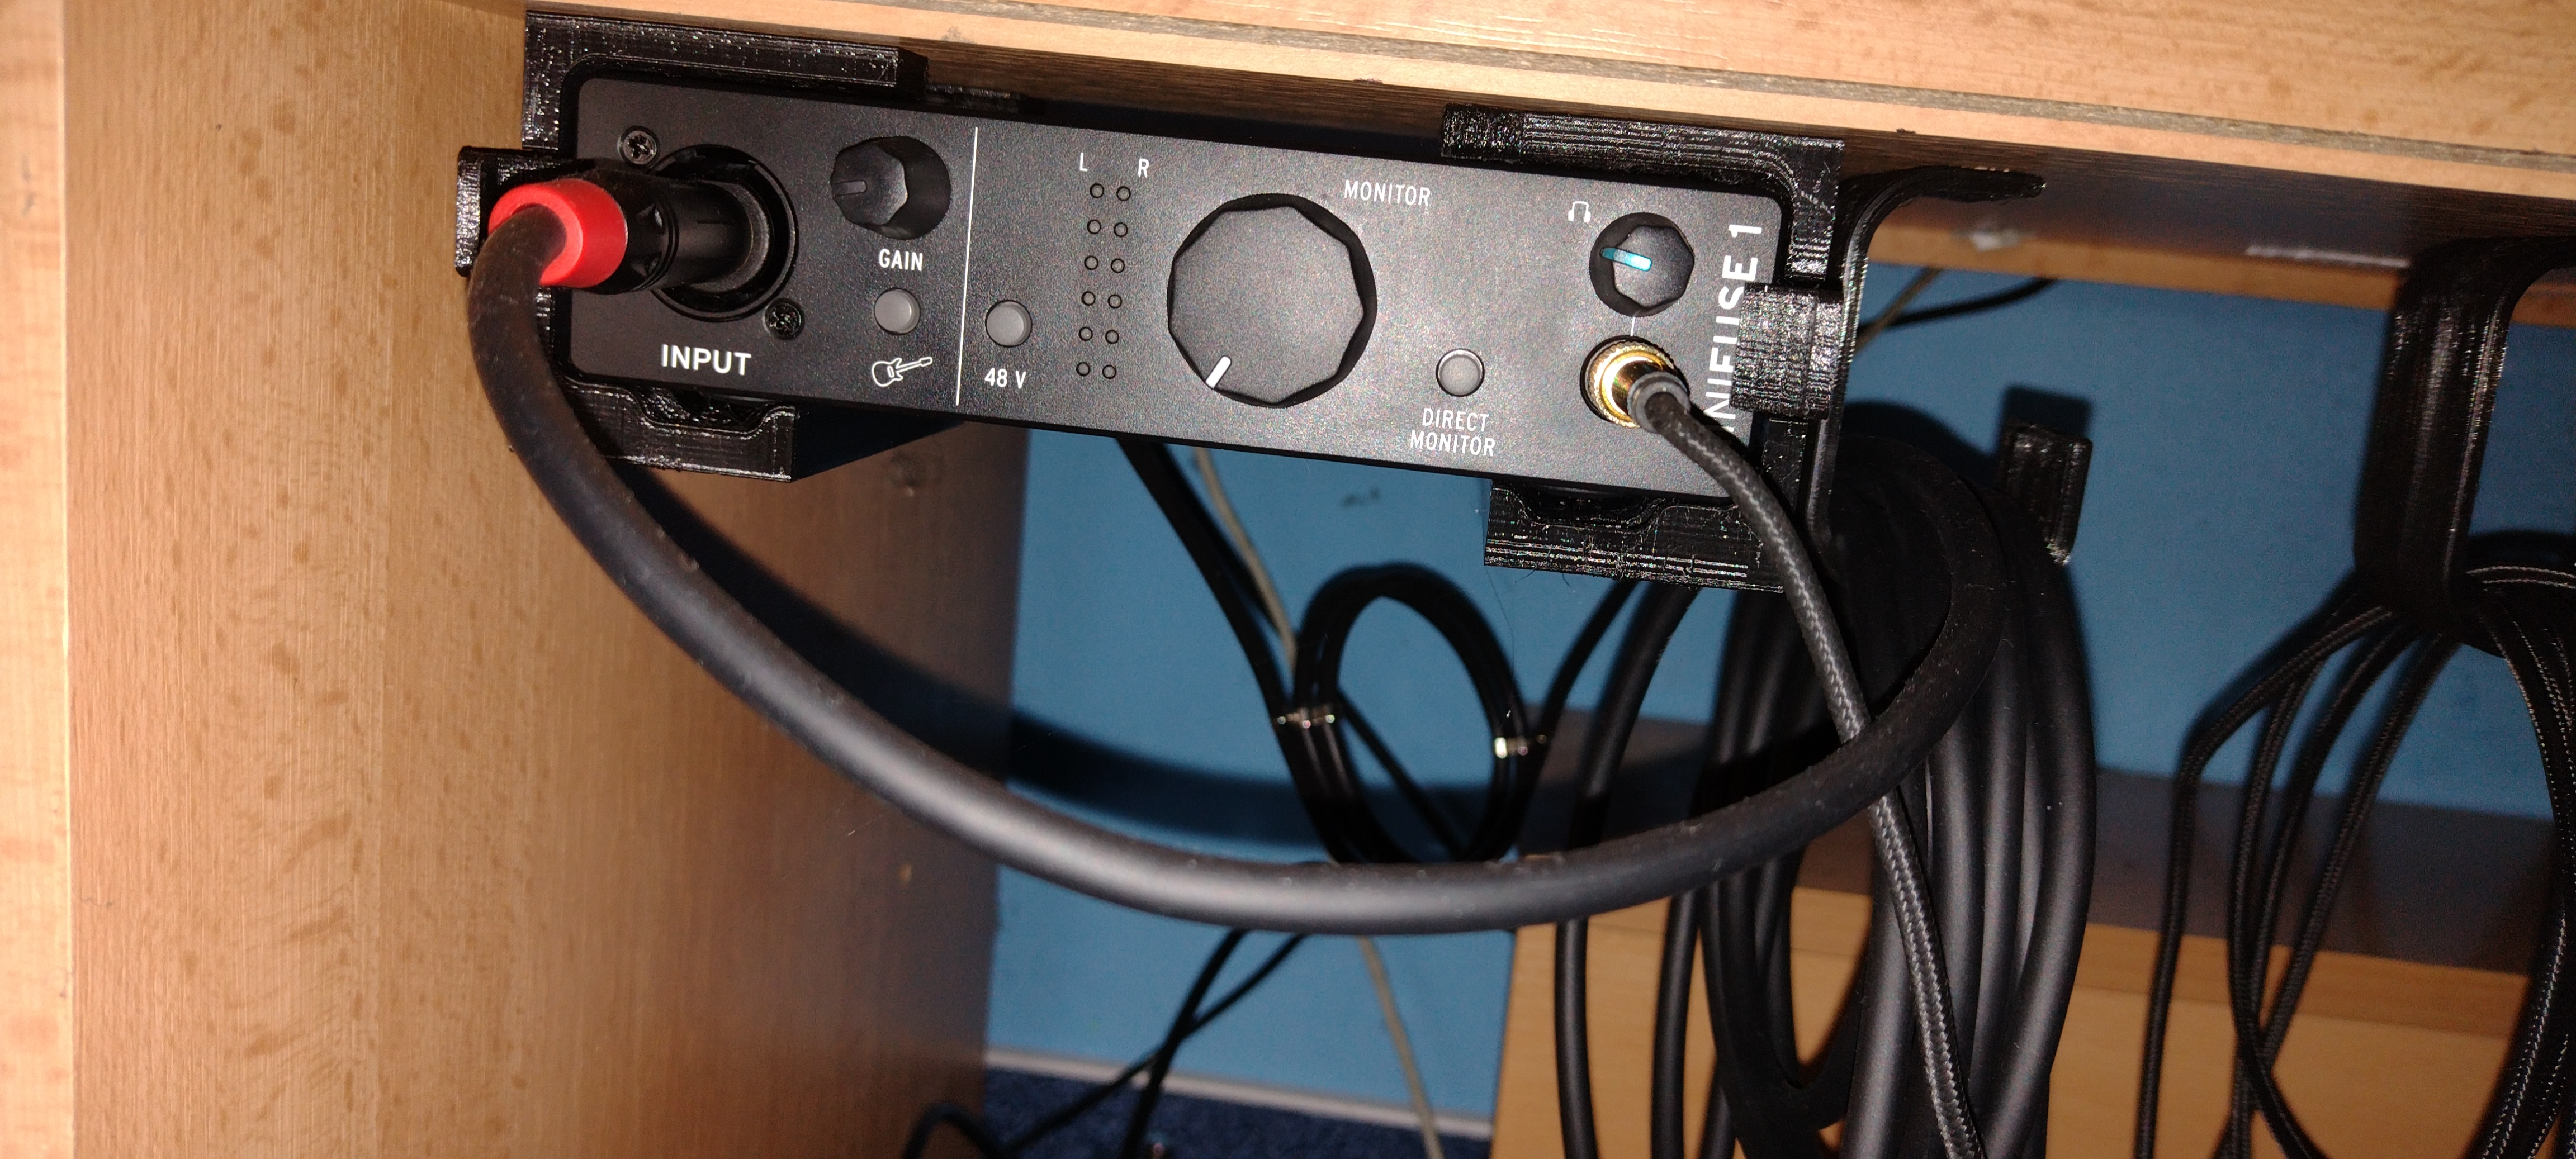
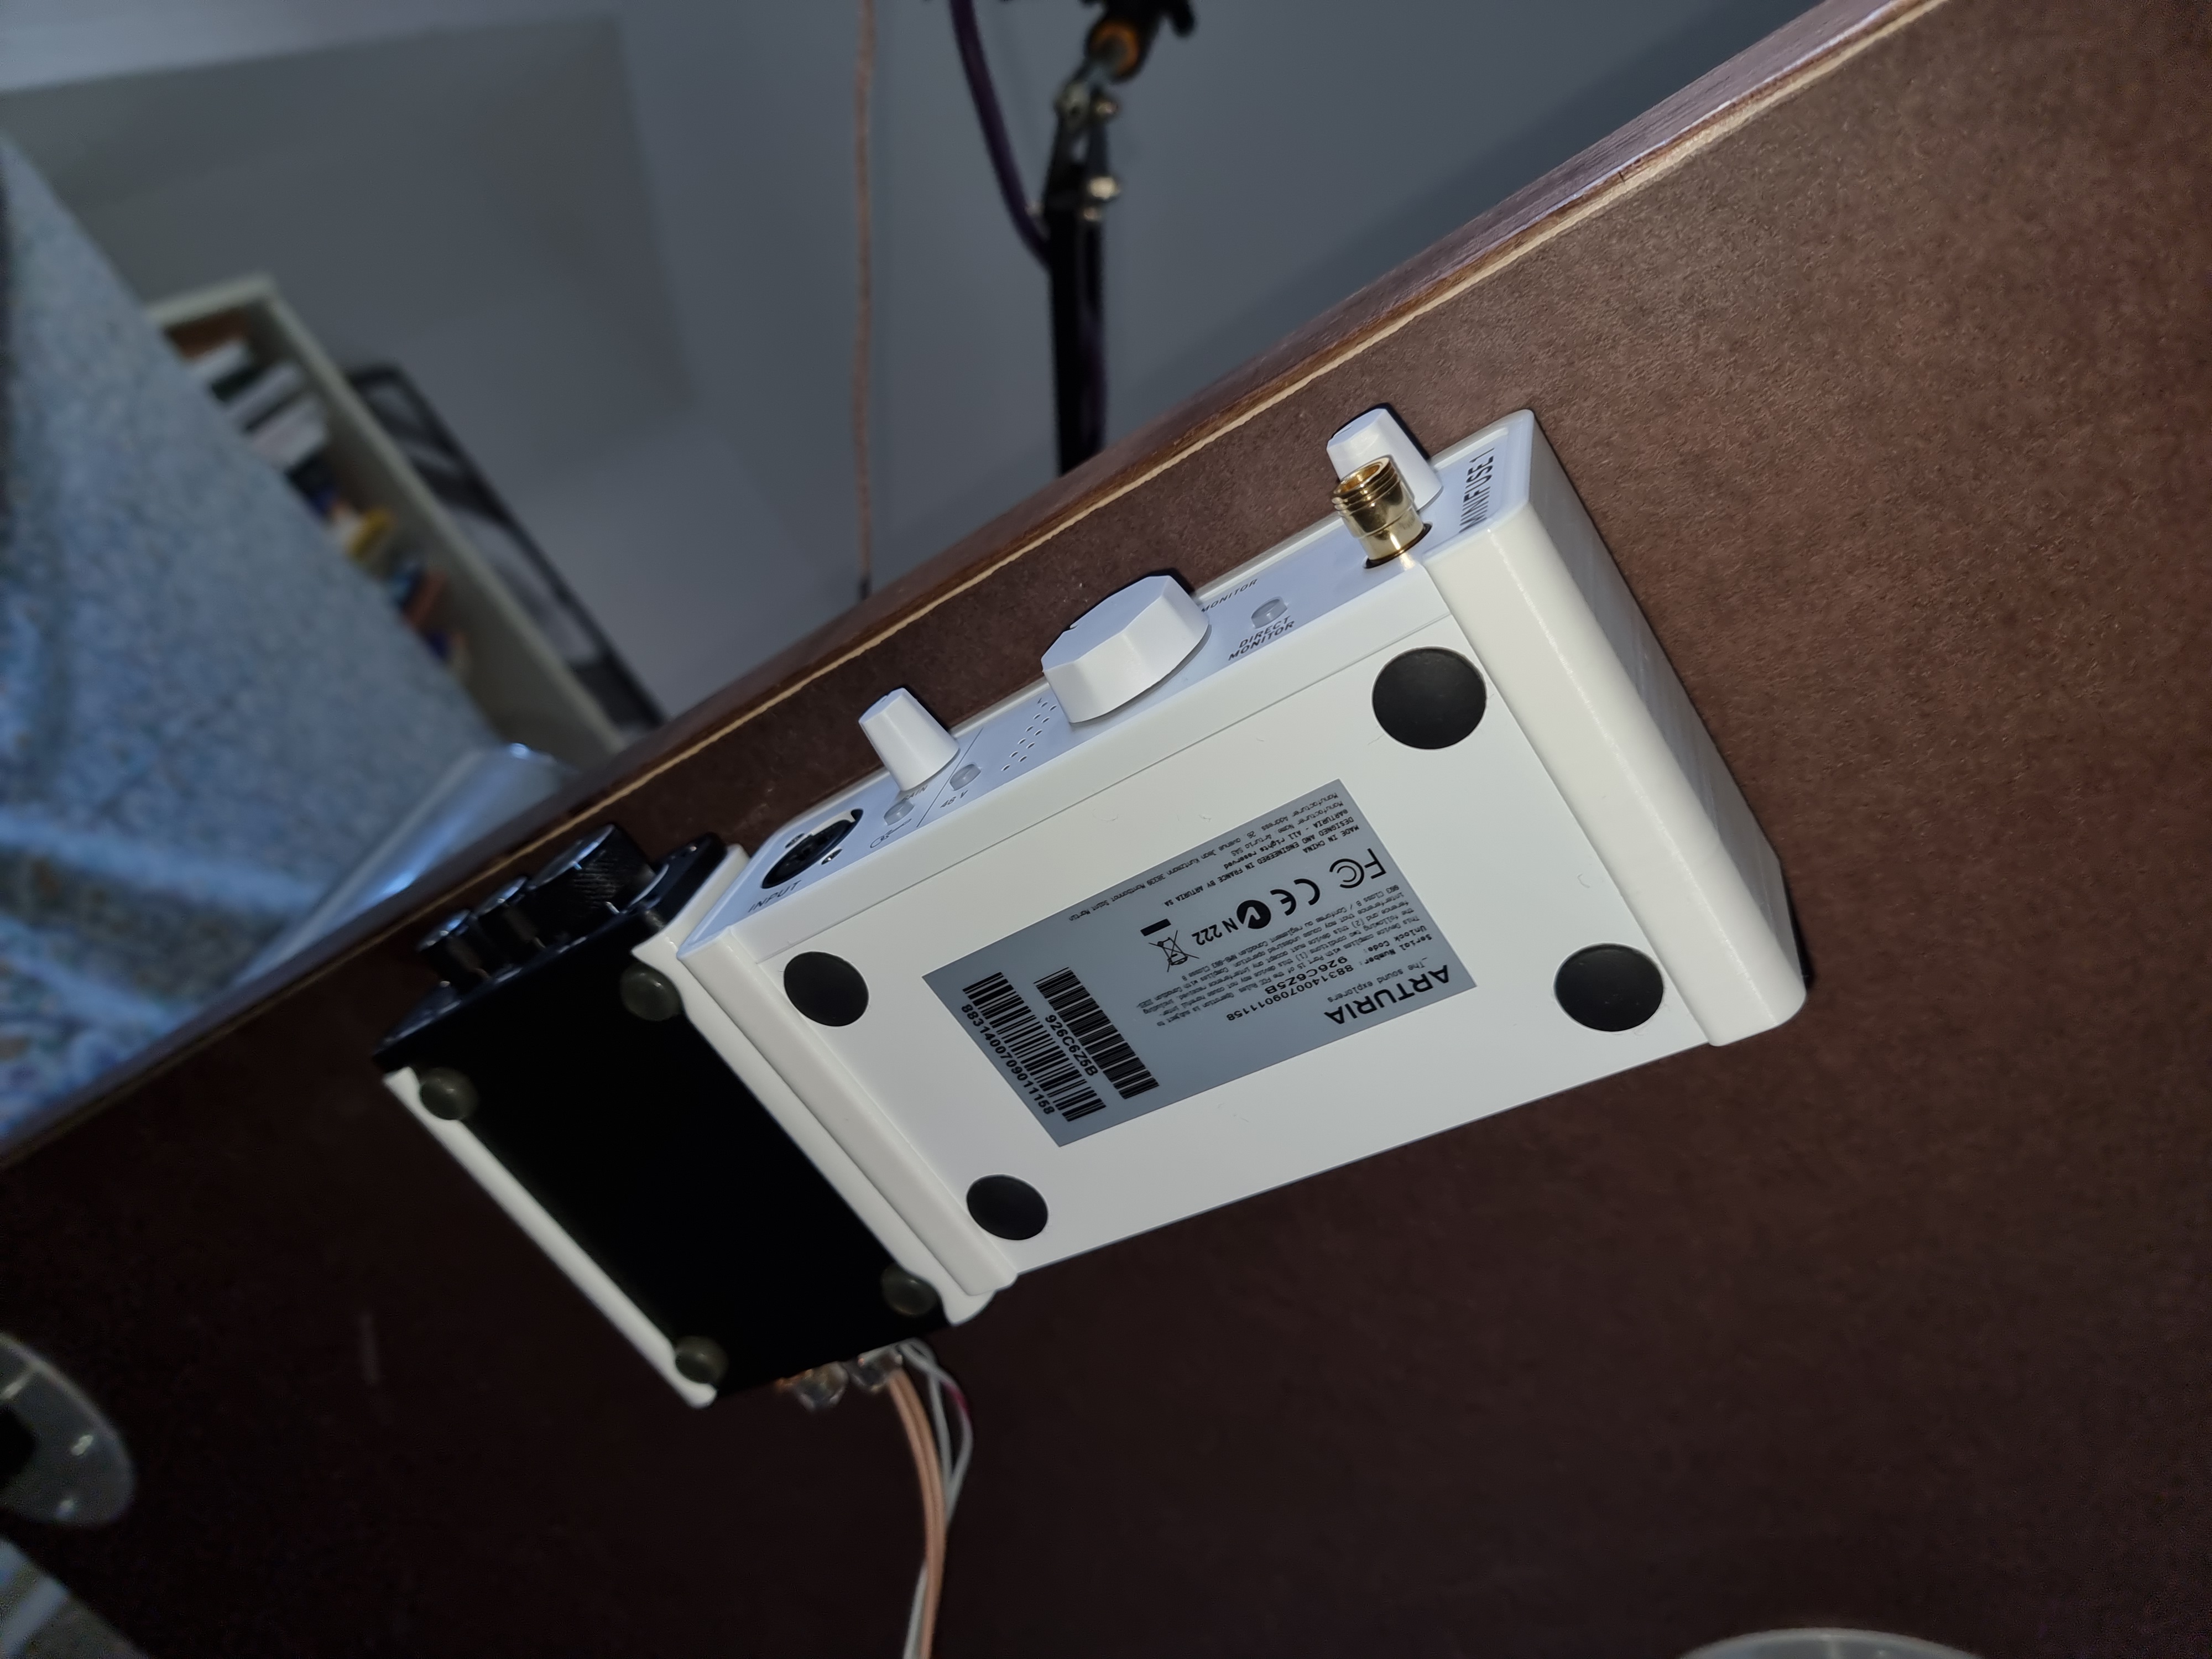
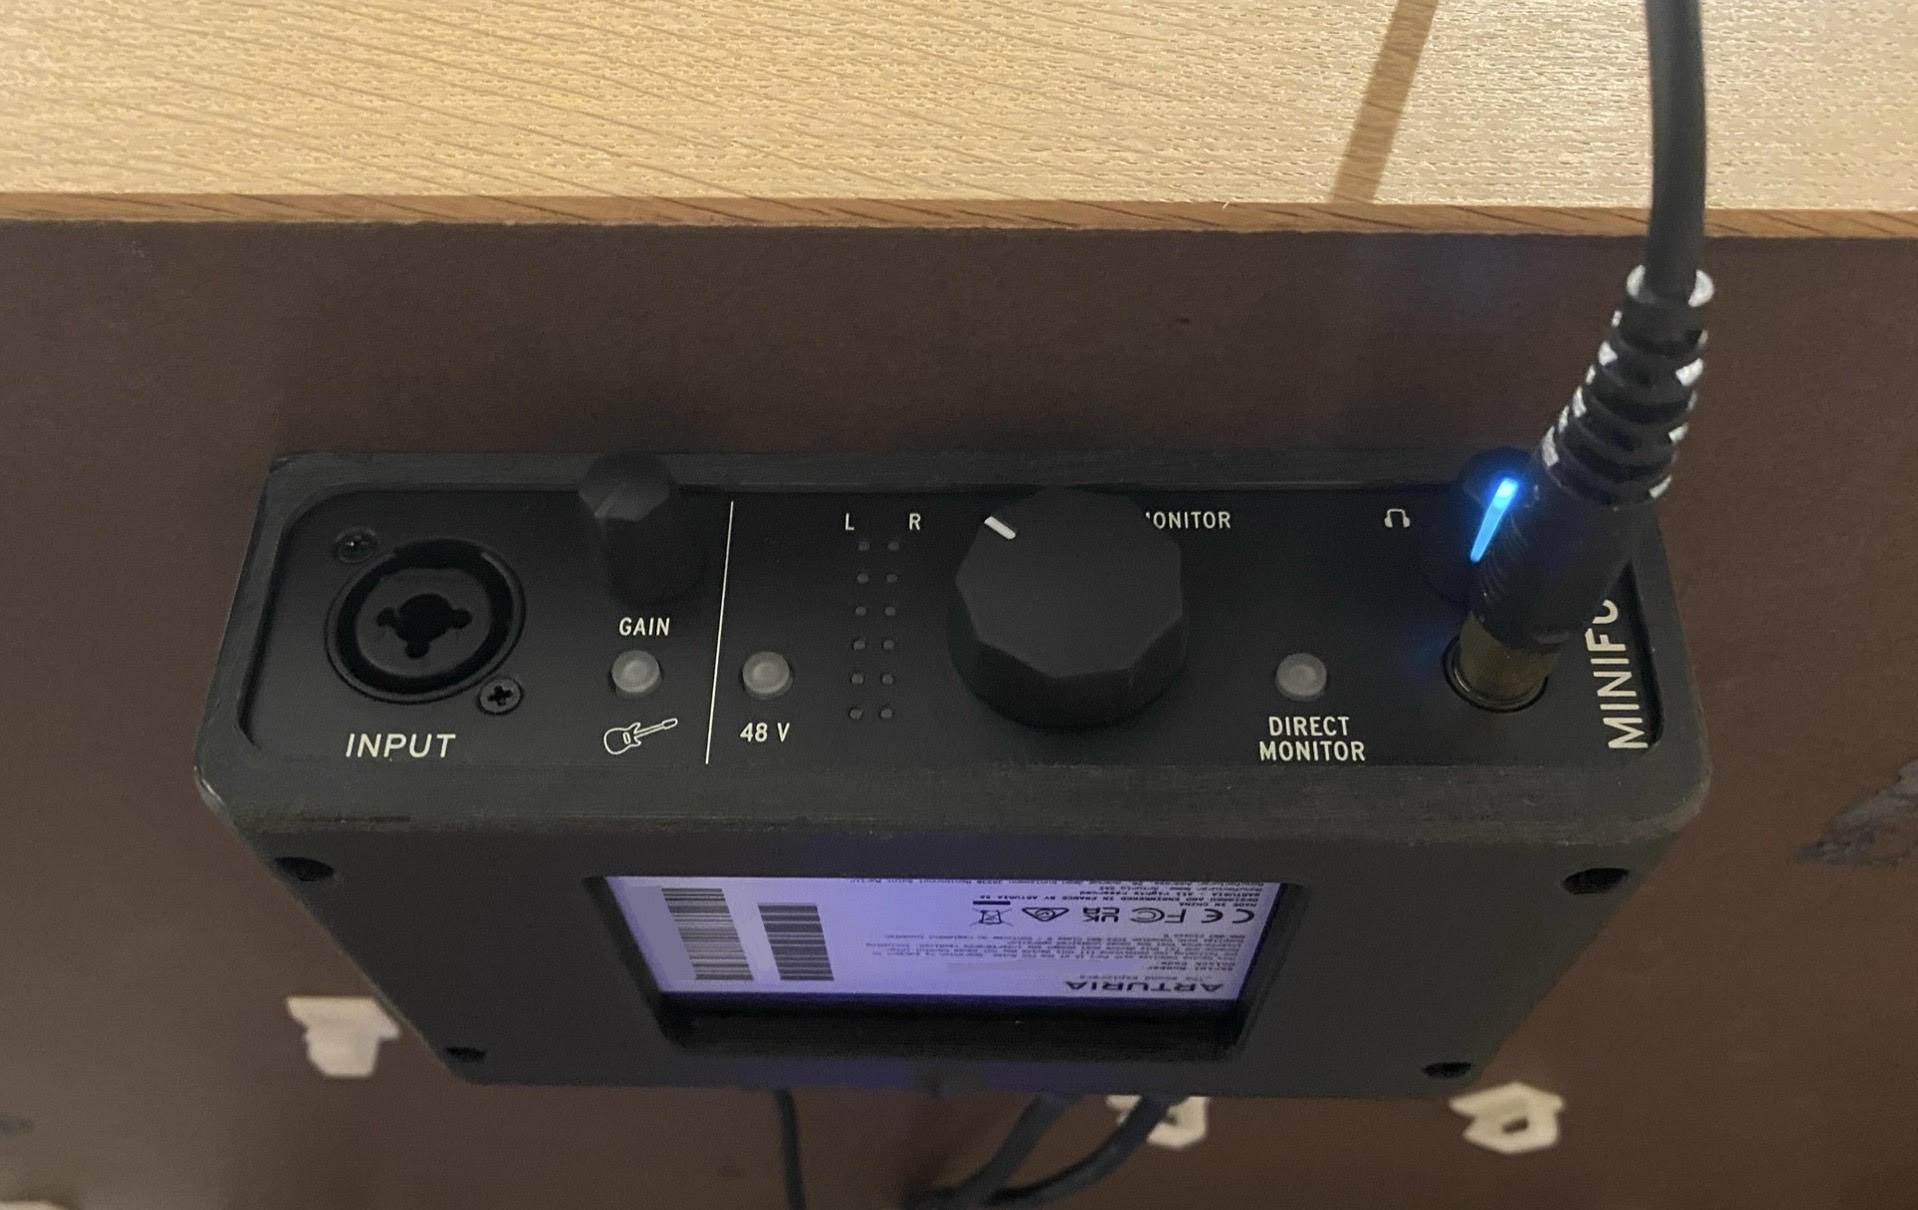
I printed standing up without any supports using PLA.
- Downloads
- 52
- Likes
- 5
- Rating
- 0
Counting matching models…
I printed standing up without any supports using PLA.
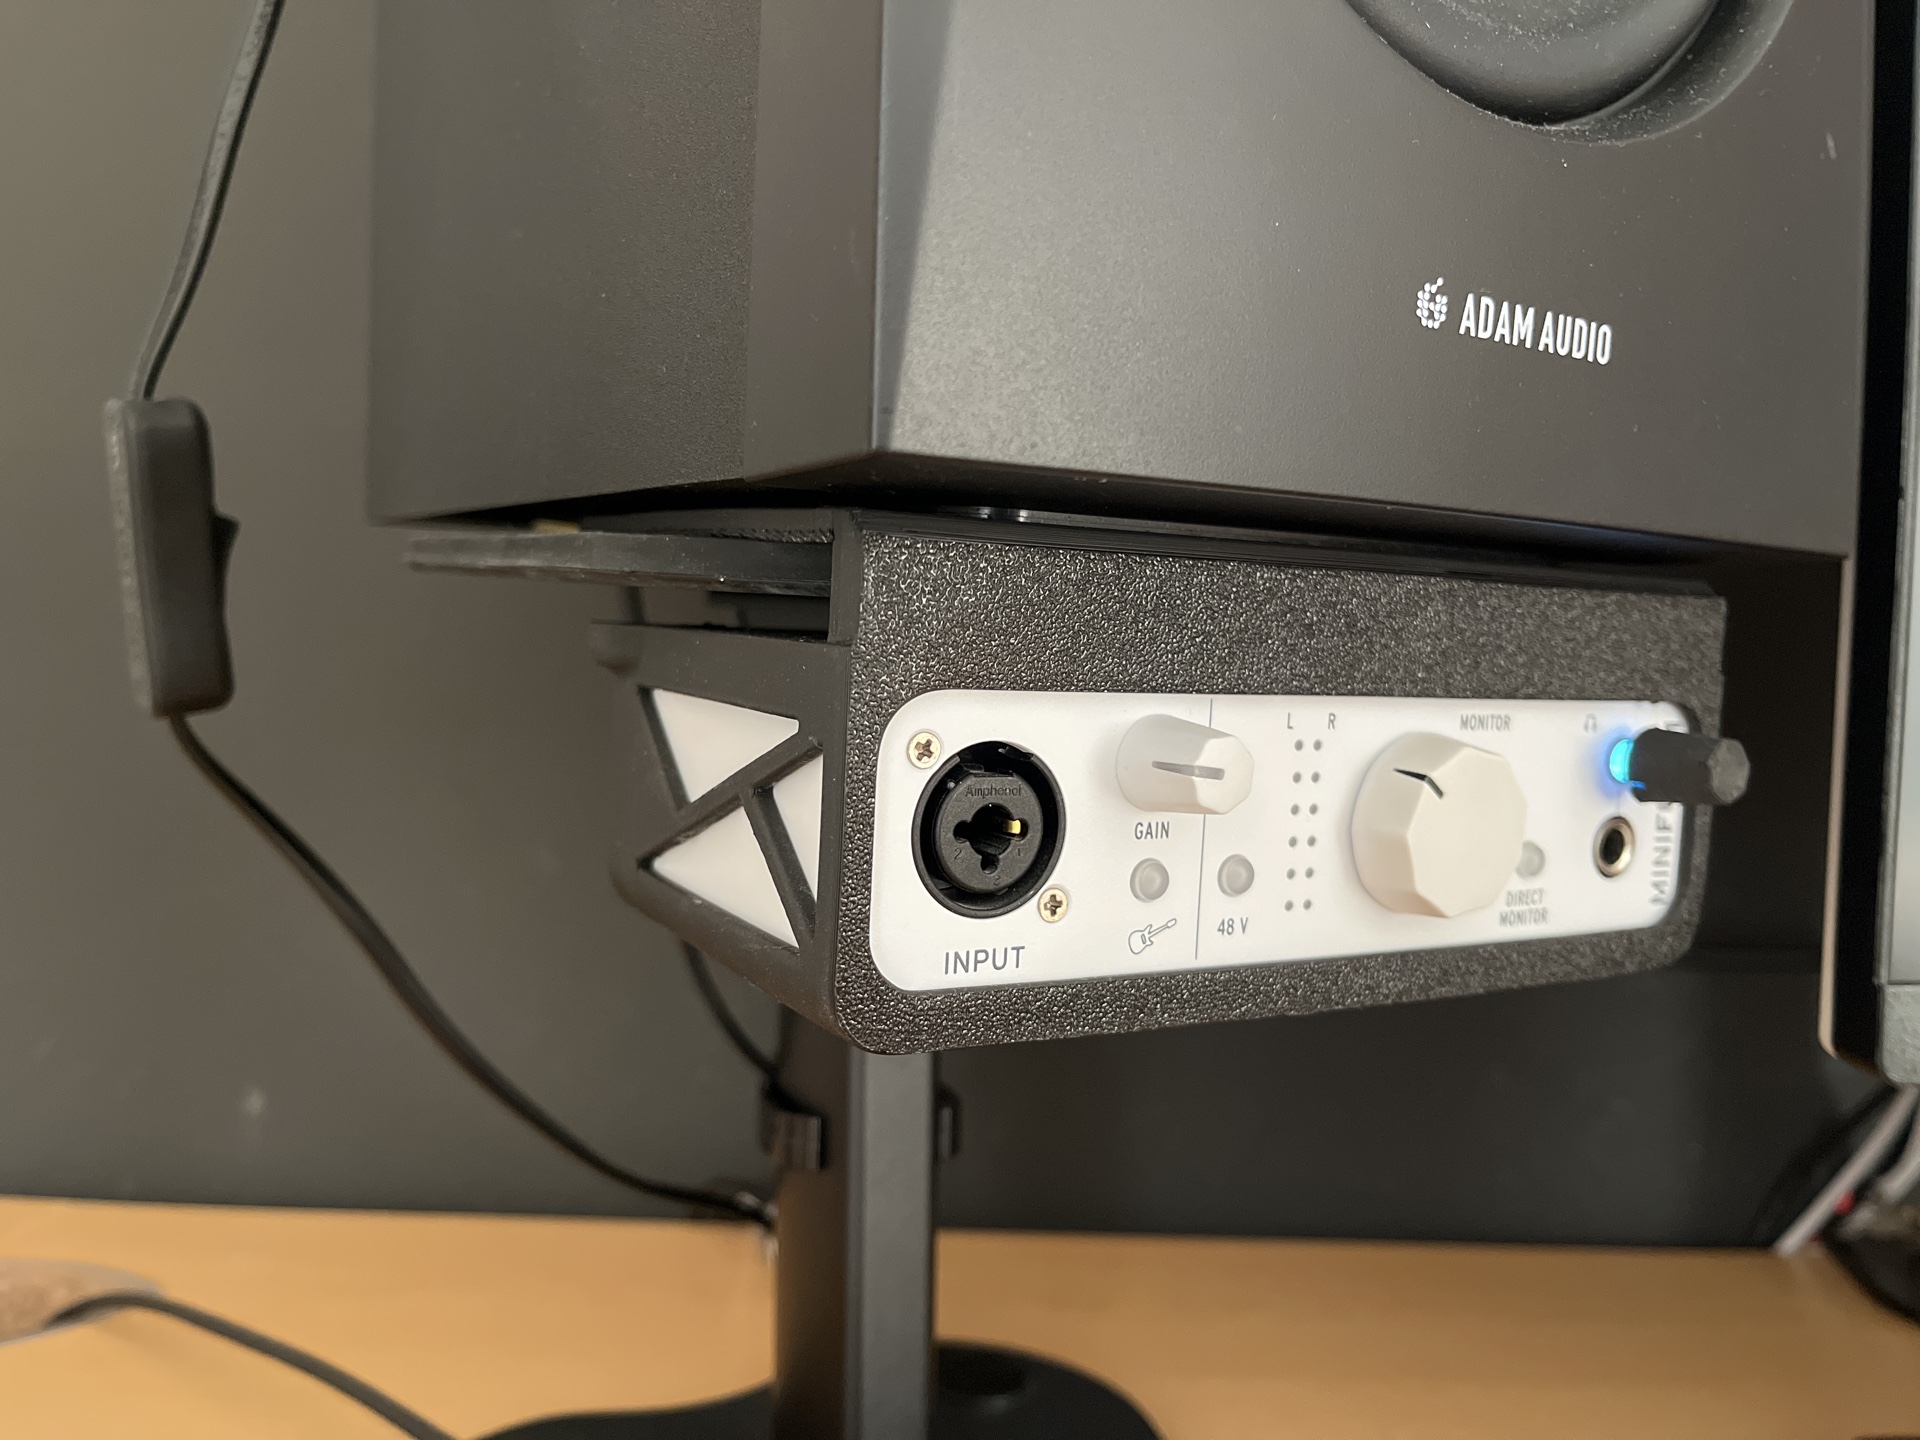
I remixed charles_h's (@charles_1898481) model so that I can put the MiniFuse between the monitor stand and the studio monitor itself.
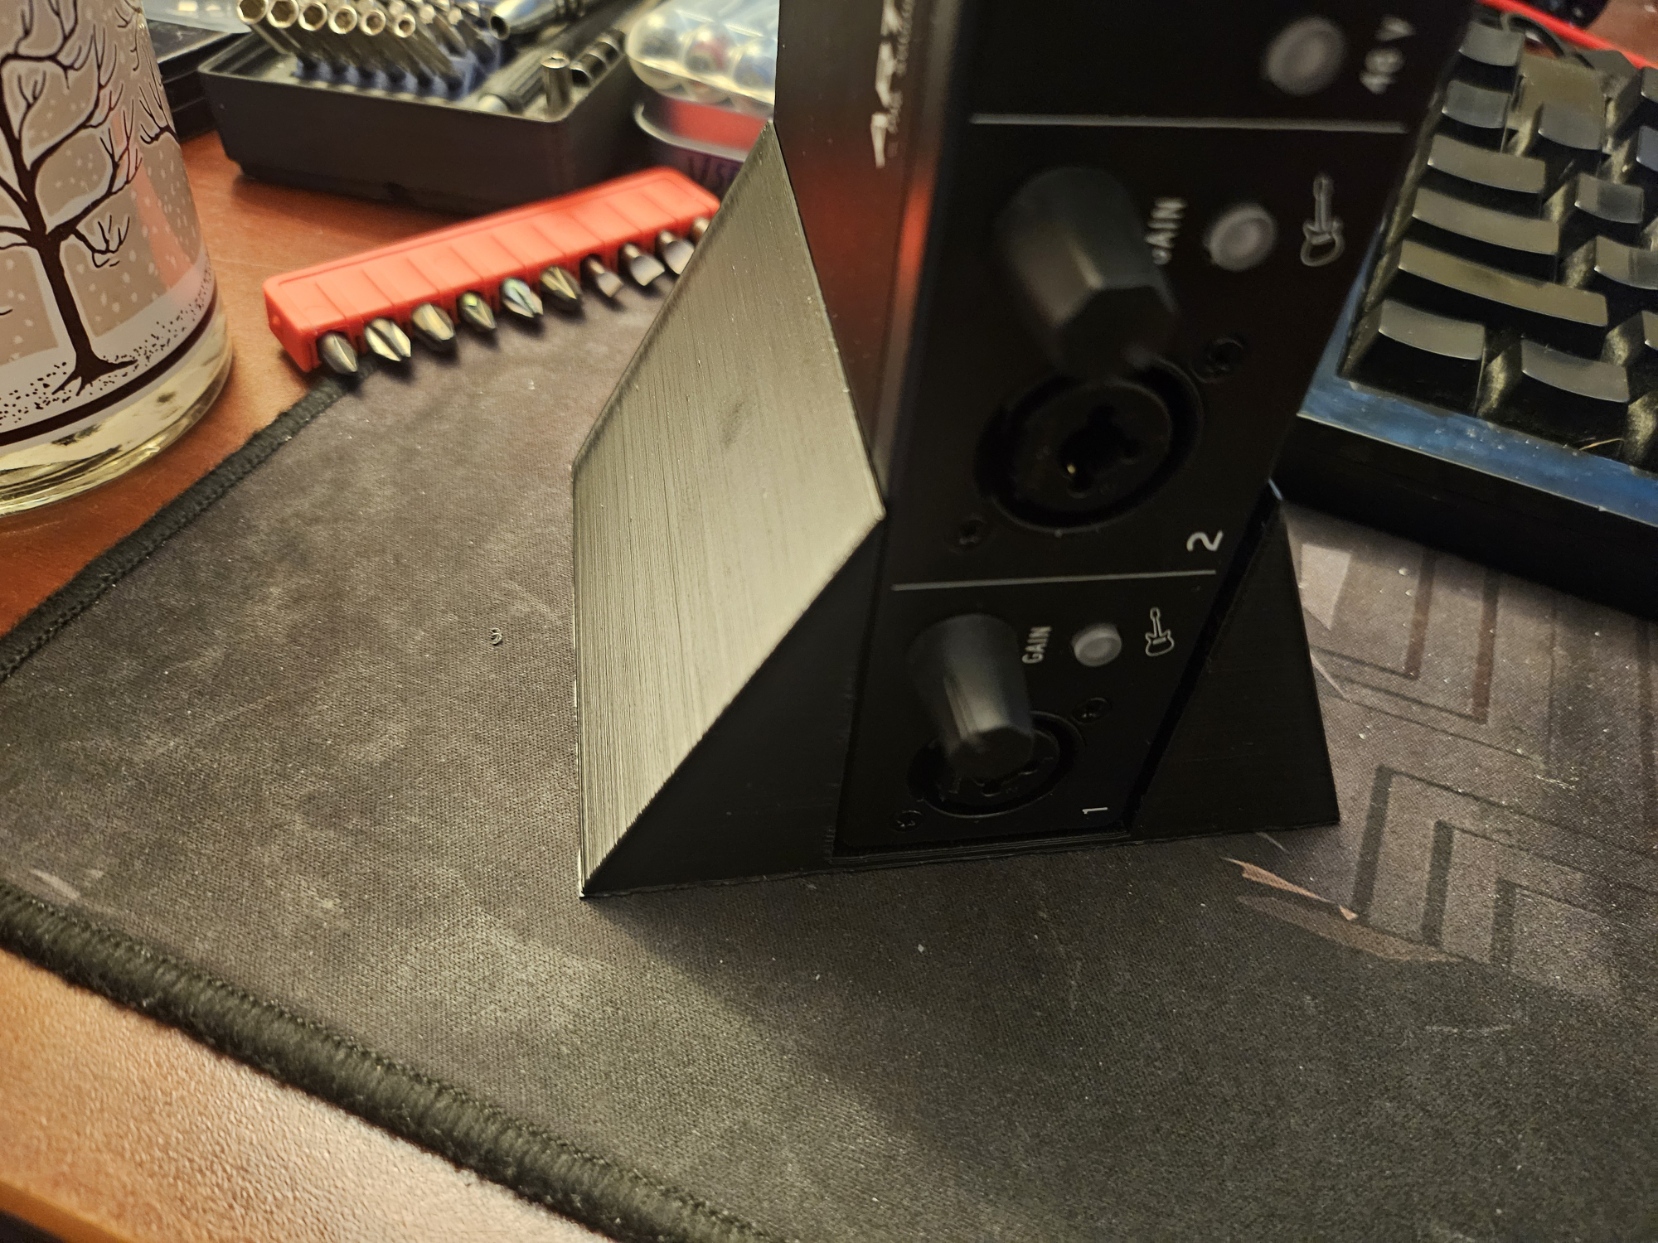
A quick stand I threw together to make better use of my desk space, as it comes, the tipover angle of the minifuse 2 is about 9 degrees on the worst side. This stand was desigend with a goal of 25 degrees in mind, and achieves 27 in…
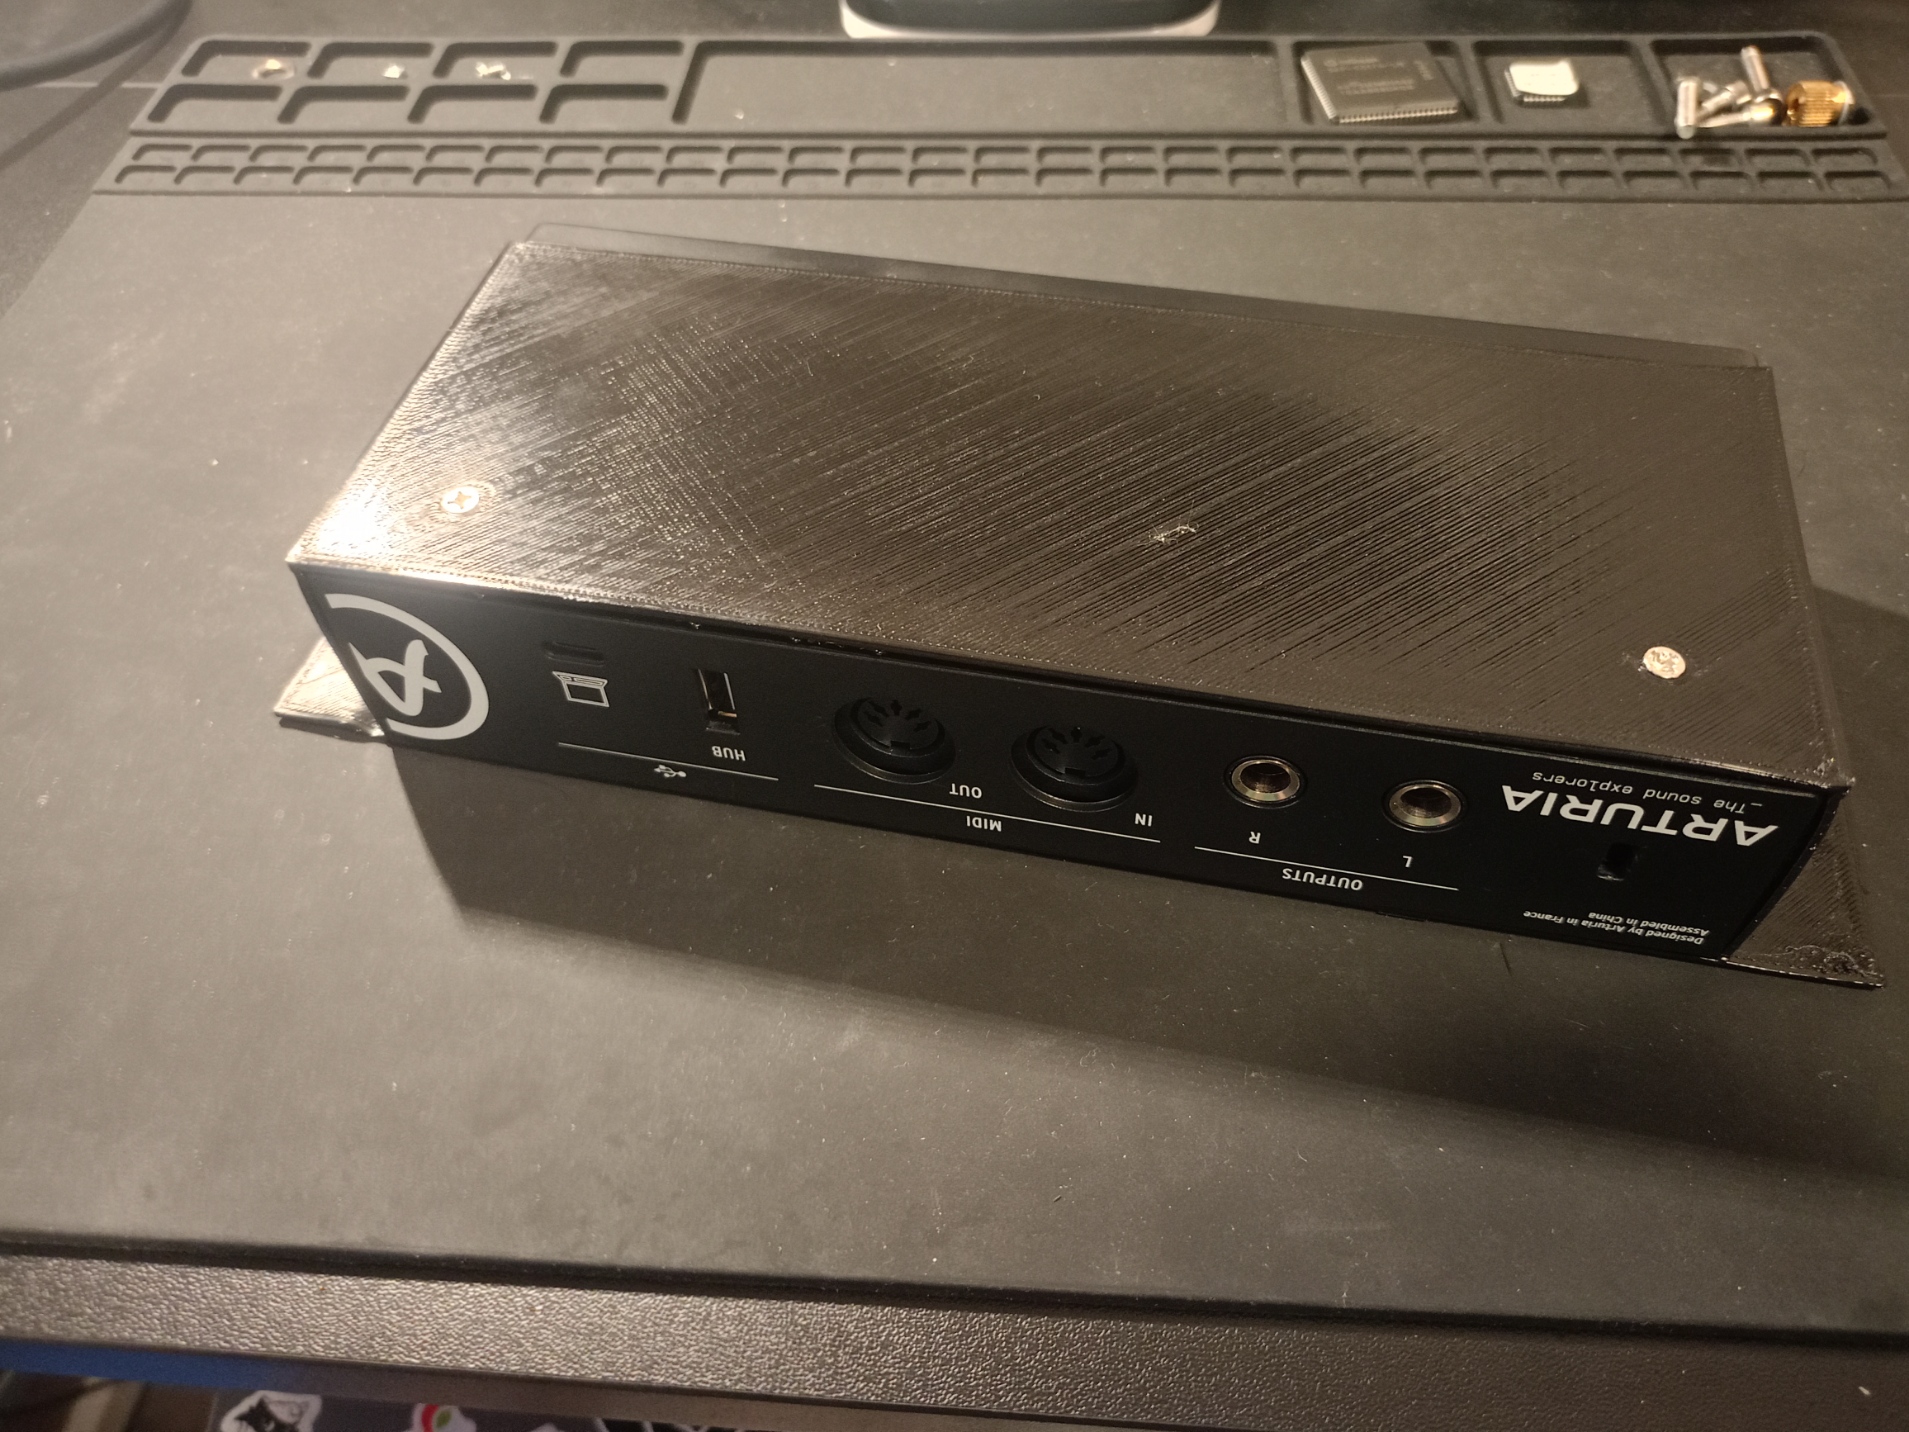
I needed a way of bolting my MiniFuse 2 to my desk, so I decided on a full case replacement. Might not be the best option, and can DEFINITELY be improved, but it's pretty good for what it is soooo :3 My 3D print is of a previous version…
case for the Arturia mini fuse 1 sound card reengineering instead of the damaged case PETG printing 15% filling wood support
This bracket is specifically designed to allow the user to mount a MiniFuse audio controller under their desk. It requires 2x 2x10mm self tapping screws to mount into the desk if the desk is solid wood. You will likely need something…
A variation of my desk mount modified to fit Arturia Minifuse 1. The desk mounting is the same (eight M2(or slightly bigger) countersunk wood screws), and the snap mechanism is also the same. (two latches either side, just push the…
Make sure to print the case part with the front lip against the bed, and the tray on its only flat side (lip facing up). The case part slides on the Audio interface from the front and should have a snug fit. The tray should be mounted…
I wanted a way to clear some of the clutter from my desk, so I designed and printed a mount to hang my Minifuse 2 from the bottom of my Lenovo Thinkvision 27" screen.
Same instructions as original by @Ulysse98: Make sure to print the case part with the front lip against the bed, and the tray on its only flat side (lip facing up). The case part slides on the Audio interface from the front and should…
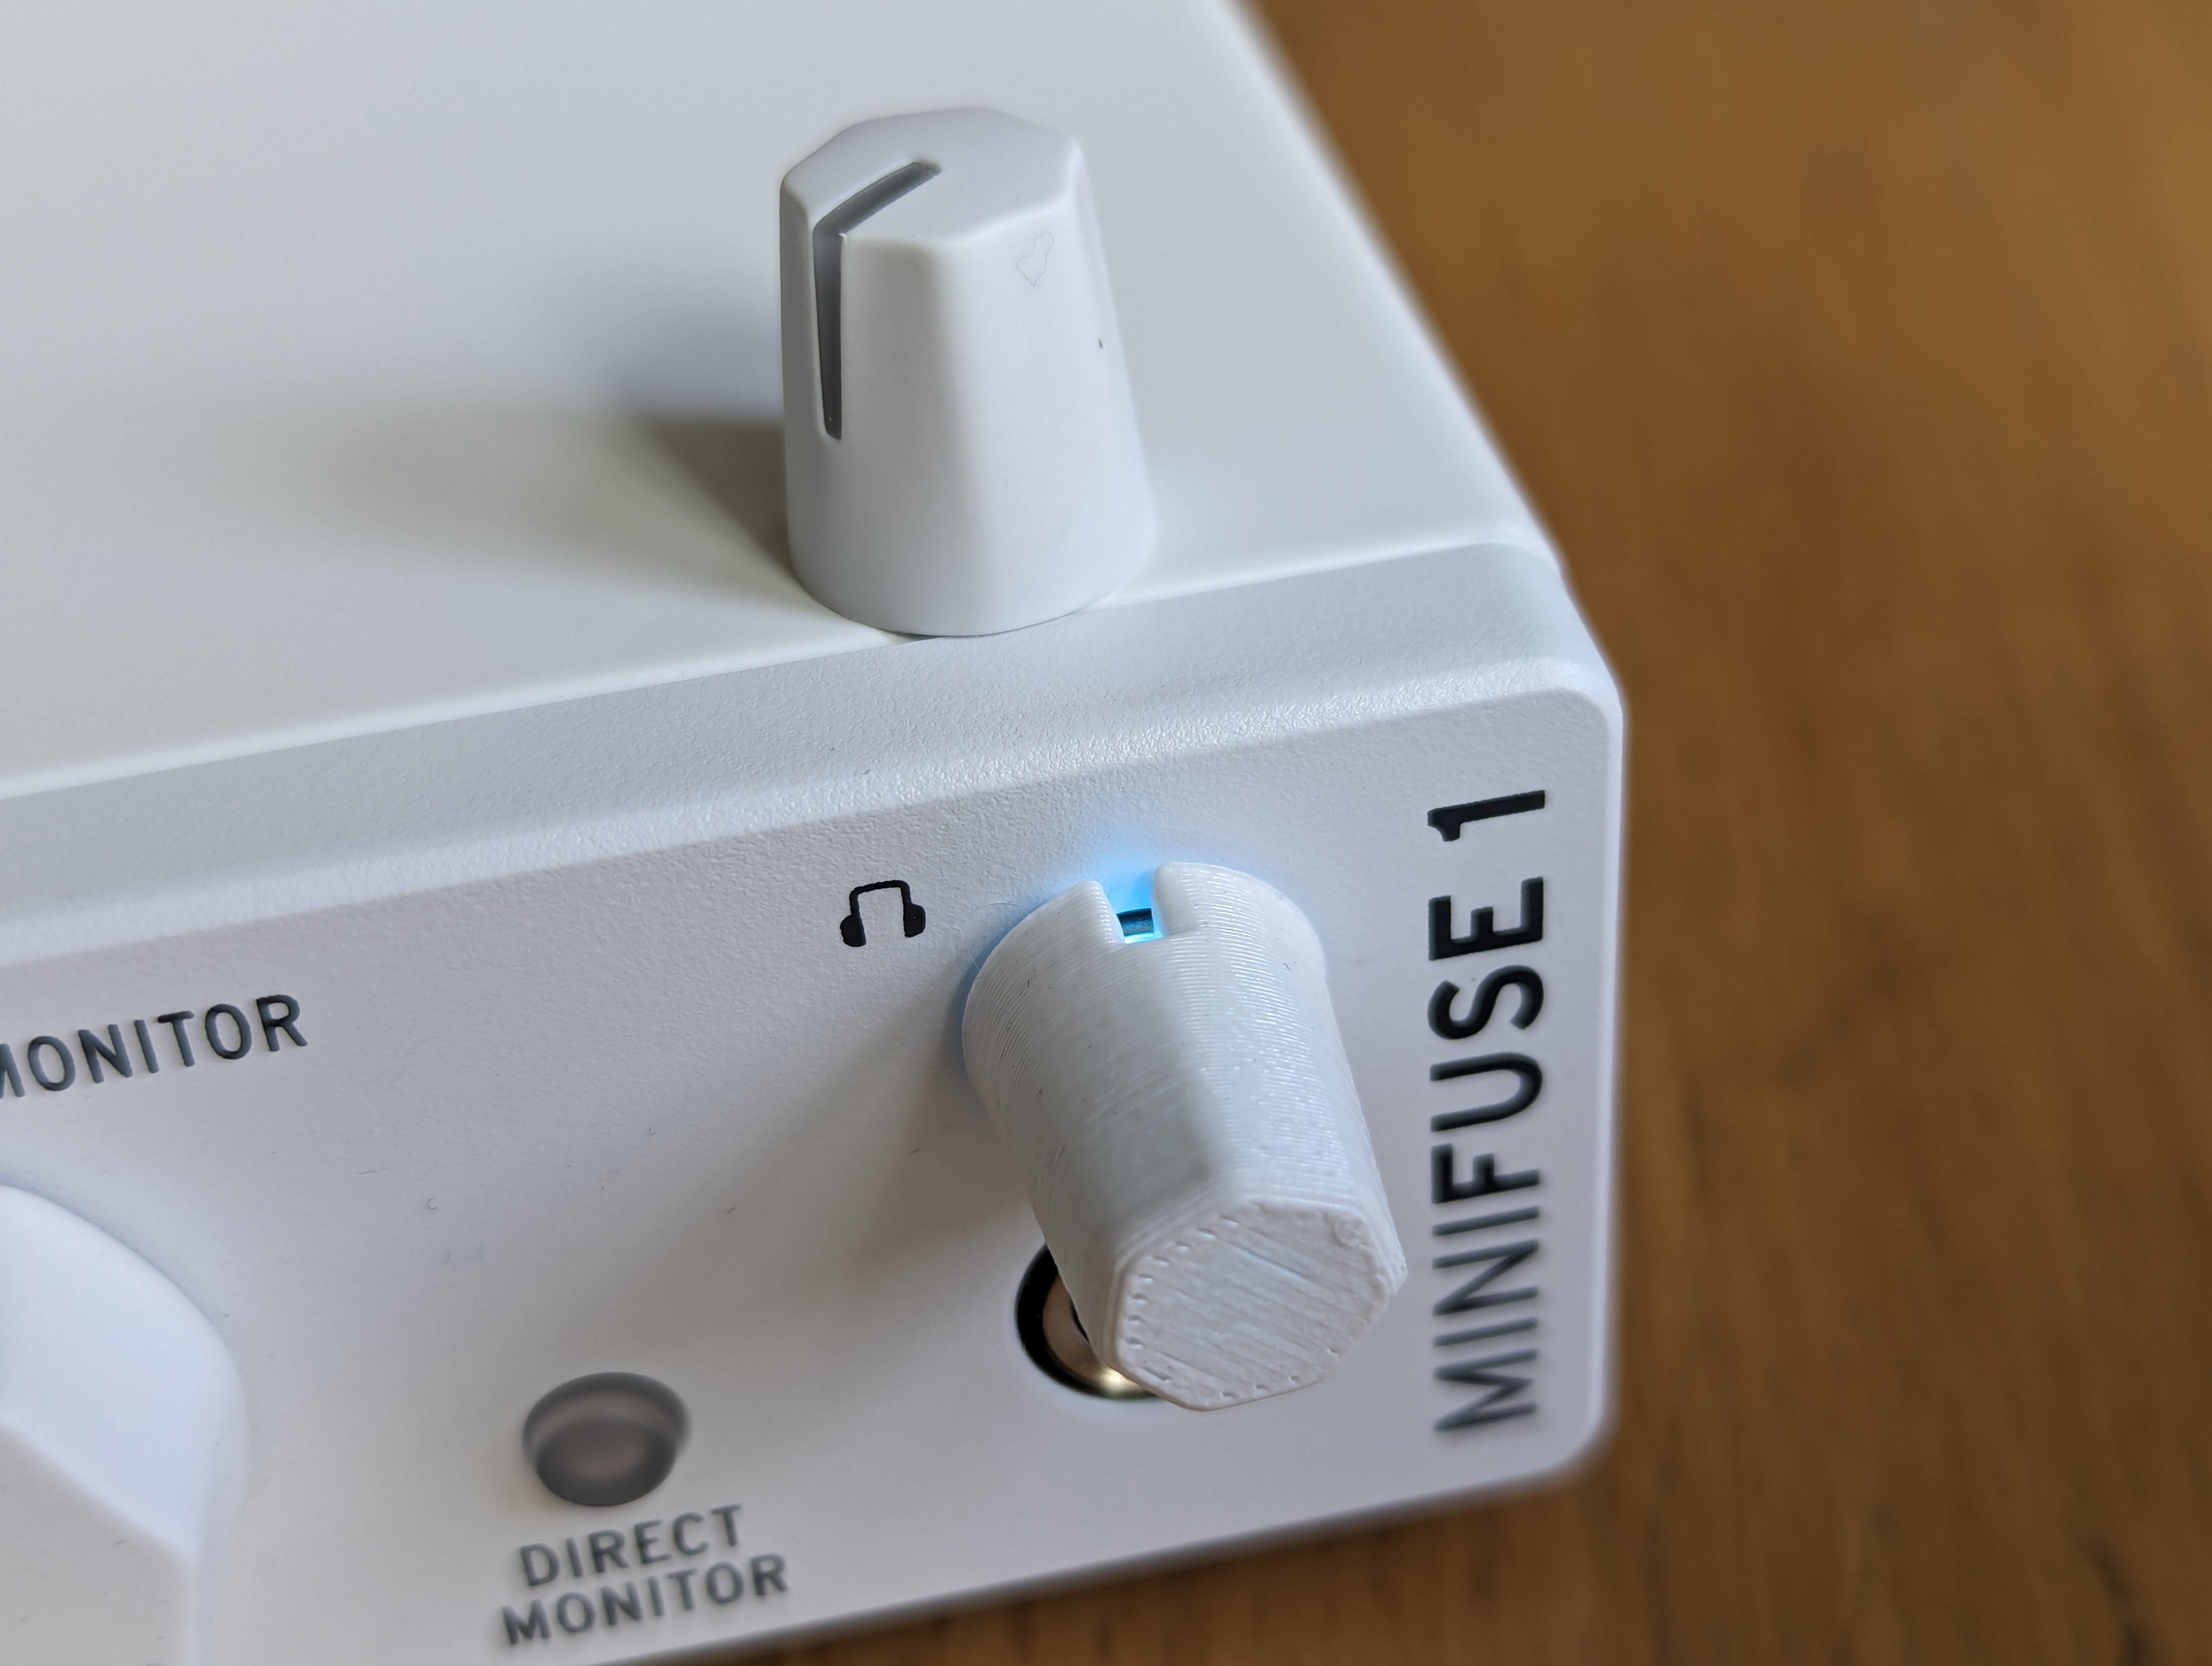
The knob in the photo was printed using Filamentarno Ceramo (SAN) filament with 100% infill.
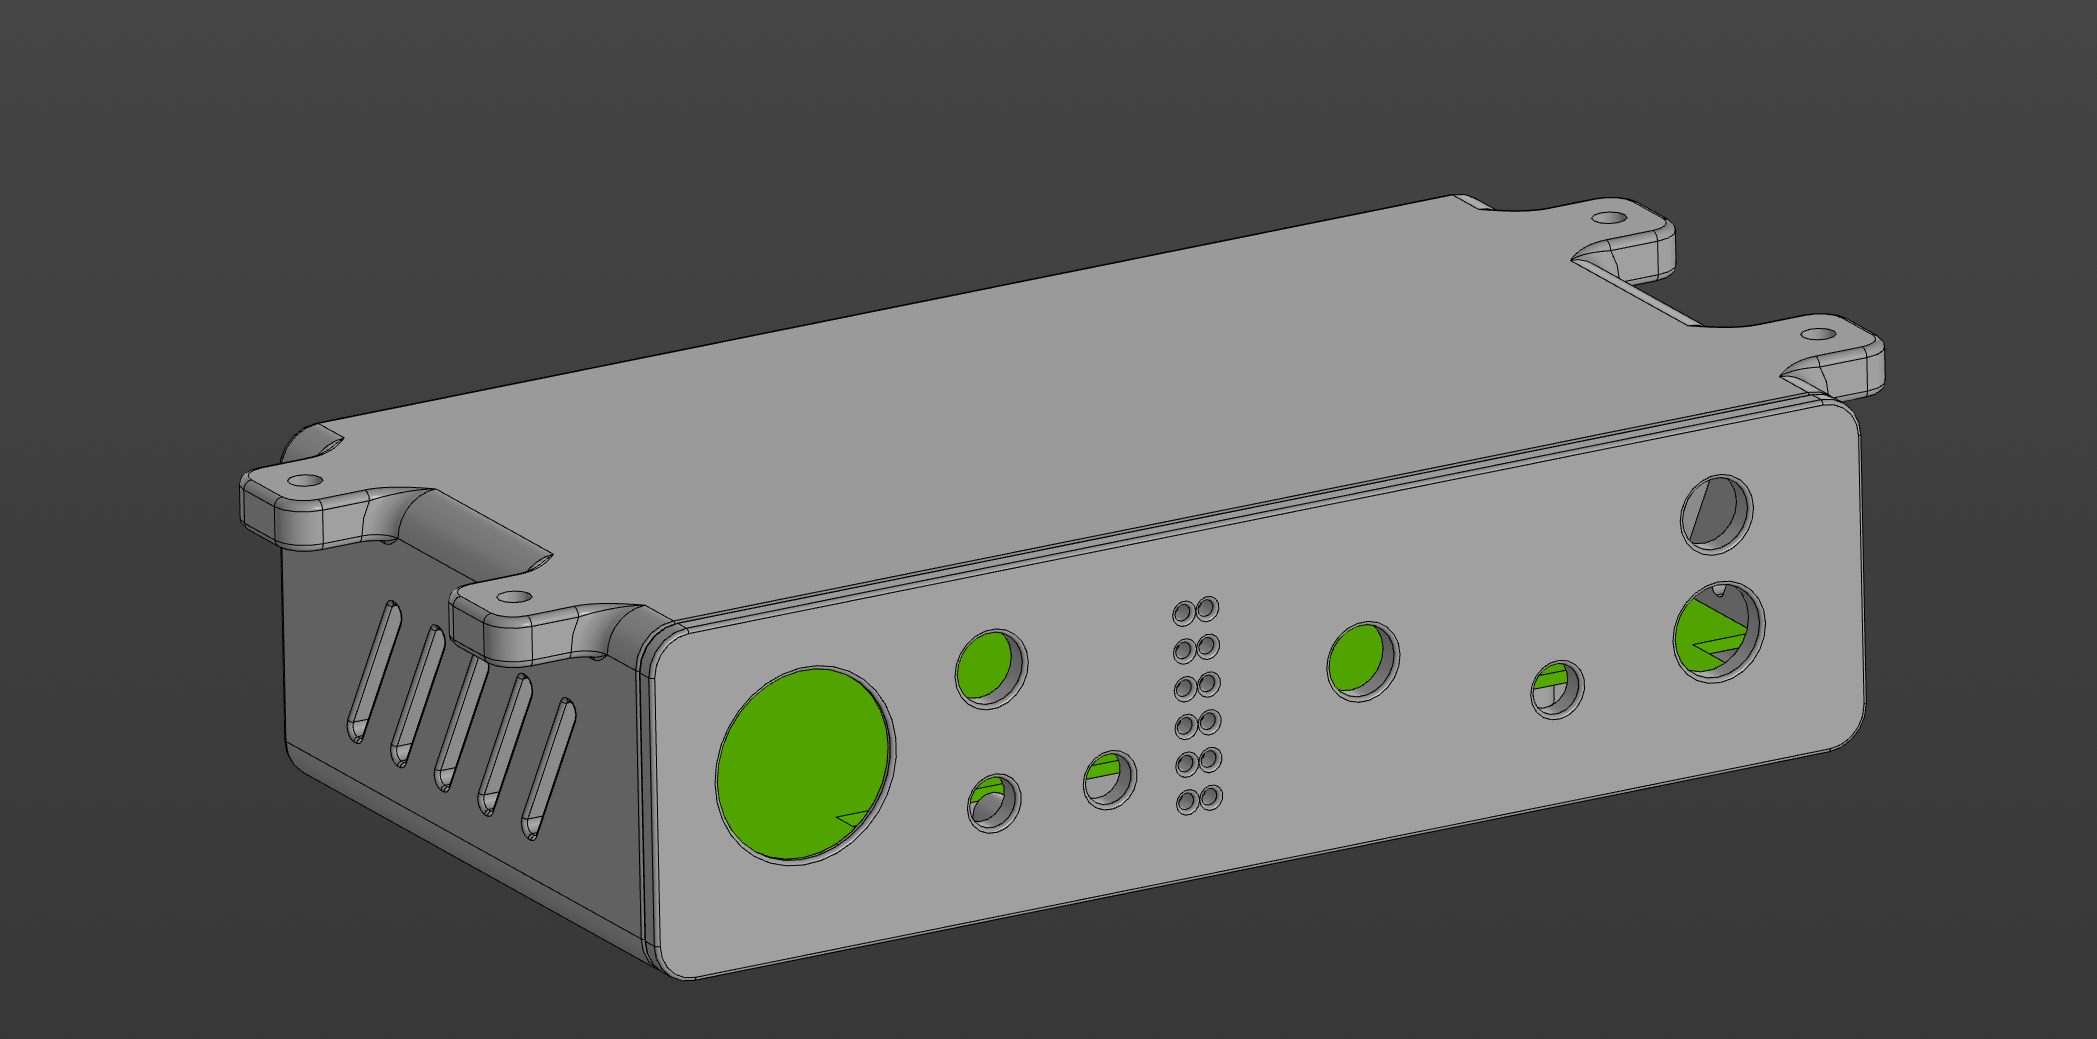
Make sure to print the main housing with the lip against the bed (3 small screw mounts at the top). Set supports overhang threshold at 30°. The main housing is mounted using 4 self tapping screws (7-9 mm head diameter) and the 2 pieces…