P
Printables

MPU6050 Case
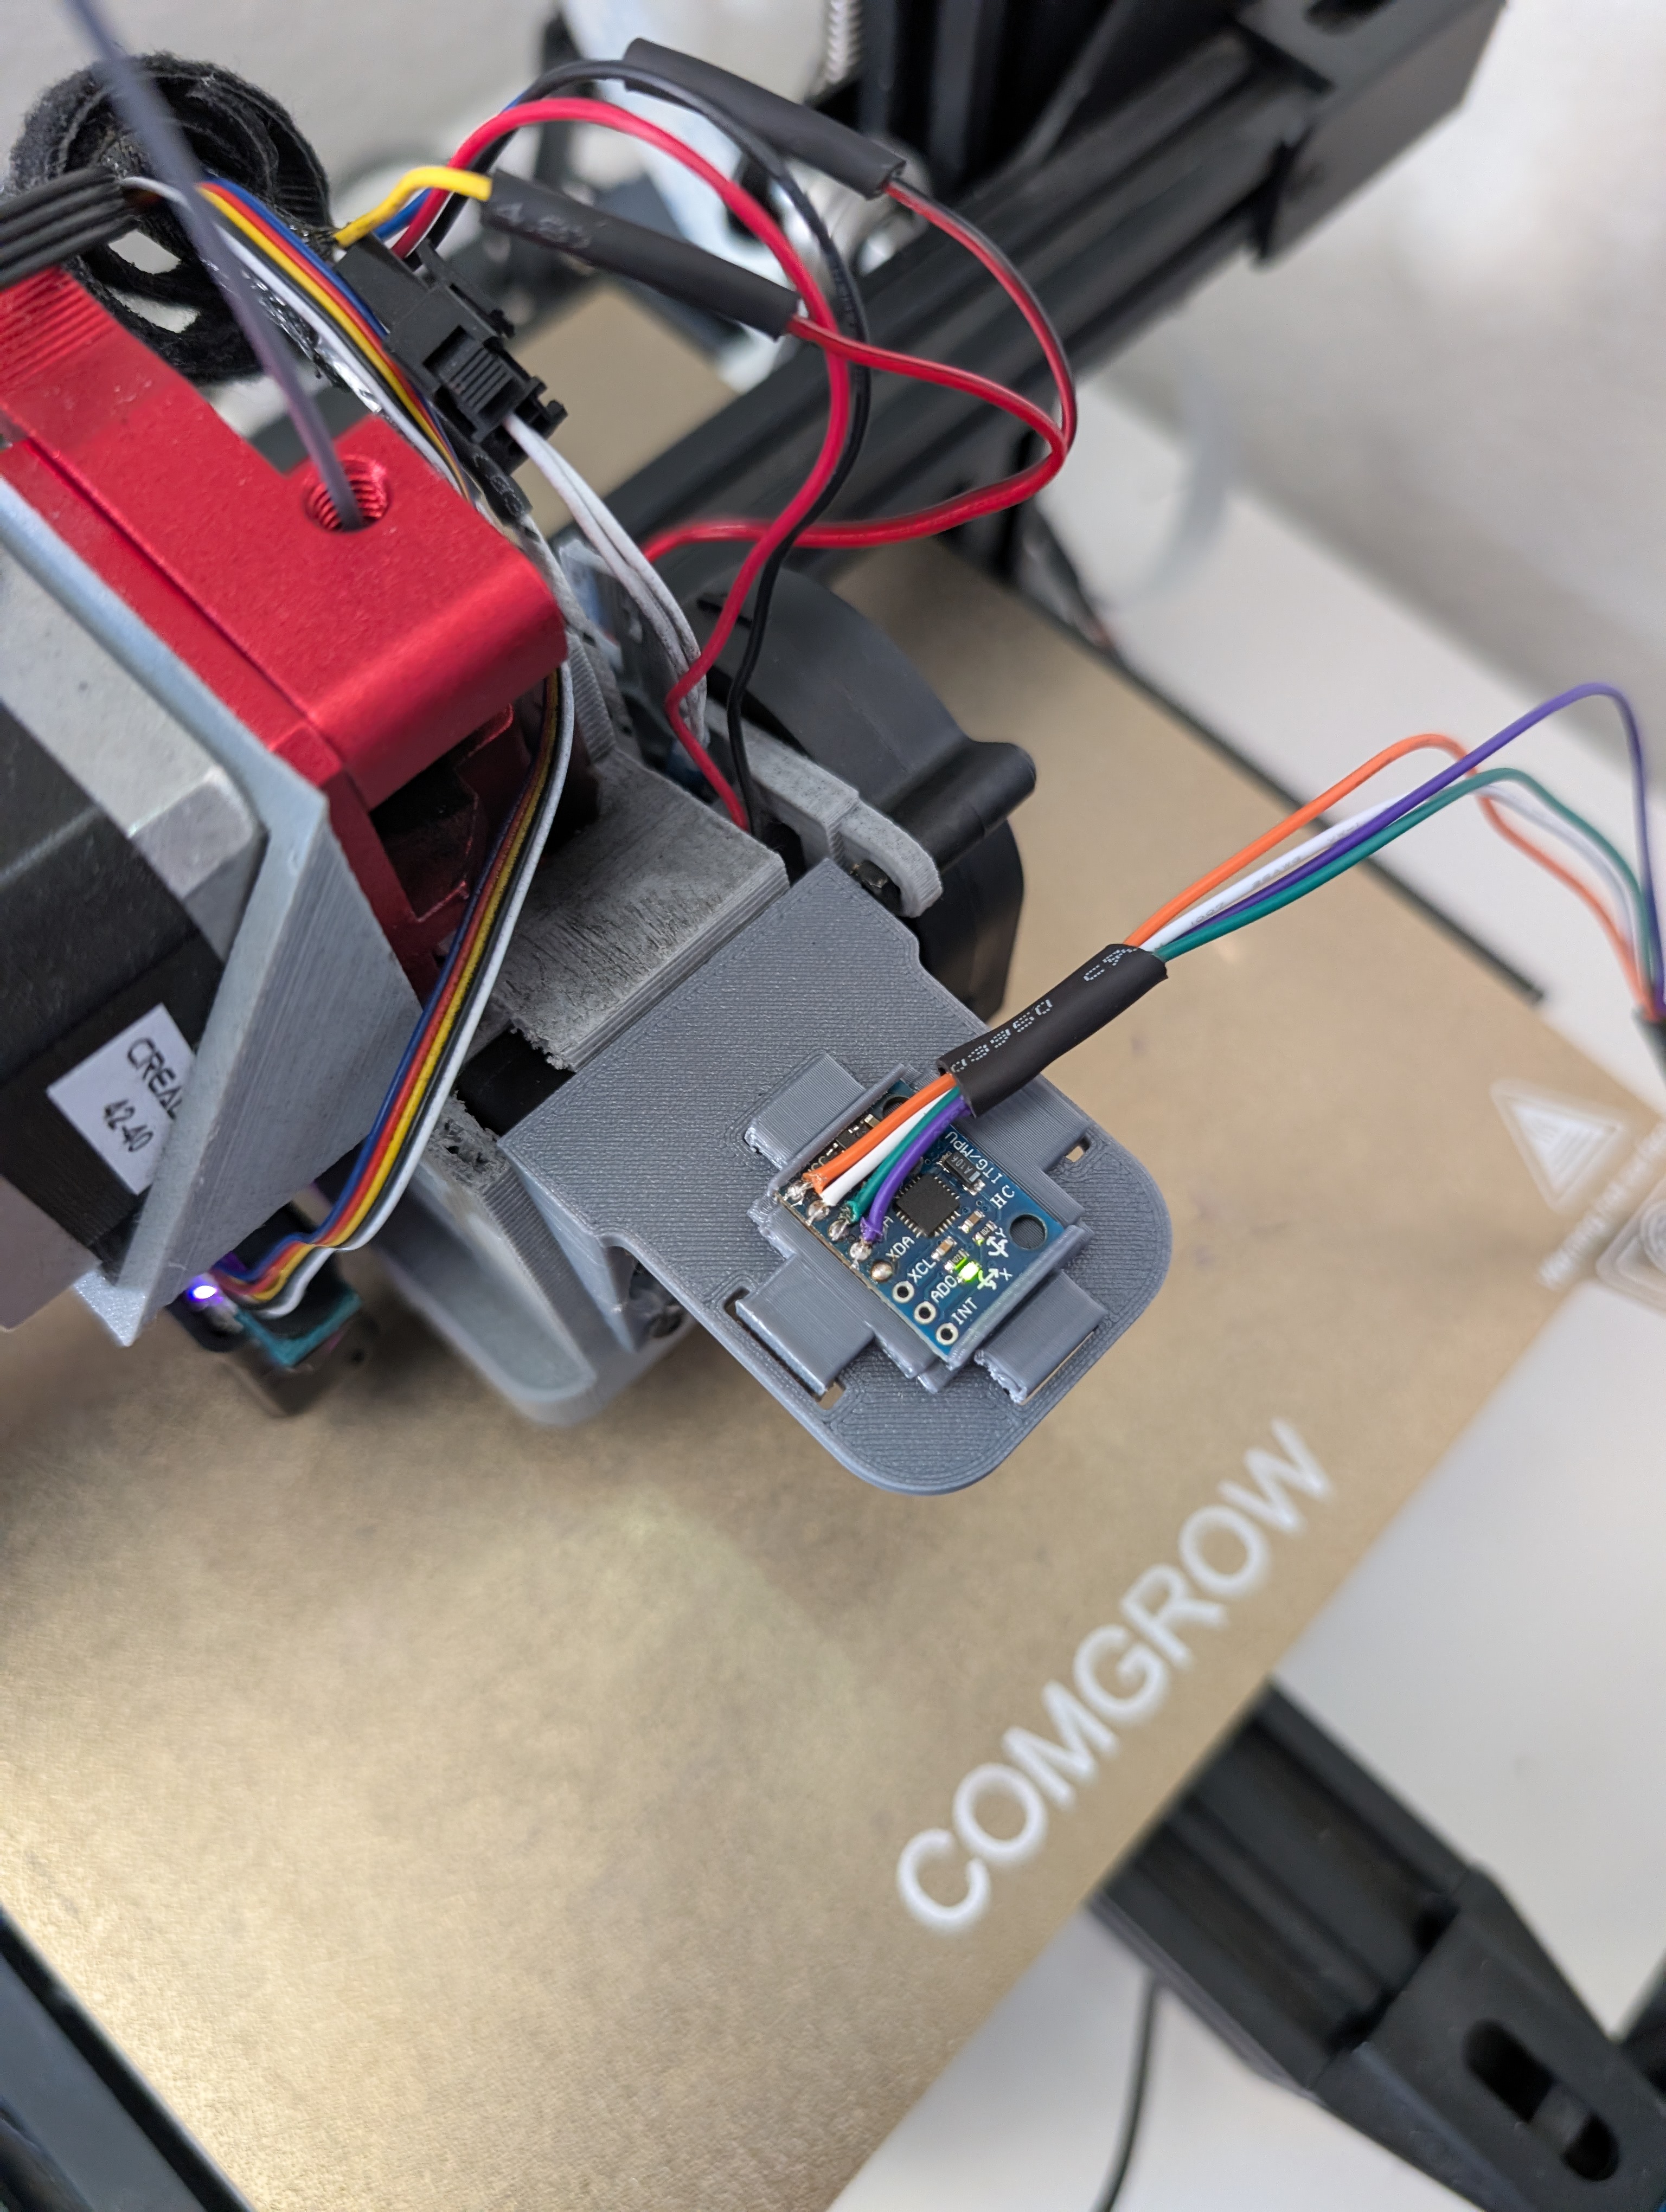
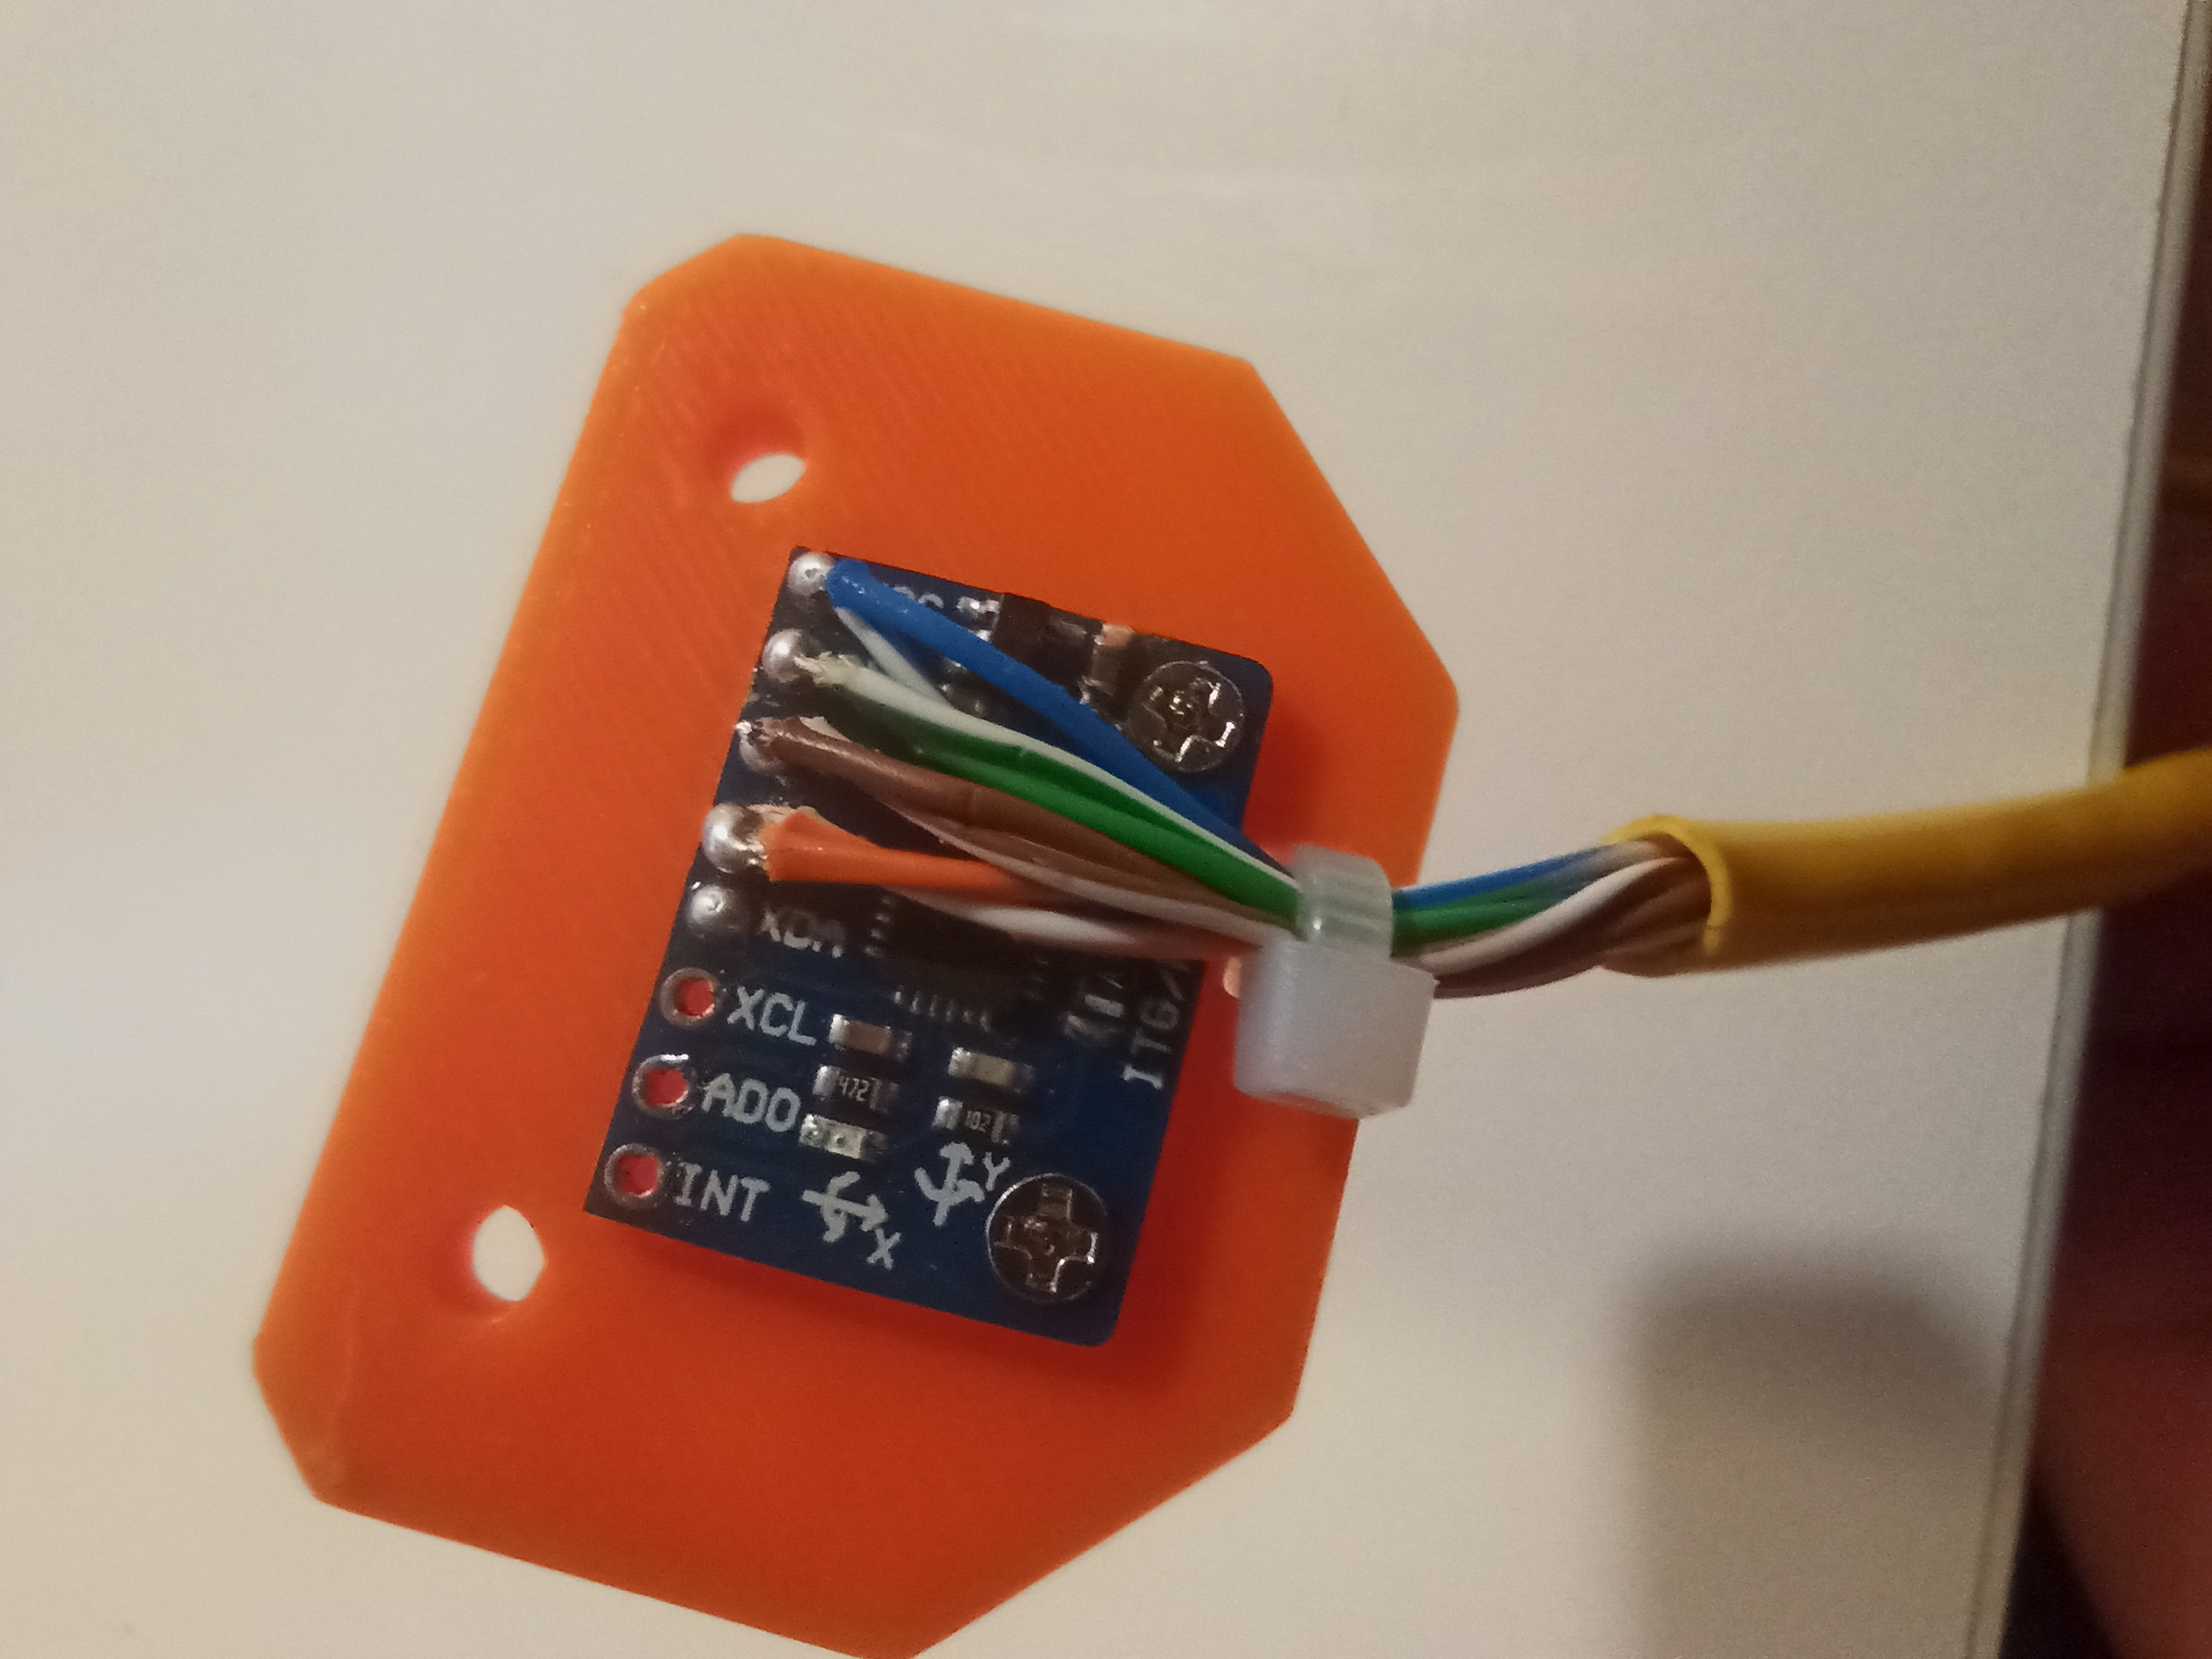
Not the original creator of the case nor the MPU model, can't find the original sources. One M3 screw needed for fastening the MPU
Counting matching models…
Not the original creator of the case nor the MPU model, can't find the original sources. One M3 screw needed for fastening the MPU
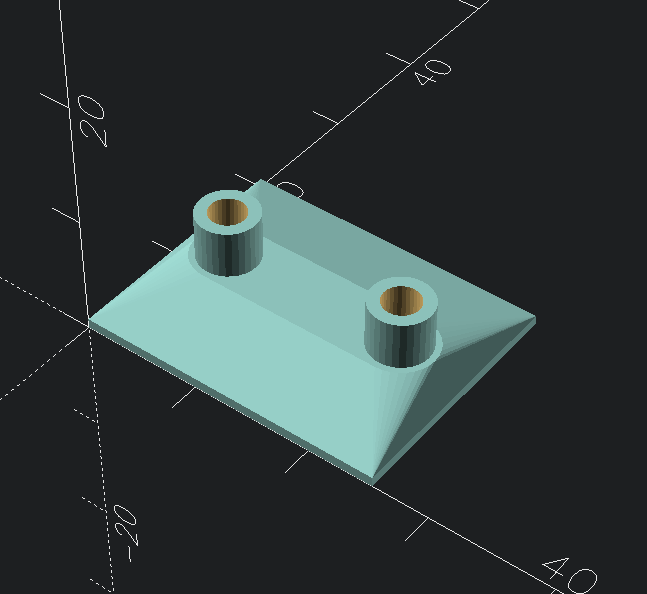
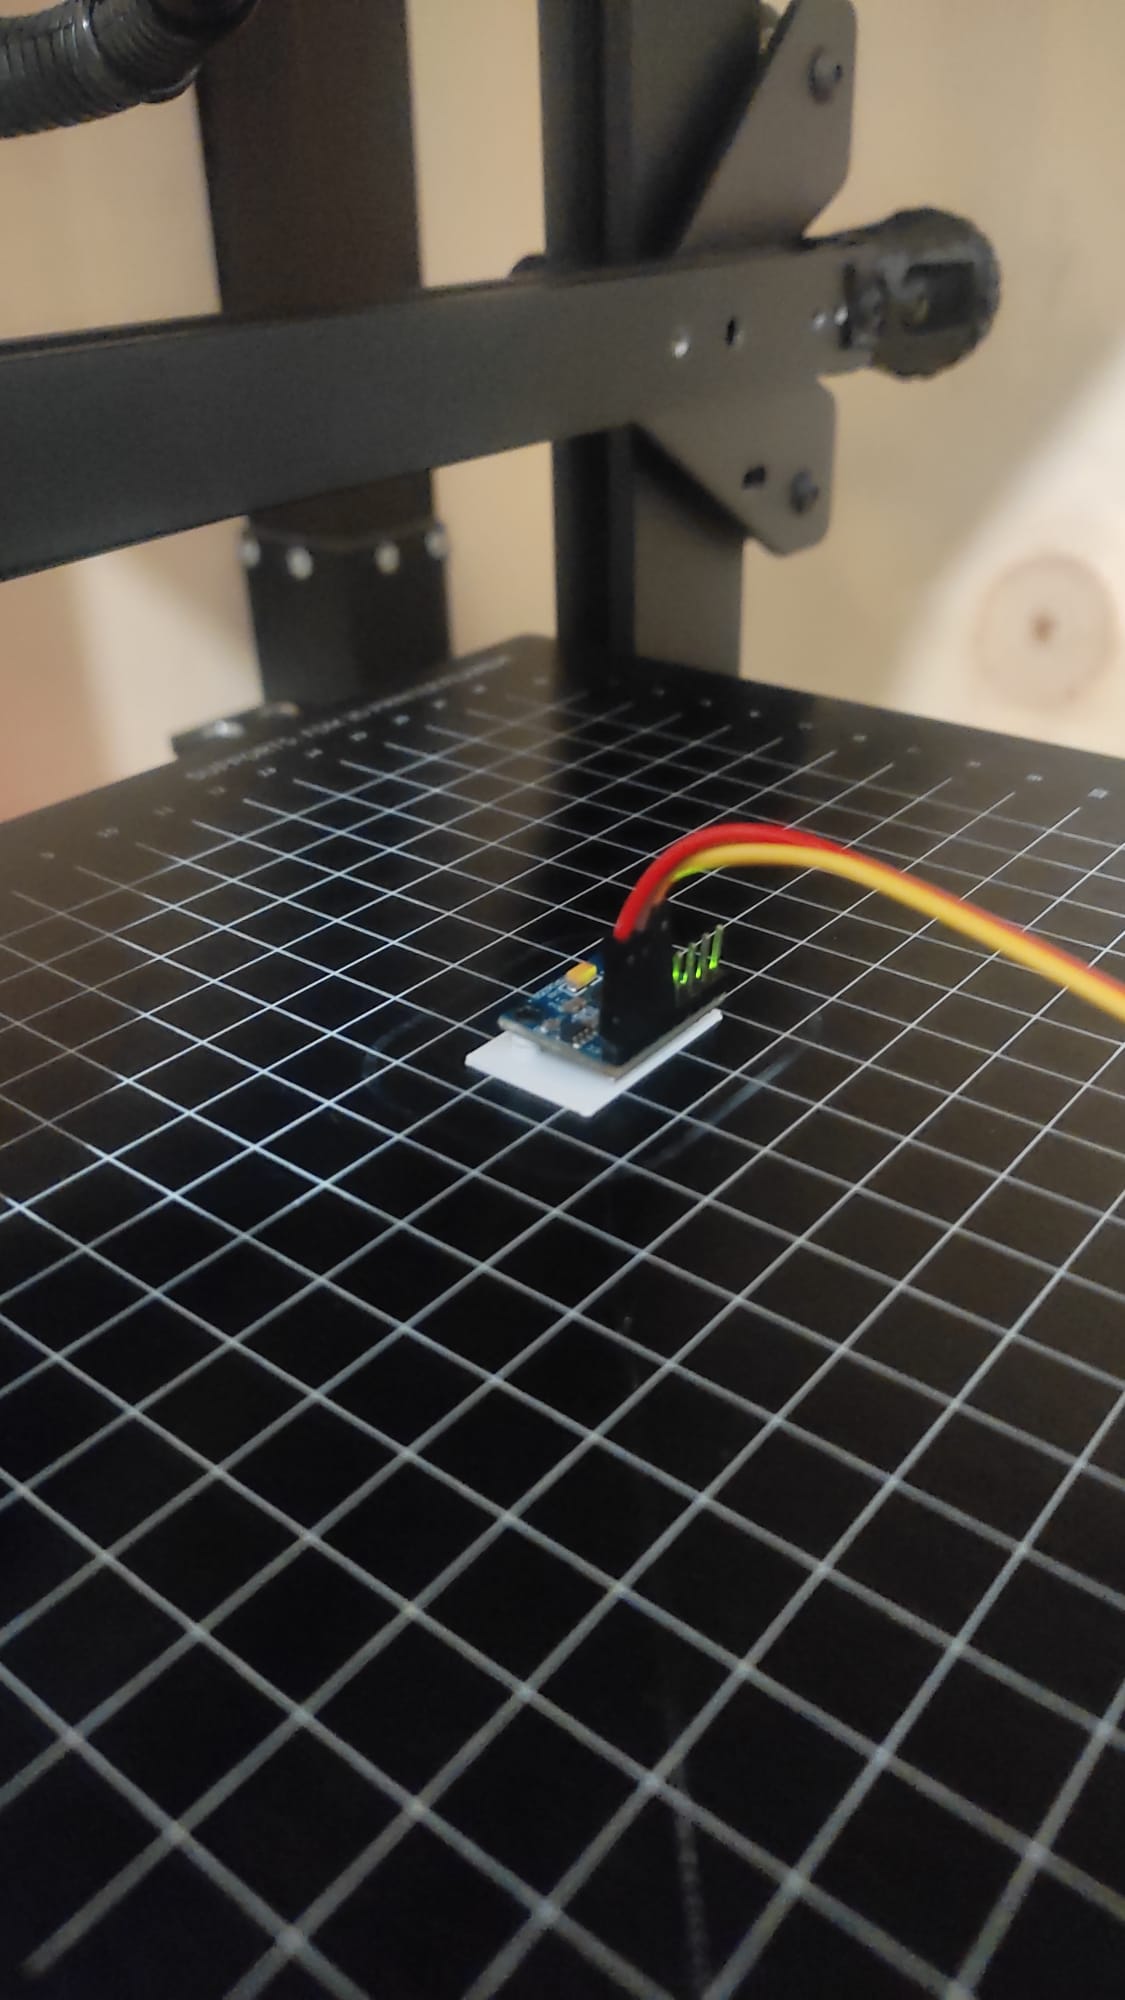
Simply print it in the center of your print-bed and screw on your MPU6050 sensor while the mount is still attached to the bed. Happy calibrating!
Items required: 2 M4 nuts. 1 4pin JST connector. Accelerometer MPU6050. 2 M3x4 heat insert. 2 5mm M3 screw.
Working on a dRehmFlight based flight controller, I wanted to mount a MPU6050 IMU onto a protoboard. I put female headers onto the board and plugged in the sensor. Electrically, this is a sound connection. Mechanically, not so much. The…
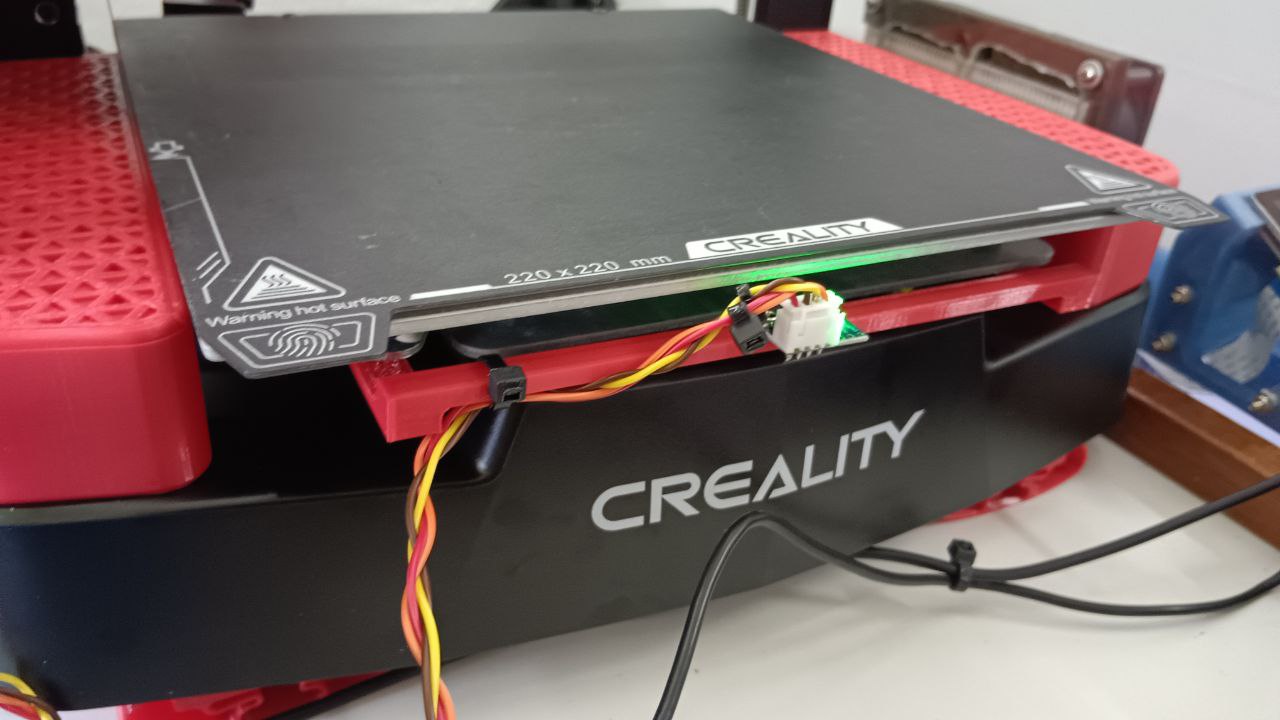
A mount designed for the Neptune 3 Pro 3D printer to hold the MPU6050 accelerometer to configure input shaping.
Ender 3 V2 resonance mounts for my modified ender 3. The mounts fit a bed that has a magnet sheet mount on it, not the glass and a satsana fan shroud for the extruder. The bed clamps are temporary while the x axis mount can be permanently…
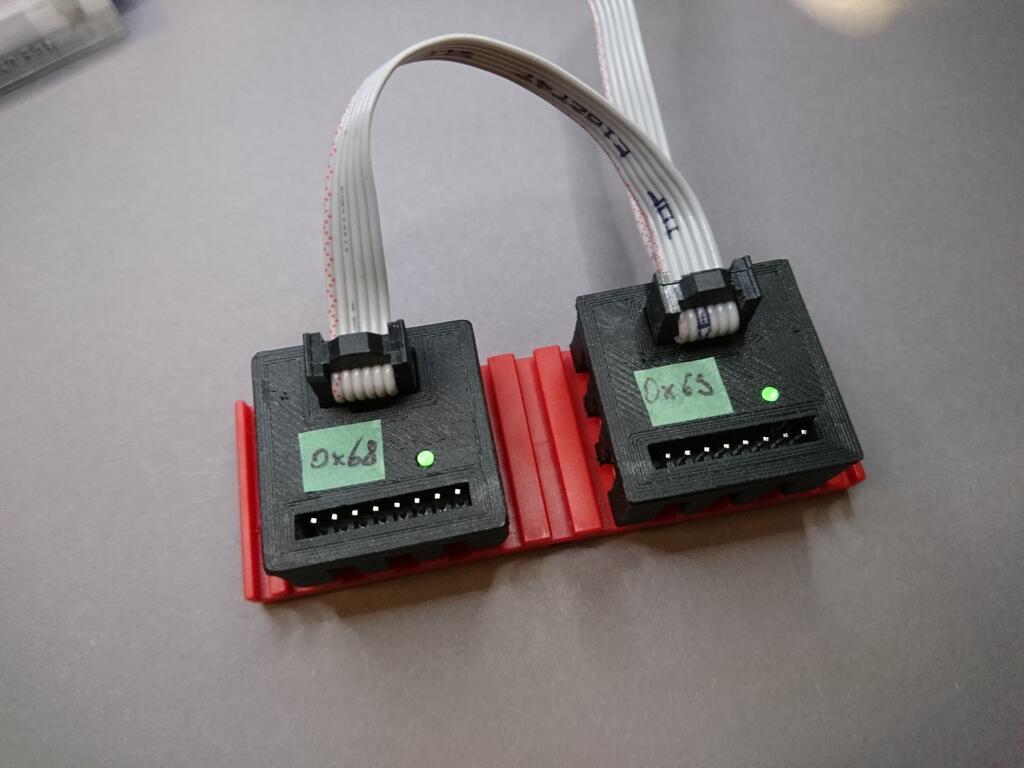
This is a case for the MPU6050 GY521 gyroscope/accelerometer module with fischertechnik connectors. The 2x6 I2C pin connector is pin compatible with ftDuino and fischertechnik TX connectors. See the pictures for assembly details. A…
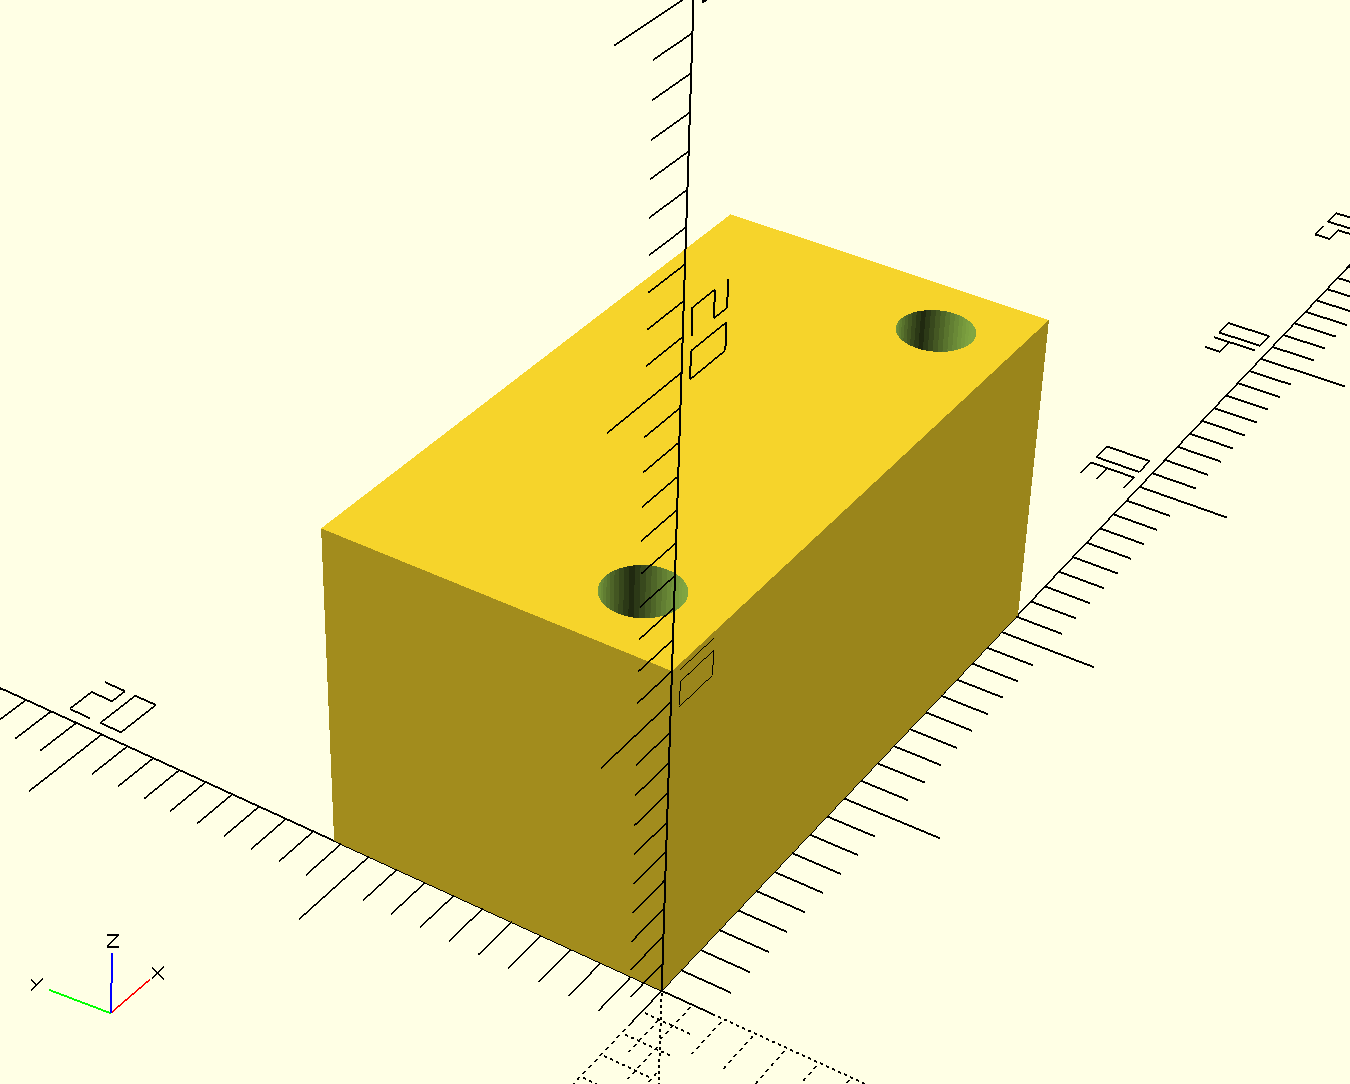
I use a MPU6050 to calibrate the Input Shaper of my printers, so i've modeled this to make the process easir. Just print it in the middle of the bed, then screw the MPU.
A very simple, but very secure and stable mounting option for an ADXL/MPU6050 module, utilizing the two m3 inserts on the back of the Voron 0.2 x-carriage, which most alternative toolheads (like the amazing dragonburner ) do not utilize.…
instal this case on the hollow iron bar or the frame of the solar panel using 3M tape
This is a small and easy to build reaction wheel. I do not recommend building this project to beginners as it is quite hard to stabilize and properly calibrate the PID algorithm. More information about the project: Code can be found on…
Not the original creator of the case nor the MPU model, can't find the original sources. One M3 screw needed for fastening the MPU