
PolyRoller - Smooth Rolling with KID'nR for PolyDryer
Obliczymy ostateczną cenę na podstawie wybranego pliku. Sprawdzisz ją i zaakceptujesz przed płatnością.
Zapisane na tym urządzeniu.
Pimp your PolyDryer to get perfect, wiggle free and adjustable spool rolling experience with extra silica gel storage.
- Ocena
- 5 / 5
- Polubienia
- 125
- Pobrania
- 7820
- Wydruki
- 1
- Wyświetlenia
- 15 861
- Oceny
- 1
Aktualizacja u źródła:
Informacje o modelu
- Źródło
- Printables
- Kategoria
- Accessories
- Licencja
- Creative Commons — Attribution
I really like 🥰 the PolyDryber boxes: The overall concept is great, the form factor is perfect, it has a cool design, …. but there are some design flaws that need to be fixed. 😉 But don't worry, you can do it! 😎
Remark: I designed the model to work perfectly in my specific use case, using the KID'nR and KID'nR XL center spool silica gel roller with the PolyDryer boxes. The goal was to make it fit precisely and without any compromise (rather than to make it a universal fit). It's a parametric design and I exported the model in 0.2mm steps for you, so you should find all you need (otherwise, drop me a message). And of course, there is the CAD file in the Files section as well.
Related Models

Featuring an addictive snap-in mechanism! Check it out: The POLYmount 😎 |
So, what's the issue with the PolyDryer … it works for me?
The bottom axles are way undersized in diameter and just do not fit the bearings. 😞
The axles have sharp edges that constantly rub against the PolyDryer box, “sanding” it down. 🥷
→ So the overall rolling experience is “improvable”Moving the box around the spool inside will do what it wants.
Finally, the silica gel compartment is just too small, and replacing the gel inside isn't much fun at all.
Besides of all of this , the box will work for years, does it's main job and the issues will hardly have any impact on the print quality…. But it could just be a lot nicer. 😊
And what is so nice about this model?
The spool will roll and roll and roll… , almost friction free and as smooth as you want it, with and adjustable “break” to control the rolling resistance. 🤩
It reuses the bearings that ship with the PolyDryer. 👍
It provides solid extra space for Silica Gel (using the KID'nR and KID'nR XL ), which is easy to replace together with the spool.
The spool is securely held in place, also when throwing the PolyDryer around. 🤞
Any Downsides?
The only real downside is that the spool holder (and KID'nR (XL) needs to be specific in size depending on your spool. But the printed parts are so small and quick to print that this shouldn't be a big deal.
Besides that, you need to get a 8mm steel / aluminum axle cut to length. You should be able to get and cut a few of them in the time your printer prints the spool mounts, and it should cost you almost nothing.
BOM
1 x Steel / Aluminum Axle with a length of 84mm
2 x MR148ZZ Bearings (that's 2 of the 4 that come with your PolyDryer, no need to buy any)
Printed Parts
Get the KID'nR or KID'nR XL for your spool, of course the Roller Variant and with (accent color) spacers.
Check the height value that is printed on the canister, e.g. for the Prusament it's 73.8 mm
Now select the correctly sized PolyRoller parts
1 x Basic Mount
1 x Break Mount
… so that [Basic Mount] + [Break Mount] + [KID'nR] = ~85mm
→ for the Prusament spool that makes for the 5.6mm mounts
Print some Breaks and check what works best for you. The value on the break part defines the "preload angle", so a higher value will give you more rolling resistance. And be warned: Without this break the rolling resistance is so low that the spool will unwind itself!
The perfect size of the mounts might depend a bit on your specific PolyDryer boxes, so you want to try one size before printing it for all your boxes / filament spools. For me the 85mm works for all my PolyDryers and the spools are securely held in place. |
Printing and Assembly
Print Orientation:
The Mounts must be placed on its flat side
… and put the Break on its side, maybe with a brim for bed adhesion
No support needed.
Make it strong.
… and try to use some heat resistant material like ASA.
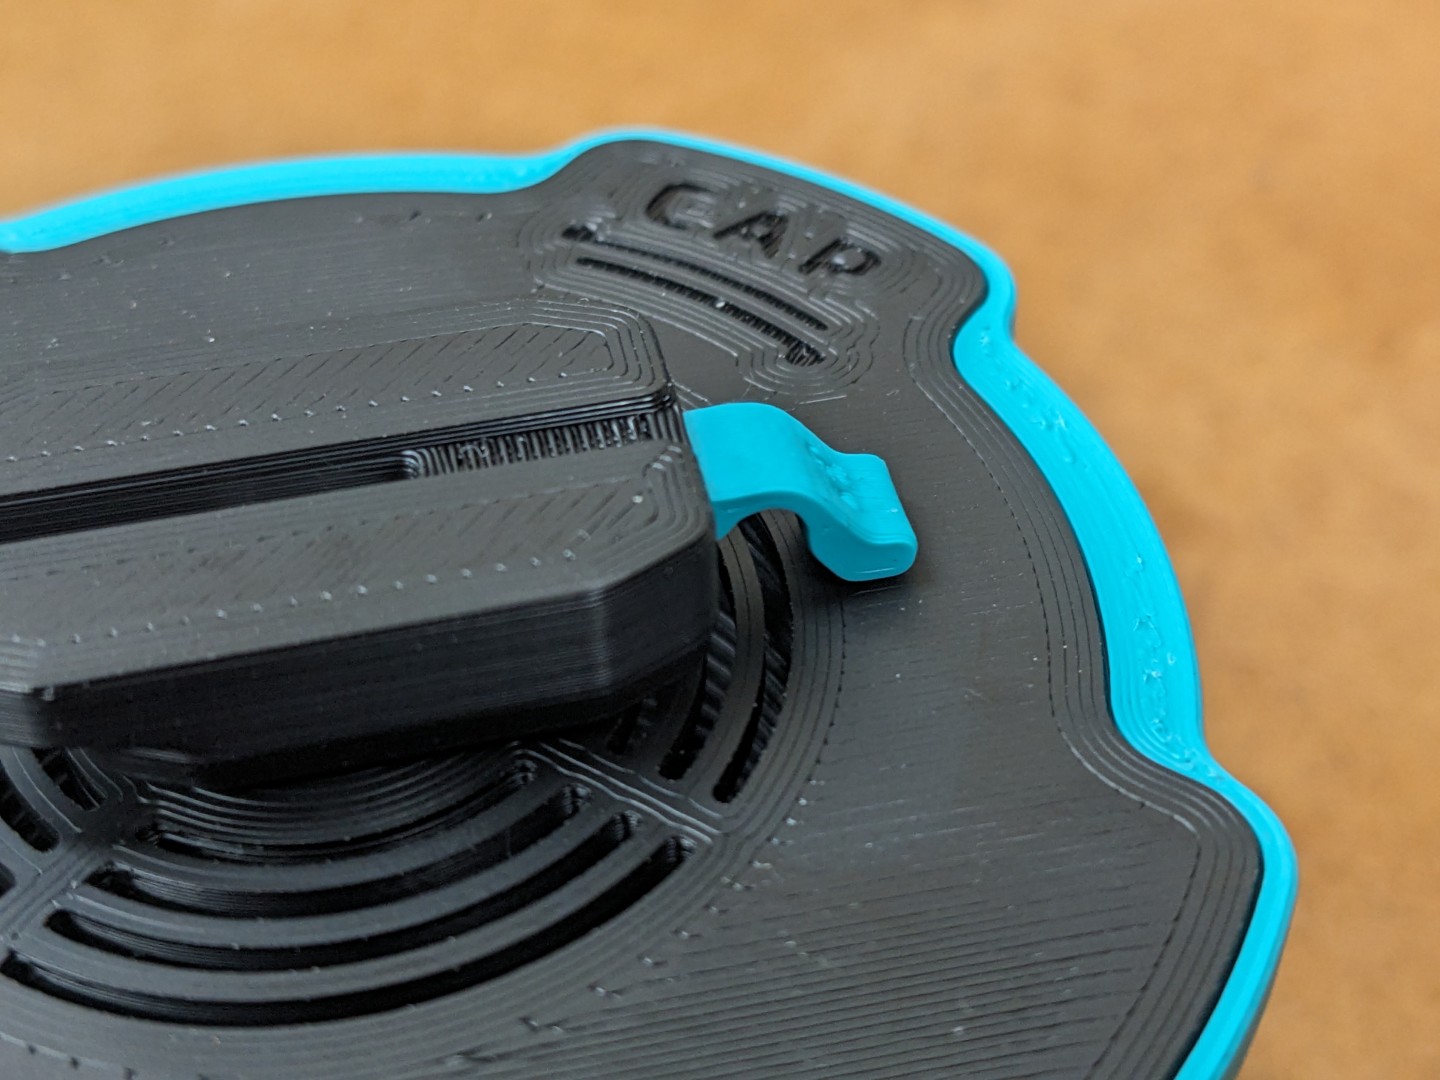
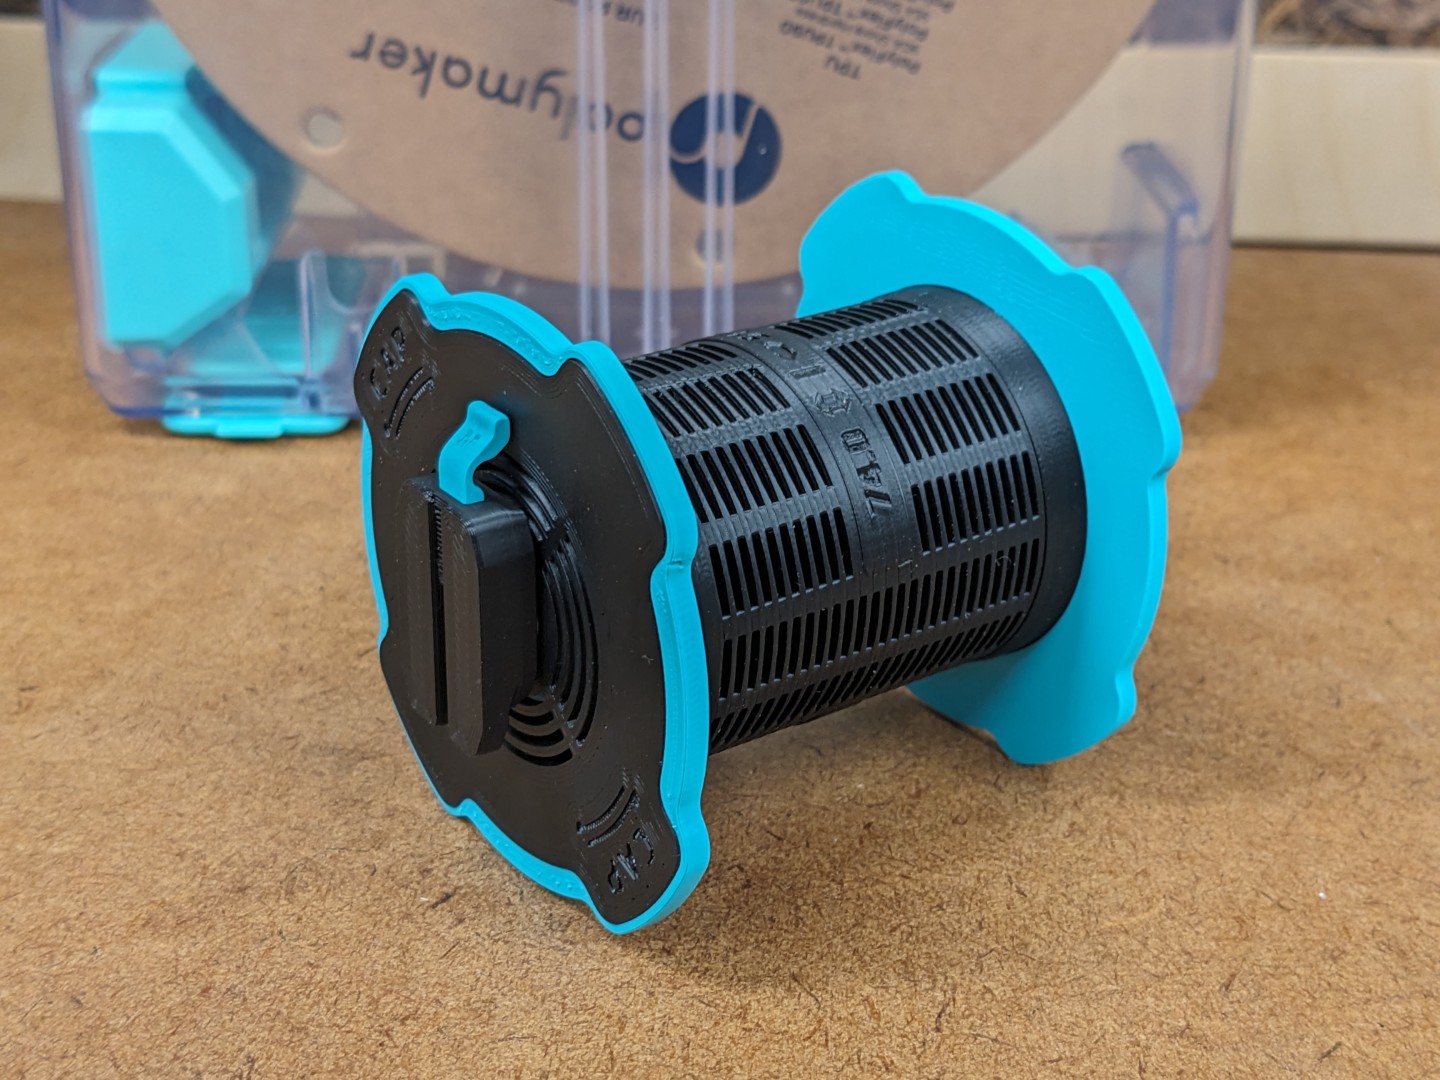
For assembly, just follow the pics: Make sure the Break is on the Cap side (not the Lock-Ring side).
 |  |  |  |  |
CAD Files and Customization
The model is made with Autodesk Fusion and it's a parametric design. So you can create all the files for your specific spool by just entering the respective values to the parameters in the “Favorites” section:
AdapterSpoolDistance: Defines the size of the adpater. If you go below 5mm, you will need to adopt the chamfer operation in the timeline.
And by the way, the “Break Plug” was just a prove of concept, and intended to be replaced by something more fancy. But it worked well so I did not spend any more work on this. But feel free to improve it and share the remix!
For Fusion 360 to be able to modify the model, you will need to install the following:
Google Font: Play
Fusion 360 Plugin to allow for parametric text values: ParametricText
👉 And don't forget: If it rolls, leave a ❤ Like. That really helps a lot to get some Prusament for awesome looking test prints when designing models to share with you! 🥳 |