
Highly Adjustable Ball Vise System
Obliczymy ostateczną cenę na podstawie wybranego pliku. Sprawdzisz ją i zaakceptujesz przed płatnością.
Zapisane na tym urządzeniu.
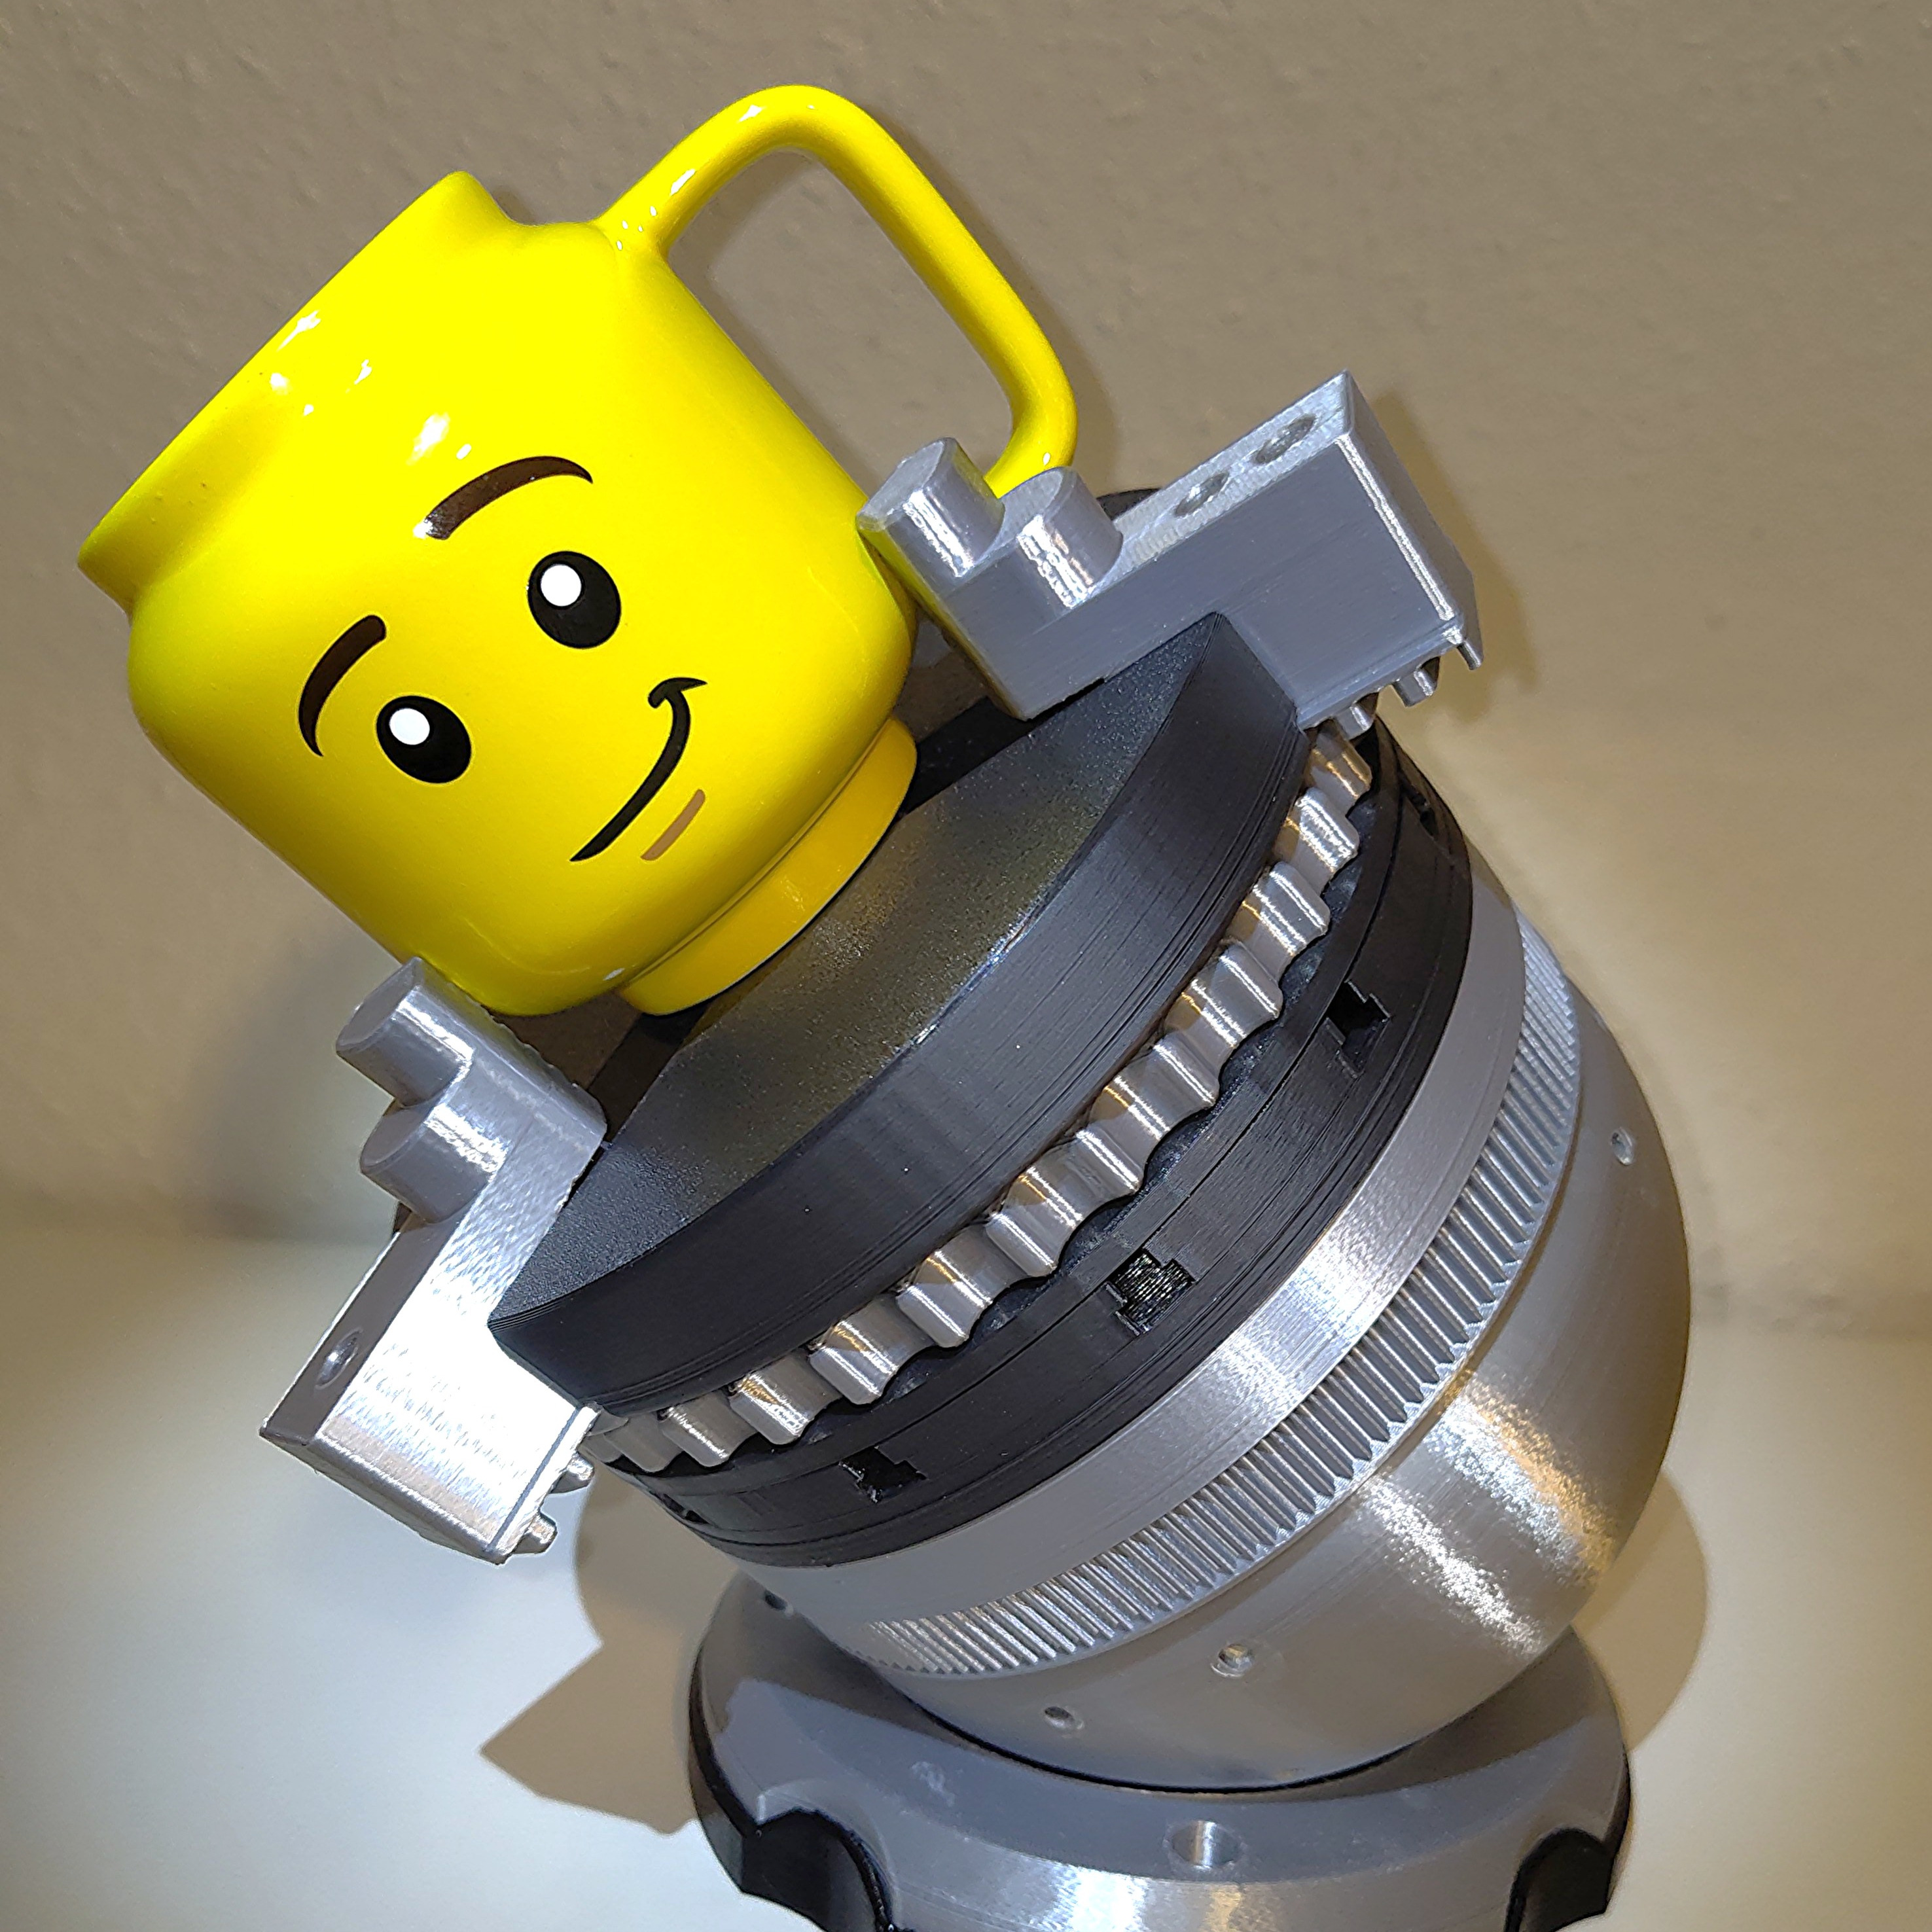
Redesigned Chris Borges Open Ball V1 from scratch with many improvements. Create and mount your own designed addons!
- Ocena
- 0 / 5
- Polubienia
- 65
- Pobrania
- 230
- Wydruki
- 0
- Wyświetlenia
- 1859
- Oceny
- 0
Aktualizacja u źródła:
Informacje o modelu
- Źródło
- Printables
- Kategoria
- Tools
- Licencja
- Creative Commons — Attribution — Noncommercial
Starting from Chris Borges amazing Open Ball V1 (Ball vise system) I redesigned it form scratch, adding some new features.
The main features of the redesign are the side mounts and the flexible mounting plate. I added green bodys so each of you can customize them with new ideas:
Adapter green body for mounting parts to the side of the ball.
When moving the ball this parts will moving in relation of the ball.

Mounting plate green body for mounting parts to the rotation ring.
When rotating the rotation ring this parts will rotate in relation of the ring.

The Three-Jaw Chuck is a remix of the model ‘round vice - 3 point clamp’ of 93djen which I redesigned for the perfect alignment. You can find it here:
https://www.printables.com/model/1113154-three-jaw-chuck-for-highly-adjustable-ball-vice-sy
Assembly guide
Needed parts

For fixing the nuts holder and the nuts M8 we need additional parts, but only temporary. After filling in the concrete this parts are no longer needed:


Nuts holders
The nuts holders are used for the option to mount custom addons like the Lego adapter to the sides of the ball.


Bearing screws

Concrete
Remember: The aim is to bring as much weight to the ball as possible. Then it stays robust even if you use it with heavy parts in almost flat angles.
Since concrete has a mass density of ~2.4 g/cm^3 (grams per cubic centimeter) and iron a density of 7.8 g/cm^3 you want to put as much iron into the ball as you can.
Fill in layer by layer
concrete
iron parts (nails, screws, …)
concrete
iron parts (nails, screws, …)
concrete
iron parts (nails, screws, …)
concrete
…
With each new layer of concrete shake the model so the concrete can run between the iron parts for getting a homogeneous mass.
finish with a concrete layer.
After 24 - 48 hours you can contiue assebmling by removing all screws.

Rotation ring
Then add the cover so no sand form the concrete can reach the bearings.

The bearings have to run in the guide rail of the rotation ring, so it is highly recomendet to remove the z-seam from the rail!


Mounting plate

Use 4 screws M4 to assemble the mounting plate to the rotation ring:

Bottom
The bottom can easily assembled:


Lego motor
The Lego adapter can be assembled with 3 screws M4:
