
Recreator 3D Lamp
Obliczymy ostateczną cenę na podstawie wybranego pliku. Sprawdzisz ją i zaakceptujesz przed płatnością.
Zapisane na tym urządzeniu.

Recreator 3D mk1 Lamp. Uses the not used parts from the Recreator. PLEASE LEAVE A COMMENT ON WHAT YOU THINK!!
- Ocena
- 0 / 5
- Polubienia
- 2
- Pobrania
- 8
- Wydruki
- 0
- Wyświetlenia
- 85
- Oceny
- 0
Aktualizacja u źródła:
Informacje o modelu
- Źródło
- Printables
- Kategoria
- Office
- Licencja
- Creative Commons — Attribution — Noncommercial — Share Alike
The build
print the necessary parts
press fit the Y axis aluminum spar in to “base 2.0”

run wires thru the center of the spar
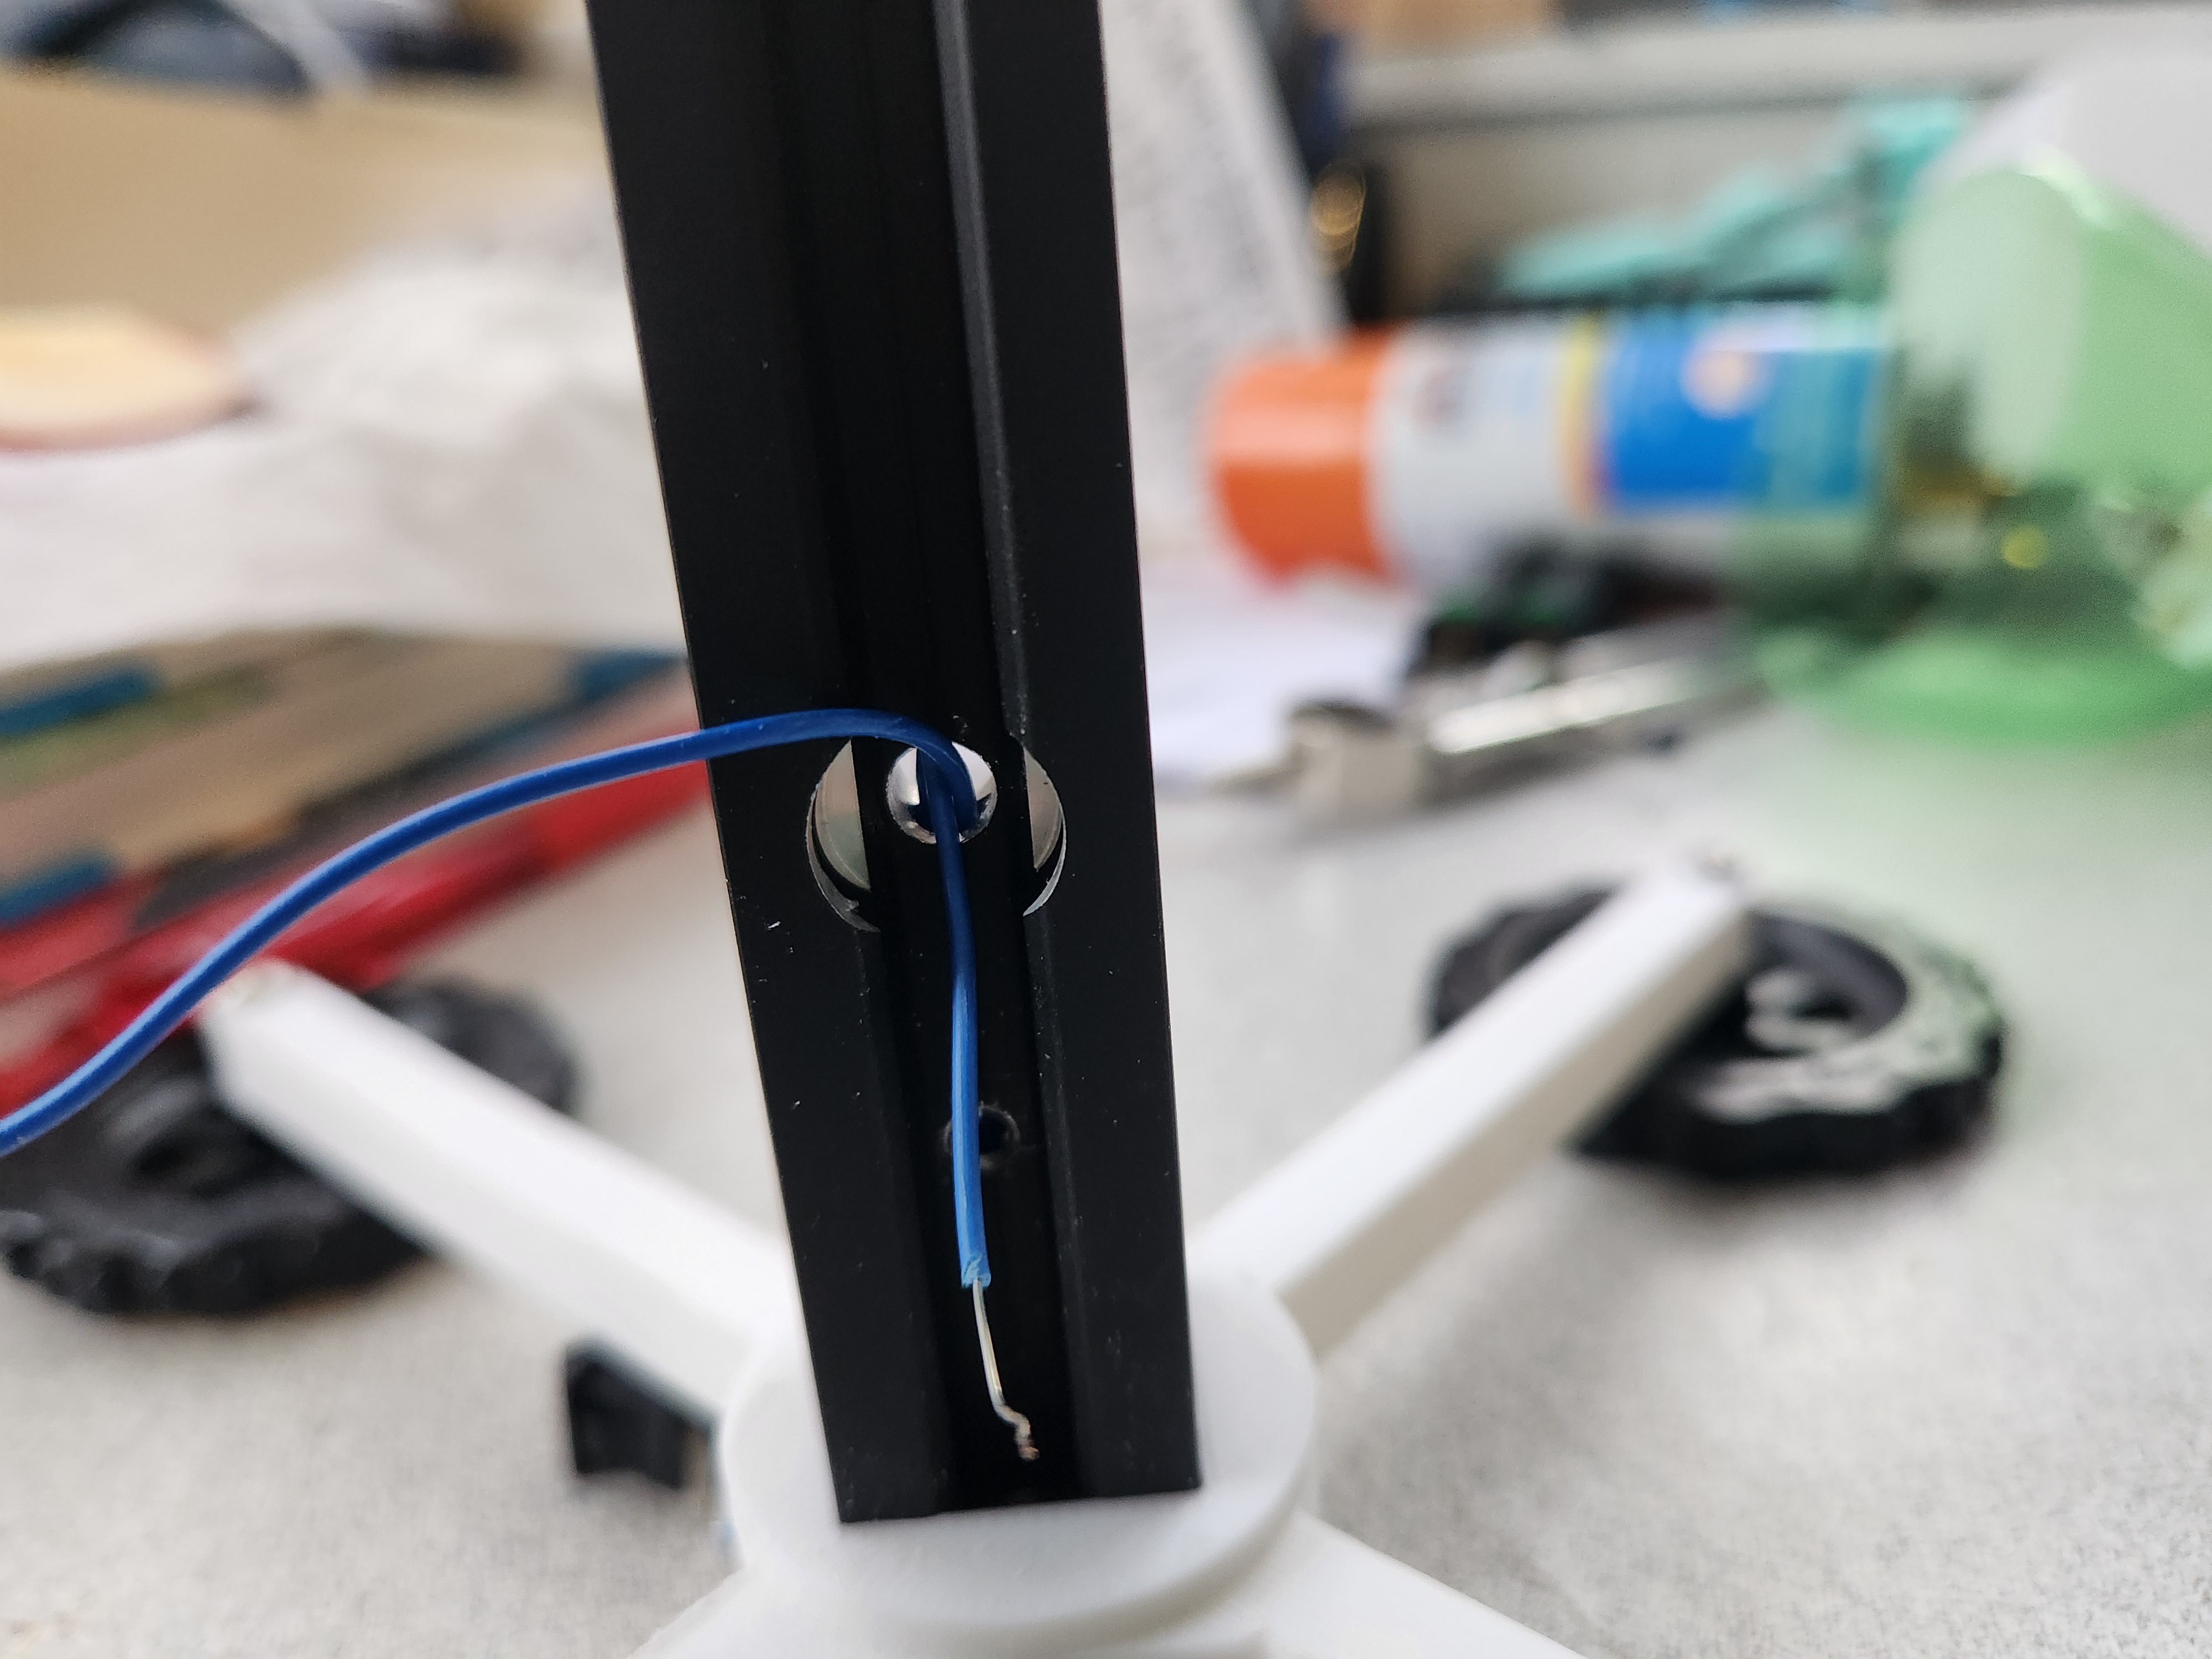
screw in a m3-16 bolt in to the base flush against the wires
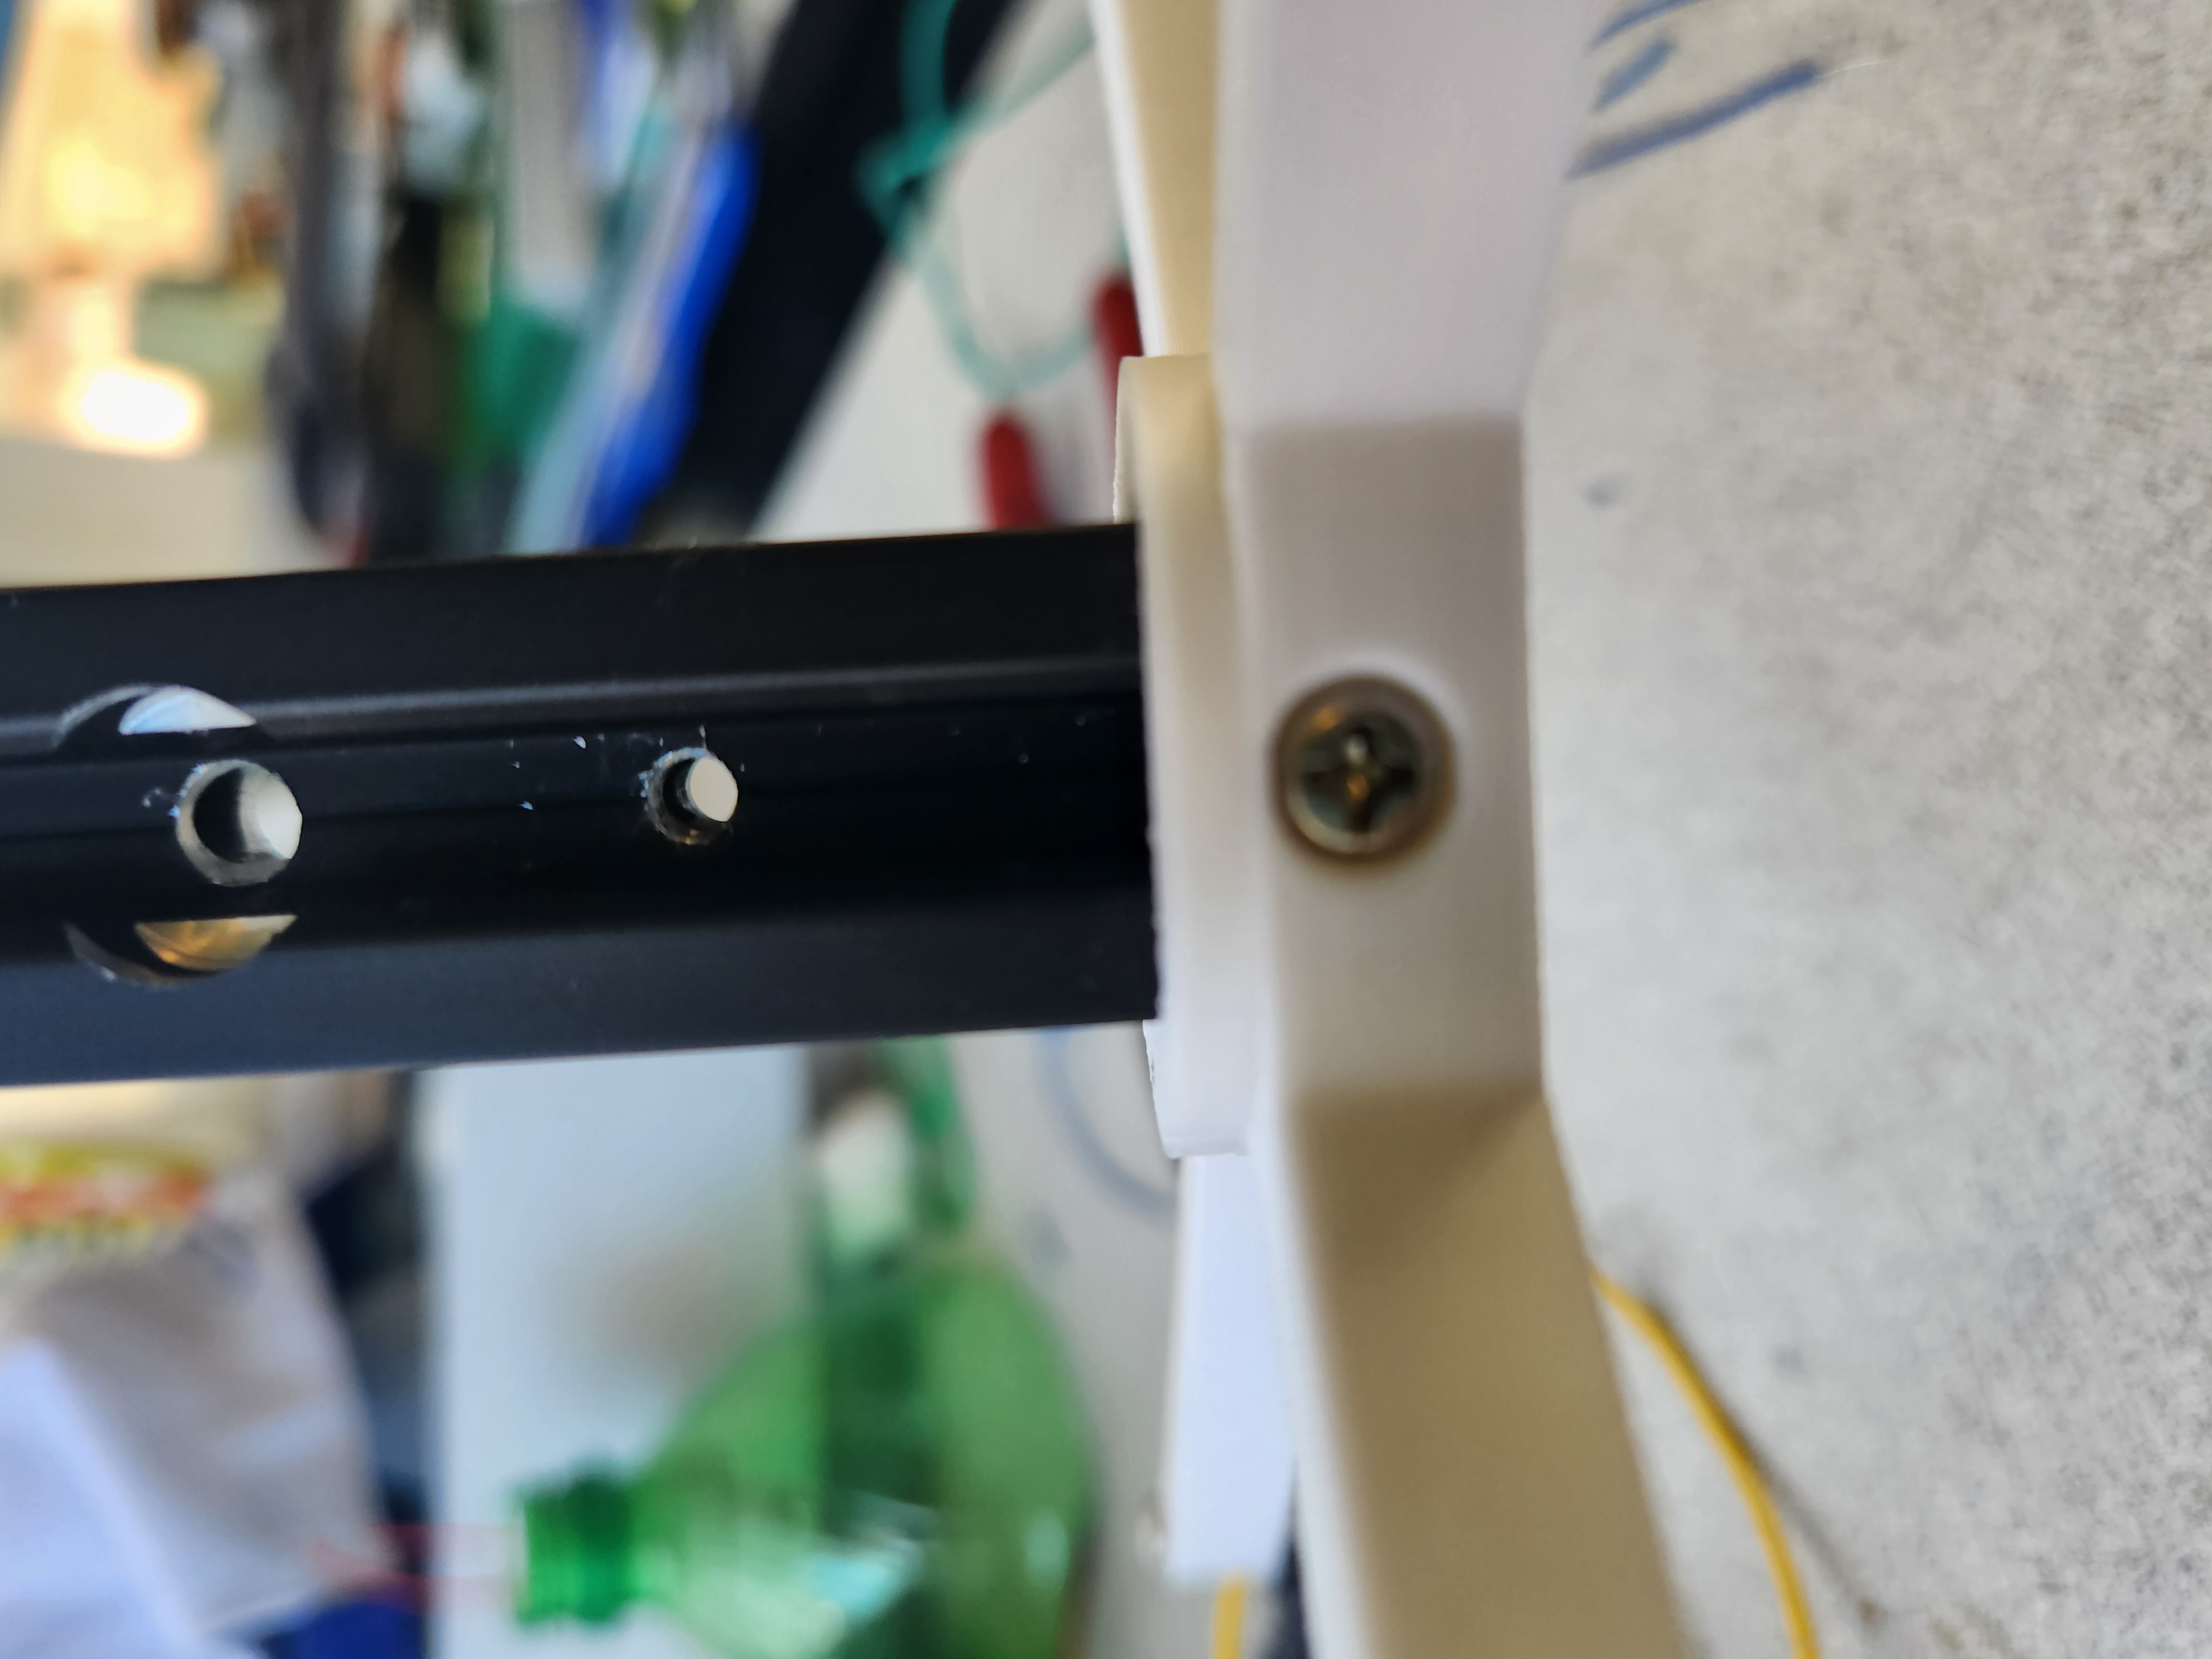
screw 4 m3-20 screws in to the base in holes

after all of the screws are in, screw on the leveling knobs on to the m3-20 screws

place some felt pads on the bottom leveling knobs


Bolt the battery pack to the back of the aluminum spar, use the same T nuts used for the recreator, link here: https://www.amazon.com/dp/B0CG4V4NBR?ref=ppx_yo2ov_dt_b_fed_asin_title&th=1 battery pack link here: https://www.amazon.com/outstanding-4-Pack-Plastic-Battery-Closing/dp/B08PCY1M8C/ref=sr_1_34?crid=XEY8GANNVJRY&dib=eyJ2IjoiMSJ9.mw-bnOaOq_0N2ji7hTaOdLa_fWbp8T4BnABS-boF-QCMKOe3ZjTxzOZTo98ZpJeYx-nKhpJObbQ96KpVWv_8D2QldeKxChP-DcRL7gRG9CsC7KeWiFXG-A-kg-J3v488xg5JEldFj7ElgyAfZuYSRPAODuLvD1Z8DTUktruw6xFNx7thqsrZsbCxeap74PVyp-Icydr5AIcC7btrHzAptcEa2awJTQ1gT5KTlwsUuco.c5NHNgyMAjKjPnWC4yP4wU4SXUeFDdo9qxGpPinVWDo&dib_tag=se&keywords=2aa+battery+holder&qid=1737844166&sprefix=2aa+battery+holder%2Caps%2C96&sr=8-34&xpid=BhL4OzIqSptlD I cut off the little lever so it did not stick out so much.
also I just put a piece of electrical tape down the back of the aluminum spar

I got most of the items from this stem kit the like the wire, lights, switch link here: https://www.amazon.com/gp/product/B086WCVB12/ref=ppx_yo_dt_b_search_asin_title?ie=UTF8&th=1 first attached the wires to the light bulb holder I glued in the light bulb holder to the cut in half PET bottle.

Attach the wires to the light stand. Next, glue the light stand to the top of the PET bottle.
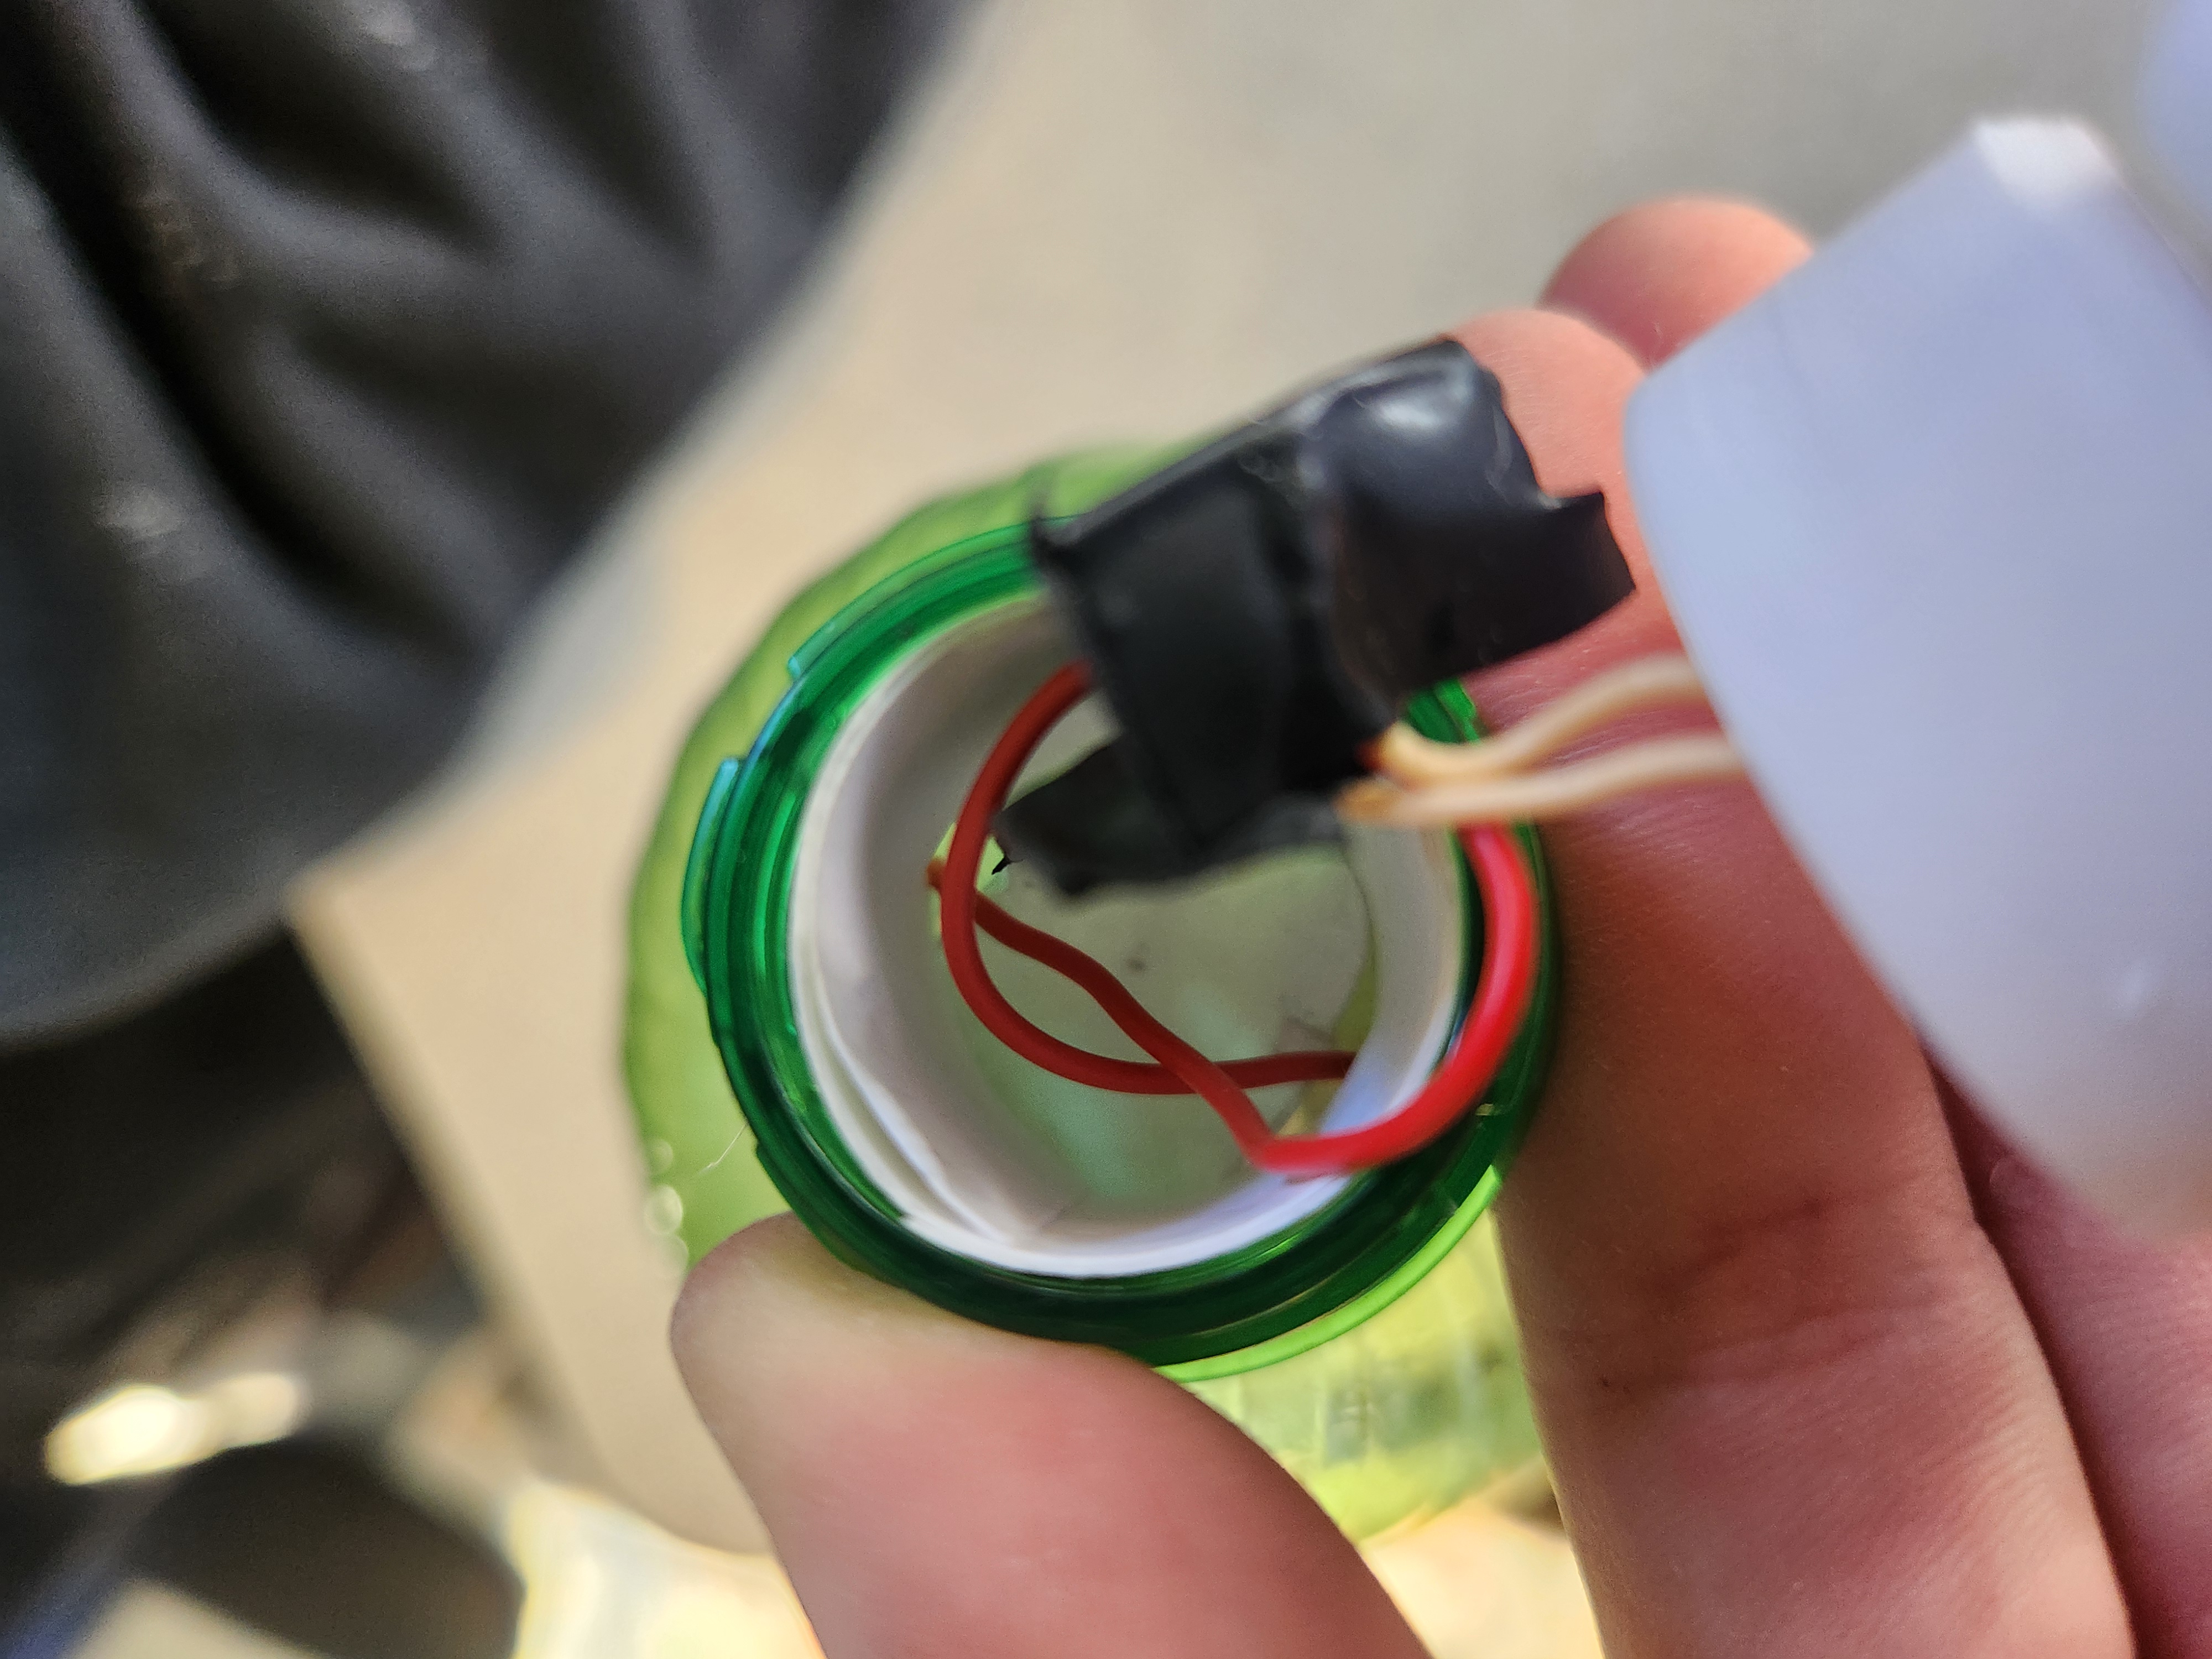
Pull the wires thru the top of the bottle. Next run two wires thru the lamp shade adjuster you might need tweezers and a small screw driver.

Next screw in the PET Bottle cap with M1-2. Note that you might need to drill out the holes a bit.

PLEASE LEAVE A COMMENT ON WHAT YOU THINK AND IF YOU HAVE ANY QUESTIONS