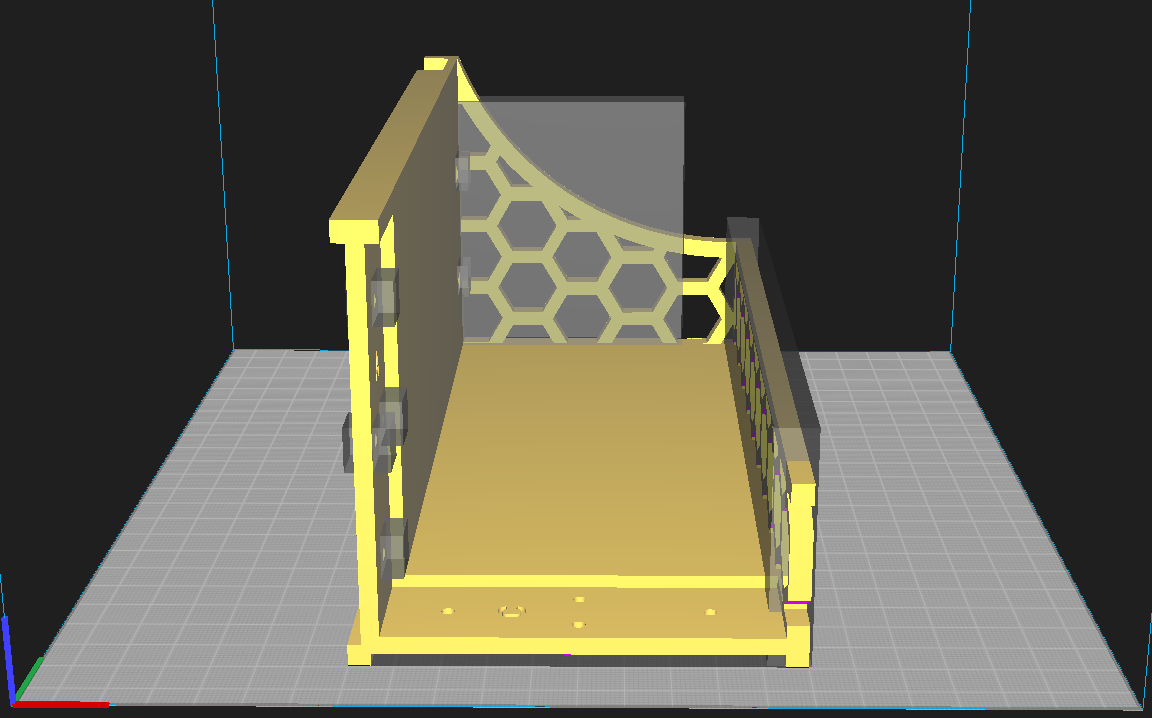
Extendable hanging shelf for Ikea Bruksvara wardrobe
Obliczymy ostateczną cenę na podstawie wybranego pliku. Sprawdzisz ją i zaakceptujesz przed płatnością.
Zapisane na tym urządzeniu.
Informacje o modelu
- Źródło
- Printables
- Kategoria
- Organizers
- Licencja
- Creative Commons — Attribution
I present to you the Extendable Hanging Shelf project. The project was originally designed to hang on the Ikea BRUKSVARA wardrobe, but you can probably hang it on other wardrobes as well. The assembly is simple. You will need countersunk M3 screws and M3 nuts. The whole shelf consists of two assemblies: the holding arm assembly and the shelf assembly. If you want to have more levels of the shelf simply print another holder extension and connect it with already printed holder extension.
I printed everything with Sunlu PLA+, but I believe that any other strong filament will work. I recommend using PETG.
ARM ASSEMBLY
To assemble the arms, you will need to print arm_holder_1.stl and arm_holder_extension.stl. These parts have hexagonal inserts for M3 nuts. To connect the parts, use a countersunk M3 screw with a maximum length of 20mm (including the head of the screw). After that, you'll have a complete arm assembly ready to be mounted.
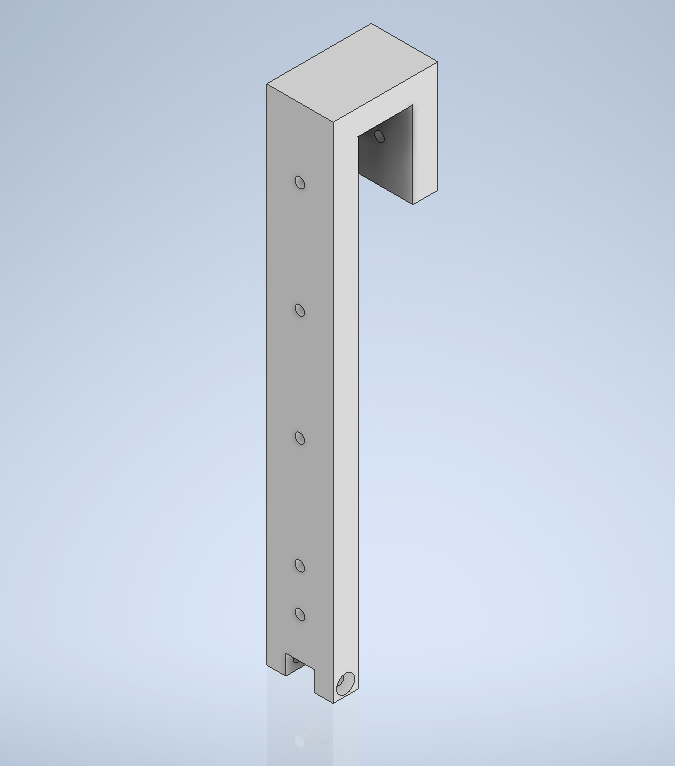
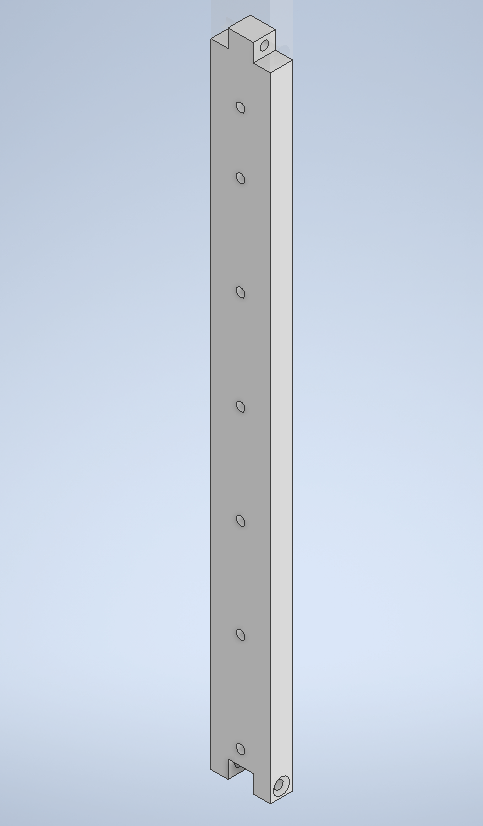
The hexagonal inserts must be used to connect the shelf with the arm.
SHELF ASSEMBLY
To assemble the shelf, you will need connectors with "A," "B," "C," and "D" written on them. The shelf is divided into two parts for printers with a smaller print volume. Insert M3 nuts into Connector D and Connector B. After that, place each connector A, B, C, and D on shelf_part1 and part2 so that the letters are facing each other (for example, Connector A should face the area where "A" is labeled on the shelf part). Then, using countersunk M3 screws, secure everything together until the M3 nuts are tightened, ensuring that everything holds securely.
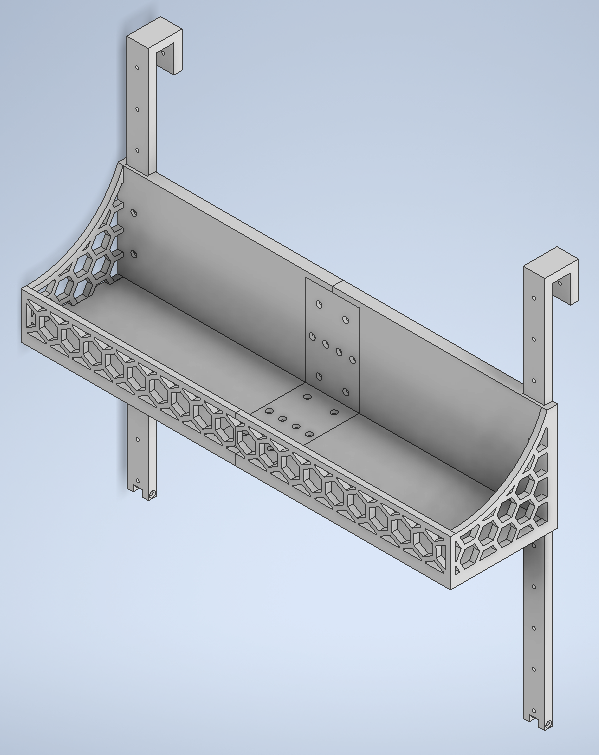
When the whole shelf is assembled, you will need 4 countersunk M3 screws with a maximum length of 10 mm. For each connector with nut inserts, there are 8 M3 nuts, so for 1 complete shelf, there are 16 M3 nuts, 16 M3 screws, plus 4 M3 nuts and 4 M3 screws to connect the shelf to the arms.
I hope you enjoy the project.
NOTE
Remember about the orientation of the prints on the build plate to optimize and increase the strenght of the print so for arm assembly i recomend to put it like this:
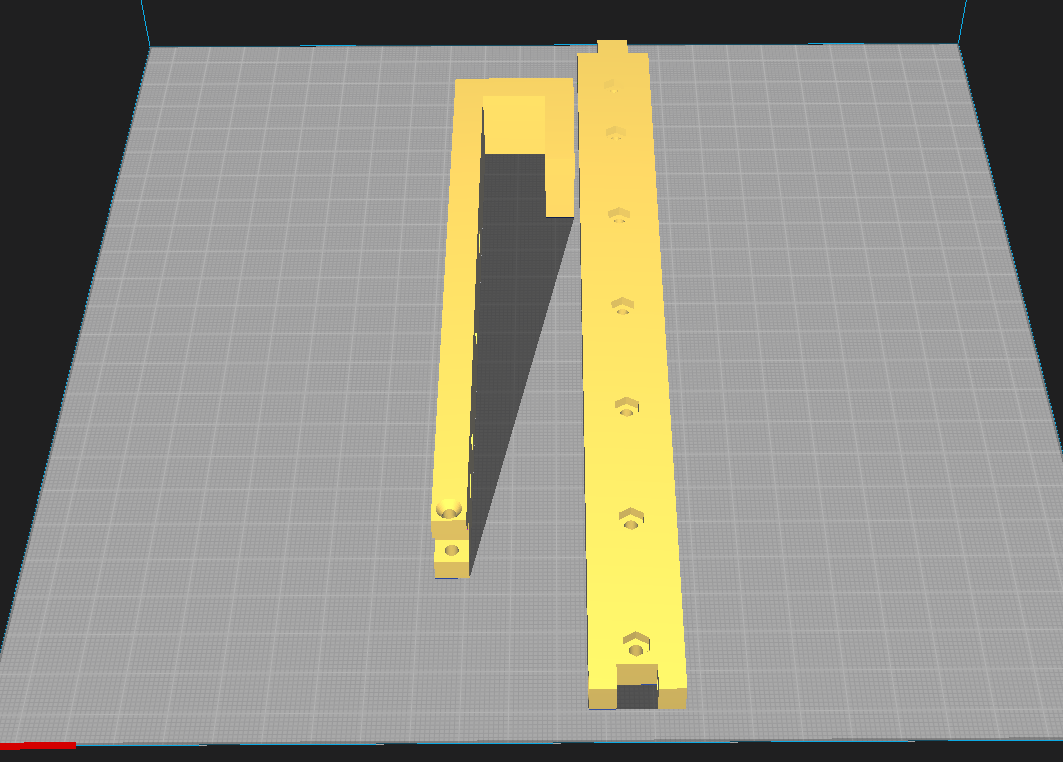
I strongly recommend turning the supports off with support blocker for hexagonal pattern of the shelf part1 and part2