
Corsair TITAN AIO Clock Mod
Obliczymy ostateczną cenę na podstawie wybranego pliku. Sprawdzisz ją i zaakceptujesz przed płatnością.
Zapisane na tym urządzeniu.

Working TITAN AIO clock mod with engraved MMU & embossed non-MMU faces + printable hands.
- Ocena
- 0 / 5
- Polubienia
- 5
- Pobrania
- 16
- Wydruki
- 0
- Wyświetlenia
- 187
- Oceny
- 0
Aktualizacja u źródła:
Informacje o modelu
- Źródło
- Printables
- Kategoria
- Computers
- Licencja
- Creative Commons — Attribution — Noncommercial — Share Alike
Description
Turn your Corsair TITAN AIO cooler into a fully functional desk clock — and a bold centerpiece for your PC.
This snap-on mod replaces the pump cap with a custom enclosure that fits a standard quartz clock mechanism. Several interchangeable dial designs are included (MMU and non-MMU versions), allowing you to choose between minimal, modern, or stylized looks that match your build. Printable clock hands for hour, minute, and second are also included.
Whether you're after sleek precision or something playful, this mod brings function and flair to your cooler.
What You Need
Quartz clock movement similar to this one → https://amzn.eu/d/ccWPHg1
1x AA battery
Printing
The download area contains MMU and SingleColor prints. With MMU prints, the accents on the dials can be colored in using intelligent filling. With SingleColor prints, the same accents are carried through the cap and must be colored in from behind using a color plate.
The clock hands also feature recessed design elements that can be colored.
Glow-in-the-dark filament can be used here ;).
*All dials | |
 | |
| Material | PLA |
| Nozzle | 0.40mm |
| Layer Height | 0.10mm |
| Infill | 15% |
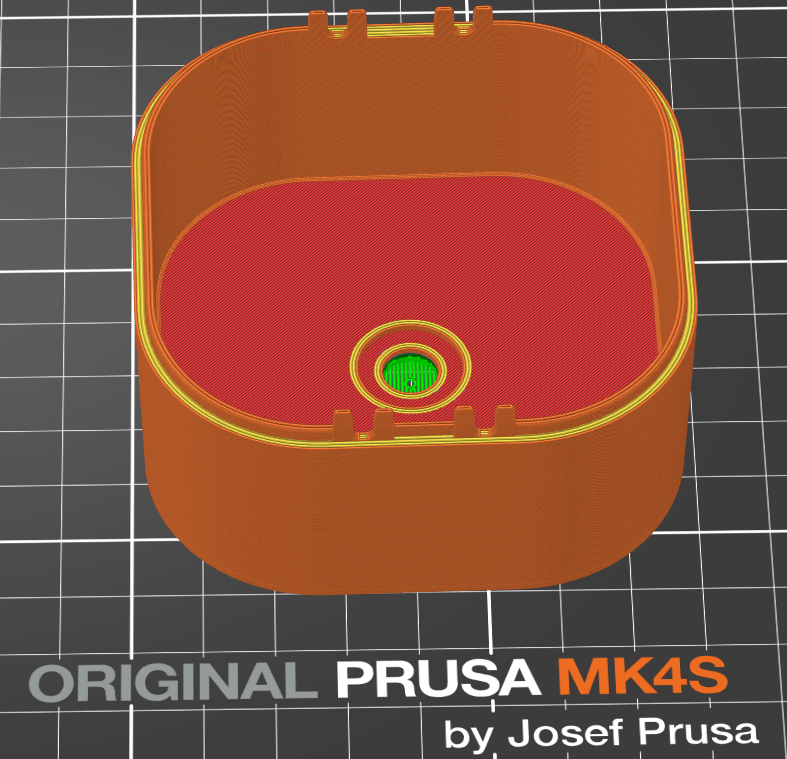
| Supports | Yes, but only for the mounting ring in the center |
| Brim | No |
| Print Orientation | Faceside down |
Clock hands | |
 | |
| Material | PLA |
| Nozzle | 0.40mm |
| Layer Height | 0.10mm |
| Infill | 100% |
| Supports | No |
| Brim | No |
| Print Orientation | Normal |
Color plate | |
 | |
| Material | PLA |
| Nozzle | 0.40mm |
| Layer Height | 0.10mm |
| Infill | 100% |
| Supports | No |
| Brim | No |
| Print Orientation | Normal |
Assembly

- Insert the battery into the movement.
- Insert the movement into the dial.
- Place the washer on the clock thread from the other side.
- Tighten and secure with the nut.
- Then place the hour hand on the axle.
- Then place the minute hand on the axle.
- Finally, insert the second hand with the pin into the second hand hole.
- Set the clock and attach it to the AIO, done :)