
Magnetic Building Blocks
Obliczymy ostateczną cenę na podstawie wybranego pliku. Sprawdzisz ją i zaakceptujesz przed płatnością.
Zapisane na tym urządzeniu.
Play-tested magnetic building blocks in various shapes (not only ;-)) for kids
- Ocena
- 0 / 5
- Polubienia
- 3
- Wydruki
- 0
- Wyświetlenia
- 224
- Oceny
- 0
Aktualizacja u źródła:
Informacje o modelu
- Źródło
- Printables
- Kategoria
- Building Toys
- Licencja
- Standard Digital File License
Building blocks for kids for promoting creativity, motor skills, and visual thinking. With these building blocks, you can build towers, houses, robots, animals, cars, etc.
Dimensions
The base cube “cube-1x1” has a side length of 4cm. All parts except the base plate-5x4 require cubic magnets with dimensions 5mm x 5mm x 5mm (slightly bigger or smaller will also work).
Hardware
There is no extra hardware required except magnets! Buy the cheapest you can find, because you will need quite a few ;-) Make sure to buy Neodymium magnets if you want strong magnetic attraction between the blocks.
For the number and types of magnets see below in “Parts Overview”.
Printing instructions
I used PLA for all parts and printed them with a 0.4mm nozzle at a layer height of 0.2mm. Two perimeters are usually enough (except for bright colors, where 3 perimeters might be beneficial so that the parts are less see-through). Use 5% - 10% infill. I often used 6% infill, because with anything less than 6% the magnet holes sometimes weren't reinforced too well (that will depend on the infill pattern and on your slicer). More details see below in “Parts Overview”.
You will have to add a pause in your slicer in order to be able to insert the magnets! Note that the holes for the magnets are intentionally designed to be bigger than the magnets. That way, the magnets can rotate freely inside the holes, and they automatically lock in with the right orientation as soon as the two parts are held close enough.
Parts Overview
You will need to buy the following number of magnets for each of the following parts:
cube-1x1  | 6 magnets 5x5x5mm Pause the print 3 times. I printed this in beige with 2 perimeters and 6% infill. |
cube-2x1 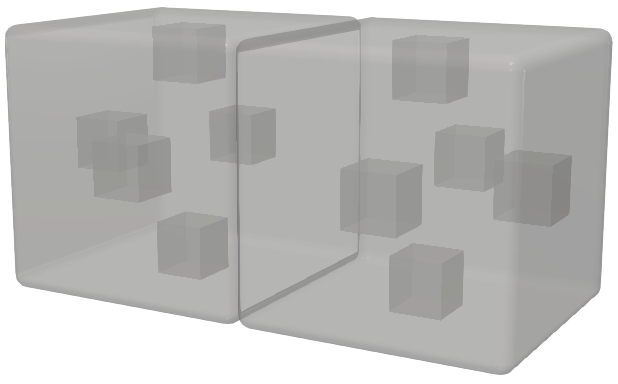 | 10 magnets 5x5x5mm Pause the print 3 times. I printed this in gray with 2 perimeters and 6% infill. I used fuzzy skin for the outer perimeters in order to create a nice “wall-effect”. |
arc-1x1  | 5 magnets 5x5x5mm Pause the print 3 times. I printed this in white with 3 perimeters (to prevent shine-through of infill pattern) and 6% infill. |
triangle-1x1 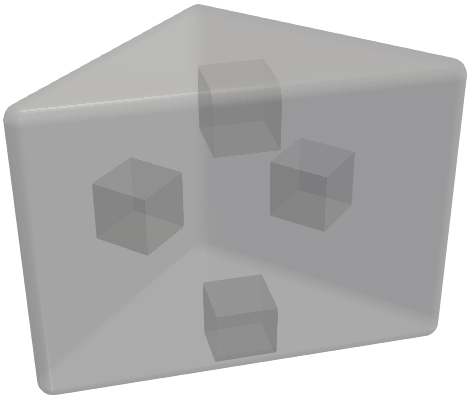 | 4 magnets 5x5x5mm Pause the print 3 times. I printed this in red (so that it can be used for the roof of a house) with 2 perimeters and 5% infill. |
trianglecorner-1x1  | 3 magnets 5x5x5mm Pause the print 2 times. Note that only the bottom hole is horizontal. For the other two holes, you will have to pause the print at about ¾ of their height in order to be able to insert the magnets. I printed this in red with 2 perimeters and 5% infill. |
quarterarc-1x1 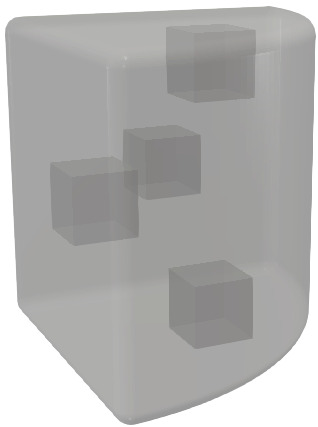 | 4 magnets 5x5x5mm Pause the print 3 times. I printed this in yellow with 3 perimeters (to avoid shine-through of infill pattern) and 4% infill. |
quartersphere-1x1 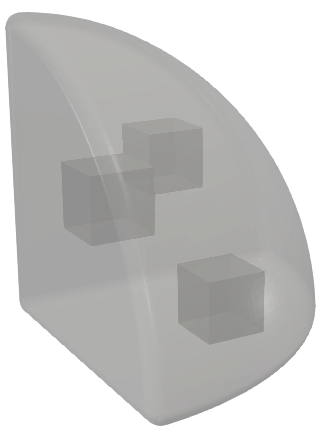 | 3 magnets 5x5x5mm Pause the print 2 times. I printed this in yellow with 3 perimeters and 5% infill. |
pillar-1x2 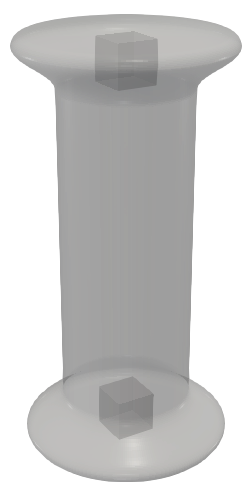 | 2 magnets 5x5x5mm Pause the print 2 times. I printed this with a 3-color-filament using 2 perimeters and 6% infill. |
plate-5x4 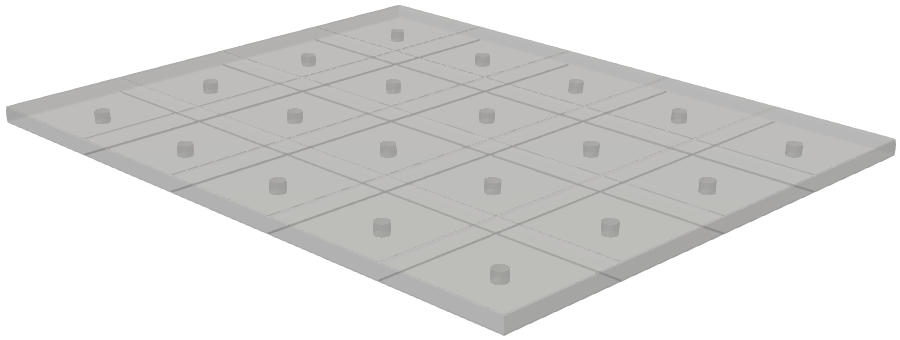 | 20 round magnets 4x3mm (diameter x height) Pause the print once. Make sure to insert all magnets using the same orientation. That way, if you have two plates, they can be attached to each other (These magnets do do not rotate inside!) I printed this in black with 2 perimeters and 15% infill. |