different housings for GaggiMate LilyGo S3 AMOLED 1.75 inch, smthng housing 4
Obliczymy ostateczną cenę na podstawie wybranego pliku. Sprawdzisz ją i zaakceptujesz przed płatnością.
Zapisane na tym urządzeniu.

Minimalist housings for the LilyGo T-Display-S3-AMOLED-1.75 and GaggiMate
- Ocena
- 0 / 5
- Polubienia
- 25
- Pobrania
- 592
- Wydruki
- 0
- Wyświetlenia
- 4062
- Oceny
- 0
Aktualizacja u źródła:
Informacje o modelu
- Źródło
- Printables
- Kategoria
- Other Ideas
- Licencja
- Creative Commons — Attribution — Noncommercial
All smthng display housings for GaggiMate: https://www.printables.com/@dubios42/collections/2861668
Support my work: https://ko-fi.com/modsmthng
Latest update (12 June 2026): Reduced the screw hole diameters, increased the wall thickness around the screw holes, and raised the stabilizing rib for a more secure and stable fit. Additional clearance has also been added around the flat display cables to improve cable routing and reduce mechanical stress. Reworked variation 3.
I have created various housings, which you can find here. The first two are the easiest to modify.
Var0: simple housing
Var1: with hole for plug
Var2: top mount for Gaggia Classic and Rancilio Silvia
Var3: same as variation 1, but with slanted bottom so that the display can be used as front mount, for example
Var4: Top mount with more centered seating, slightly more difficult installation
Two small electronic screws, 1.2 - 1.4 mm x 4 to 5 mm, should be used; further information can be found in the attached PDF.
Please note that I only provide the housing and do not provide instructions for wiring. The information provided here is only a suggestion; please check everything yourself.
All additional information you need can be found in the PDF in the files.
Print with 0.12mm layers or use variable layer height for the best result
Use "detect thin walls", or"Arachne" as wall generator
Print Var 2 and Var 4 on the slanted bottom
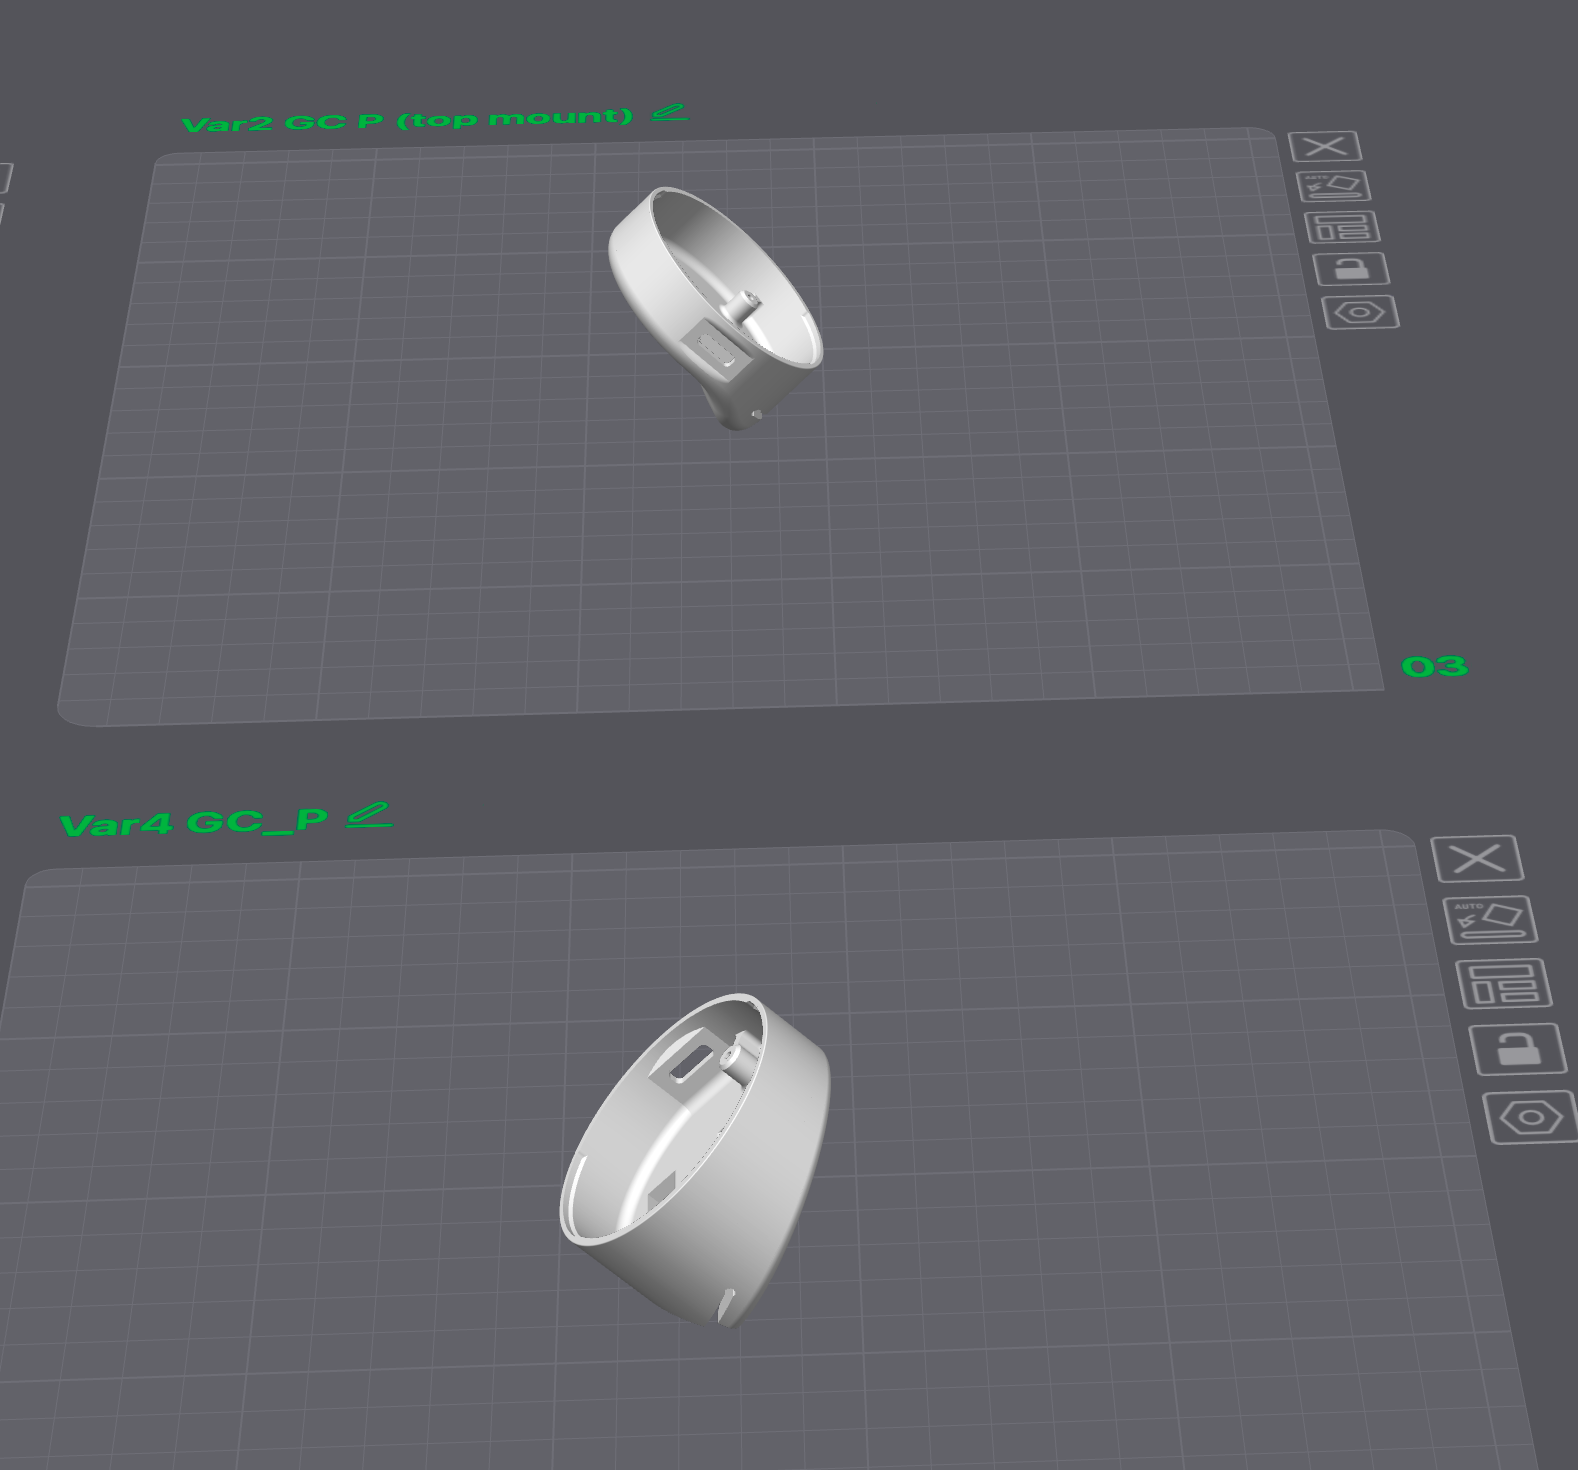
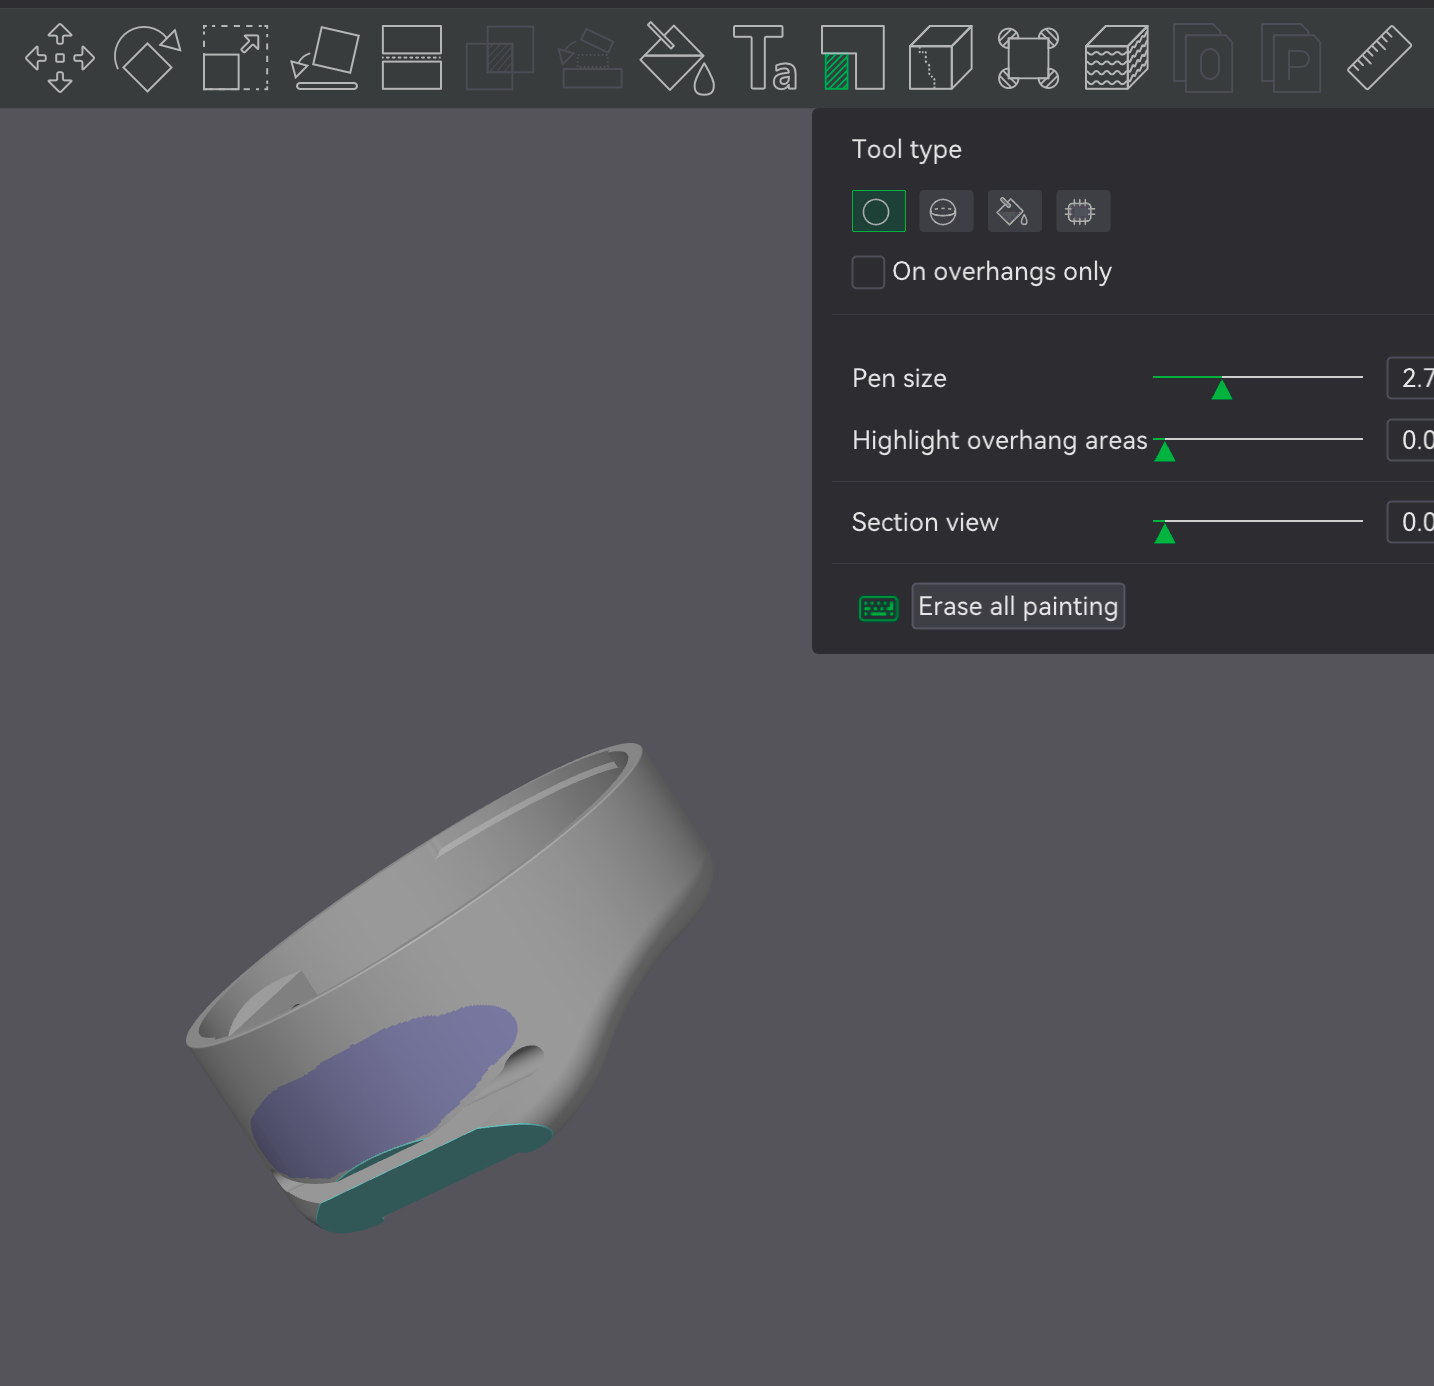
Optional: use support, brims and/or glue, if you have problems with adhesion:
Use painted support for Var 2 and auto support for Var 4 housings if you have adhesive problems