
Finger Scooter Street Version
Obliczymy ostateczną cenę na podstawie wybranego pliku. Sprawdzisz ją i zaakceptujesz przed płatnością.
Zapisane na tym urządzeniu.

The second "street" version of finger scooter, which was built based on community recommendations.
- Ocena
- 4 / 5
- Polubienia
- 17
- Pobrania
- 548
- Wydruki
- 1
- Wyświetlenia
- 1241
- Oceny
- 1
Aktualizacja u źródła:
Informacje o modelu
- Źródło
- Printables
- Kategoria
- Mechanical Parts
- Licencja
- Standard Digital File License
This finger scooter is the second street version, which was built based on community recommendations. It’s light, durable, and great for play or display. After creating the best 3d printed finger scooter, I wanted to make it even better, so I made changes to make it easier to assemble, print, and feel more satisfying. The best upgrade compared to the previous version and based on community recommendations is that now you can use regular PLA filament instead of nails for axis.
All the updates that were made to the new street version:
Extended deck and sculpted for maximum grip
Enlarged fork to look nicer and be stronger
The wheels have a place to attach a rubber strip
Instead of nails, you can use regular filament for axis
Now it can be assembled more easily without using glue
An extra grip has been added to the handles
Notice for professional riders:
It is highly recommended to print the scooter with PETG filament
Printing the deck as light as possible to compensate balance
Gluing all connections
Putting foam strip as griptape
Lightly sand the deck and fork rotating parts
ASSEMBLY
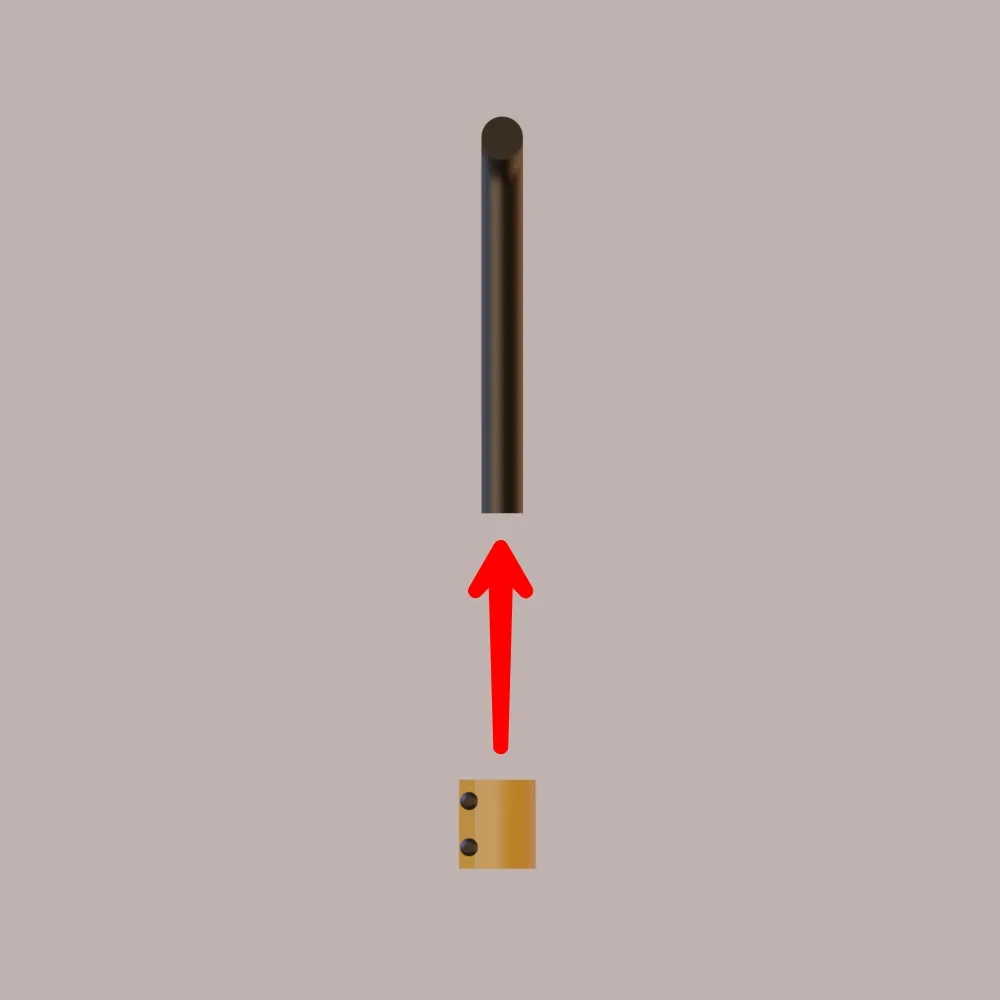
Slide the clamp into the handlebars
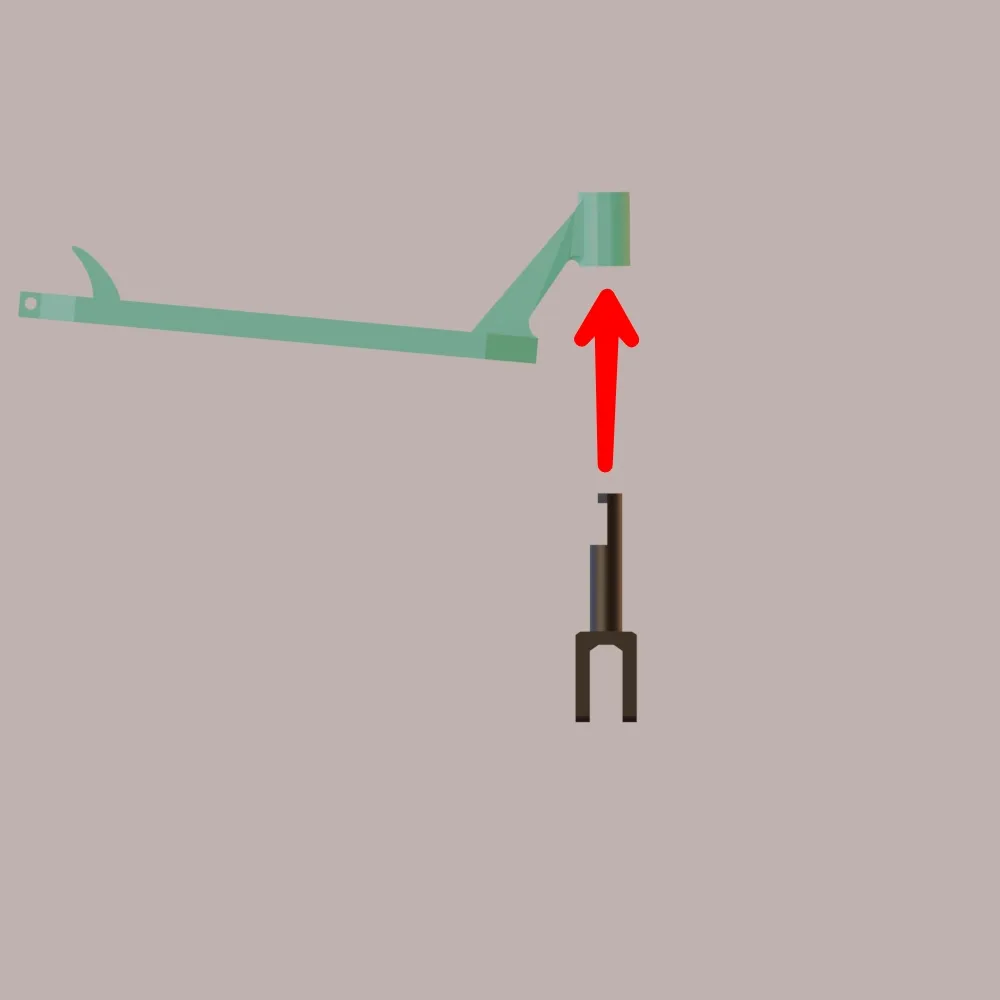
Insert the fork into the deck (it is recommended to rub the fork lightly with sandpaper before this for better rotation)
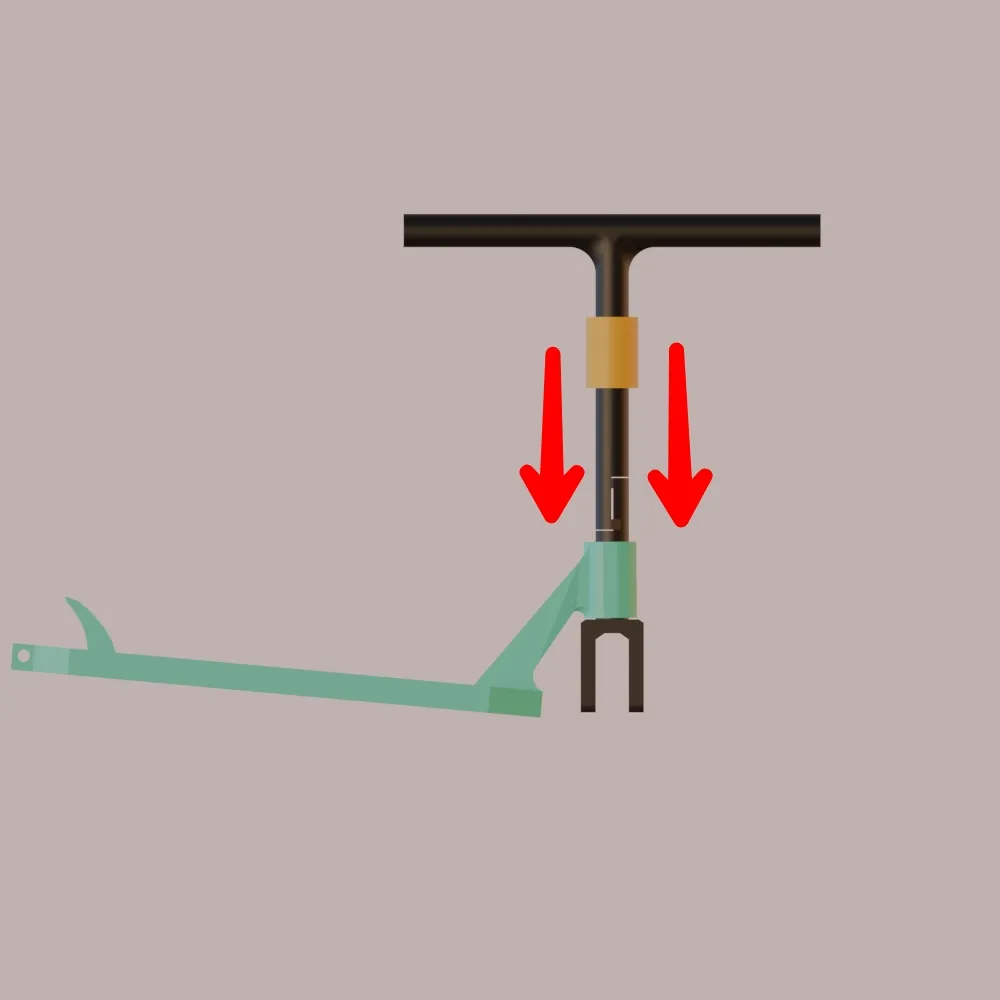
Connect the handlebar to the fork at the connection point

Slide back the clamp on place
Attach the handles and insert the wheels (to secure them in place you can use basic filament)
You can also attach a rubber strip to the wheels, for better adhesion to the ground, but if this is not necessary, you can print another version of the wheels without rubber.
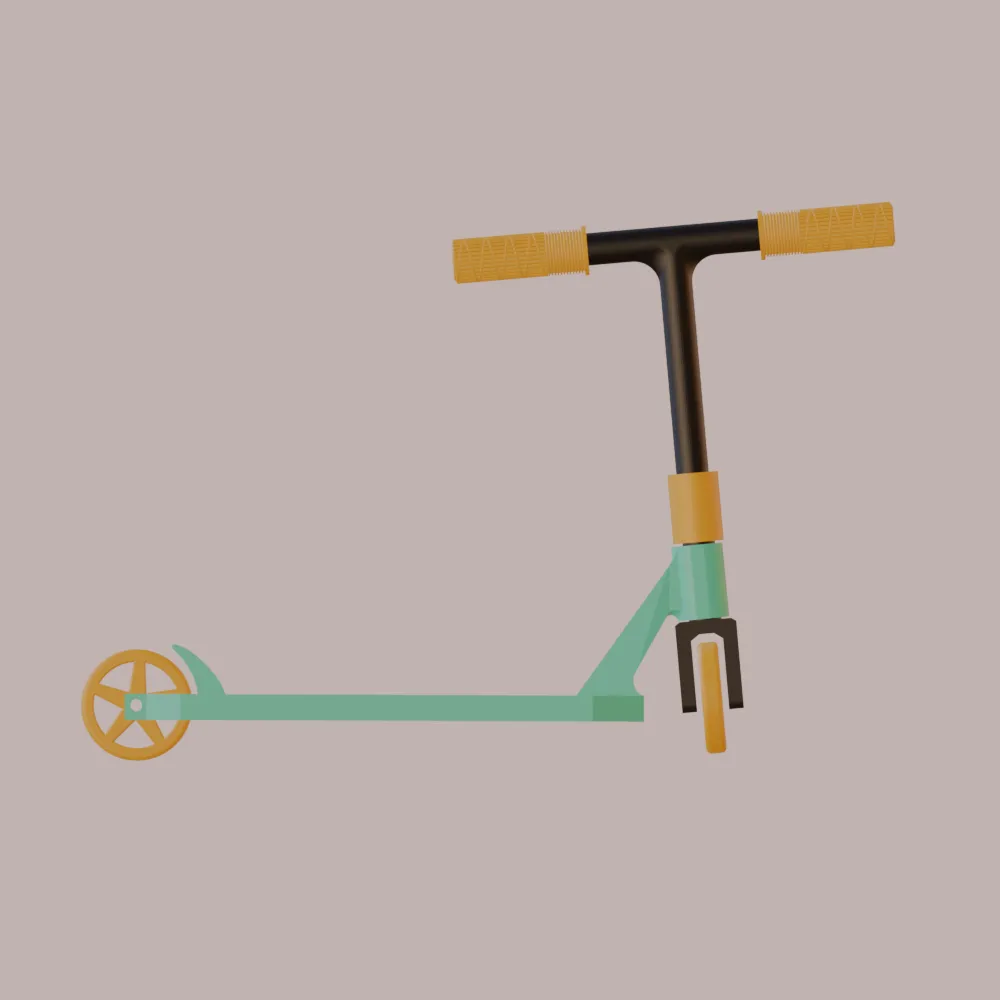
Once the scooter is assembled learn cool tricks and share your experience with your own 3D printed scooter!