
ExoBass - Core - Standard
Obliczymy ostateczną cenę na podstawie wybranego pliku. Sprawdzisz ją i zaakceptujesz przed płatnością.
Zapisane na tym urządzeniu.

3D printed bass part — full catalog, build planner, and assembly guides at https://exobass.com
- Ocena
- 0 / 5
- Polubienia
- 2
- Pobrania
- 7
- Wydruki
- 0
- Wyświetlenia
- 72
- Oceny
- 0
Aktualizacja u źródła:
Informacje o modelu
- Źródło
- Printables
- Kategoria
- Music
- Licencja
- Creative Commons — Attribution — Noncommercial — Share Alike
Part of the ExoBass project — full catalog, build planner, and assembly guides at https://exobass.com
Plan Your Build & Get Hardware
ExoBass can be confusing! Head over to our build planner to plan your entire build - it'll walk you through every available part and handle compatibility along the way, and it covers all ExoBass parts. It's also the best way to get hardware, since it lets you buy everything for a full build in one go, not just this part.
You can find this specific part, ExoBass - Core - Standard, on our site.
Step 1: Heat Set Inserts
ℹ️ Heat Set Inserts must be inserted with a Soldering Iron.

Insert 4x M4 Heat Set Inserts and 1x M5 Heat Set Insert into the holes on the BOTTOM of the bridge.
ℹ️ These are so that the ball-end strings are pressing against metal and not plastic so they hold their tune longer.
⚠️ Be careful to not melt the inside of the bridge too much when putting these in. Work quickly so heat doesn't build up and if you HAVE to melt one side, try to melt the side facing the back.
Step 2: Assemble Tension Adjuster
Step 2a: Insert Metal Plate
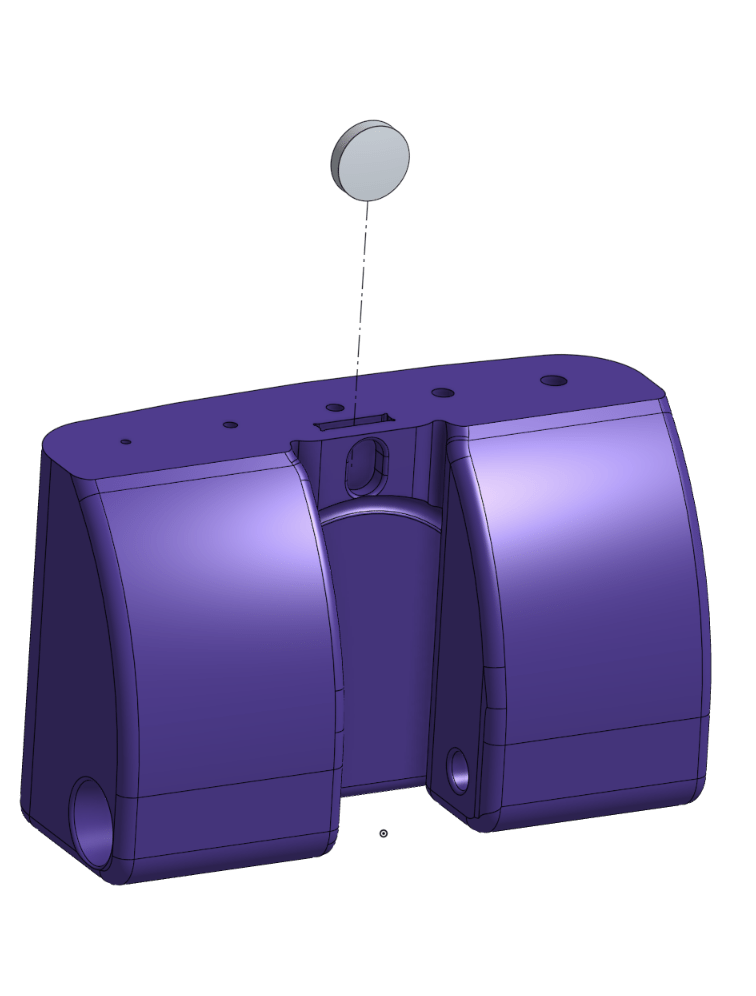
Insert the 10mmx2mm steel plate into the slot and press it all the way in. Secure with glue
Step 2b: T-Nut
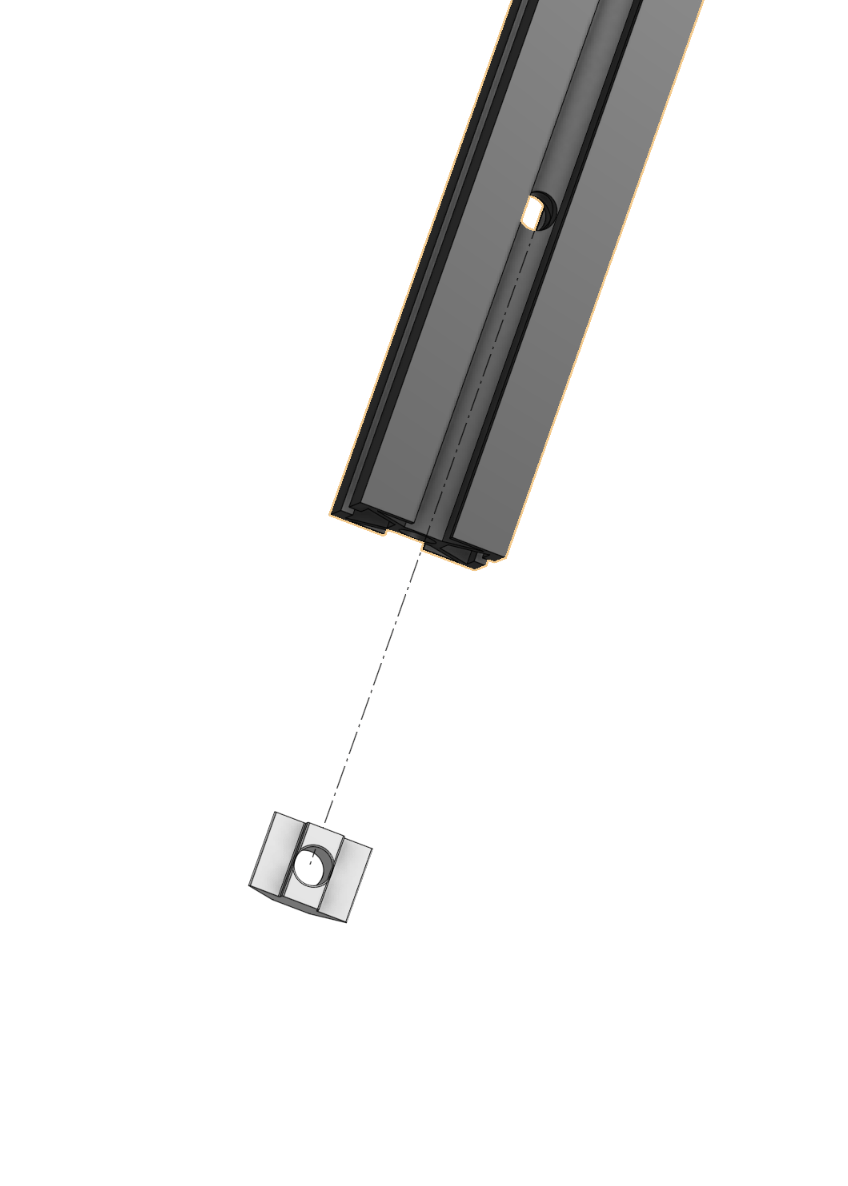
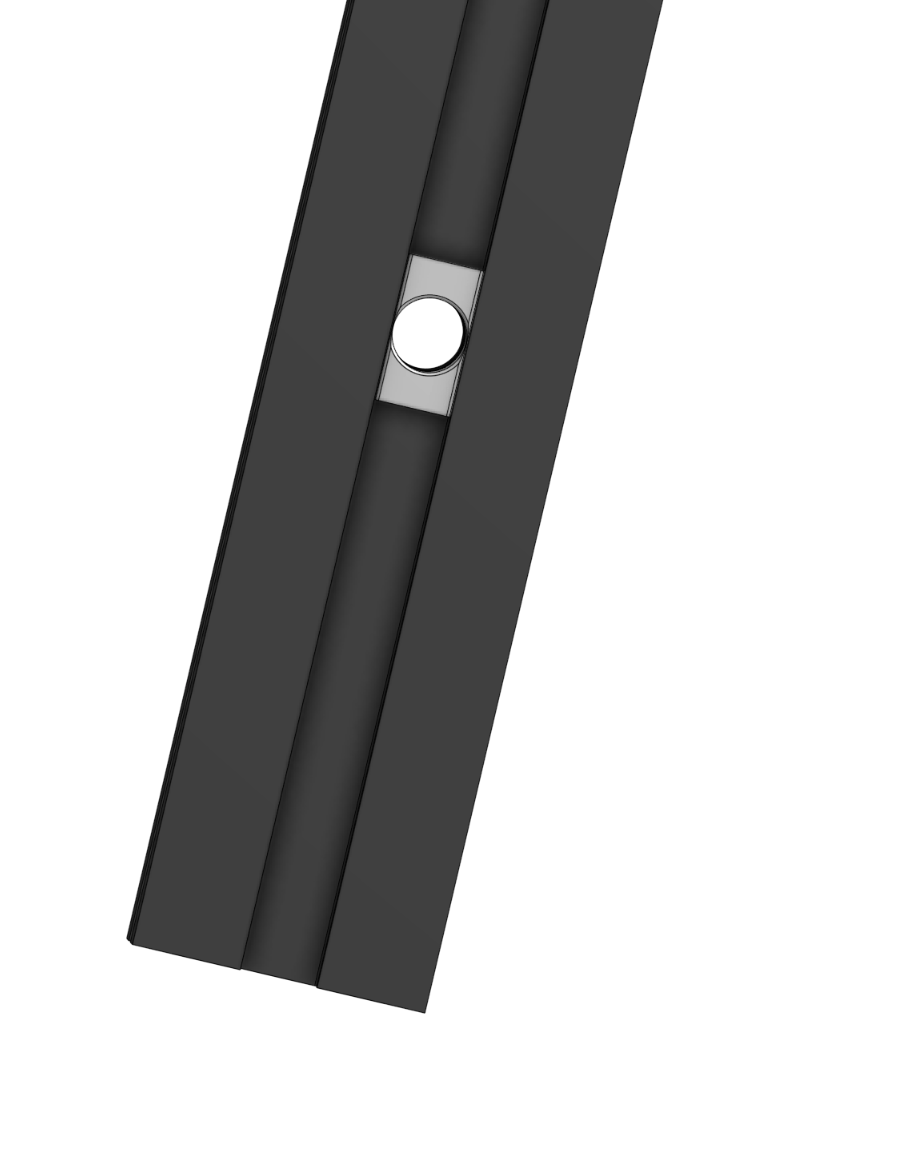
Step 2c: Screw
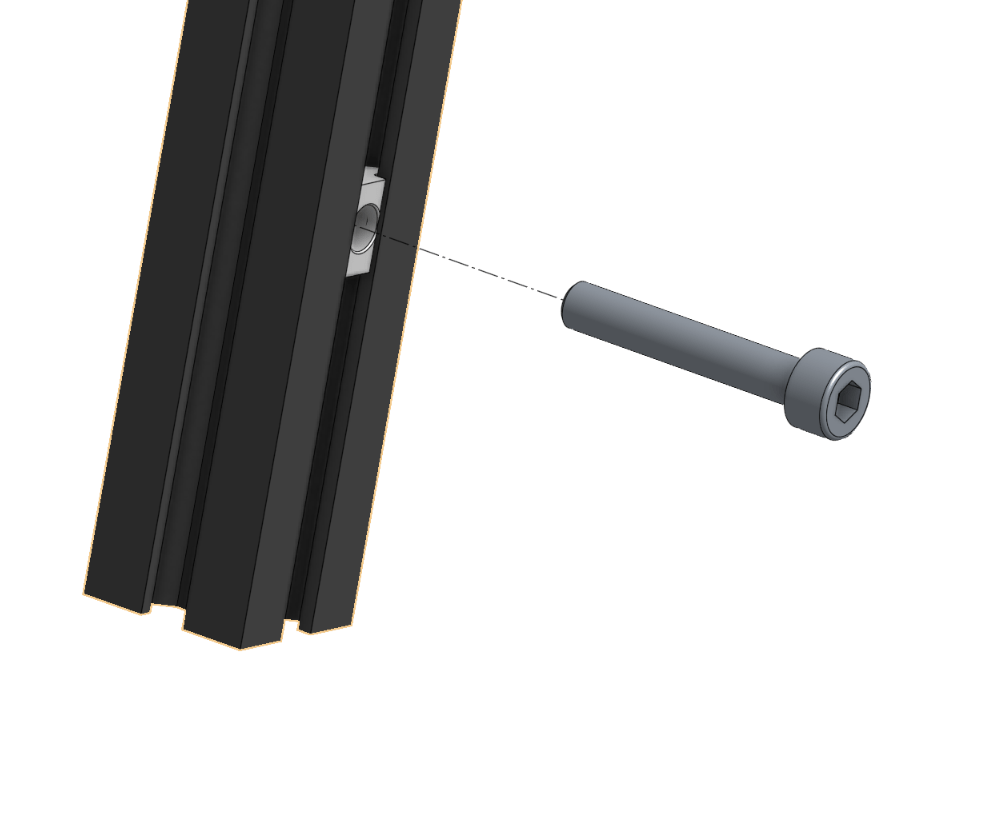
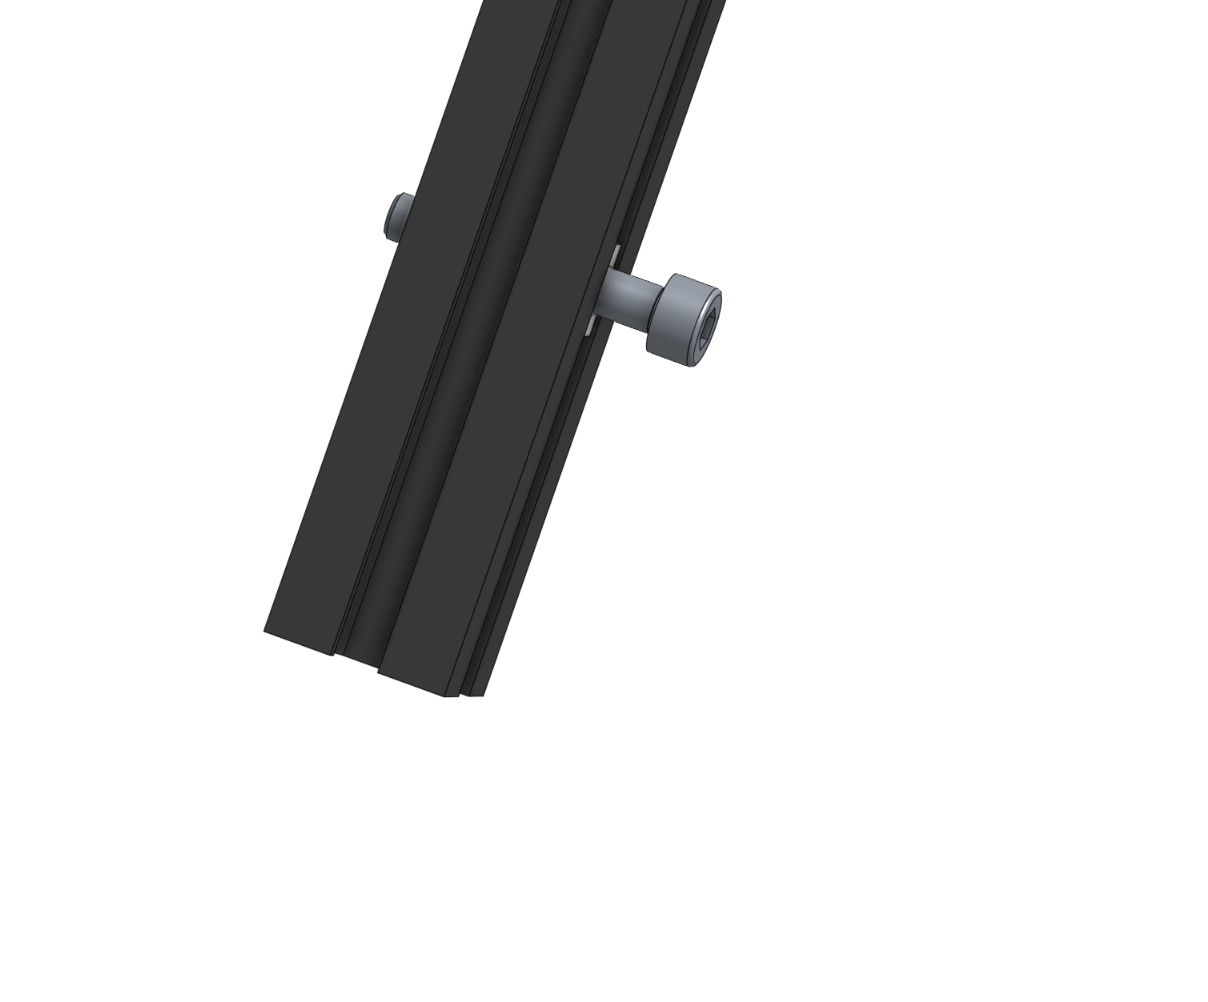
Step 3: Glue in Piezo Mic
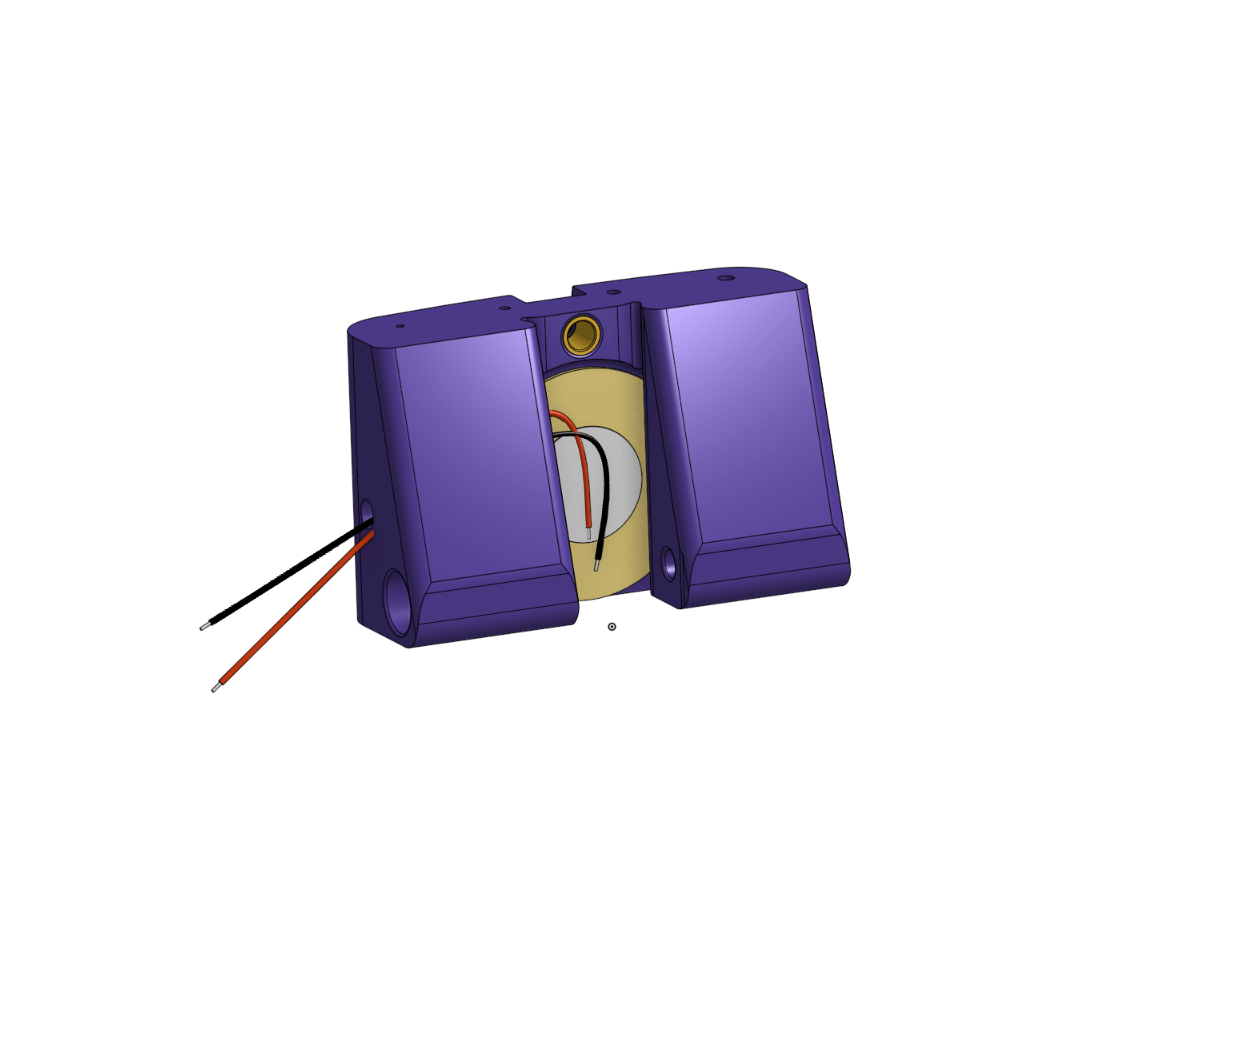
GENEROUSLY glue the Piezo mic into the bridge using super glue.
💡 I like to put a thick line down, put the mic in and then turn it side-to-side a few times to spread the glue around.
⚠️ Make sure you plan ahead for where the wire is supposed to exit the bridge for your given wing set and make sure they're going out the right hole. If you're not careful the 2020 can cut the wires.
Step 4: Attach Bridge to 2020
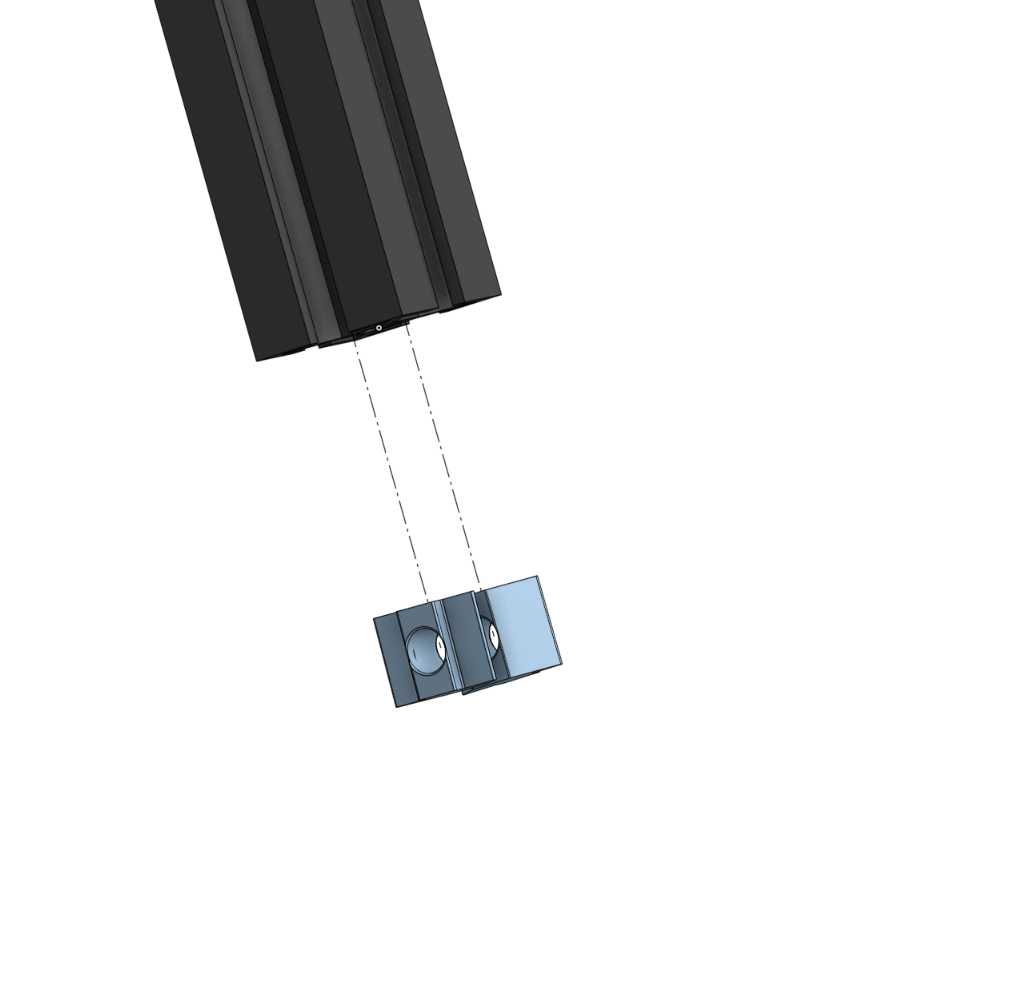
Step 4a: Slide In Nuts
Insert M5 Slide In nuts to the bottom of the 2020
Step 4b: Push on Bridge
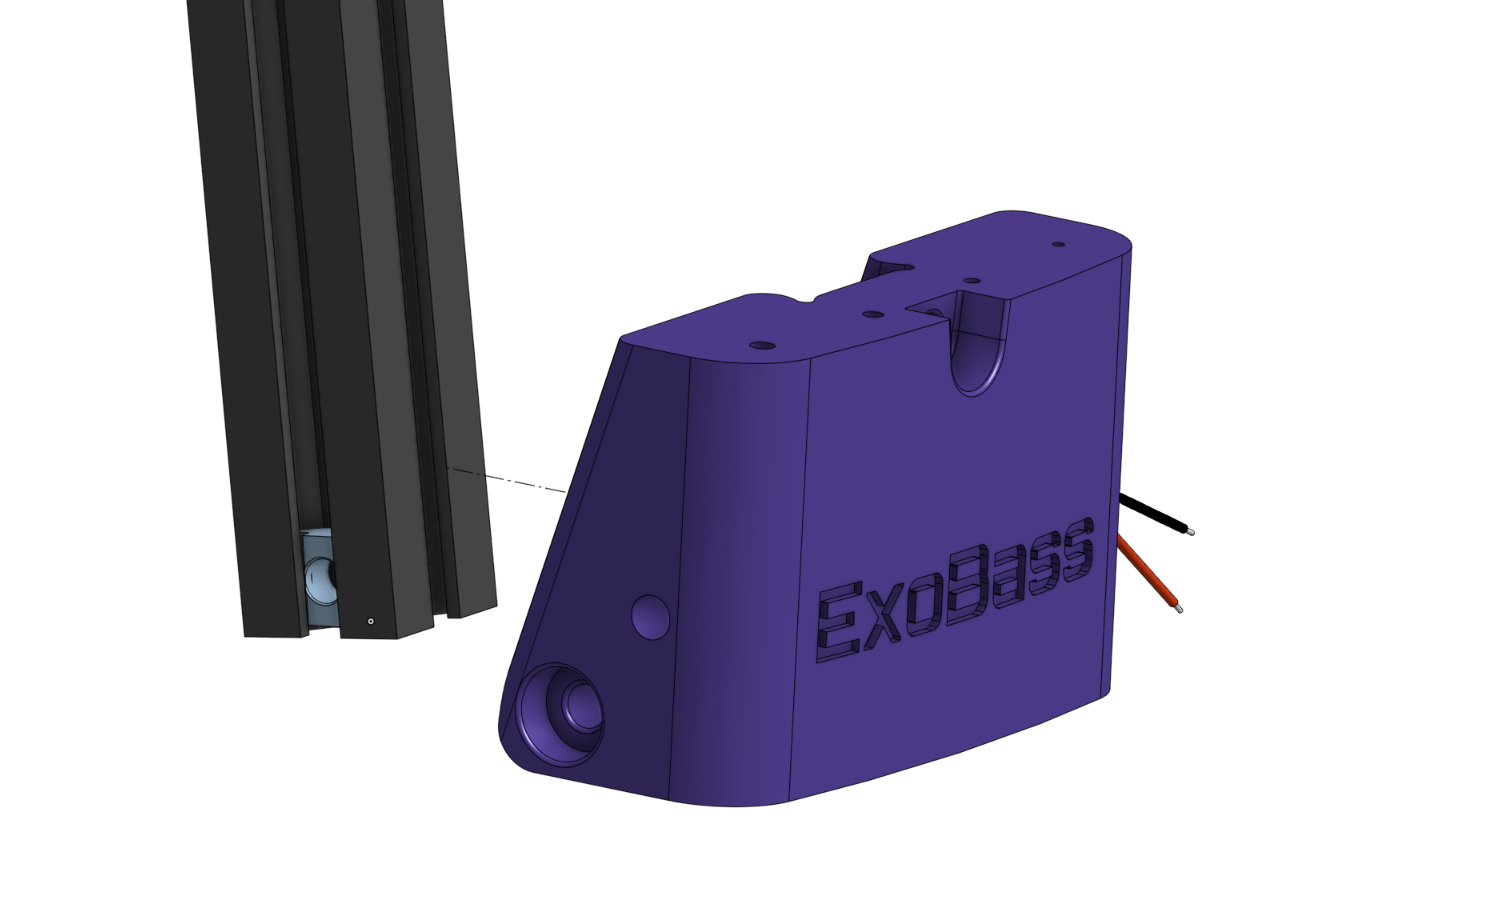
Push the bridge onto the 2020.
💡 This is a tight fit.
Step 4c: Screws!
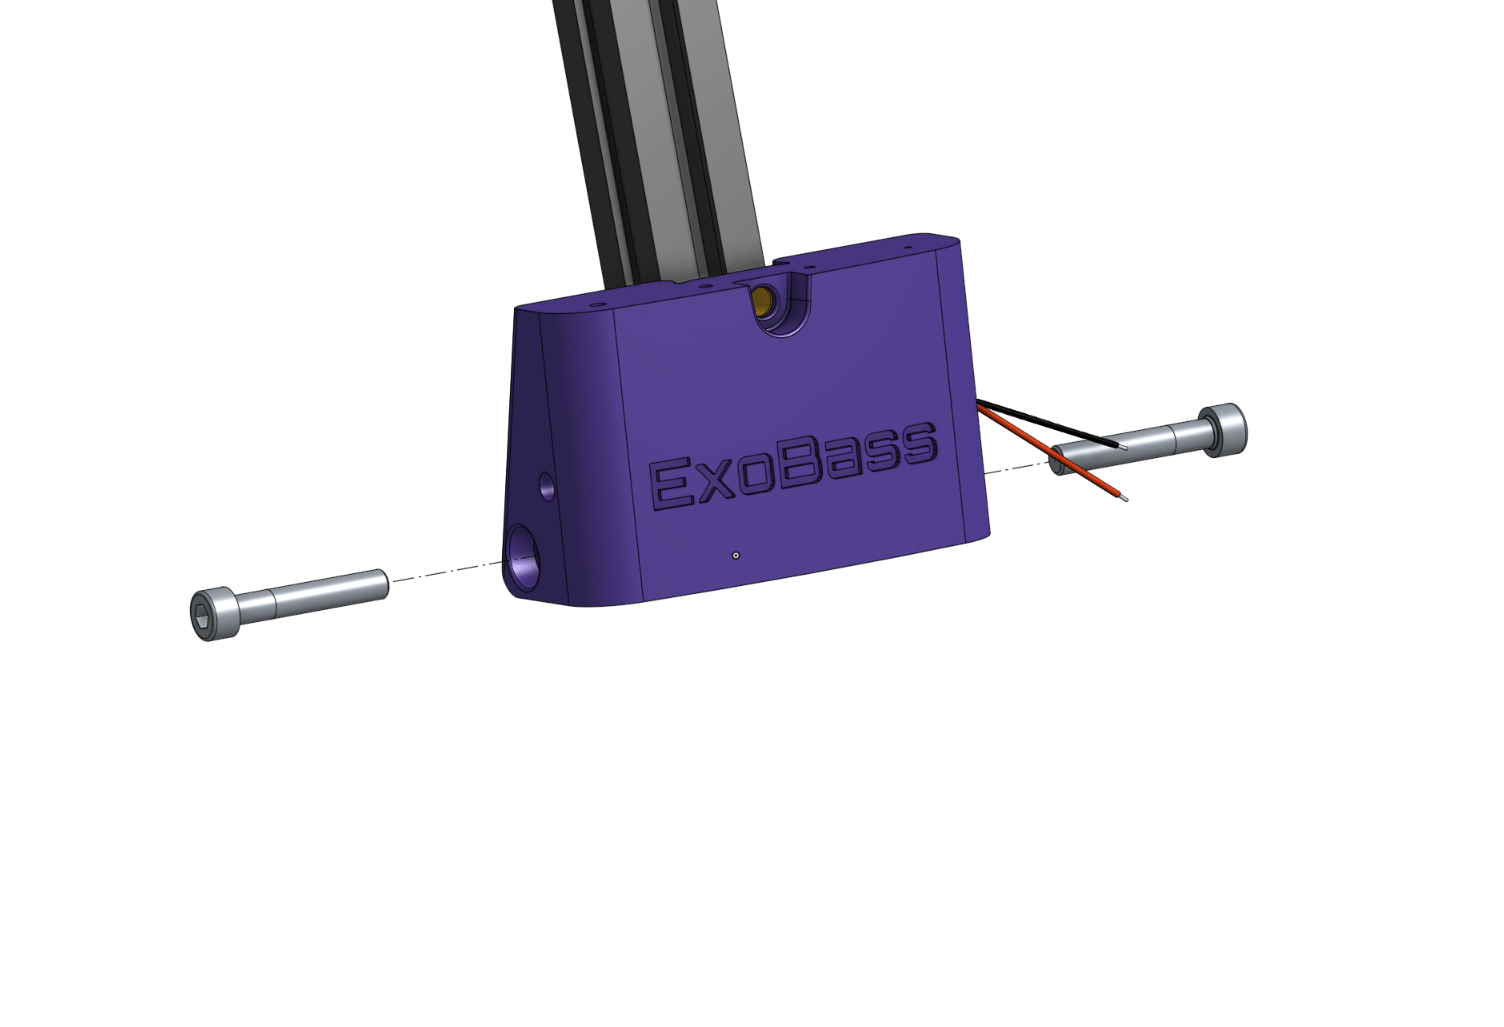
Using 2 M5x30 screws, attach the bridge to the 2020.
✏️ You want this to be tight enough that it can't slide up and down but loose enough that the bridge can still be rotated.
Hardware
DIY Kit
You can order a DIY kit for your entire build from our build planner, the estimate for this part's kit is $3.66 plus shipping.
Self Source
If you want to order the parts yourself, here's a list. Estimated cost: $59.31.