Adabtable Trestle Brackets
Obliczymy ostateczną cenę na podstawie wybranego pliku. Sprawdzisz ją i zaakceptujesz przed płatnością.
Zapisane na tym urządzeniu.
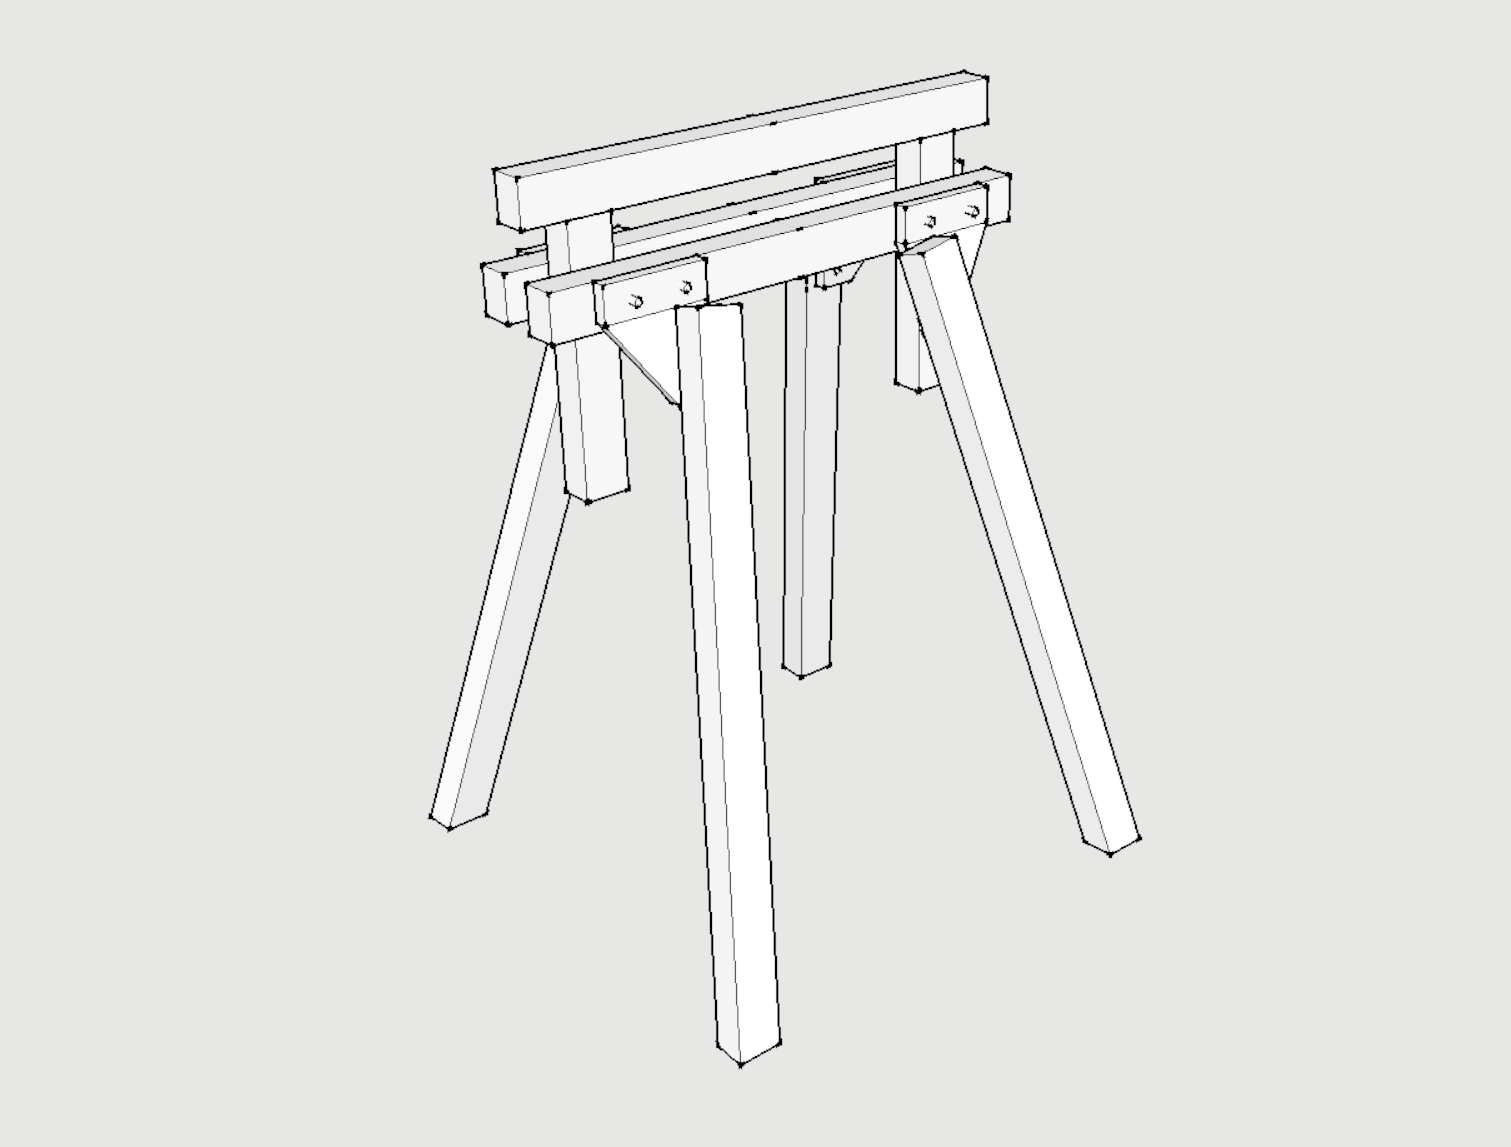
Brackets that spare you of doing tricky cuts for a multi-angled trestle. Usable with wooden slats of different formats.
- Ocena
- 0 / 5
- Polubienia
- 34
- Pobrania
- 58
- Wydruki
- 0
- Wyświetlenia
- 1124
- Oceny
- 0
Aktualizacja u źródła:
Informacje o modelu
- Źródło
- Printables
- Kategoria
- Other House Equipment
- Licencja
- Creative Commons — Attribution
About
I was annoyed by the flimsiness of cheap trestles but the higher quality ones got expensive quickly. For greater stability in all directions I wanted the trestle legs to be angled on two sides, which made doing the cuts by hand somewhat tricky. So I figured I could design brackets which would help me getting the angles right and spare me of doing some complicated cuts. I also wanted them to be flexible enough to use just whatever wood is laying around.
Printing Information
There are no supports needed. The brackets have some overhangs which didn't work for me at first, so I did a series of experiments with different structures that reduce drooping. I found that a grooved surface did work reliably and also adds more grip to the wood.

If you want to use boards (or 2x4"s) to build the trestle:
You can use the extension parts to add more stability to the connection.

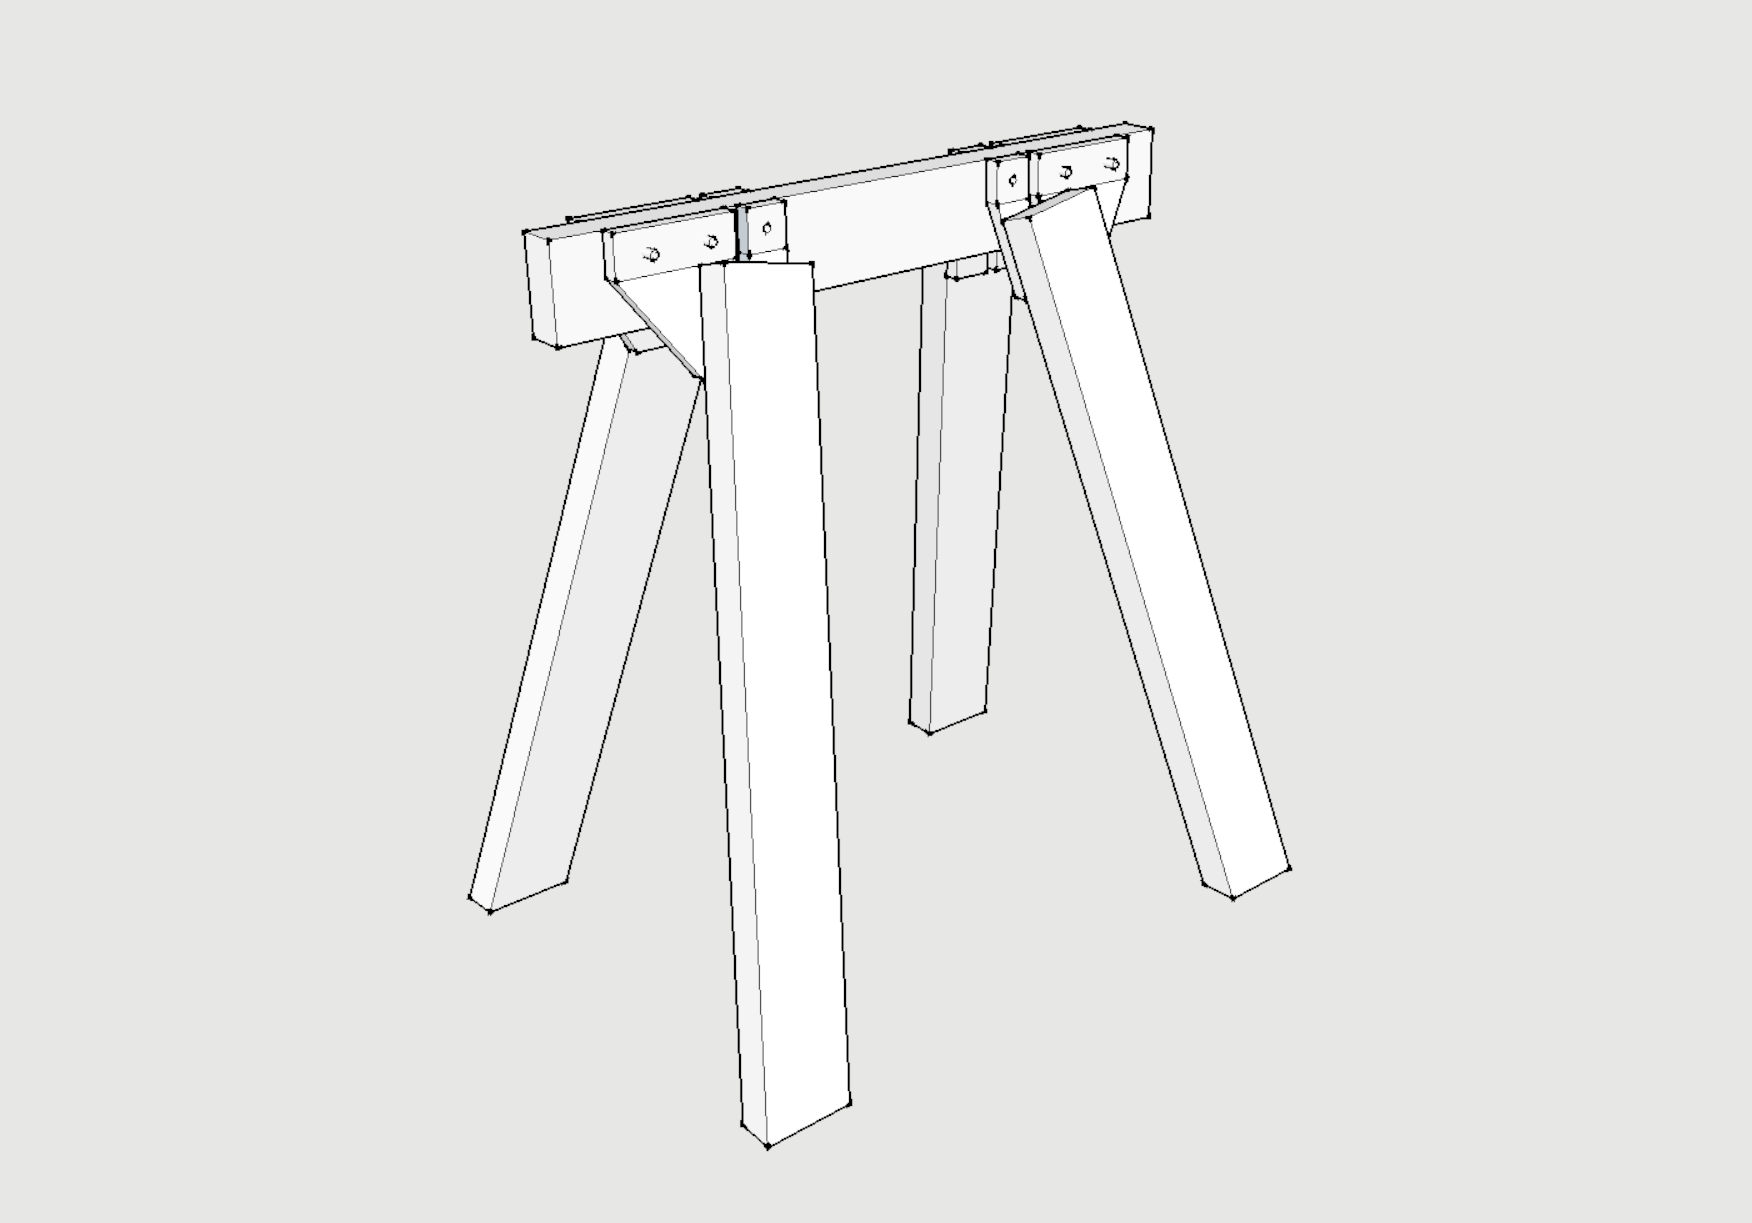
Part List
Needed Parts per Trestle:
- wooden slats
(Example for trestle that is made of 4x6cm slats, has a height of 76cm and depth of 55cm:
- 4x 75cm
- 1x 55cm) - bolts
- 4 x M8x(40+thickness of slat for top)
- 8 x M8x(25+thickness of slat for legs)
- 24 washers M8
- 12 nuts M8
Printed Parts:
- 2x Trestle_Main_A
- 2x Trestle_Main_B
- SawDrillGuide (optional but recommended)
- (+ extension parts for more stability if you use wider (8cm +) slats)
Tools:
- Saw
- Drill (8mm if you can drill very accurate, otherwise a bigger drill allows for some adjustments later)
Building Instructions
Use the guide to mark the drilling positions. For the top part you can place the corner of the guide on the side that should be flush with the bracket.


For the legs place the corner of the guide on the corner of the slap that is facing away from the center of the trestle.
(Don't be confused by the different guides on the pictures. The guide on the upper picture is a newer version, that was designed after the trestles were built. The difference is that the corner protrudes in both directions, so it can be flipped for easier marking + the labels are not upside down anymore :)

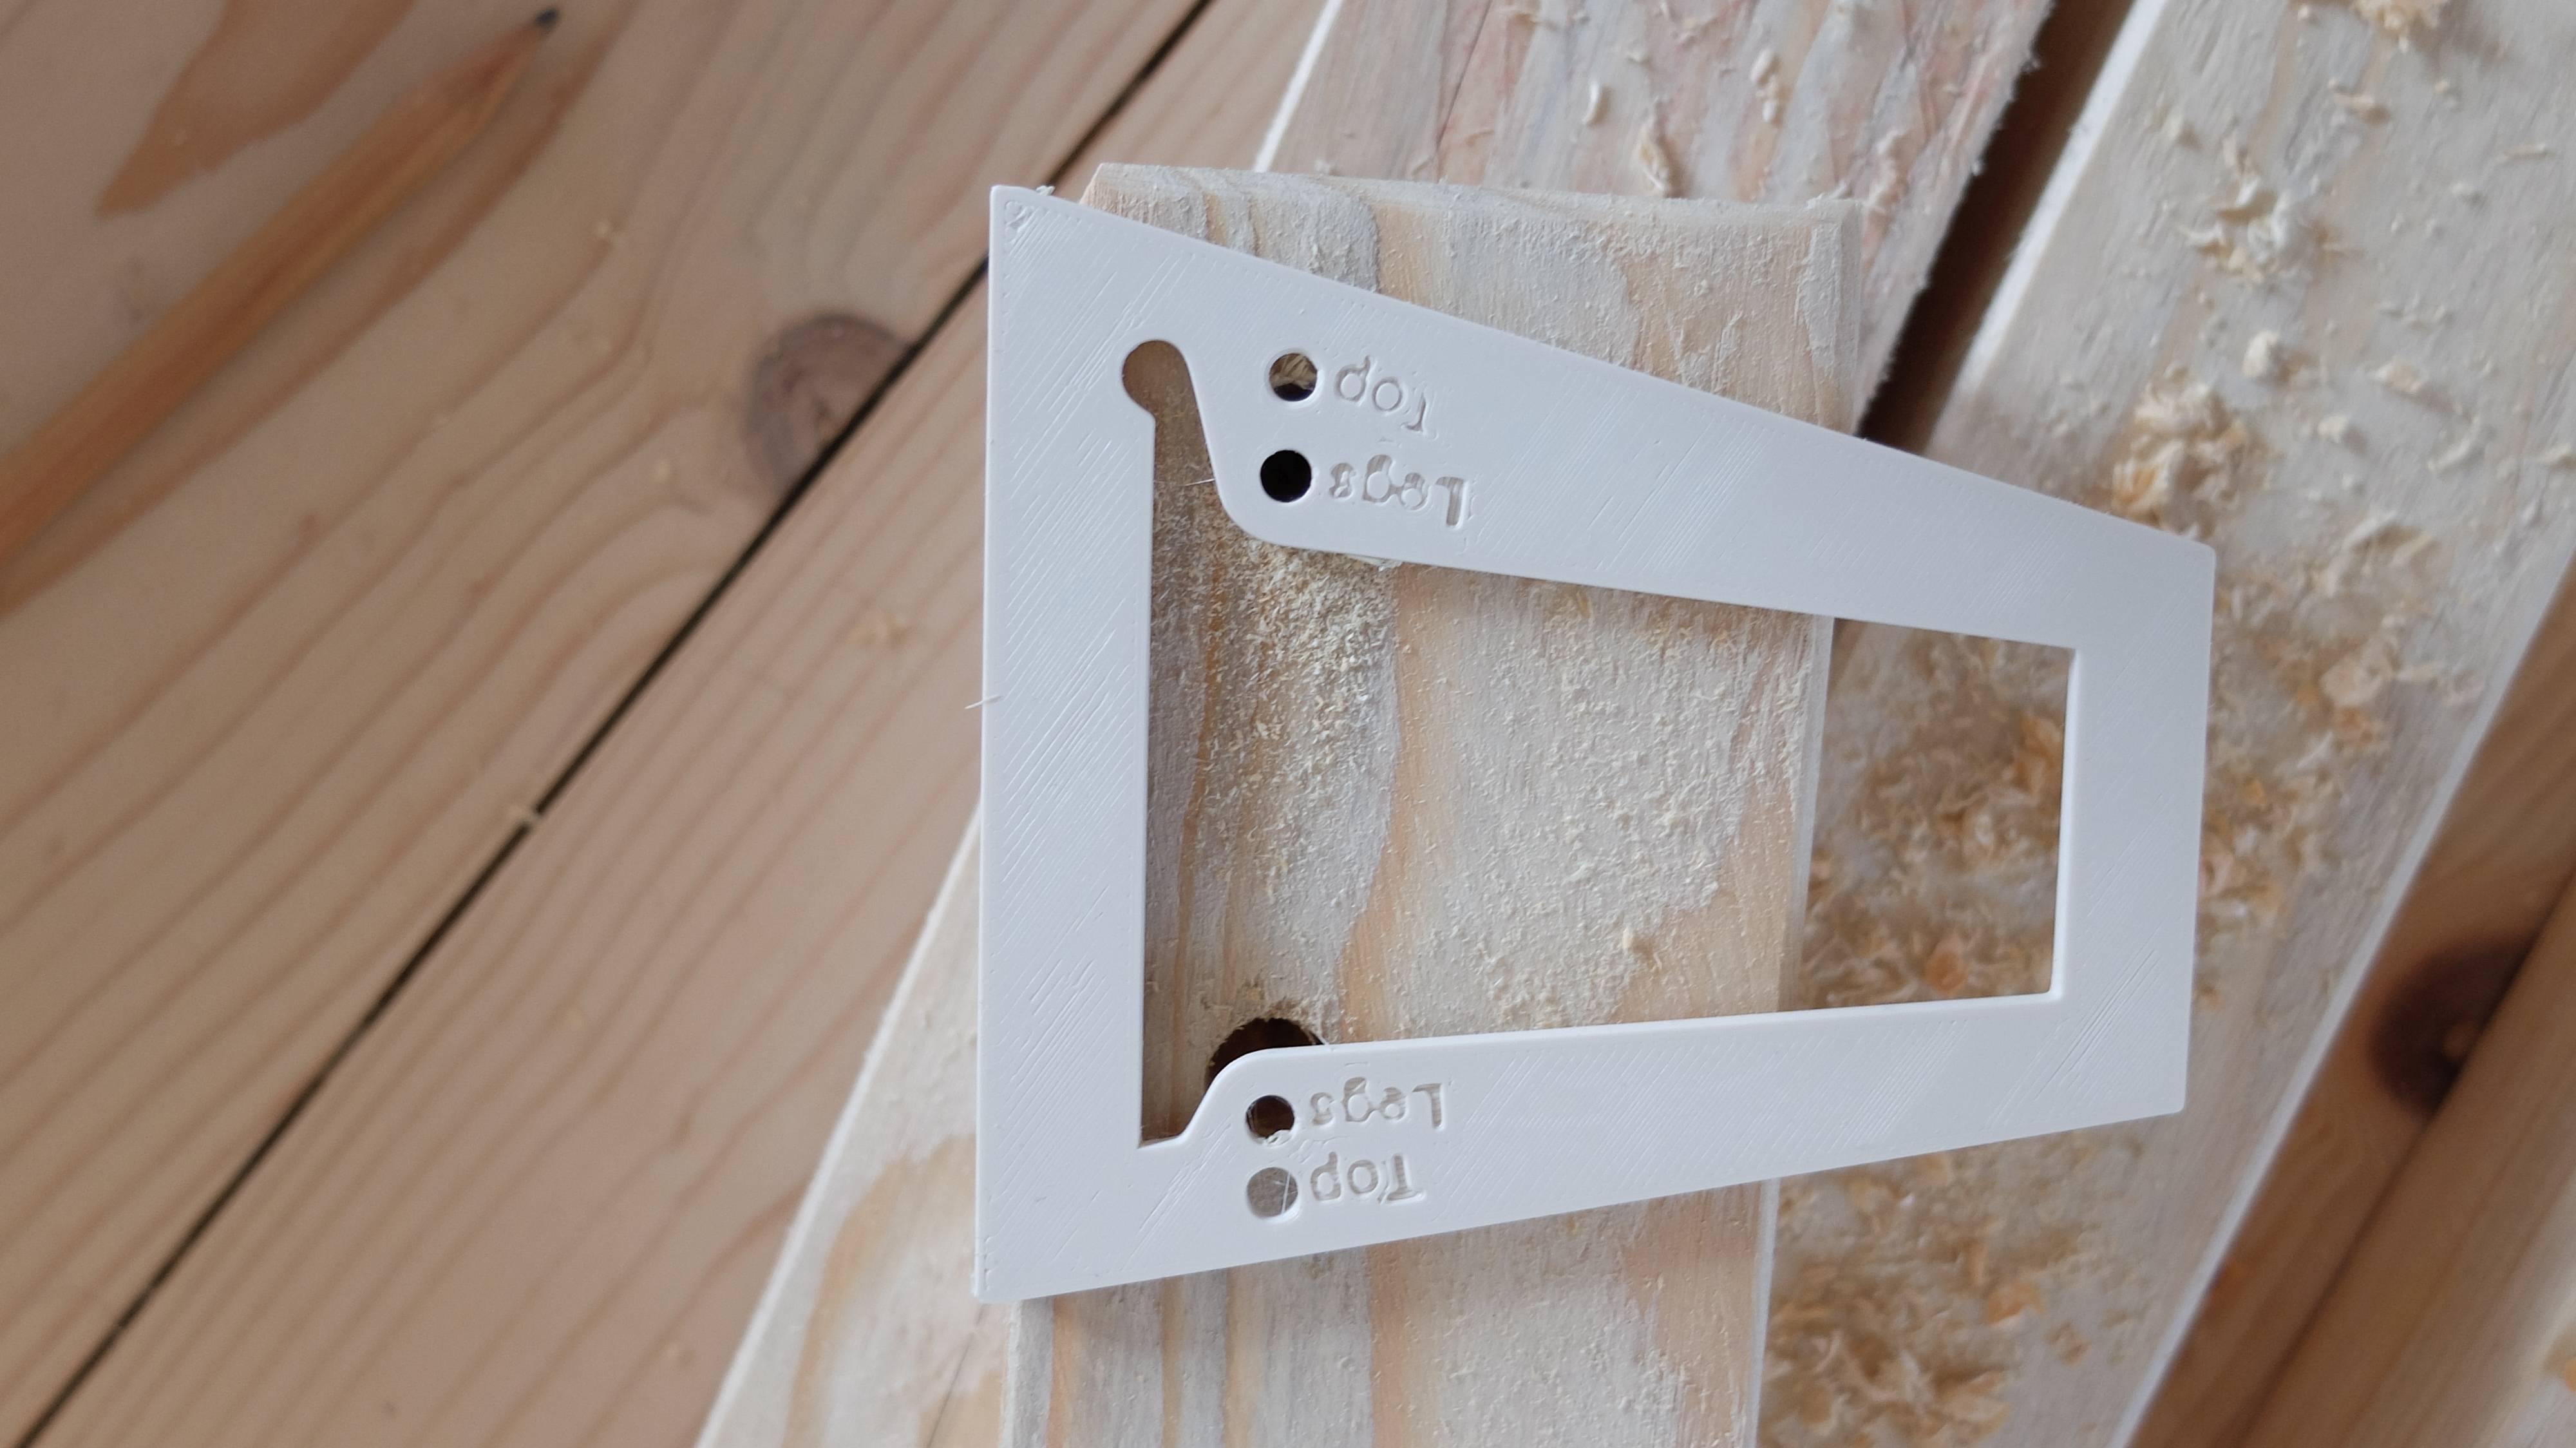
Use the guide to mark the line where you need to cut the legs. I assembled the trestle before this step because that way I can more easily see how the guide has to be placed.

Turn the guide upside down for marking the cut on the front side of the legs. (upper image)


If you have not done it in the step before, assemble the trestle by attaching the legs to the top part. If you have used a larger drill you may have to adjust the brackets, so they in line with the top part, before you fully tighten the bolts.


The trestle is finished! :)
Optional further Steps:
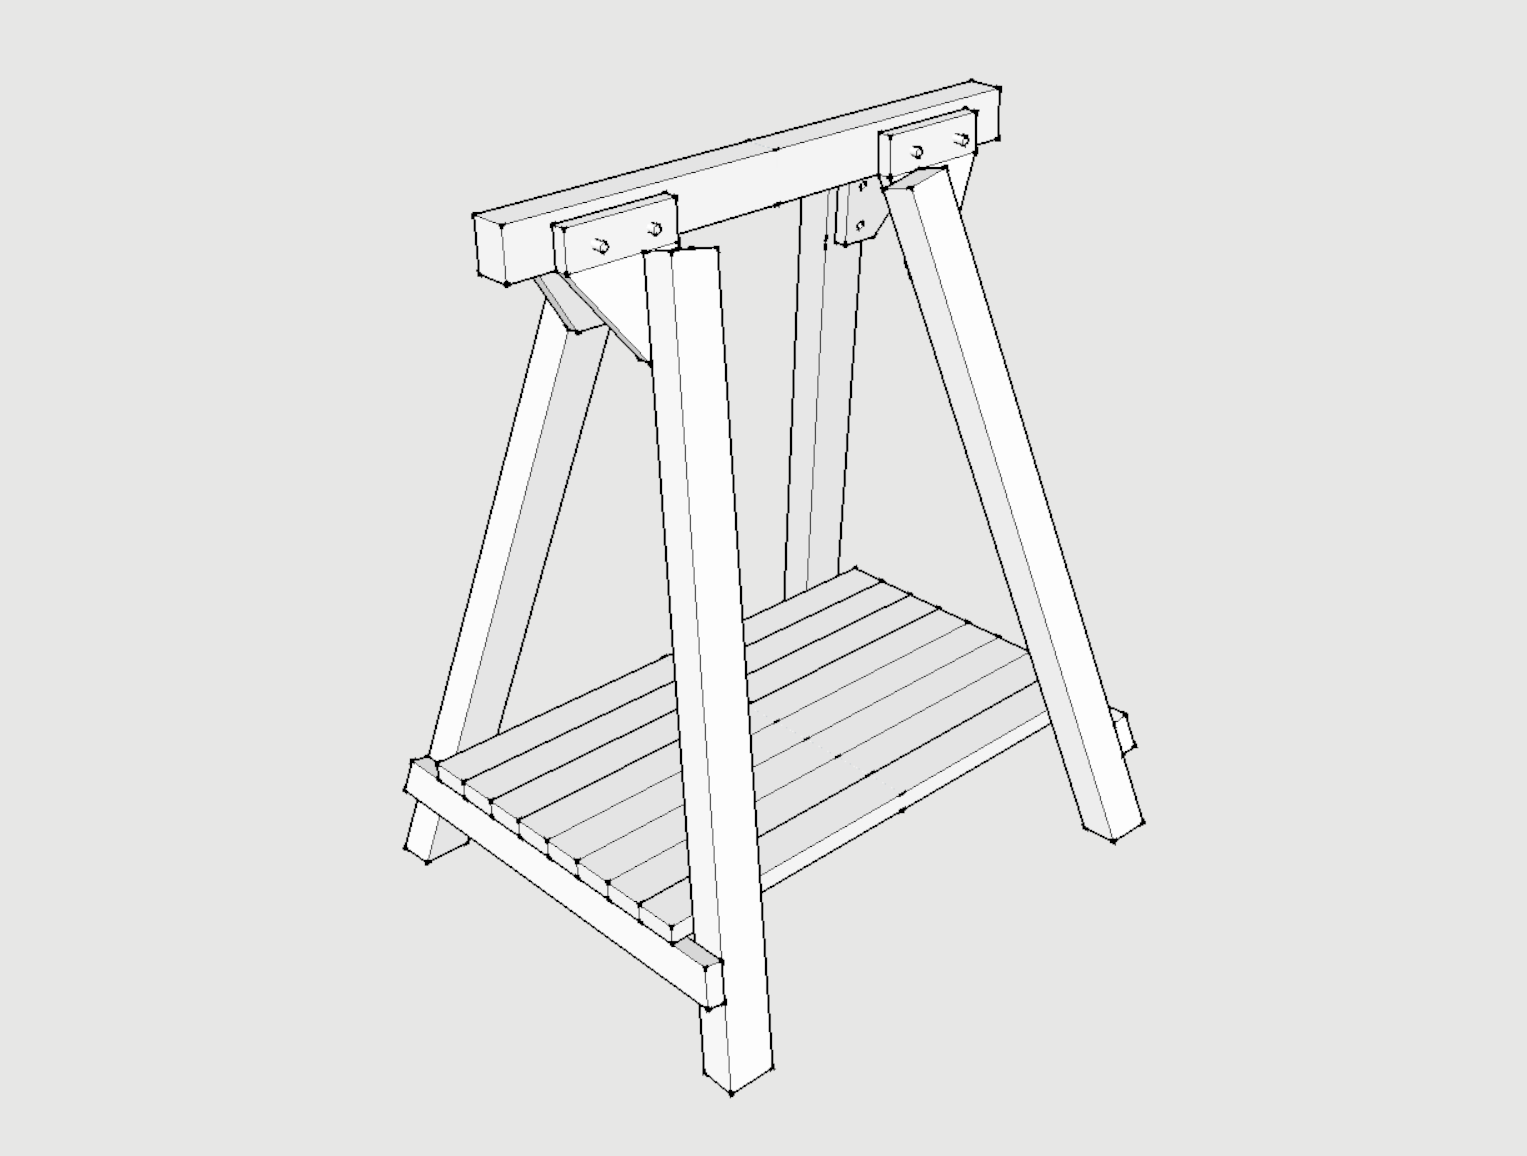
If you need more rigidity you could add connections between the legs, which could also be expanded to be used as a shelf.
I also thought about using these brackets to build an height adjustable trestle…