
RepWinder-RepBox Loading Tool
Obliczymy ostateczną cenę na podstawie wybranego pliku. Sprawdzisz ją i zaakceptujesz przed płatnością.
Zapisane na tym urządzeniu.

A tool for loading RepWinders into a RepBox with a pretensioned rewind spring so the spools will rewind even before use.
- Ocena
- 5 / 5
- Polubienia
- 12
- Pobrania
- 30
- Wydruki
- 1
- Wyświetlenia
- 1021
- Oceny
- 1
Aktualizacja u źródła:
Informacje o modelu
- Źródło
- Printables
- Kategoria
- Tools
- Licencja
- Creative Commons — Attribution — Noncommercial — Share Alike
A tool to make loading your RepWinders, with a pretensioned rewind spring, into your RepBox much easier. Pretensioning your RepWinder rewind spring/axle before placing it in your RepBox allows the filament spool to retract/rewind right away, rather than first having to build tension in the spring from filament use.
The tool is printed in two parts, the tool head and the handle, and then assembled using two M2x16mm screws and two standard M2 hex nuts. There are three model files available, one with both parts in a single file, and separate files for the head and handle for printing in two different colors and/or materials. There is a pocket modeled into the end of the handle for an optional 9.5x3.2mm disc magnet, useful for storing the tool on or under a metal surface or for hanging under the RepBox Side-Mounted Print Sheet Holder.
Top-loading dry box version available here.

Print Recommendations:
- Use a 0.6mm nozzle at a 0.3mm layer height (for a 0.4mm nozzle, use a 0.2mm layer height).
- 3 perimeters.
- 1.2mm top/bottom thickness.
- 15% cubic infill (or substitute cubic for your favorite pattern).
- I used PETG, but PLA, ASA, ABS, etc. should all work well. Any material with decent rigidity should be fine; pick your favorite!

Parts List:
- Printed tool head – x1 (pink)
- Printed handle – x1 (blue)
- M2x16mm rounded/button head machine screw – x2 (green) (Note: M2x16mm socket head cap screws should work, but the screw head may protrude from the handle a bit.)
- M2 standard hex nut – x2 (yellow)
- 9.5x3.2mm disc magnet – x1 (optional, not pictured)
Assembly:
The tool has been designed with sufficient clearances so no post-possessing should be necessary, however due to varying printer tolerances, you may find it necessary to do a little clean up on the handle-end of the tool head and inside the tool head slot in the handle.

- Insert the two M2 nuts into the hex-shaped recesses in the handle. Make sure they are pressed in all the way. You can pull them into position from the opposite side with one of the screws if necessary.

- Slide the handle onto the tool head. The tool head should angle downward toward the nut side of the handle. The fit should be snug, but it should not require excessive force to seat the tool head fully into the slot in the handle.
- Check to make sure the holes in the handle and tool head line up and then insert the two M2x16mm screws into the holes on the side opposite of the nuts.

- Begin tightening the screws, making sure they thread into the nuts properly.
- Continue tightening the screws until you see 1-2 threads protruding from the nut, but don't apply excessive torque!
- If you can't get 1-2 threads to protrude from the nut without using excessive force, remove the screws and nuts and check their respective recesses for obstructions; clear them and retry.
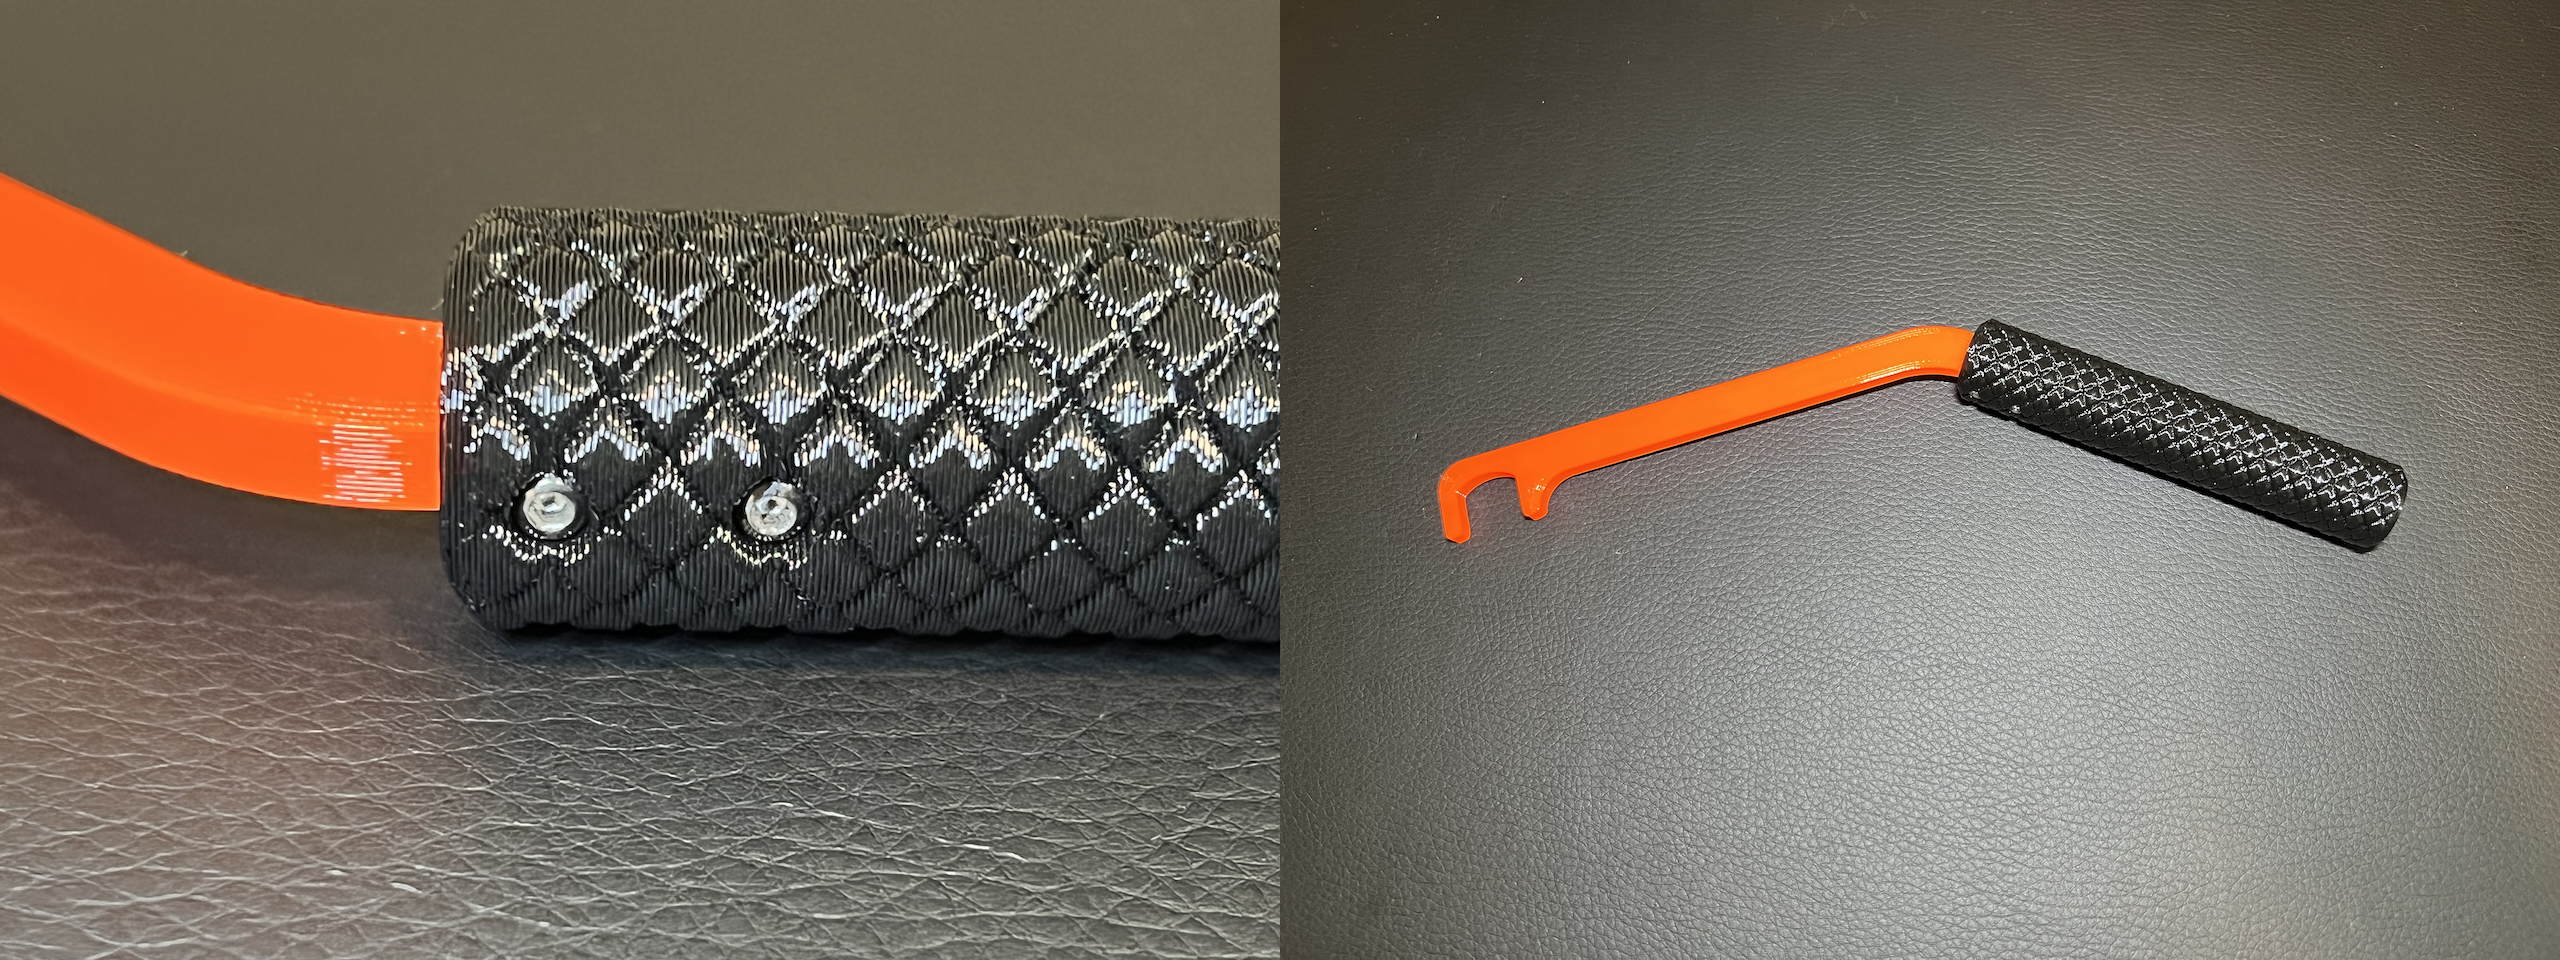
If your tool looks like the above photos, then you've successfully assembled your RepWinder-RepBox Loading Tool! Go forth and load all the RepBoxes with pretensioned RepWinders!
Using the Loading Tool:

- Pretension the axle/spring on your RepWinder by rotating the axle opposite the spool-feed direction. Once you've built up some tension in the spring, slide the head of the loading tool over the notch in either axle-end to maintain the tension. Hold the spool in one hand and the tool in the other and guide the spool into the RepBox. Align the axle-ends with the spool holder sides. Allow the spool to drop into the spool holder, which will simultaneously release the loading tool from the axle-end.

- Unload your RepBox without damaging the springs in your RepWinders by following the above procedure in reverse!
- The loading tool has enough weight in the handle to prevent the RepWinder axle from unwinding, which allows you to take your hand off the tool momentarily without having to start over. Just be careful not to move the spool around too much without holding the loading tool, otherwise the tool head could pop off the axle-end which could potentially damage the spring inside your RepWinder from rapid unwinding.
Instructions for the Optional Magnet:

- The pocket in the end of the handle for the magnet is designed for a 9.5x3.2mm disc magnet; I recommend using these. The magnet is embedded in the handle during the print process, so a print pause is used in order to insert the magnet. You should set a print pause at the layer that shows the bridged infill over the top of the magnet pocket ("closes" the pocket) in the sliced preview in PrusaSlicer; the printer will pause at the start of this layer.

- During the print, when the printer pauses, insert the magnet in the pocket and then resume the print. I like to raise the Z-axis during the pause so when I resume the print I can remove any oozing filament just before he print head reaches the top layer of the print to resume, which prevents a little spaghetti-ball of plastic from interfering with the layer/print head.

- If you intend to attach the magnet to another magnet (like hanging it from the RepBox Side-Mounted Print Sheet Holder), be sure to check the magnet you are inserting against the magnet you will attach it to for correct orientation! The side of the magnet facing the print bed when you insert it in the print should be the side that is attracted to the other magnet!
Change Log:
- 29AUG2022: Corrected typo in the description; added link to dry box version.