
Sweep Bling MX - Sleeve Hard Case
Obliczymy ostateczną cenę na podstawie wybranego pliku. Sprawdzisz ją i zaakceptujesz przed płatnością.
Zapisane na tym urządzeniu.

A FDM printables Sleeve Case for the Ferris Sweep Bling MX to printed in PLA/PETG with custom Tenting Pucks.
- Ocena
- 5 / 5
- Polubienia
- 32
- Pobrania
- 337
- Wydruki
- 2
- Wyświetlenia
- 2829
- Oceny
- 2
Aktualizacja u źródła:
Informacje o modelu
- Źródło
- Printables
- Kategoria
- Other Gadgets
- Licencja
- Creative Commons — Attribution — Noncommercial — Share Alike
A printable sleeve case for the Ferris Sweep Bling MX. It's a bottom case that covers the bottom part of the PCB. Its intended to be used with any standard Sweep Bling MX Switch Plate.
Important: this sleeve case was designed with N!N or Elite-C as MCU in mind. An Arduino ProMicro with a lowered USB Connector might not work.
BOM
For the full build you'll need the following items
- 8x M2: 8mm screws
- (optional) 16x Magnet: 3x3 cylindrical shaped (N32+)
Building Instructions
- Decide which bottom case you want to print: one with a TRRS cutout or one without.
Then print the left and right bottom case.
Note: Please mind that the halves are not symmetrical due to the hotswap sockets.
- Optional: if you dont have any switch plate you can print one using the files provided.
There are plate files with a TRRS cutout and one without.
- Once printed mount the switch plate onto the PCB with the your MX switches of choice.
Tip: use the Plate Fork to easily mount the switches onto the plate.
- Use M2: 8mm screws to mount the PCB with the plate onto the bottom case. Simply screw into the plastic threads. Don't overtighten the screw!
Note: Screwing and unscrewing often may wear the screw hole out.
Custom Tenting Pucks (experimental)
Important: the puck works wonderfully with the magnets but may slightly wobble when typing depending on the tenting angle, placement or tripod used. So print it at your own risk.
I made some 3D printable tenting puck that uses magnets for easy mounting and dismounting. The puck can be used with any camera tripod that uses ¾" thread. It is recommended to use magnets with at least a strength of N32+.
The thread of the tenting puck is built into the model so there is no need for a brass screw insert. Even though the thread is 3D printed it is very robust due to its size.
To use the tenting pucks:
- Print two of the tenting pucks
- Insert the 3x3mm magnets into the designated holes of the pucks

- Do the same for the sleeve case
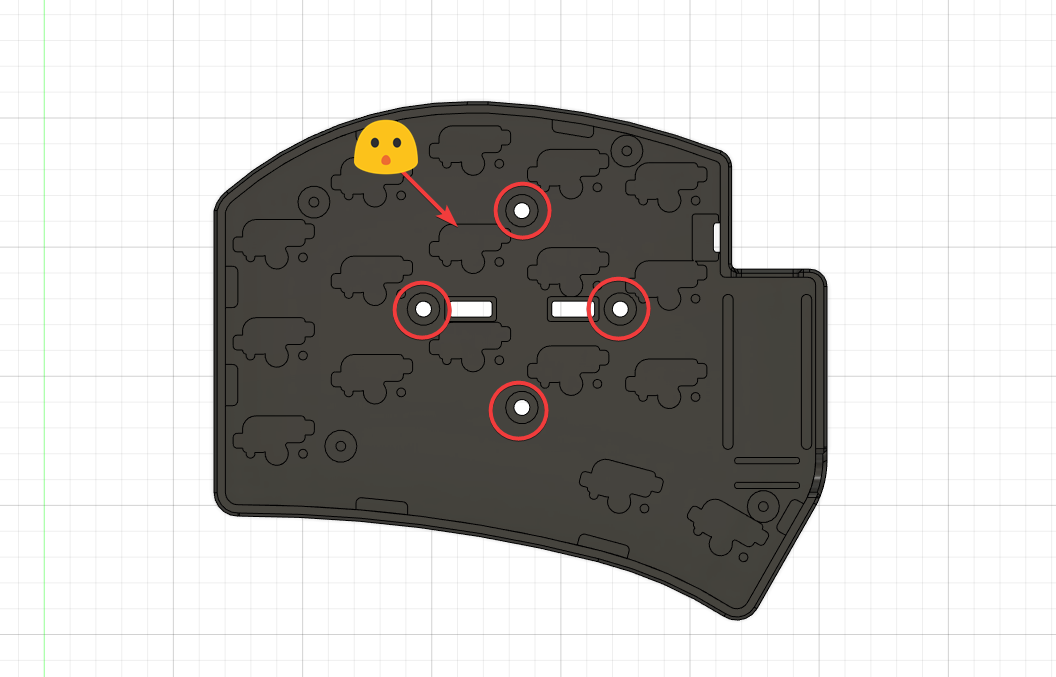
Important: Be mindful of the orientation of the magnets.
Tip: I use a metal plier to push the magnets in.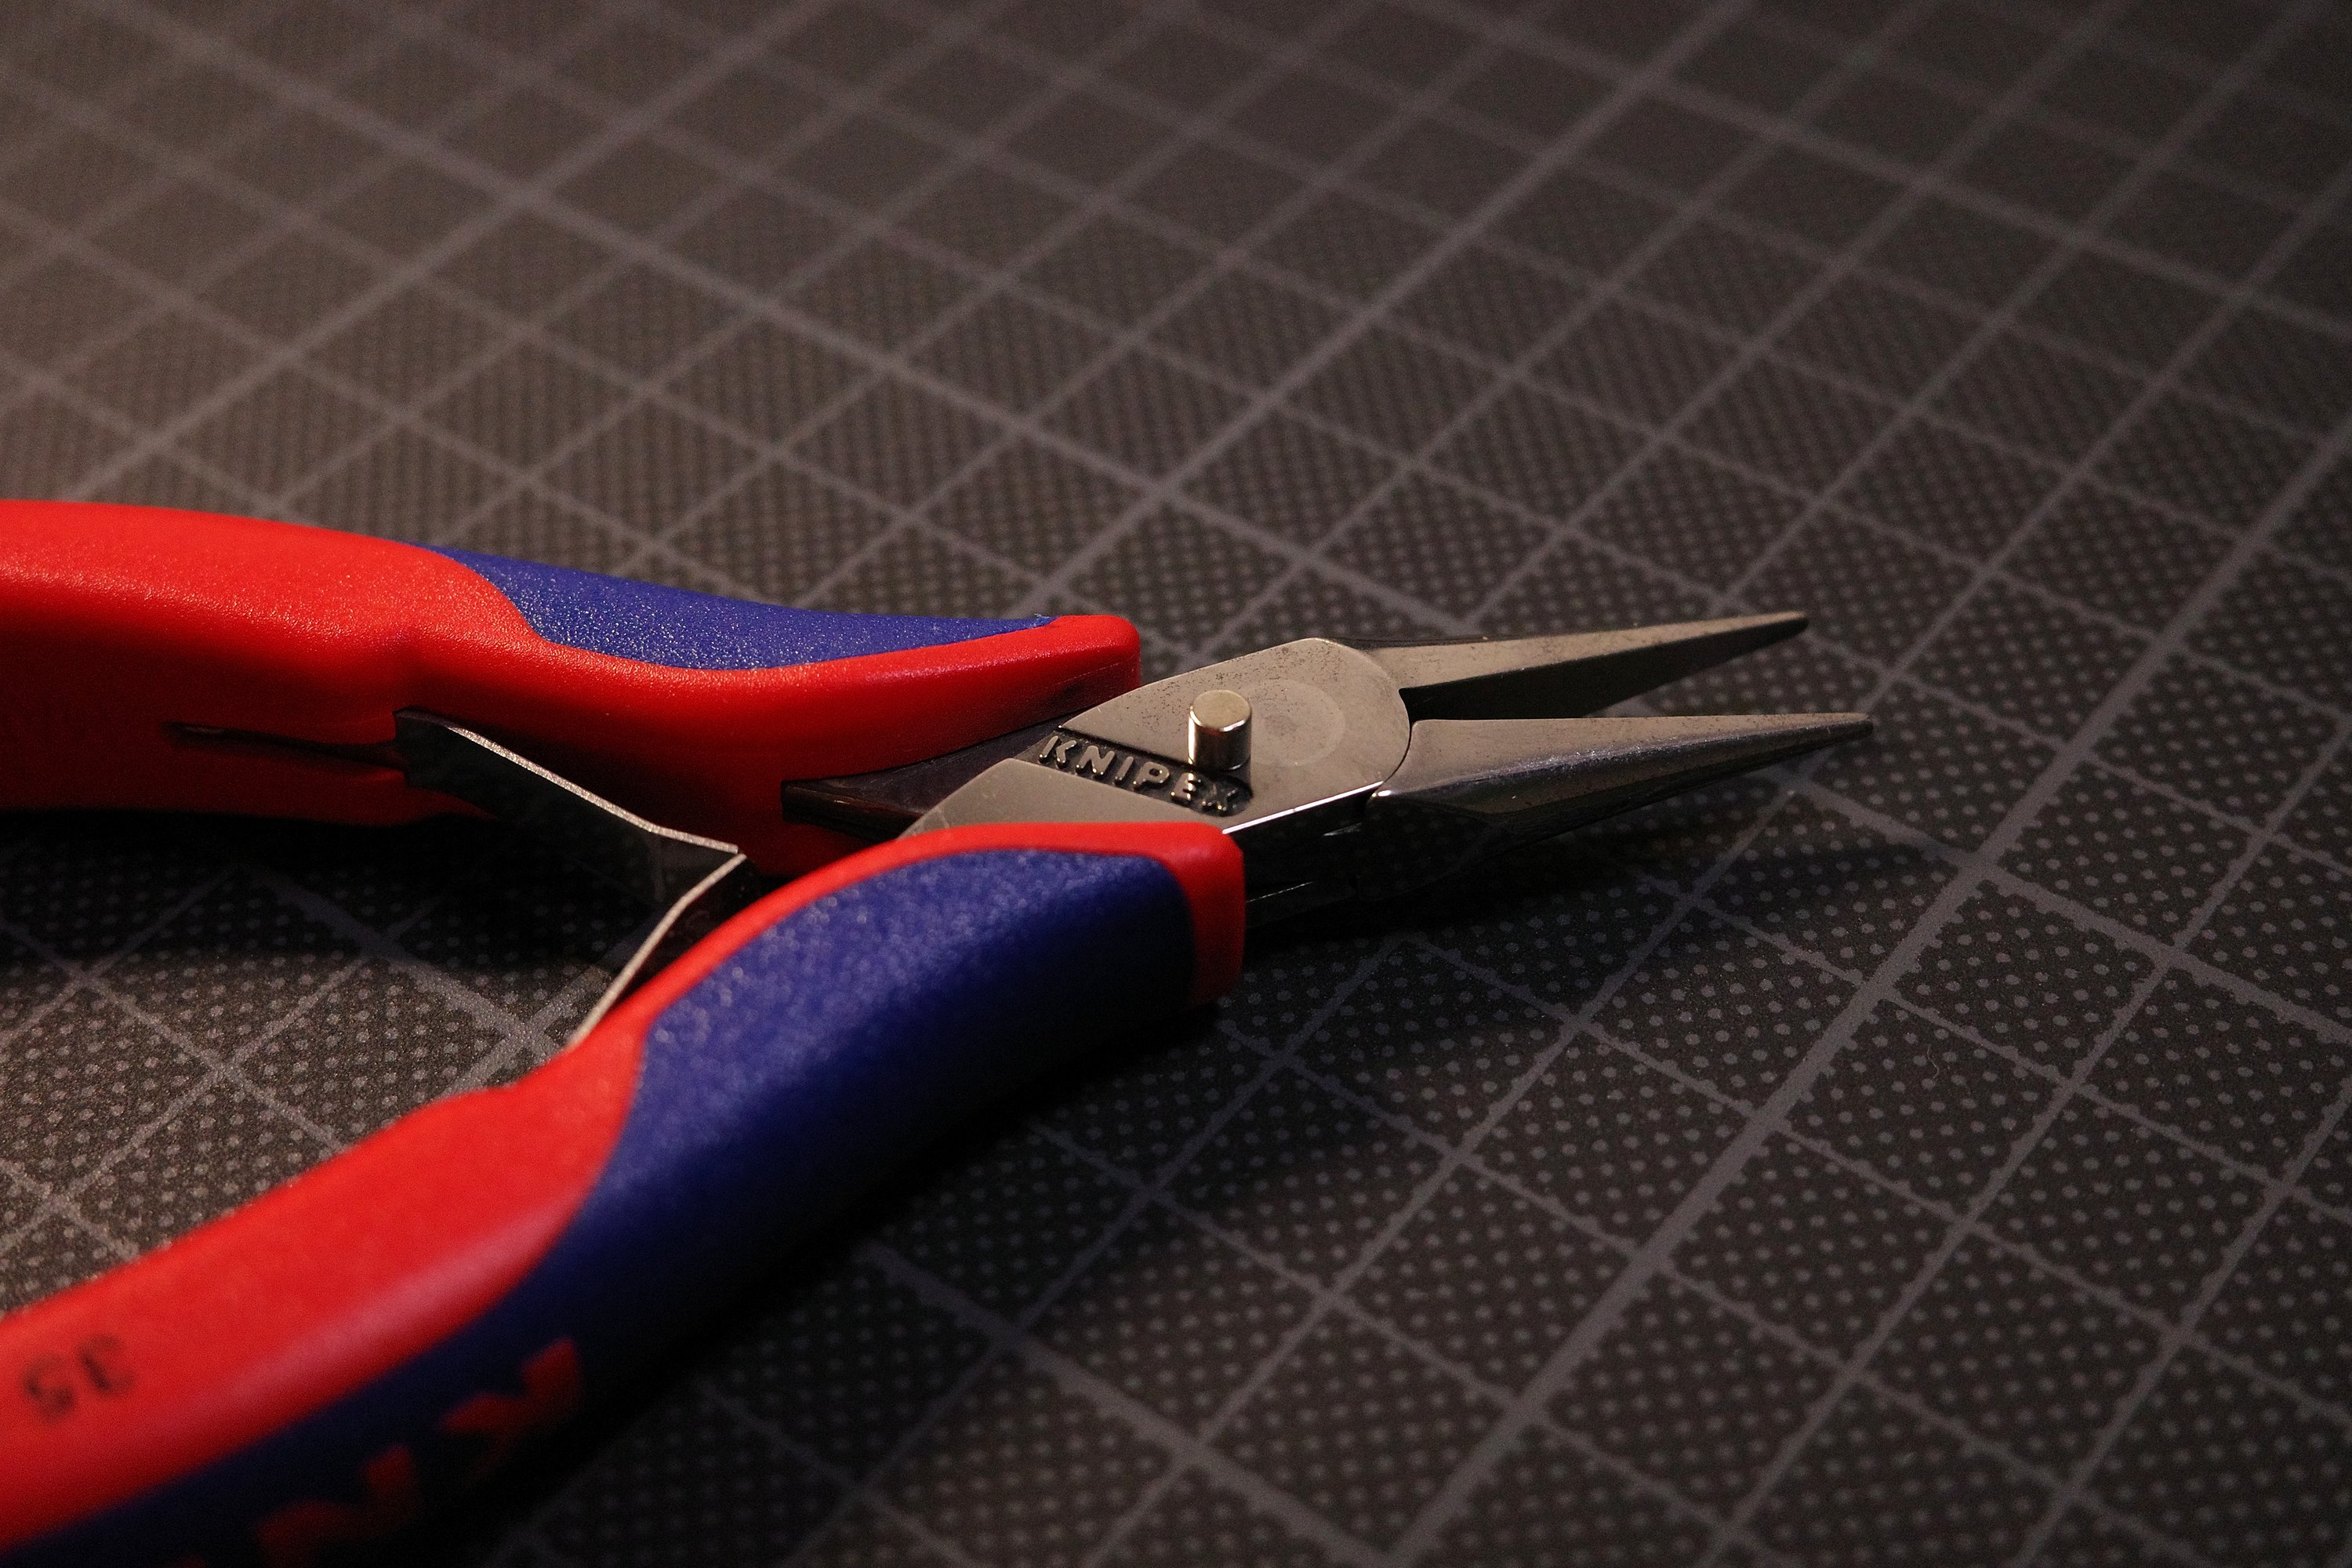
The magnets can simply be inserted with a little force. Depending on the accuracy of your printer as well as the filament used no glue will be needed.
Design
The intention of the design was to create simple sleeve case that can be used with the standard barebone configuration of the Sweep Bling MX. Existing screw holes are used to screw the pcb assembly with the switch plate onto the sleeve case. The height of the sleeve was kept at a minimal as to keep the height as low as possible. The case only adds 1.20mm in height compared to the bare PCB assembly (bumpons excluded).
Technical Details
- Wall Thickness: 2.4 mm
- Bottom Thickness: 1.2 - 1.6 mm
Print Settings
- Infill: 15-20% Gyroid
- Perimeters: 2 (can also do 3)
- Layer height: 0.2mm
- Supports: none