
1:24 RC Snowcat || Snow plowing robot
Obliczymy ostateczną cenę na podstawie wybranego pliku. Sprawdzisz ją i zaakceptujesz przed płatnością.
Zapisane na tym urządzeniu.
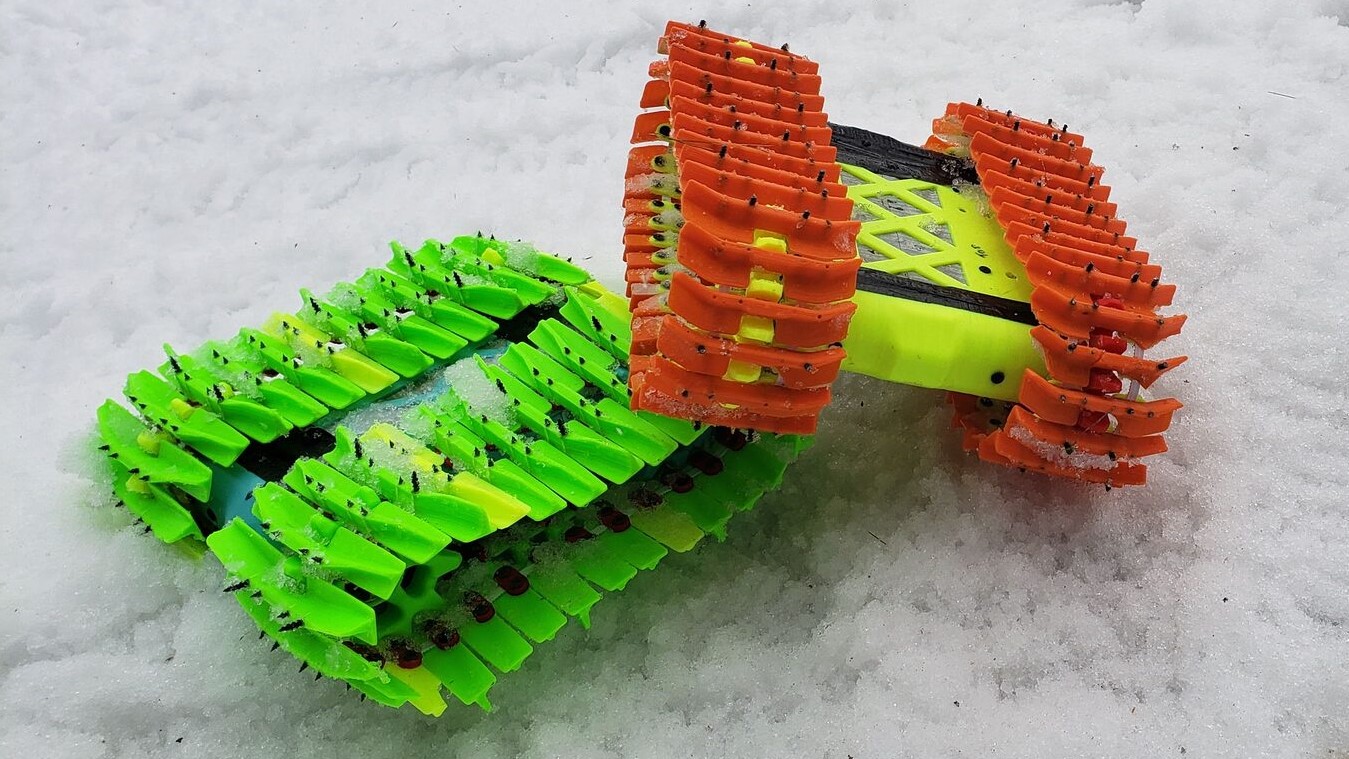
An inexpensive to build rc robot for snow with a working snow plow. It is designed to be 1:24 scale.
- Ocena
- 4,714 / 5
- Polubienia
- 252
- Pobrania
- 864
- Wydruki
- 10
- Wyświetlenia
- 9411
- Oceny
- 7
Aktualizacja u źródła:
Informacje o modelu
- Źródło
- Printables
- Kategoria
- RC & Robotics
- Licencja
- Creative Commons — Attribution — Noncommercial
Hi, the main goal of this project is to create a inexpressive robot for the snow with a functional plow.
This is an easy to build project. You only need to know how to screw some screw and solder some wire.
If you have any questions about the project or the assembly process, feel free to ask them in the comments section.
Enjoy
Parts and quantity to print:
- 1x cabine_plate_left-v1
- 1x cabine_plate_right-v1
- 1x cabine_plow-v1 (print in vase mode)
- 1x center_frame-v1
- 6x cog-v1
- 2x drive_pod_frame-v1
- 2x drive_pod_plate-v1
- 10x hub-v1
- 1x plow_left-v1
- 1x plow_lever-v1
- 4x plow_link-v1
- 1x plow_right-v1
- 1x servo_holder_35kg-v1
- 4x toothless_cog-v1
- 4x track-v1 (print in TPU)

Link for parts:
( I put amazon link of product that have the same spec that the one I use in this project. You can probably find some of those part somewhere else for cheaper and in the right quantities for the project)
- 4x TTmotor 1:48 amazon
- 4x mâles and femelles JST connector with wire. amazon
- 50x Screw #5 - 1/2in length
- 1x Battery 2s (7.4v). I use a Lipo 7,4 V 6500 mAh
- 1x Rc controller and reviver. I use a Radiolink T8S
- 1x Dual motor drive with integrated tank mix. amazon but you can find them cheaper aliexpress.
Tool:
- screw driver
- Glue
- soldering iron
- Cutting plier
Assembly steps:
1- Glue the tracks:
Look at the end of the track section. One end have two small knob and the other end have one small knob. Glue the the end with one small knob of a track section with the end that have 2 small knob of another track section.

I put paper clip to held the two section together will the glue dry.

When the glue is dry. Glue the other end of the track section to close the loop.

2- Modify the 4 motors
Cut one of the motor shaft on the side where the casing dont have a small circular extrusion.


Also cut the yellow tab at the end of the motor:

3 - Solder wires to the 4 motors
Make sure the motor terminals are on the same side the driveshaft was cut. Then solder the end of the male JST connector wires to the same position as the following photo..

Once the wires are soldered, I add tape to secure the wires in place.


You need 4 motor like that.
4 - Make adapter wire
4.1 - Make two adapters that go from one motor output to two motor outputs. All wire ends are female JST plugs.


4.2 - If the controller battery input is not the same as the battery you plan to use, you can make or buy an adapter. If you make the adapter yourself, make sure you have a good solder and that the wires are well insulated. A short circuit at the output of a battery is very dangerous.
Here is my adapter that goes from a T plug to the JST connector on the controller.


5 - Assemble the 2 drive pod

Put the 5 hub in the drive pod frame, screw 4 of the 5 wheel and add the track.


Screw on the last wheel, put the 2 motors in place and screw on the drive pod plate.


Repeat these steps to assemble the second drive module.

6 - Assemble the plow and the cabine plate
3 screws for the plow

2 screws for the cabine plate

7 - Link the plow to the cabine plate
Add the plow lever to one link


Link the cabine plate to the plow with the 4 link


Ad the 4 screw to the link

8 - Assemble the 2 drive pods on the center frame
Pass the motor wire through the middle frame.

Tighten the 2 screws under the middle frame and the two screws on the side of the middle frame.


Reapeat for the second drive module.
9 - Assemble the Cabine plate on the center frame
Pass the motors wires through and screw the 8 screw.


10 - Fix the servomotor to the cabine plate
Screw the servo mount to the frame. Then screw the servomotor onto the bracket.


11 - link the plow lever to the servomotor
Take a thick paper clip and make 2 bends at 90 degrees at a distance of 70 mm from each other.

Insert one end in the servomotor horn and the other end in the plow lever.

Make one more bend at each end and trim the extra length.

12 - Plug the wire
Plug the drive and the servomotor in the RC reciver.
I plug mine like that :
Chanel 2: Drive foward and reverse.
Chanel 4: Drive right and left.
Chanel 8: servomotor (for the plow)

Plug the left motor on one motor output and the right motor on the other motor output. (you may need to switch the right and left motors if the robot goes left when you turn right)

You can add a tie-wrap to held the wire together and stick the RC reciver to the frame.


13- Trim the cabine
Cut the parts as see in the next picture.

14 - Plug the battery and put the cabine on.


15 - ENJOY