
1 / 5
ESP32 CAM Housing
Zamów wydruk tego modelu
Obliczymy ostateczną cenę na podstawie wybranego pliku. Sprawdzisz ją i zaakceptujesz przed płatnością.
Zapisane na tym urządzeniu.

Rigid and compact housing for ESP32 CAM module. Housing is connected to 3-Axis mount for easy calibration
- Ocena
- 4,833 / 5
- Polubienia
- 124
- Pobrania
- 397
- Wydruki
- 8
- Wyświetlenia
- 4360
- Oceny
- 6
Aktualizacja u źródła:
Informacje o modelu
- Źródło
- Printables
- Kategoria
- Electronics
- Licencja
- Creative Commons — Attribution — Noncommercial — Share Alike
SzczegółyPliki (12)Wydruki i komentarze (Wydruki: 8) (Komentarze: 12)Remiksy (0)Kolekcje (177)Powiązane
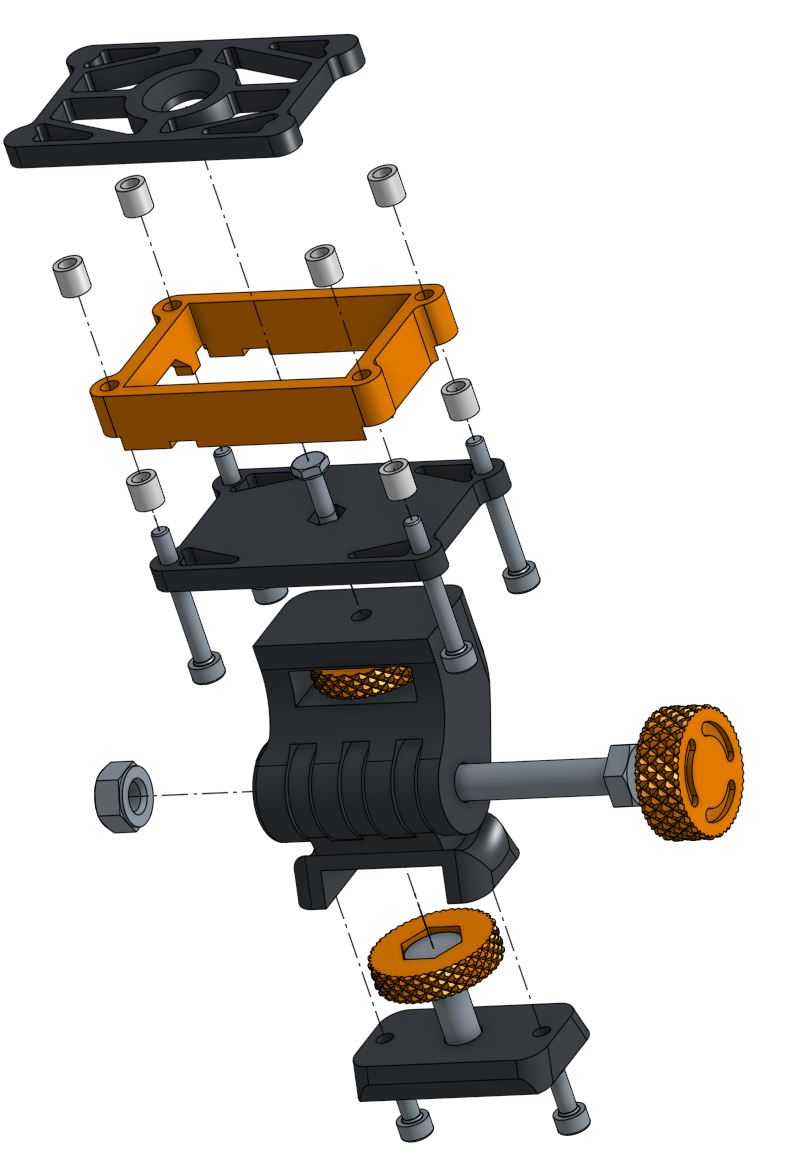
Bill of materials:
- 4x M3X30 bolt
- 1x M3x12 Hex bolt
- 1x M3 nut
- 1x M6x35 Hex bolt
- 1x M6x16 Hex bolt
- 1x M6 nut
IMPORTANT!!!
In order to connect ESP32 to the housing first split ESP32 cam module from its programmer board. Next place camera module on top of the middle part and programmer in the bottom. Then connect camera module and programmer together with middle part in between JUST LIKE SANDWICH
EXPLODED VIEW BEFORE ASSEMBLY
AFTER ASSEMBLY
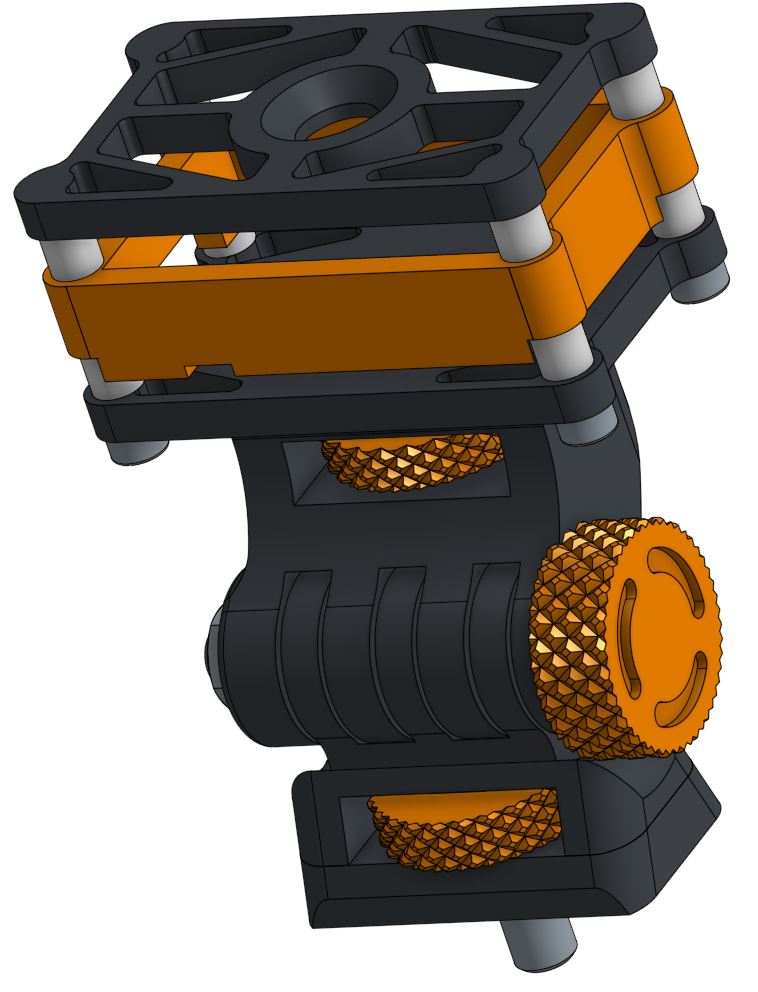
- In order to connect whole mount to aluminum extrusion, simply put T-nut on M6X16 bolt located in the bottom of "Axis mount2.1
- In order to connect whole module to wall or flat surface, use “wall mount”
- In order to connect whole module to pipe, use “pipe mount”