
LED Desk Lamp - Video Conferencing
Obliczymy ostateczną cenę na podstawie wybranego pliku. Sprawdzisz ją i zaakceptujesz przed płatnością.
Orientacyjna cena wydruku pliku
1,14 € – 1,40 € netto (bez VAT)
Dla pliku: diffuser_0.2mm_PLA_MINI_1h25m.gcode
To wstępna wycena jednego pliku. Dokładną cenę poznasz przed zamówieniem.
Plik i założenia wyceny
Plik użyty do wyceny
Średnia wycena orientacyjna: 1,27 € netto (środek widełek).
- Masa podana przez autora
- 13 g
- Czas druku podany przez autora
- 1,41 godz.
- Materiał u źródła
- PLA
- Materiał wyceny
- PLA
- Drukarka wyceny
- Bambu Lab P1S - 0.4 nozzle
- Proces wyceny
- 0.20mm Standard
Orientacyjna wycena wyłącznie wybranego pliku, oparta na masie i czasie druku podanych przez autora. Warianty plików nie są sumowane. Ostateczna cena zostanie obliczona po analizie pliku.
Zapisane na tym urządzeniu.

A modern desk lamp that swivels to light your face on video calls. Hide your video conferencing light in plain sight.
- Ocena
- 0 / 5
- Polubienia
- 25
- Pobrania
- 36
- Wydruki
- 0
- Wyświetlenia
- 629
- Oceny
- 0
Aktualizacja u źródła:
Informacje o modelu
- Źródło
- Printables
- Kategoria
- Home Decor
- Licencja
- Creative Commons — Attribution
Make a desk lamp from USB LEDs and swivel the shade to use it as diffuse light source for video calls!
You can use an LED panel or LED strips. I recommend USB LED panel pulled out of an off-the-shelf amazon video conferencing lights for the ease of setup.
Great compliment to the Canopy Desk Accessory Stand attachments.
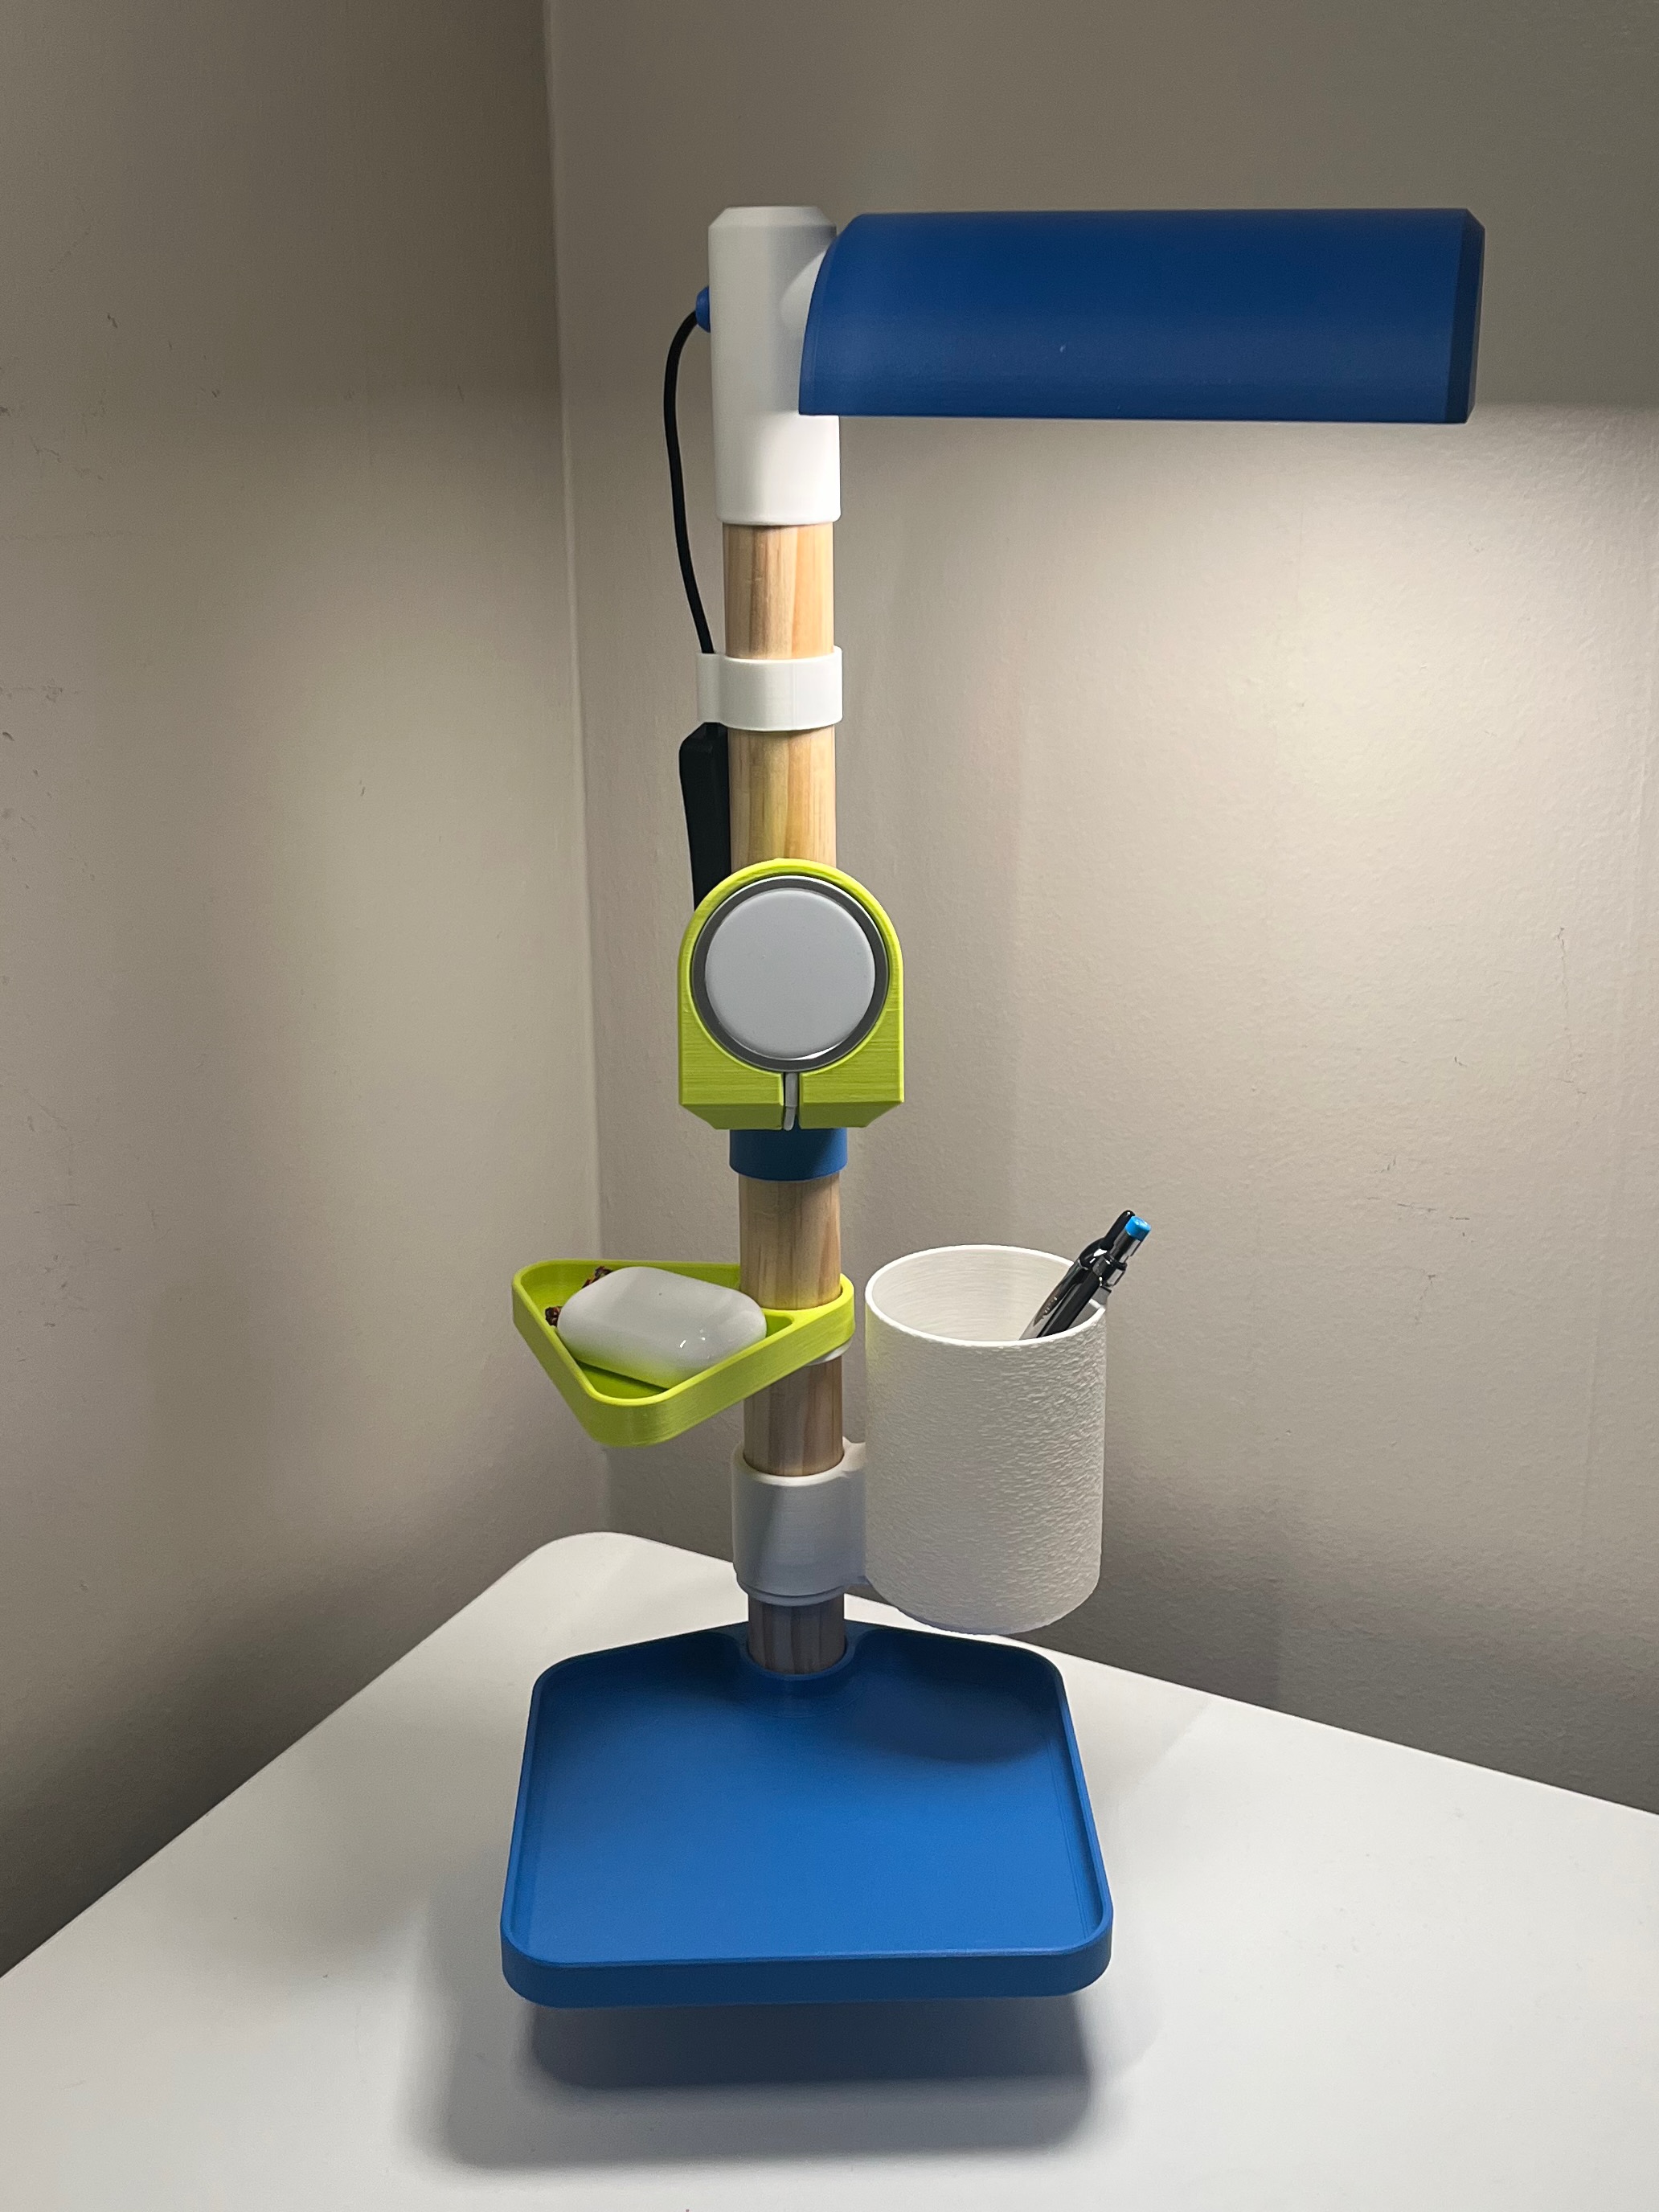
What you need
Non-Printed Parts
- Wood Dowel 1-¼" dia.
- USB LED Panel from Video Conference Light (recommended) OR LED strips
- x8 Magnets 6x2mm
- x3 M3 6mm screws
Tools
- screwdriver
- wire strippers
- soldering iron w/ solder
- CA glue (superglue)
Printing
- Diffuser should be printed in a white PLA/PETG. I recommend Polymaker PolyTerra cotton white.
- Files have been split into plate A/B if you want to contrast colors like mine.
Settings
- Orientation: use GCode file for reference
- Material: PLA
- NOTE: Be aware of LED heat output! PLA can deform/melt in heat and IS flammable! My specific LED panel doesn’t get above 109F on full brightness over 1hr.
- Supports: None
- Brim: depends on bed adhesion. Consider adding brim for cap, pivot, eyelet, base_ring
- Layer Height: 0.2mm
Post Processing
- Cable Clip - small section of single layer “brim” needs to be removed
Assembly
- See .f3d file if you need to see how parts fit together.
- Magnets - hole tolerances may cause a loose fit and require a drop of super glue
- Tolerances - cylinders are designed w/ ridges to be tight and make a small surface area to file/sand to get to the appropriate fit
- LED Panels standoffs are lose and need to be glued on. This is for flexibility because I have no idea if your LED panels will have the same mounting holes as mine.
Installing the LED Panel
- Disassemble and isolate LED Panel/wiring from original housing.
- MEASURE HEAT OUTPUT! Run LED and confirm the temperature is safe for an extended period of time before proceeding!
- Assemble the eyelet, cap, pivot, shade
- Take a picture of the LED Panel wiring! You'll thank me.
- De-solder wires to LED panel
- Route wires through eyelet/cap/pivot/shade assembly
- Cut wires to length
- Solder wires to LED Panel (use that picture for reference)
- Install screws/standoffs to LED panel
- Apply CA glue to bottom of standoffs
- Press standoffs into shade and wait to dry
Updates
- 6/13/2023
- updated documentation to focus on LED panel instead of LED strips
- added V2 models
- added shade standoffs for LED panel
- updated lamp base - no supports required
- updated cable clip - ease of use
- updated cap - no supports required
- added eyelet - covers non-circular wire hole
- added ring to base - covers non-circular base hole
- updated diffuser - more rigid