
LED Desk Lamp - Video Conferencing
We calculate the final price from your selected file. You review and accept it before payment.
Estimated printing price per file
€1.14 – €1.40 net (excluding VAT)
For file: diffuser_0.2mm_PLA_MINI_1h25m.gcode
This is an estimate for one file. You’ll confirm the exact price before ordering.
File and estimate settings
File used for this estimate
Average indicative estimate: €1.27 excluding VAT (range midpoint).
- Weight reported by the author
- 13 g
- Print time reported by the author
- 1.41 hr
- Source material
- PLA
- Estimate material
- PLA
- Estimate printer
- Bambu Lab P1S - 0.4 nozzle
- Estimate process
- 0.20mm Standard
Indicative estimate for the selected file only, based on the author’s weight and print time. File variants are not added together. The final price is calculated after file analysis.
Saved on this device.

A modern desk lamp that swivels to light your face on video calls. Hide your video conferencing light in plain sight.
- Rating
- 0 / 5
- Likes
- 25
- Downloads
- 36
- Makes
- 0
- Views
- 629
- Reviews
- 0
Updated at source:
Model information
- Source
- Printables
- Category
- Home Decor
- License
- Creative Commons — Attribution
Make a desk lamp from USB LEDs and swivel the shade to use it as diffuse light source for video calls!
You can use an LED panel or LED strips. I recommend USB LED panel pulled out of an off-the-shelf amazon video conferencing lights for the ease of setup.
Great compliment to the Canopy Desk Accessory Stand attachments.
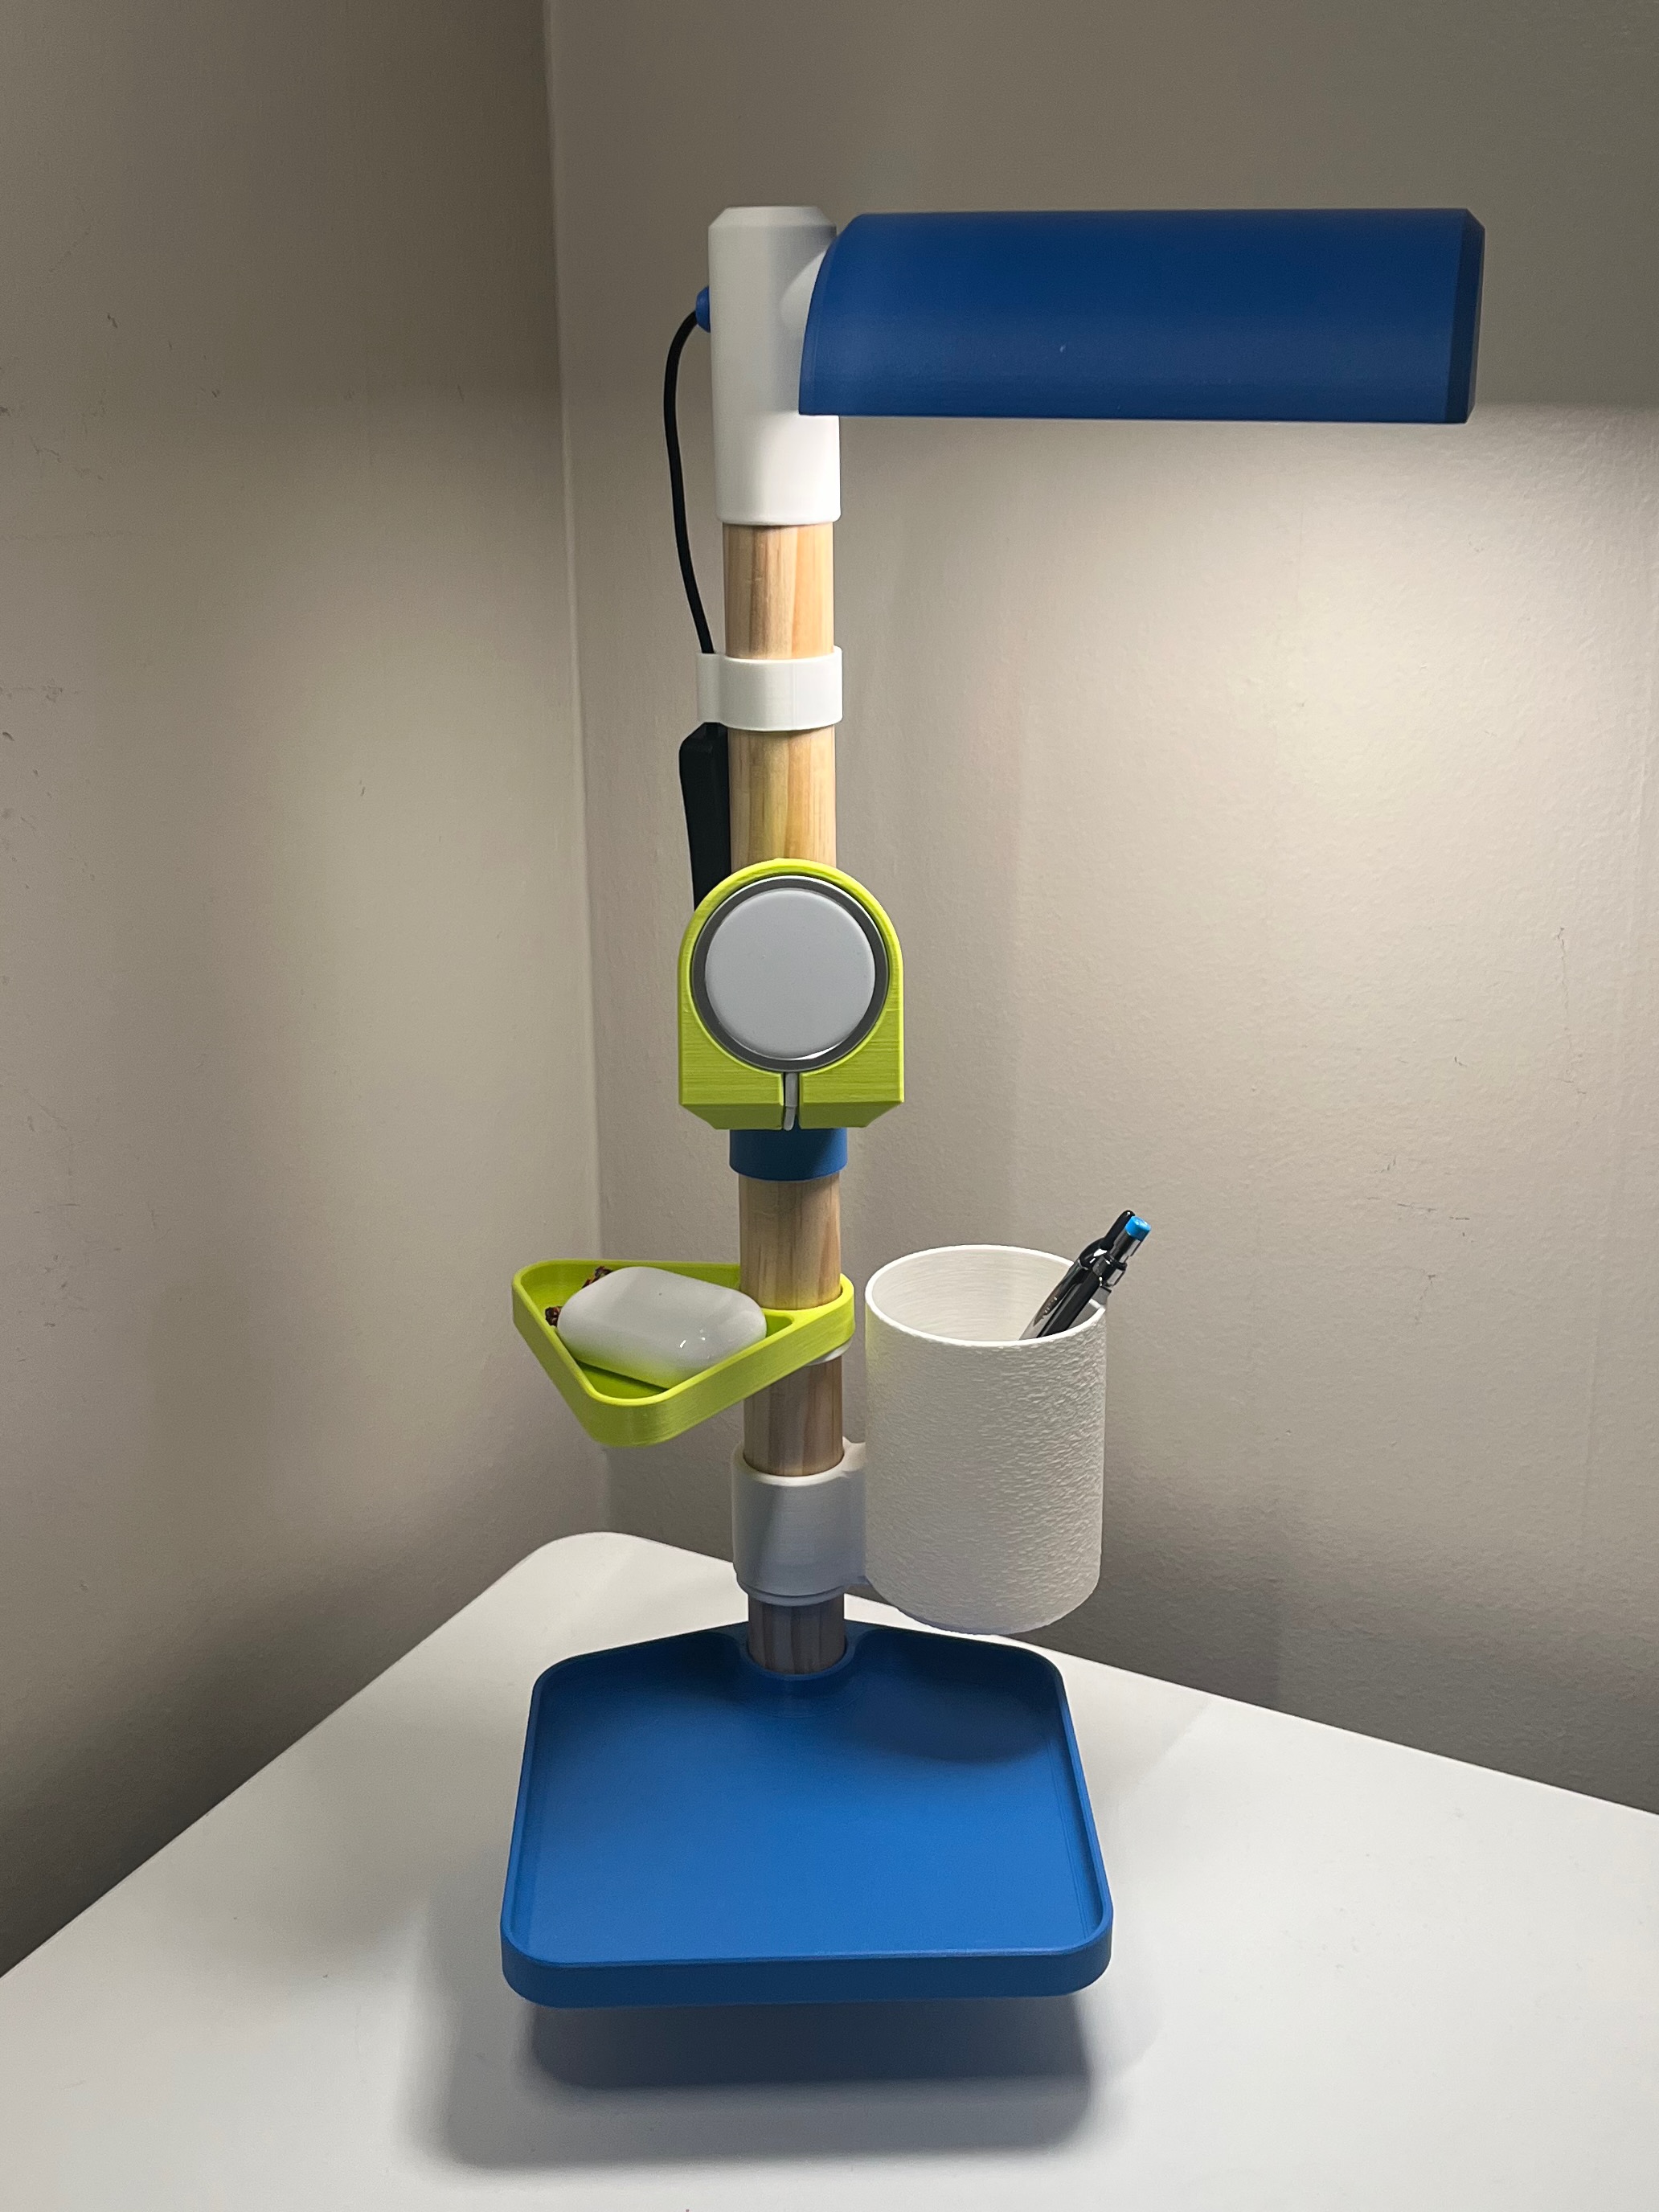
What you need
Non-Printed Parts
- Wood Dowel 1-¼" dia.
- USB LED Panel from Video Conference Light (recommended) OR LED strips
- x8 Magnets 6x2mm
- x3 M3 6mm screws
Tools
- screwdriver
- wire strippers
- soldering iron w/ solder
- CA glue (superglue)
Printing
- Diffuser should be printed in a white PLA/PETG. I recommend Polymaker PolyTerra cotton white.
- Files have been split into plate A/B if you want to contrast colors like mine.
Settings
- Orientation: use GCode file for reference
- Material: PLA
- NOTE: Be aware of LED heat output! PLA can deform/melt in heat and IS flammable! My specific LED panel doesn’t get above 109F on full brightness over 1hr.
- Supports: None
- Brim: depends on bed adhesion. Consider adding brim for cap, pivot, eyelet, base_ring
- Layer Height: 0.2mm
Post Processing
- Cable Clip - small section of single layer “brim” needs to be removed
Assembly
- See .f3d file if you need to see how parts fit together.
- Magnets - hole tolerances may cause a loose fit and require a drop of super glue
- Tolerances - cylinders are designed w/ ridges to be tight and make a small surface area to file/sand to get to the appropriate fit
- LED Panels standoffs are lose and need to be glued on. This is for flexibility because I have no idea if your LED panels will have the same mounting holes as mine.
Installing the LED Panel
- Disassemble and isolate LED Panel/wiring from original housing.
- MEASURE HEAT OUTPUT! Run LED and confirm the temperature is safe for an extended period of time before proceeding!
- Assemble the eyelet, cap, pivot, shade
- Take a picture of the LED Panel wiring! You'll thank me.
- De-solder wires to LED panel
- Route wires through eyelet/cap/pivot/shade assembly
- Cut wires to length
- Solder wires to LED Panel (use that picture for reference)
- Install screws/standoffs to LED panel
- Apply CA glue to bottom of standoffs
- Press standoffs into shade and wait to dry
Updates
- 6/13/2023
- updated documentation to focus on LED panel instead of LED strips
- added V2 models
- added shade standoffs for LED panel
- updated lamp base - no supports required
- updated cable clip - ease of use
- updated cap - no supports required
- added eyelet - covers non-circular wire hole
- added ring to base - covers non-circular base hole
- updated diffuser - more rigid