
Snatch Block
Obliczymy ostateczną cenę na podstawie wybranego pliku. Sprawdzisz ją i zaakceptujesz przed płatnością.
Orientacyjna cena wydruku pliku
1,40 € – 1,71 € netto (bez VAT)
Dla pliku: Snatch Block_0.2mm_PLA_MINI_1h29m.gcode
To wstępna wycena jednego pliku. Dokładną cenę poznasz przed zamówieniem.
Plik i założenia wyceny
Plik użyty do wyceny
Średnia wycena orientacyjna: 1,55 € netto (środek widełek).
- Masa podana przez autora
- 21 g
- Czas druku podany przez autora
- 1,48 godz.
- Materiał u źródła
- PLA
- Materiał wyceny
- PLA
- Drukarka wyceny
- Bambu Lab P1S - 0.4 nozzle
- Proces wyceny
- 0.20mm Standard
Orientacyjna wycena wyłącznie wybranego pliku, oparta na masie i czasie druku podanych przez autora. Warianty plików nie są sumowane. Ostateczna cena zostanie obliczona po analizie pliku.
Zapisane na tym urządzeniu.

One of the most useful pulley systems in existence, now 100% 3D-printed and snap-fit!
- Ocena
- 5 / 5
- Polubienia
- 72
- Pobrania
- 269
- Wydruki
- 2
- Wyświetlenia
- 1520
- Oceny
- 1
Aktualizacja u źródła:
Informacje o modelu
- Źródło
- Printables
- Kategoria
- Mechanical Parts
- Licencja
- Creative Commons — Attribution — Noncommercial
I first learned about the power of the Snatch Block from Destin's SmarterEveryDay video - and I've been curious about putting together a printable design for one ever since - so this challenge was a perfect excuse. These are meant to be printed and snapped together using the Rod and Retaining Clip design I created a long while ago as part of my Ornithopter project.
If you're interested in understanding pulleys, and more specifically - the awesomeness that is the Snatch Block pully, check out SmarterEveryDay's video here:
Putting this this print together is a quick and easy process.
Step 1: Print one of each part - Plate A, Plate B, Pully, and Retaining Clip.
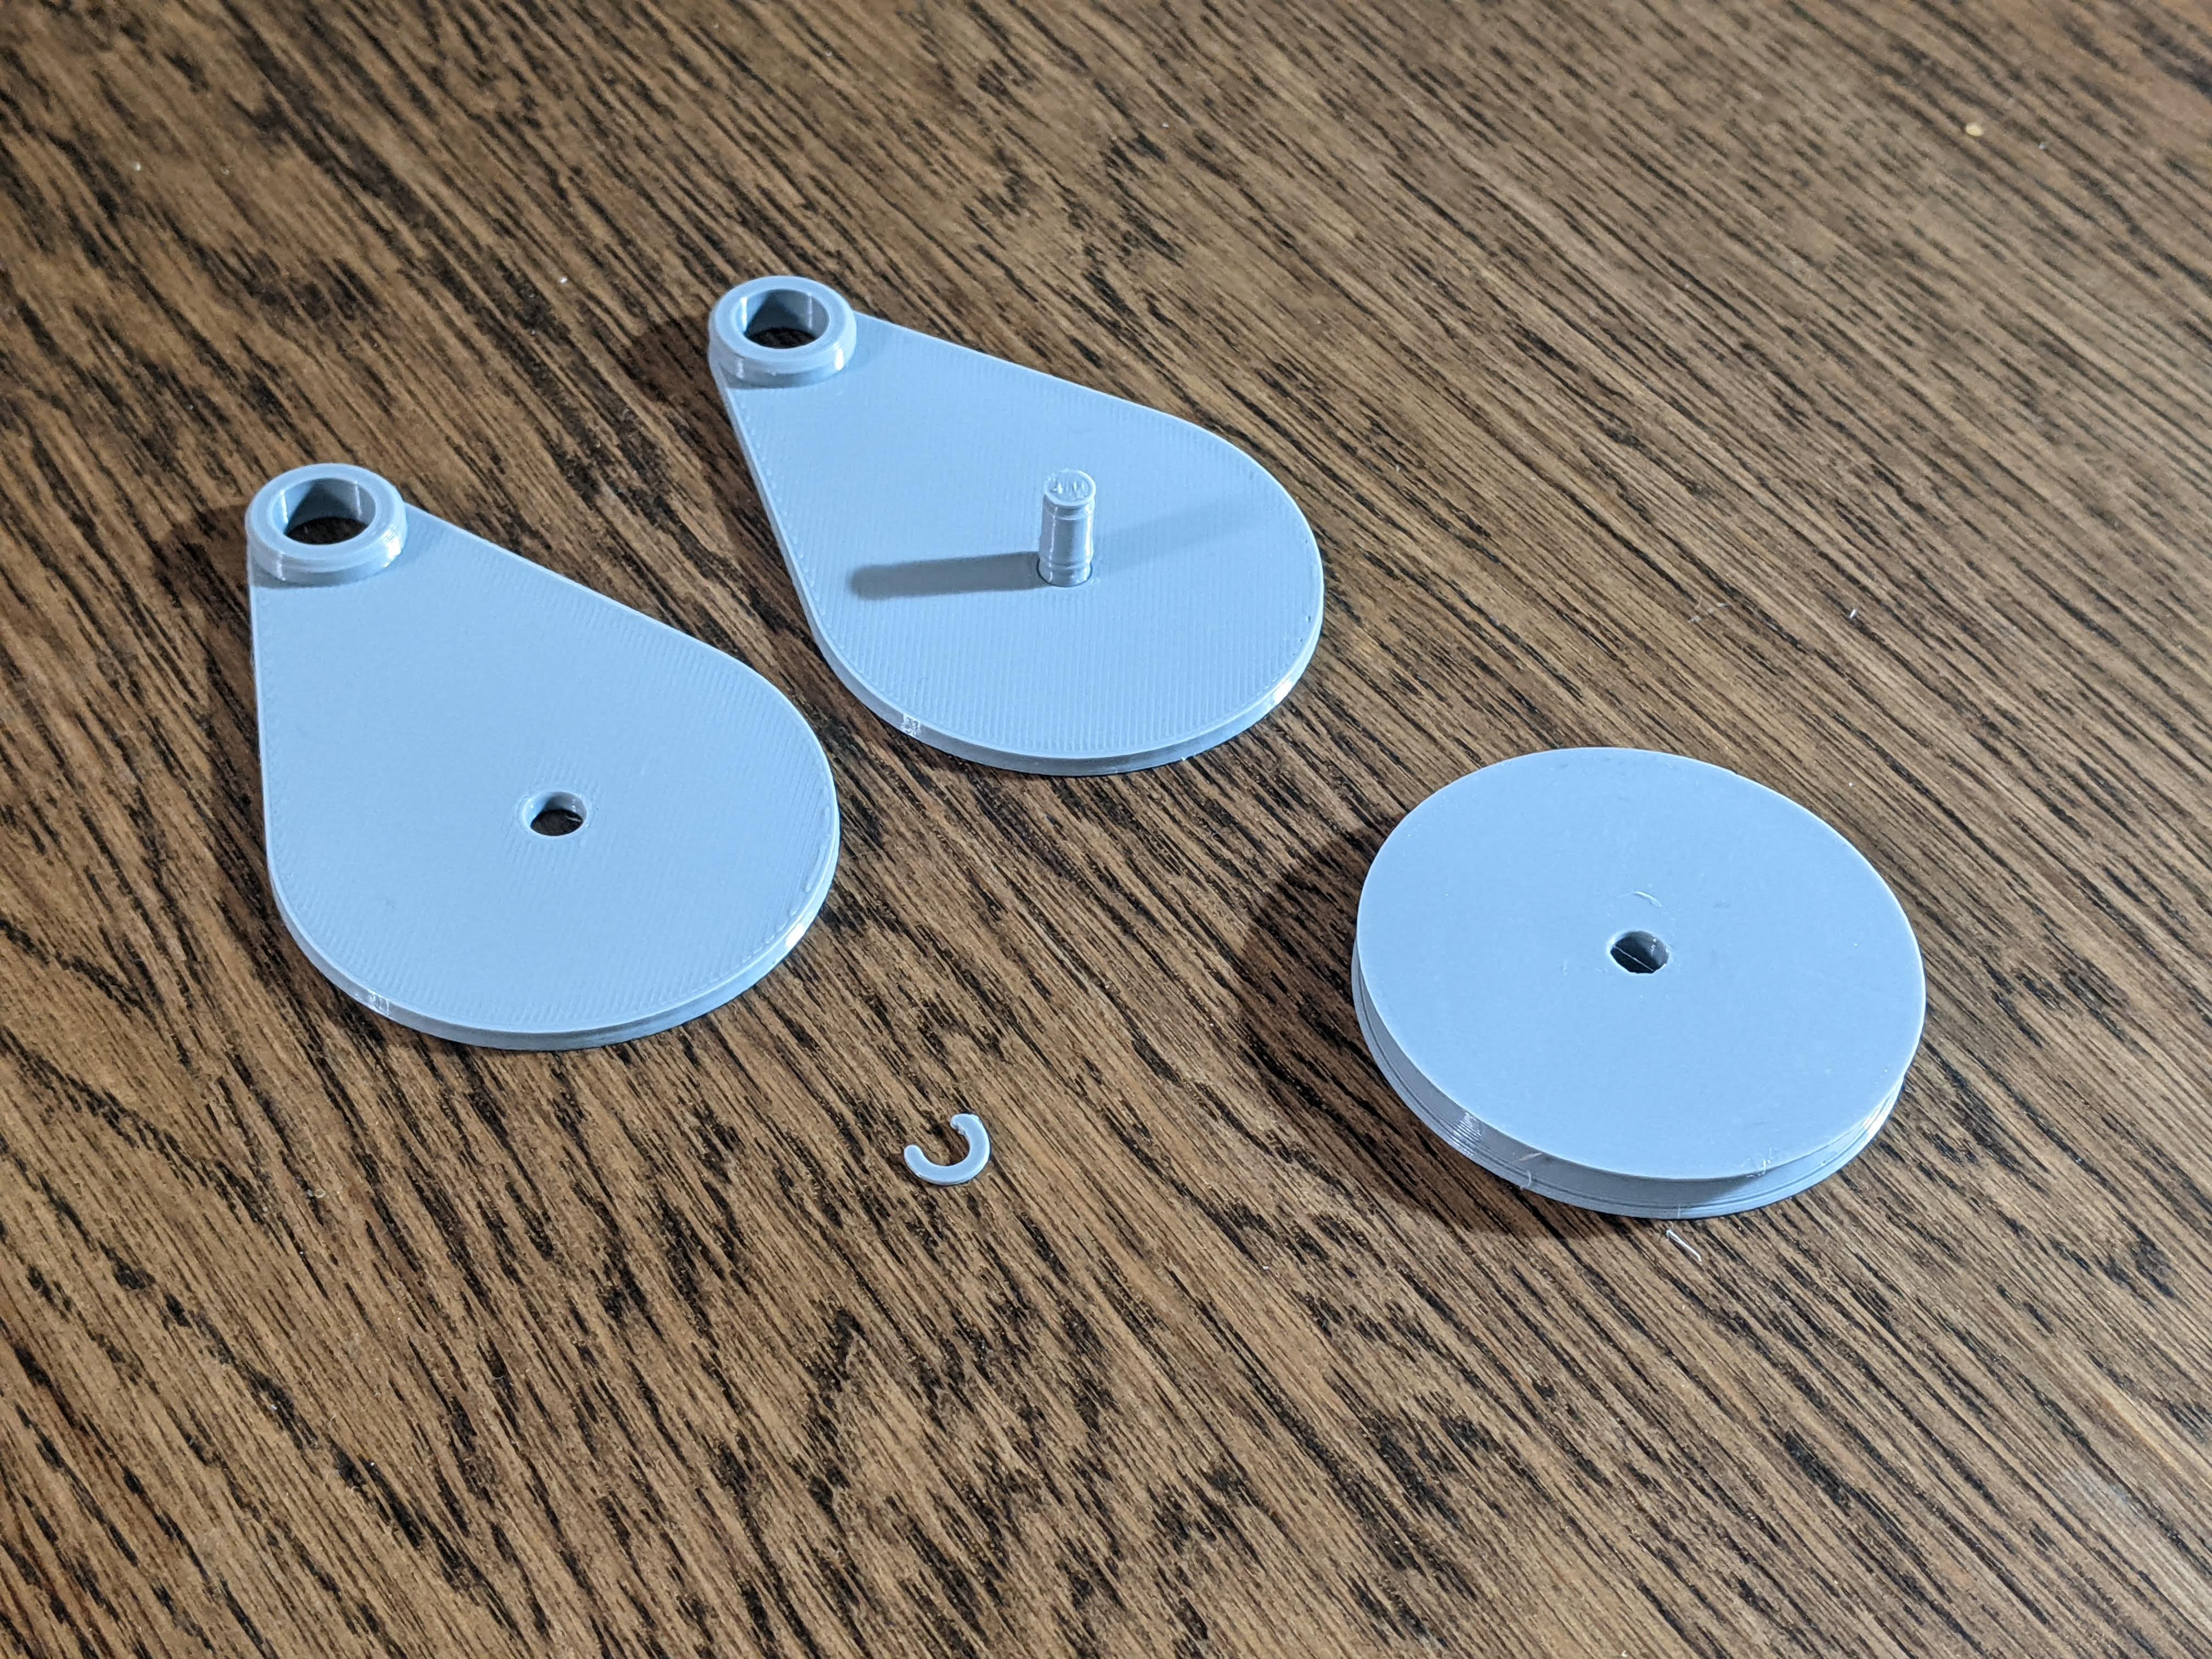
Step 2: Slot the Pully onto the rod of Plate A.

Step 3: Slot Plate B onto the rod of Plate A, ensuring the connecting rings of Plate A and B are facing each other.
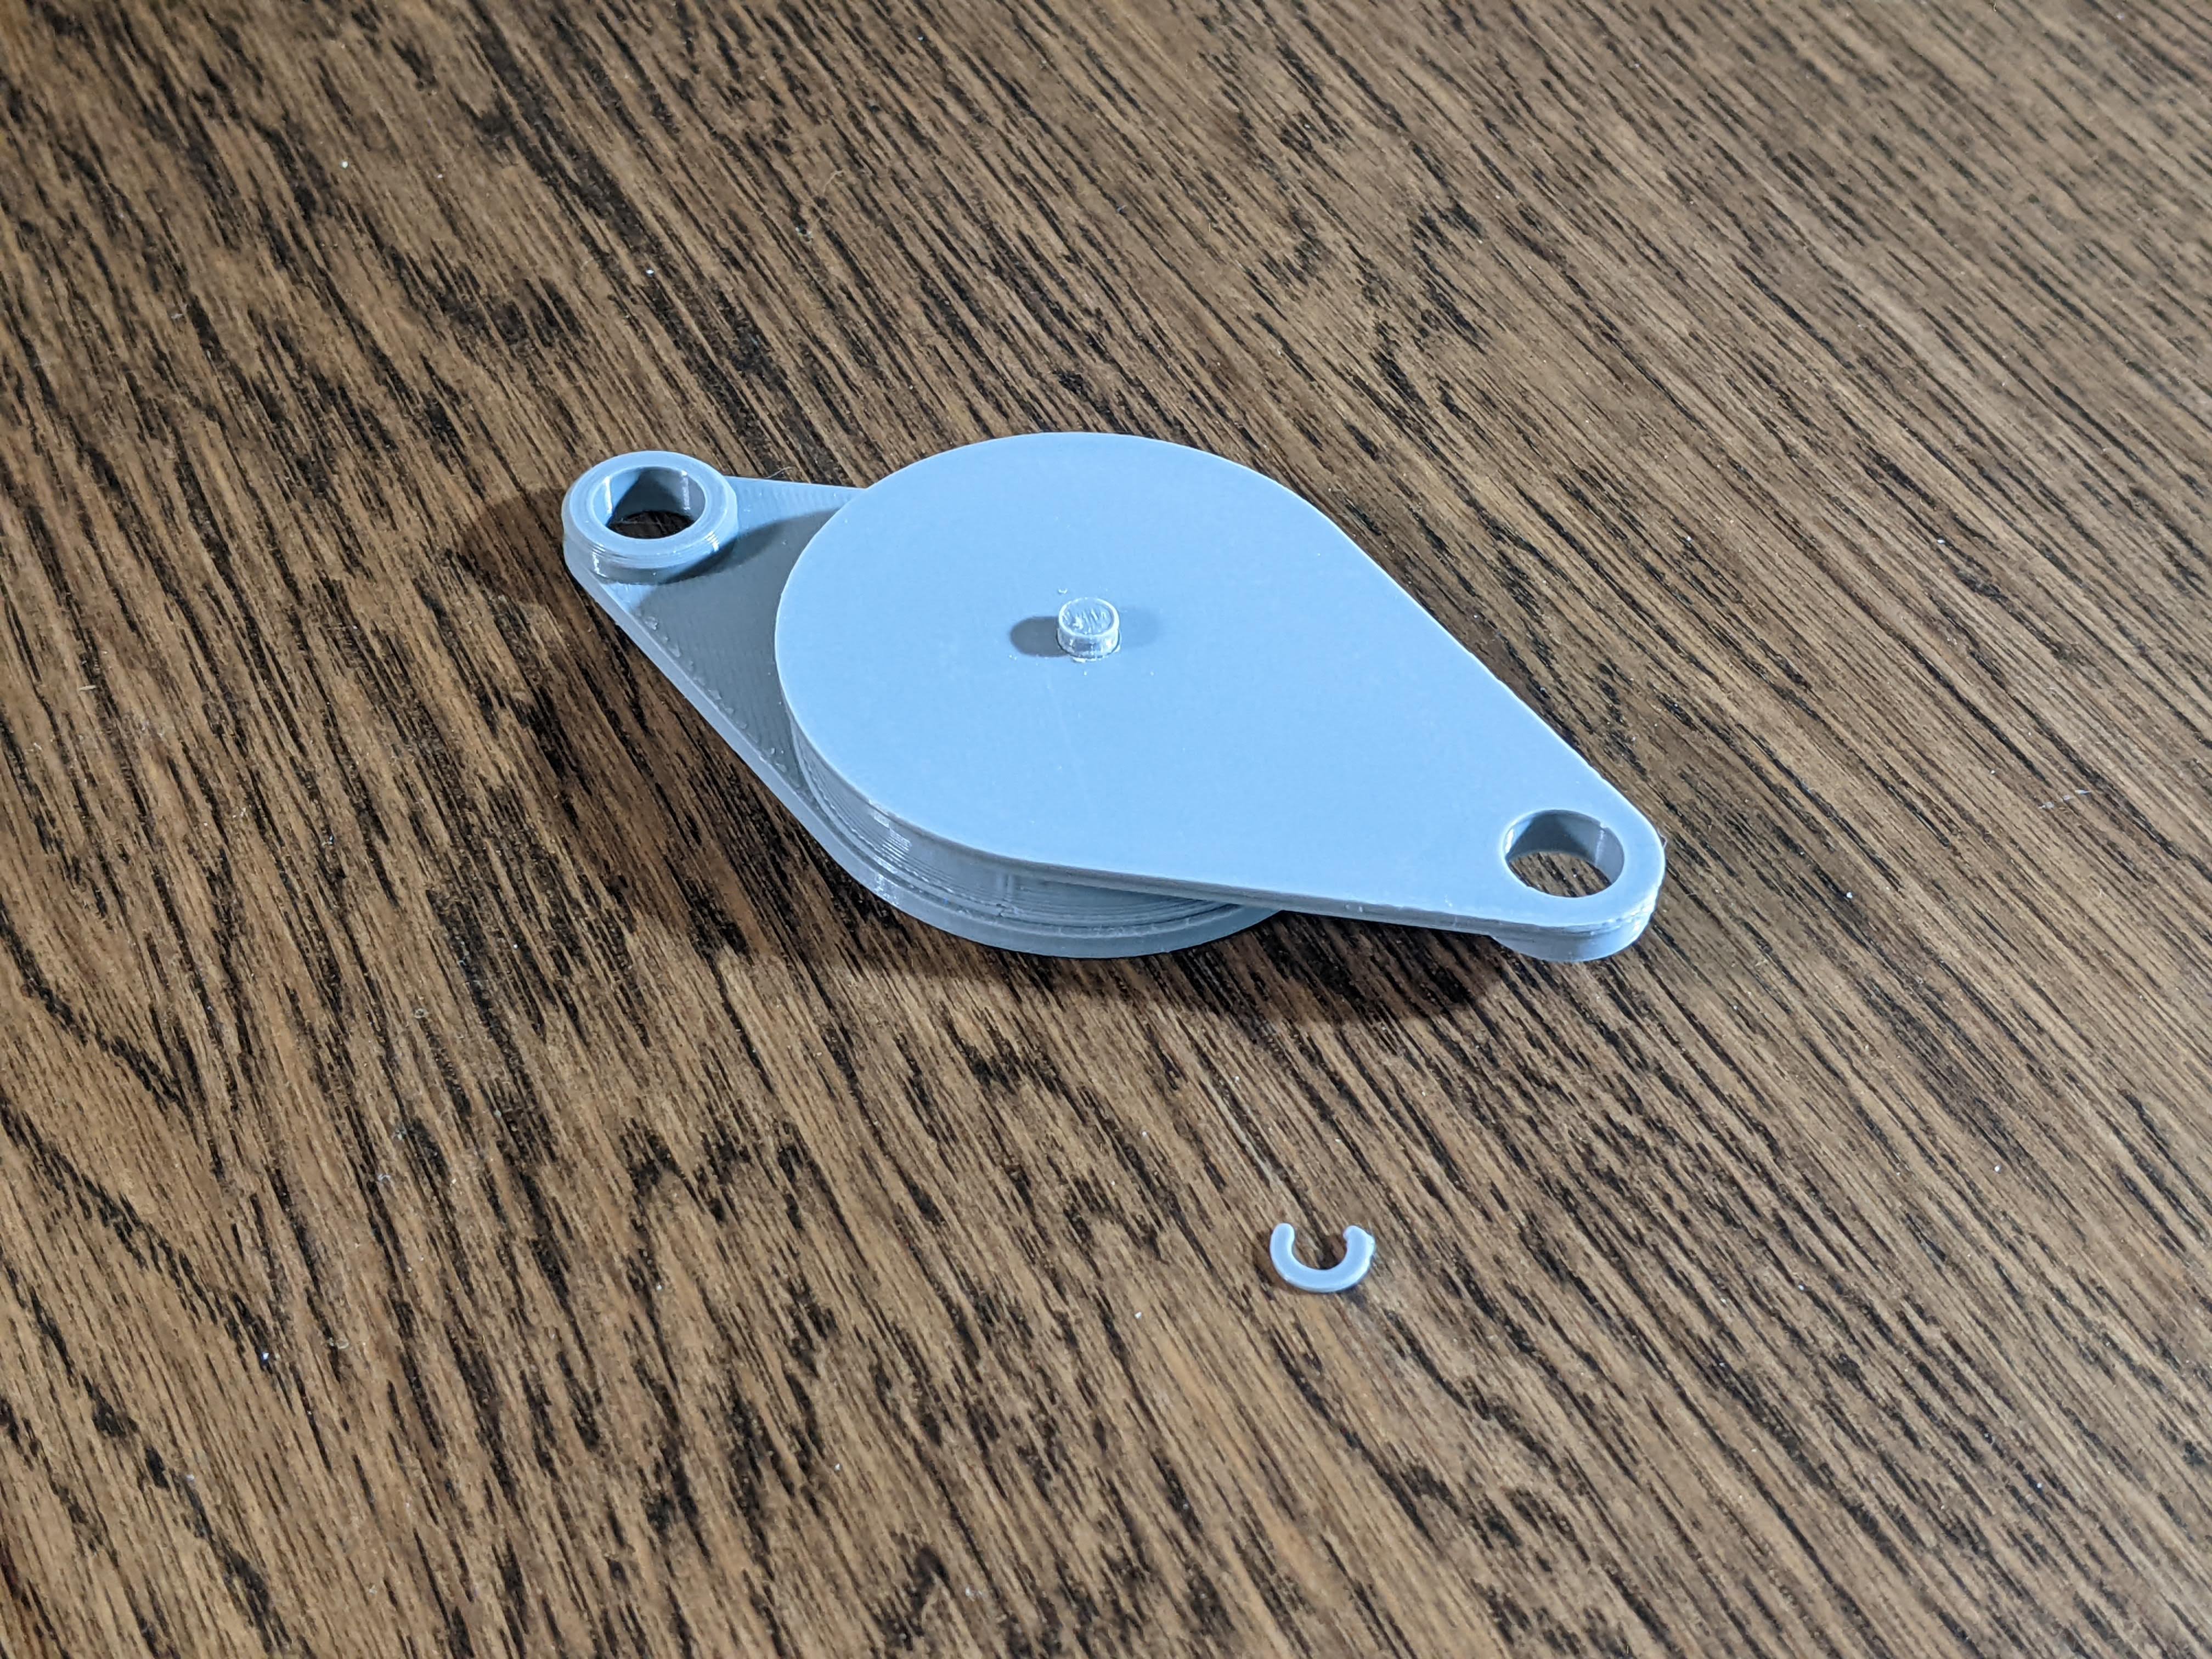
Step 4: Snap the Retaining Clip into place in the small groove in the rod of Plate A to lock the whole assembly together.
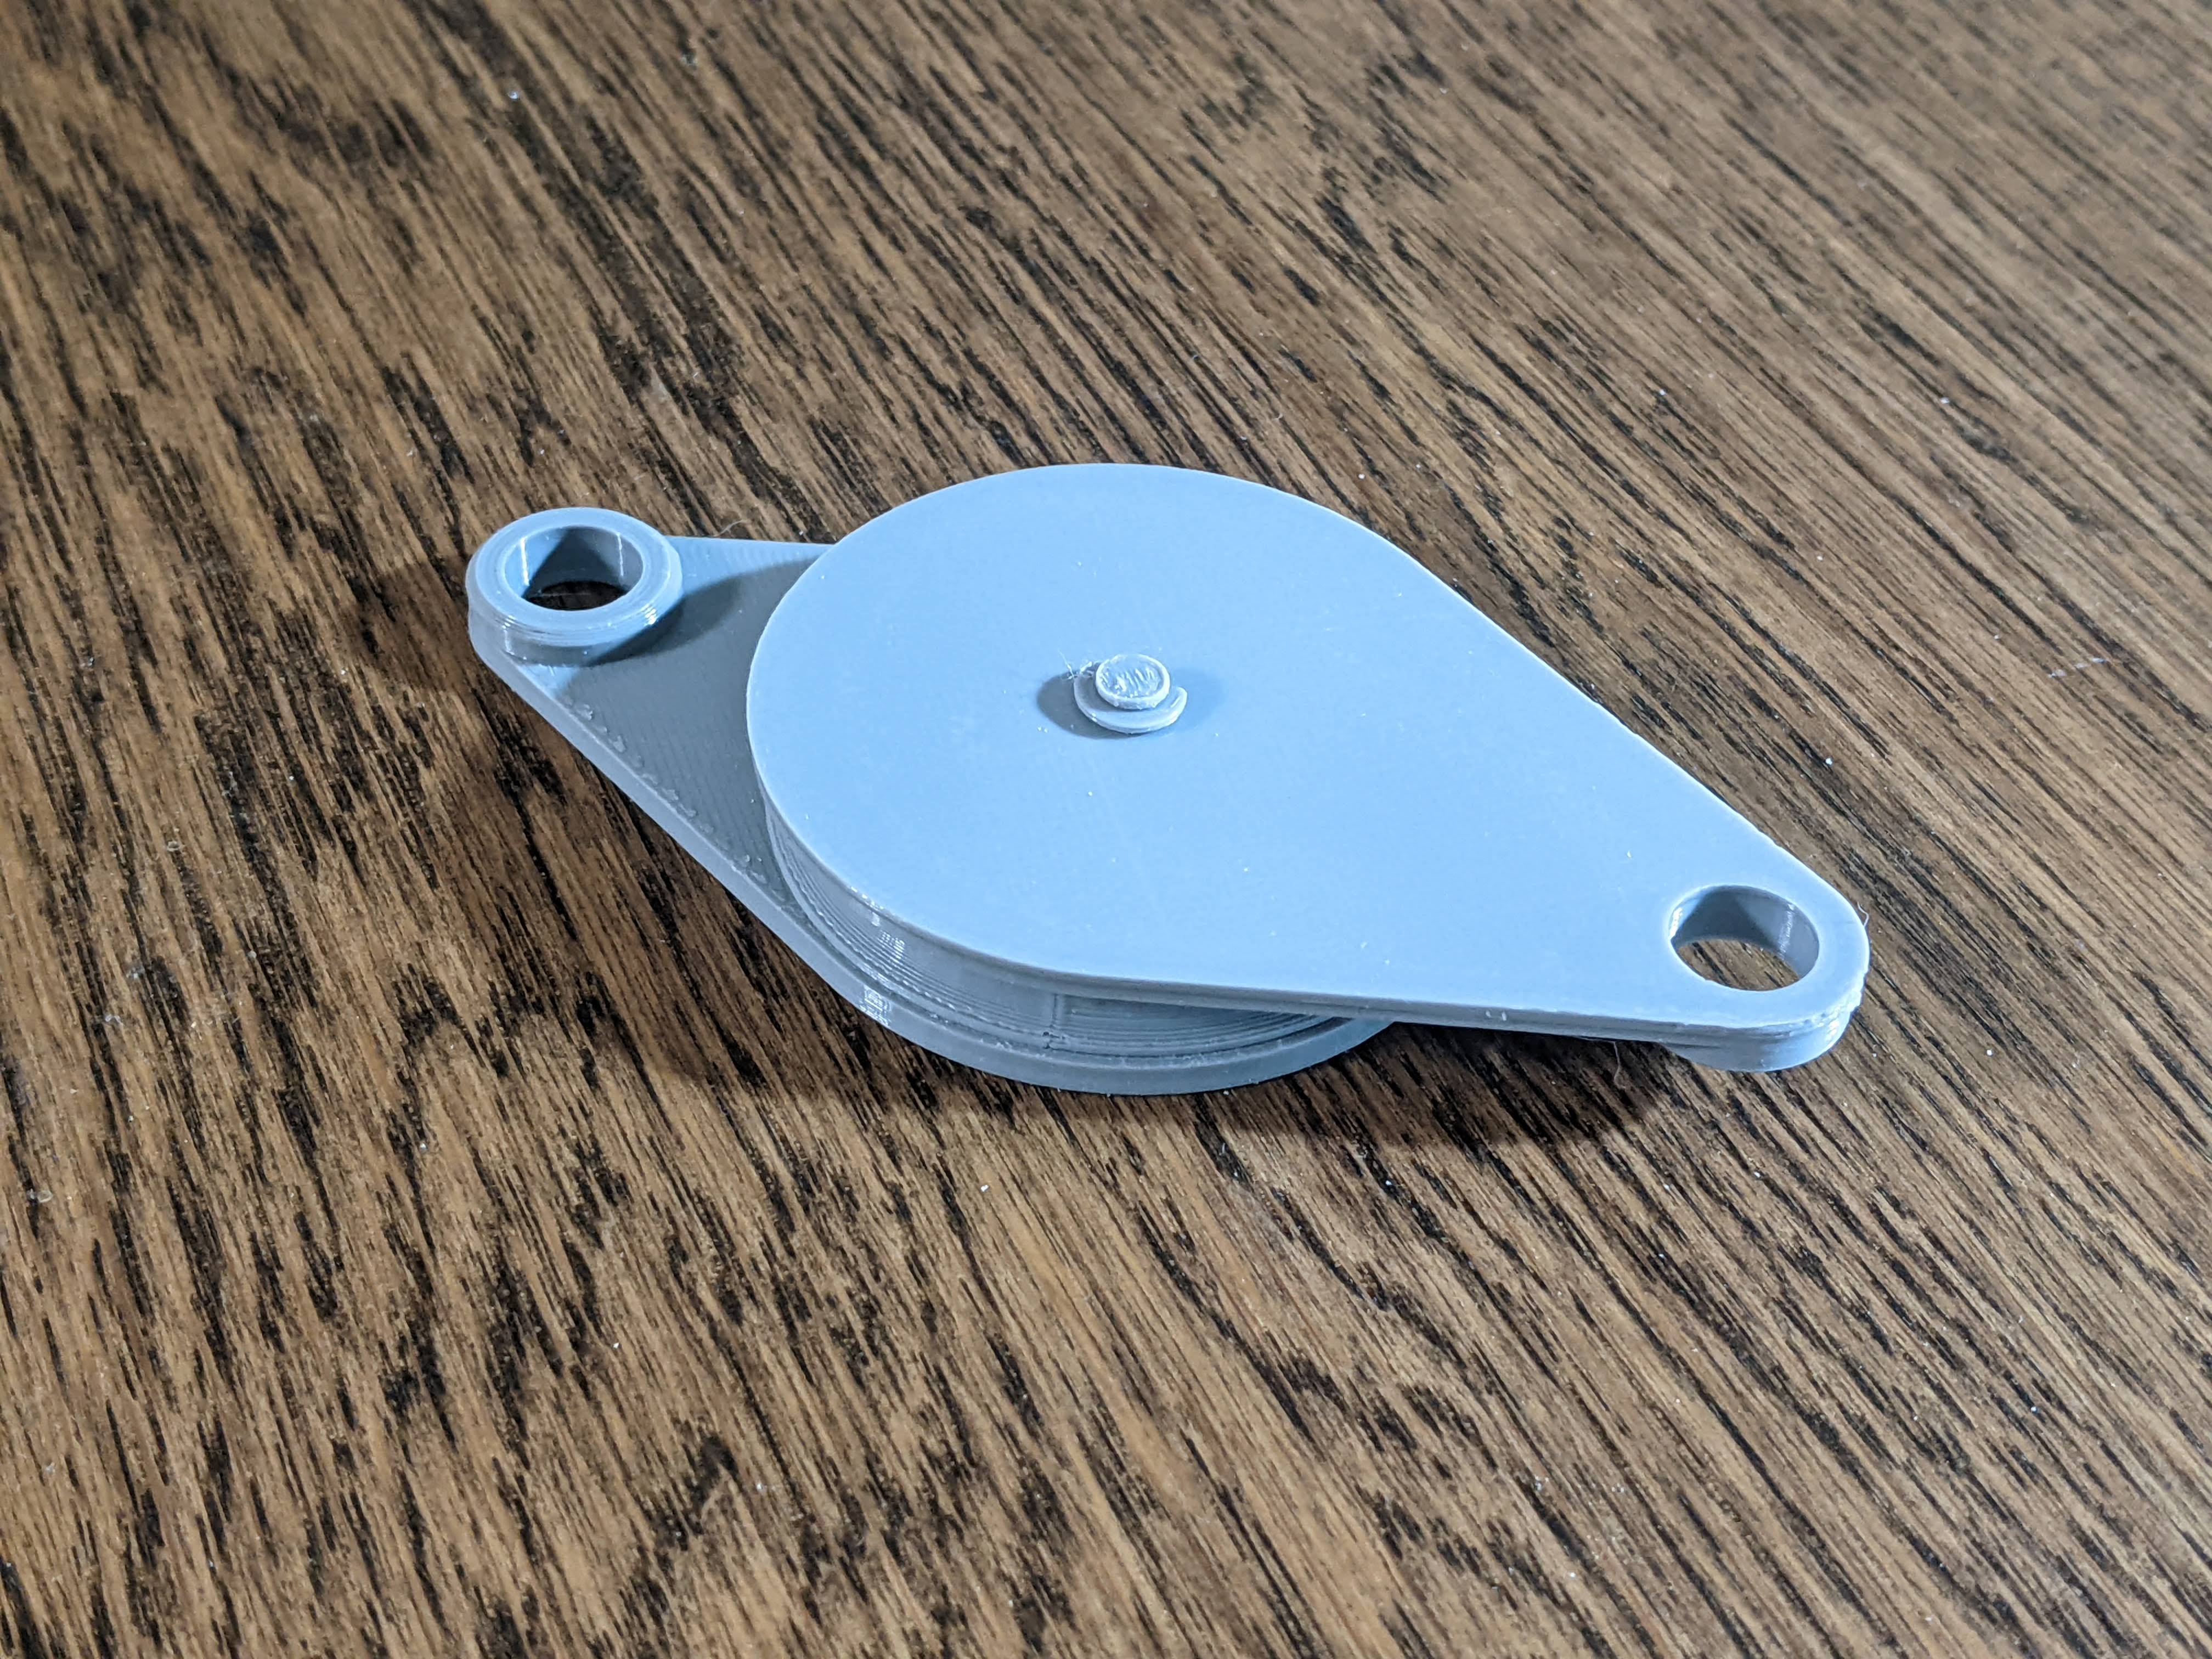
Step 5: Snatch a rope!
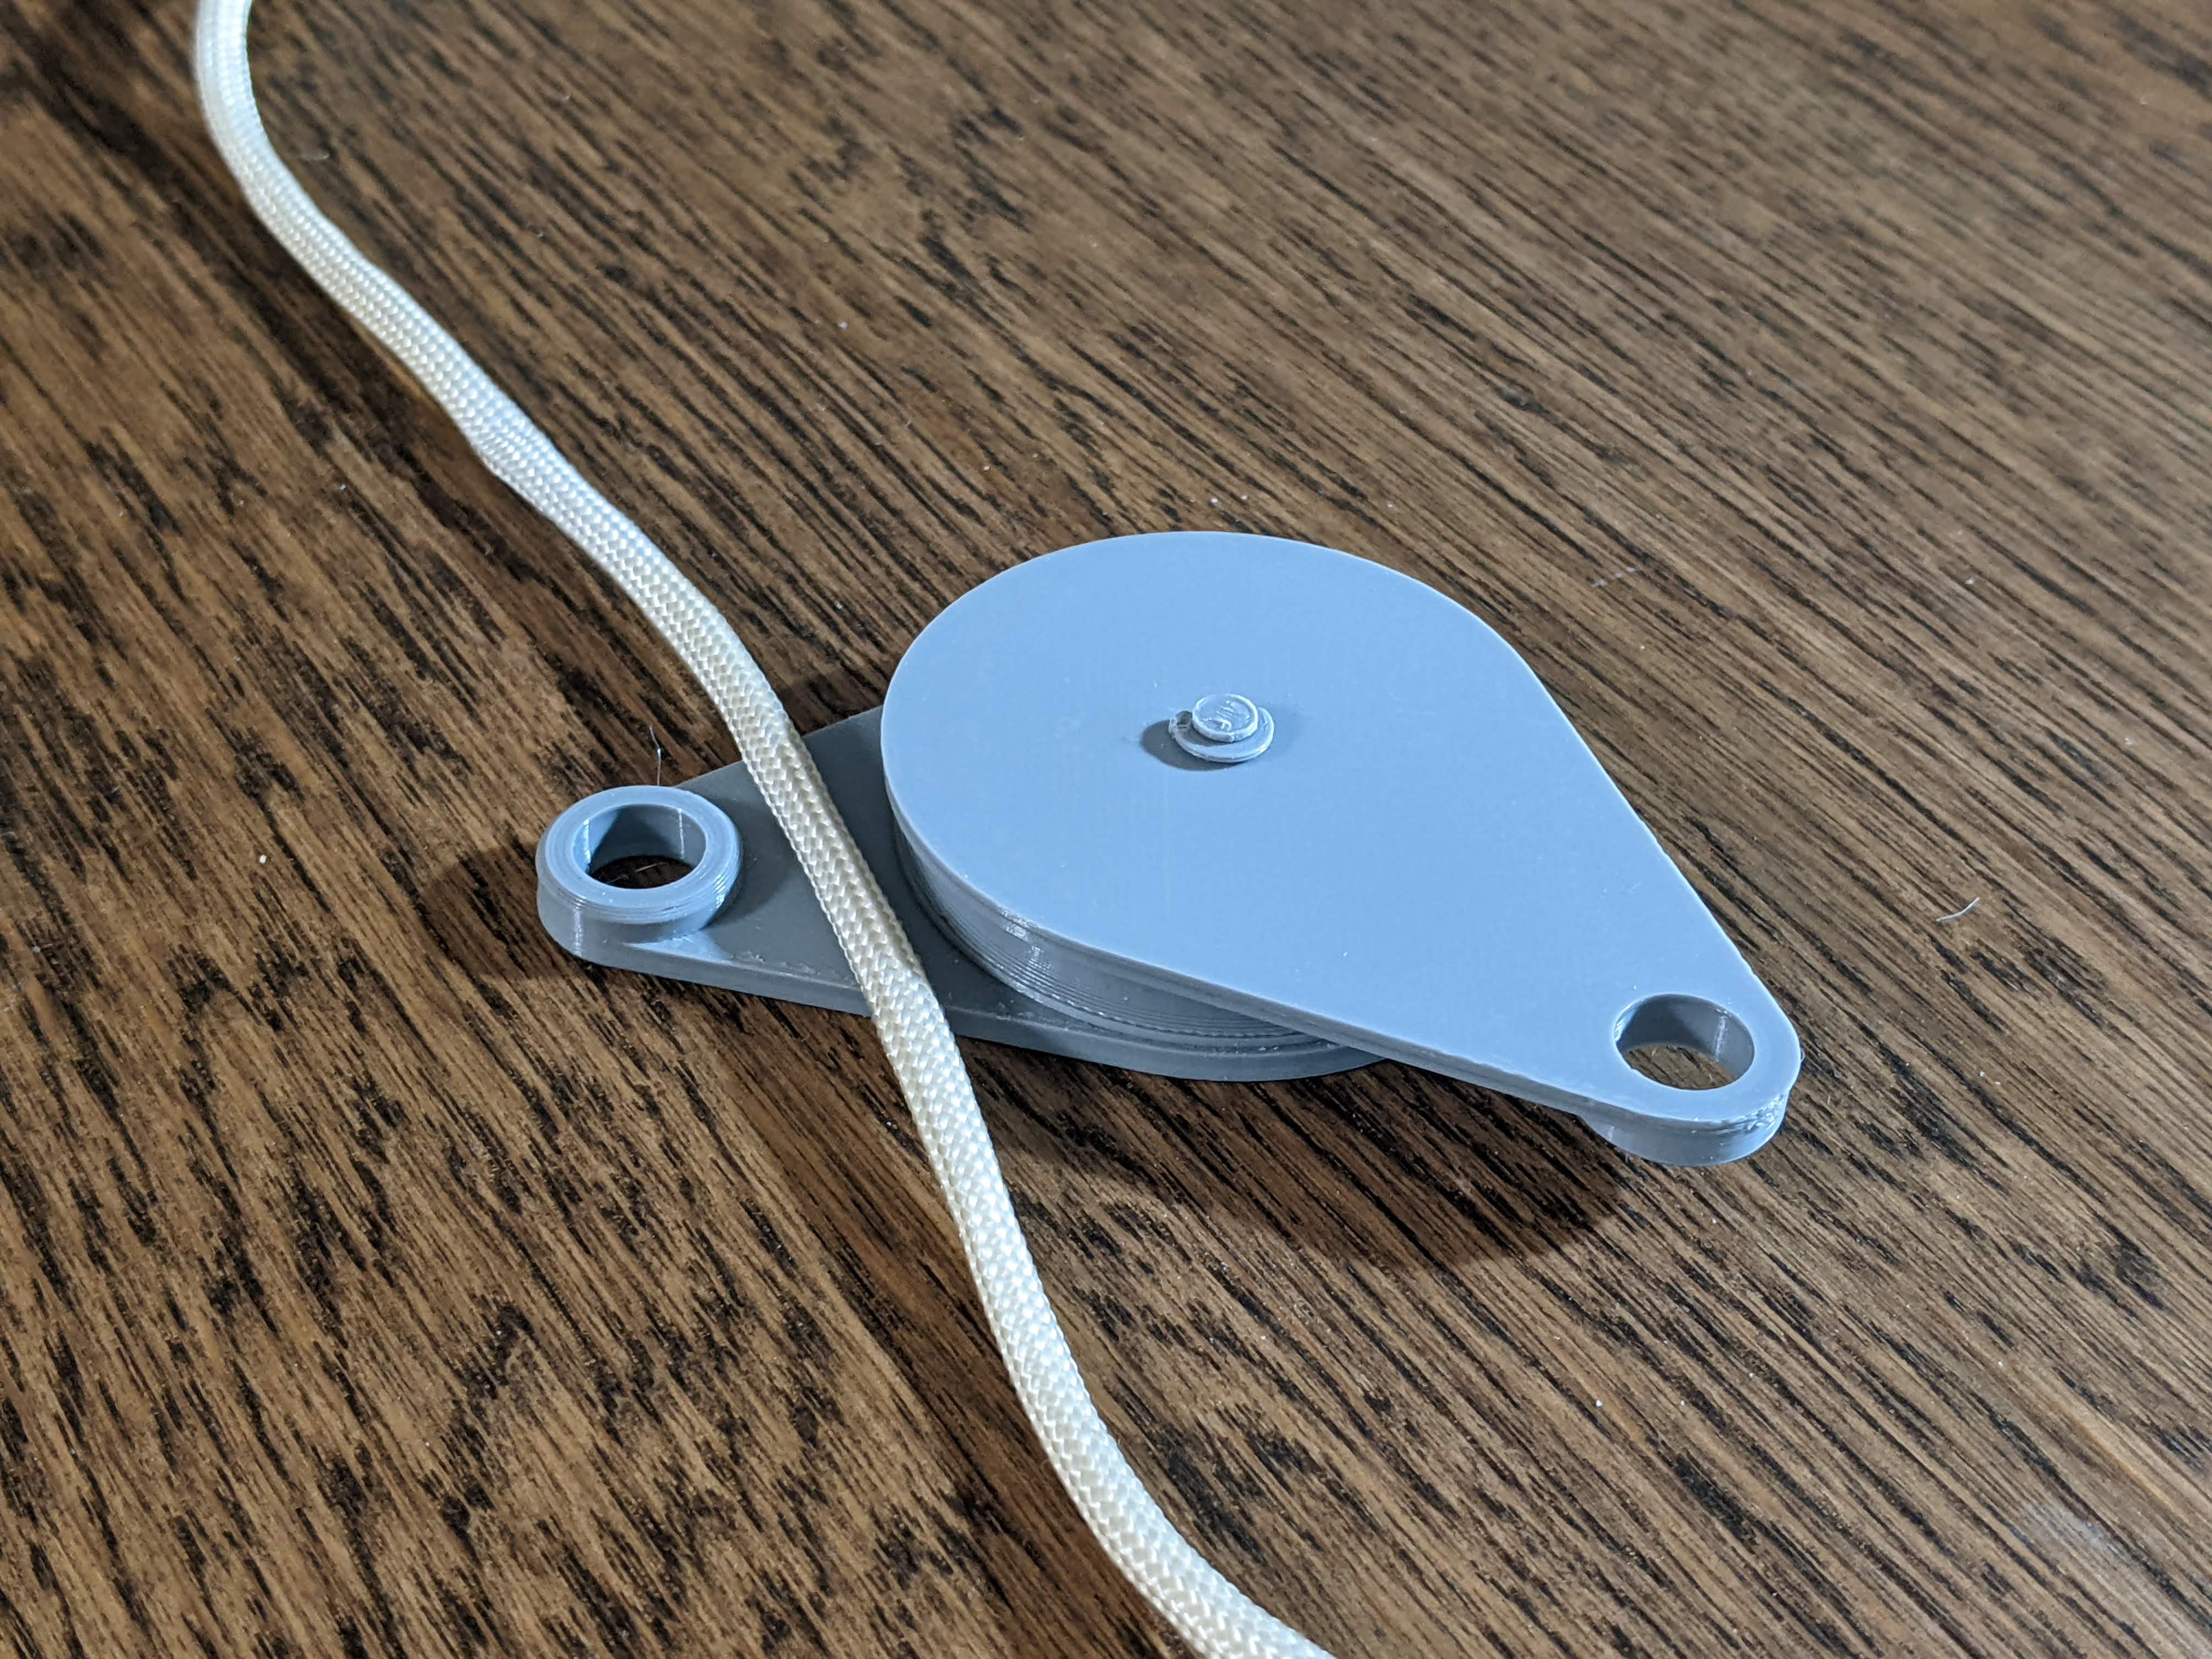

Safety warning: This design has not undergone any engineering analysis for strength or reliability, and the type of material you print it out of will significantly impact its mechanical properties. For these reasons, I strongly recommend against using this design for safety-critical or emergency applications. But for smaller (non-safety-critical) mechanisms, learning about mechanical efficiency, or for school projects, these should be great!
As always, I welcome comments and criticism, and I'd love to see your makes of these.