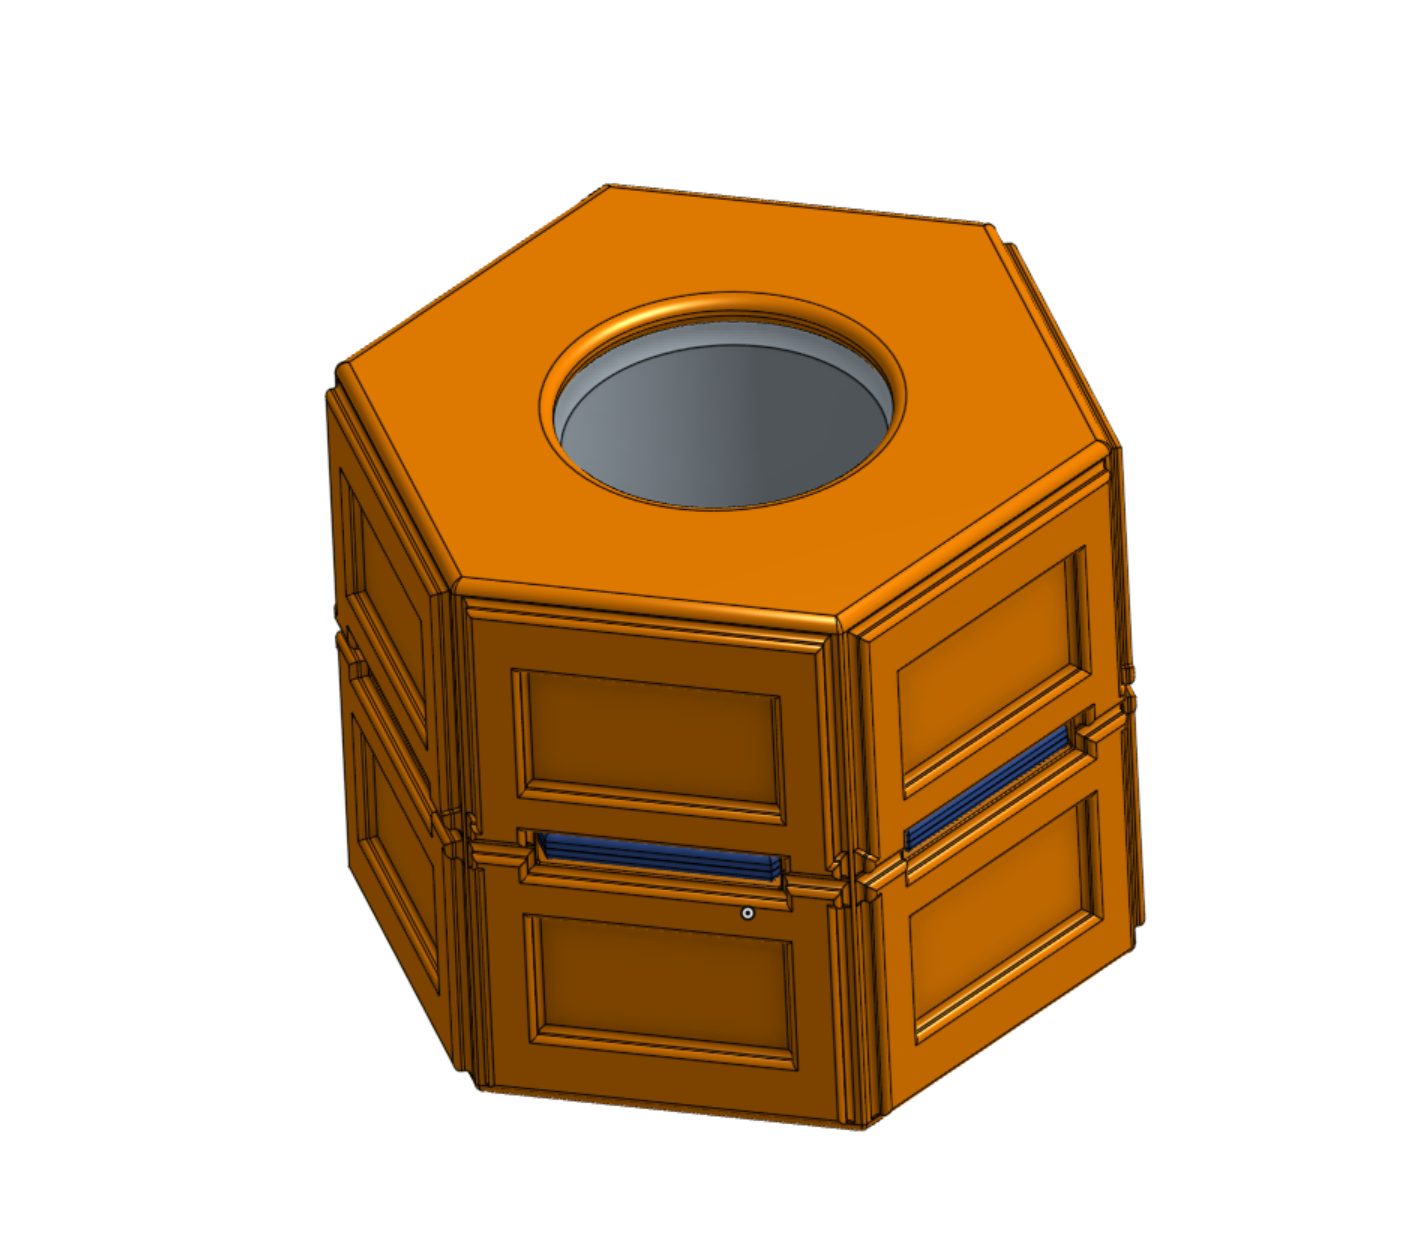
Rugged PC4-M10 PTFE Coupler
Obliczymy ostateczną cenę na podstawie wybranego pliku. Sprawdzisz ją i zaakceptujesz przed płatnością.
Zapisane na tym urządzeniu.

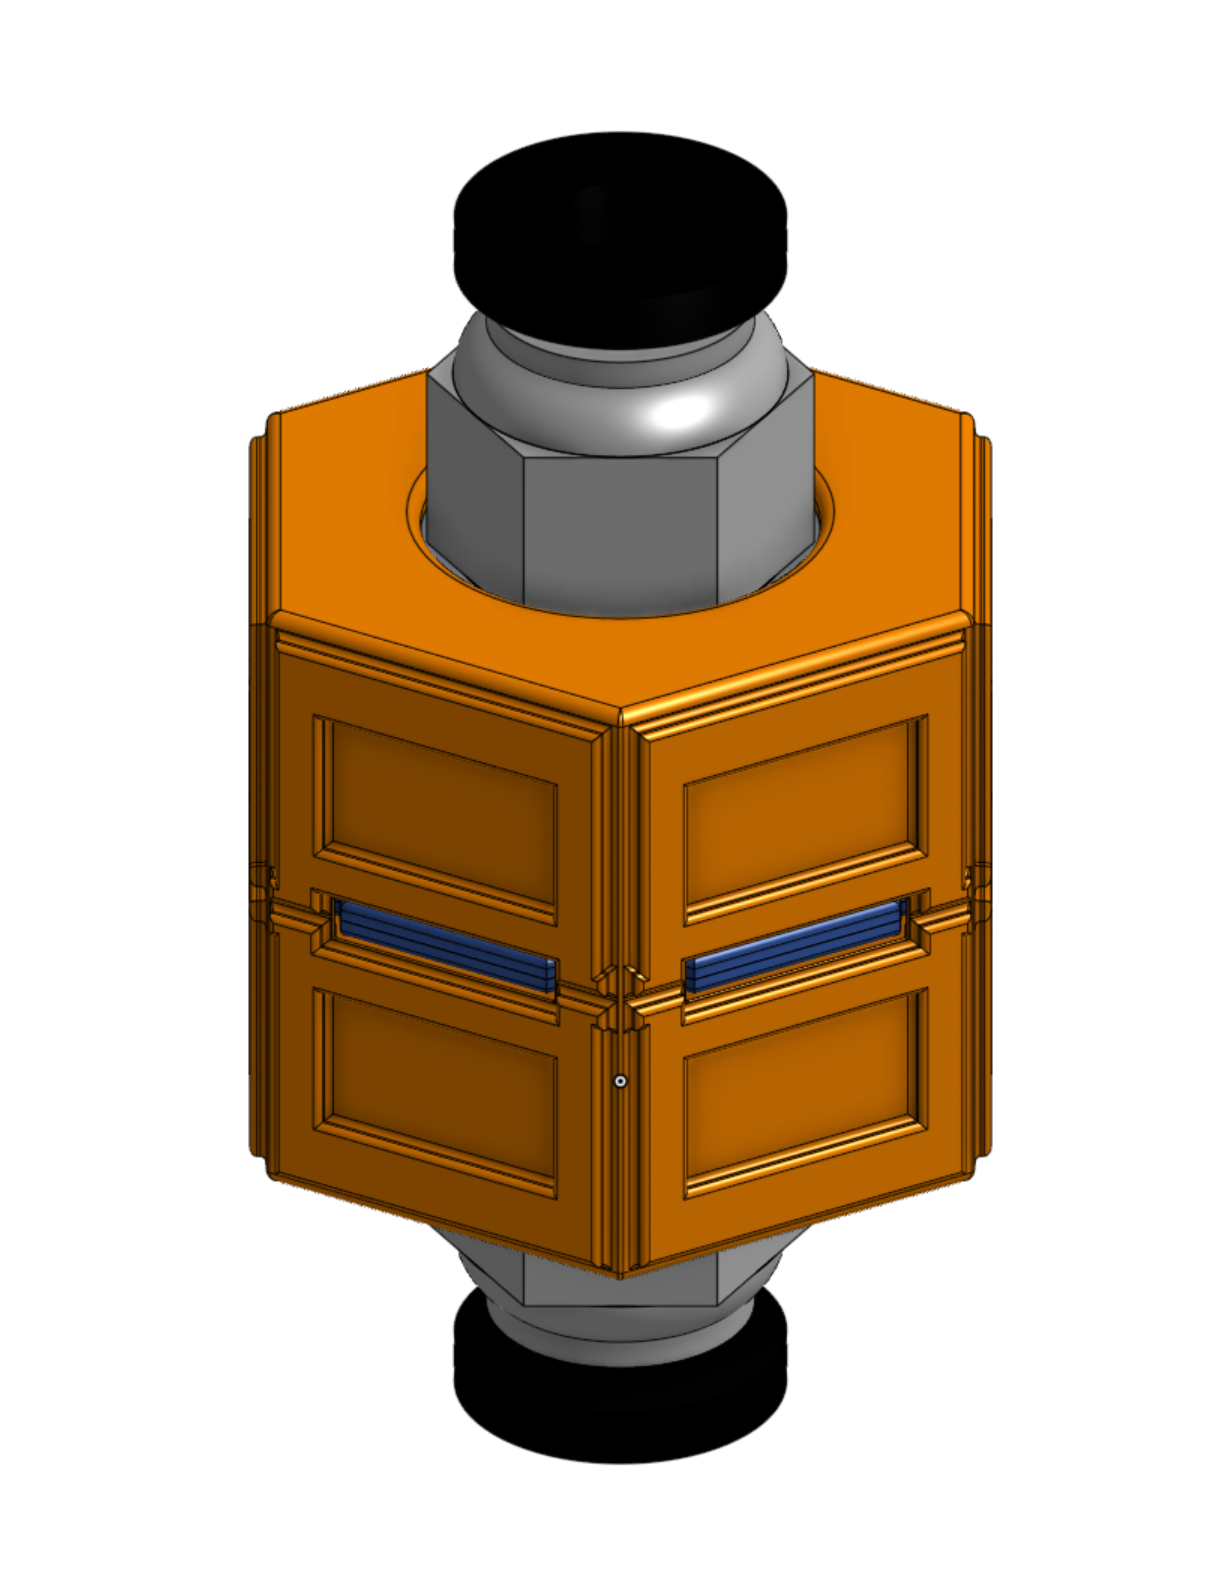
PC4-M10 PTFE coupler with imbedded M10 nuts. I got tired of the printed models failing after a while and designed this.
- Ocena
- 0 / 5
- Polubienia
- 12
- Pobrania
- 58
- Wydruki
- 0
- Wyświetlenia
- 849
- Oceny
- 0
Aktualizacja u źródła:
Informacje o modelu
- Źródło
- Printables
- Kategoria
- Accessories
- Licencja
- Creative Commons — Attribution — Share Alike
PC4-M10 PTFE coupler with imbedded M10 nuts. I got tired of the printed versions failing after a while from plastic fatigue and designed this. My printer is out of commission right now, so I haven't had a chance to print it yet, but here is the Onshape link so you can modify it yourself. Please give me feedback, this is the first functional design I've felt like sharing.
Updated: Fixed some tolerances, fixed some driven measurements, added notes to the Onshape model. Since my printer is still down, this is the final version before I print it. I have also included STEP files because why not.
| Part | Count | Settings | Notes |
|---|---|---|---|
| Coupler body | 1 | 3+ walls/top/bottom gives solid part .20 mm layer | Sliced at .20mm, Pause the print at or just before layer 54 to add the first nut and the two bulkheads as shown, then again at 94 to add the second nut. |
| Bulkhead | 2 | Same settings, but they are so thin it doesn't matter as much | Print two, then align with the large flat sides together before placing in the print |
| M10 nuts | 2 | I got a 2 pack for $1.96 from Lowes, but M10-1.0 is what you need https://www.lowes.com/pd/Hillman-10mm-x-1-Zinc-Plated-Steel-Hex-Nut-2-Count/50088944 | |
| PC4-M10 Coupler | 2 | I don't remember where I got them, but I'm sure you can figure it out. |
After printing your two bulkhead pieces and your hex nuts ready, print the coupler and pause it at or before layer 54 to add the first nut.
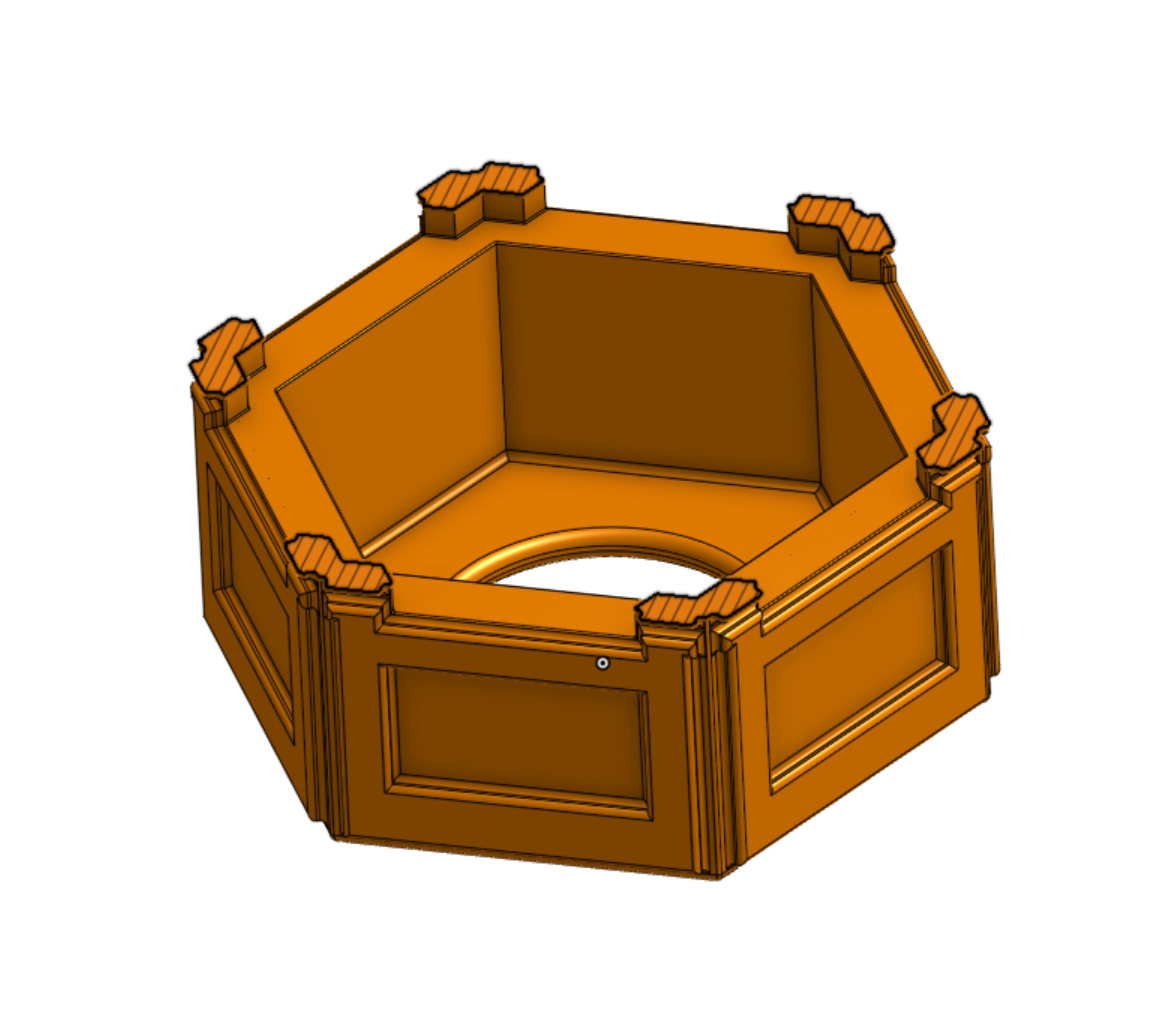
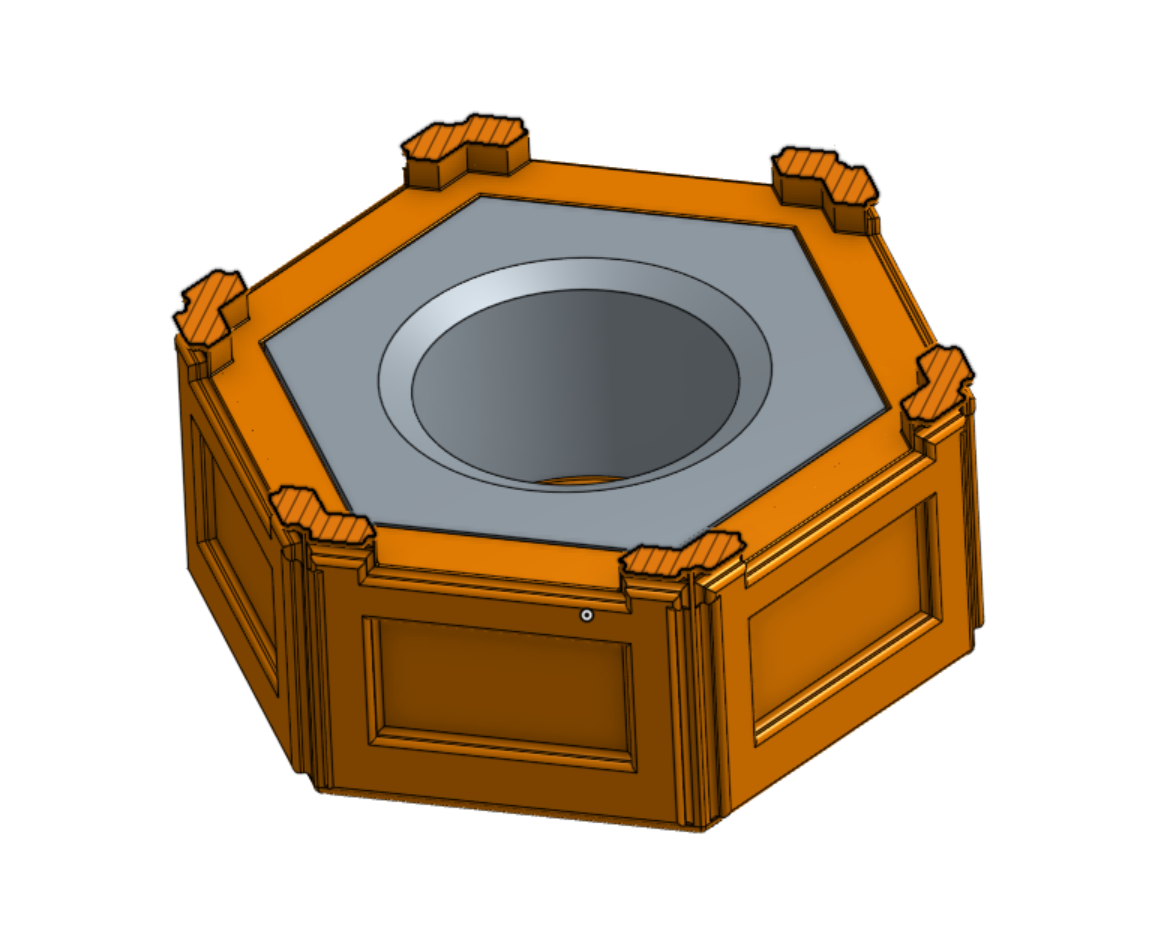
Place the first bulkhead, cone-down, then the other cone-up.
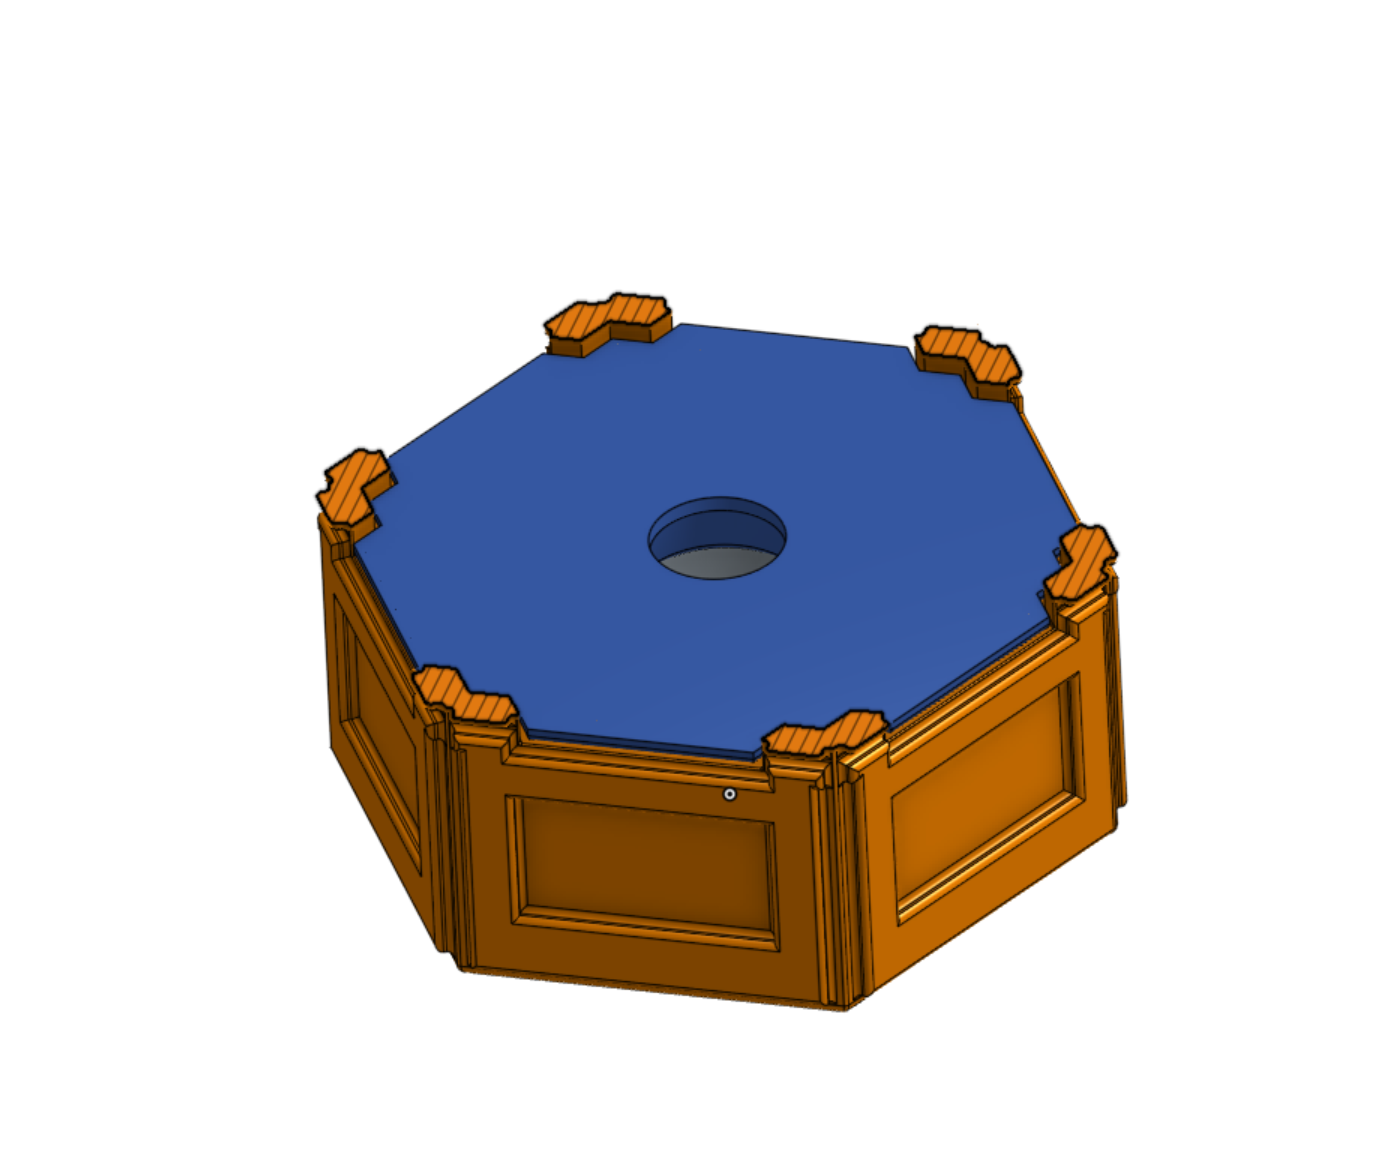
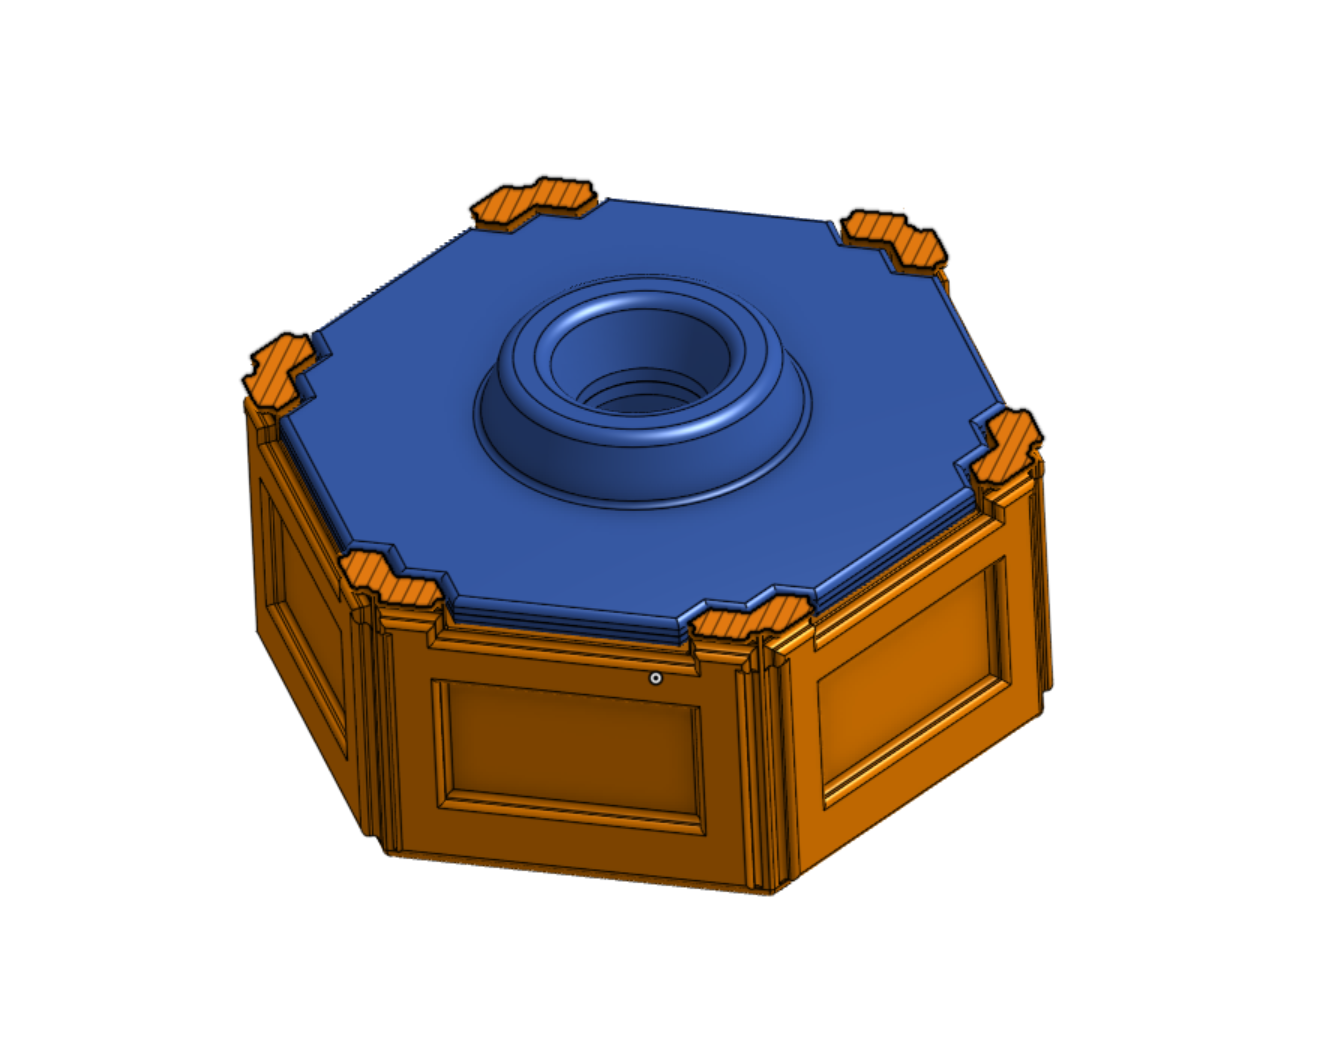
Resume printing, then stop at layer 94 to add the second nut.
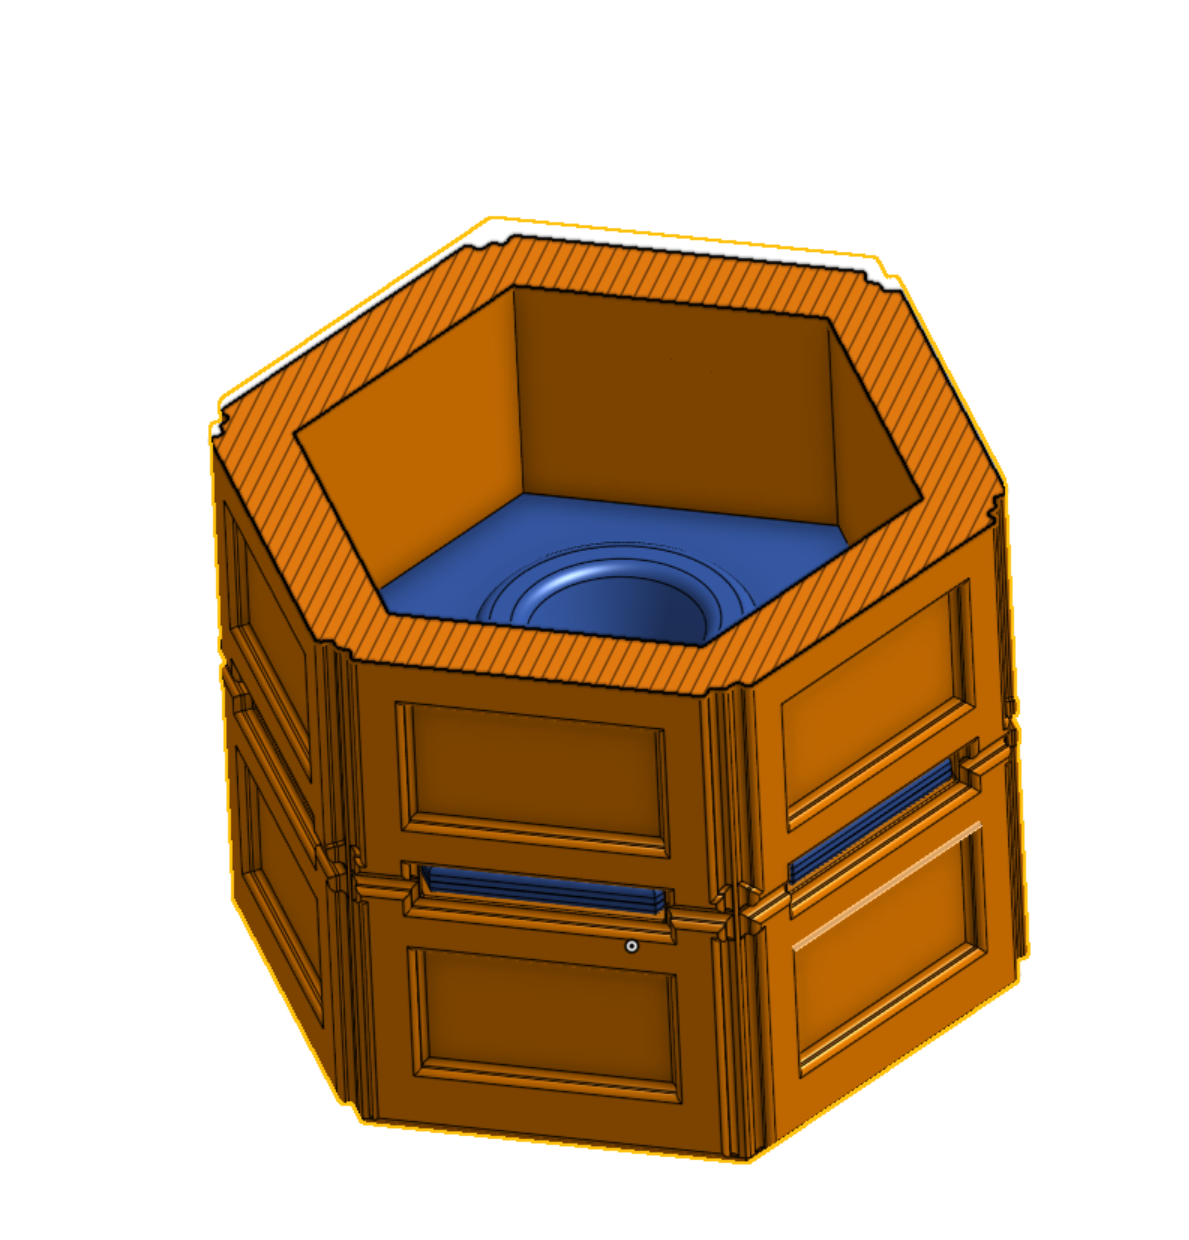
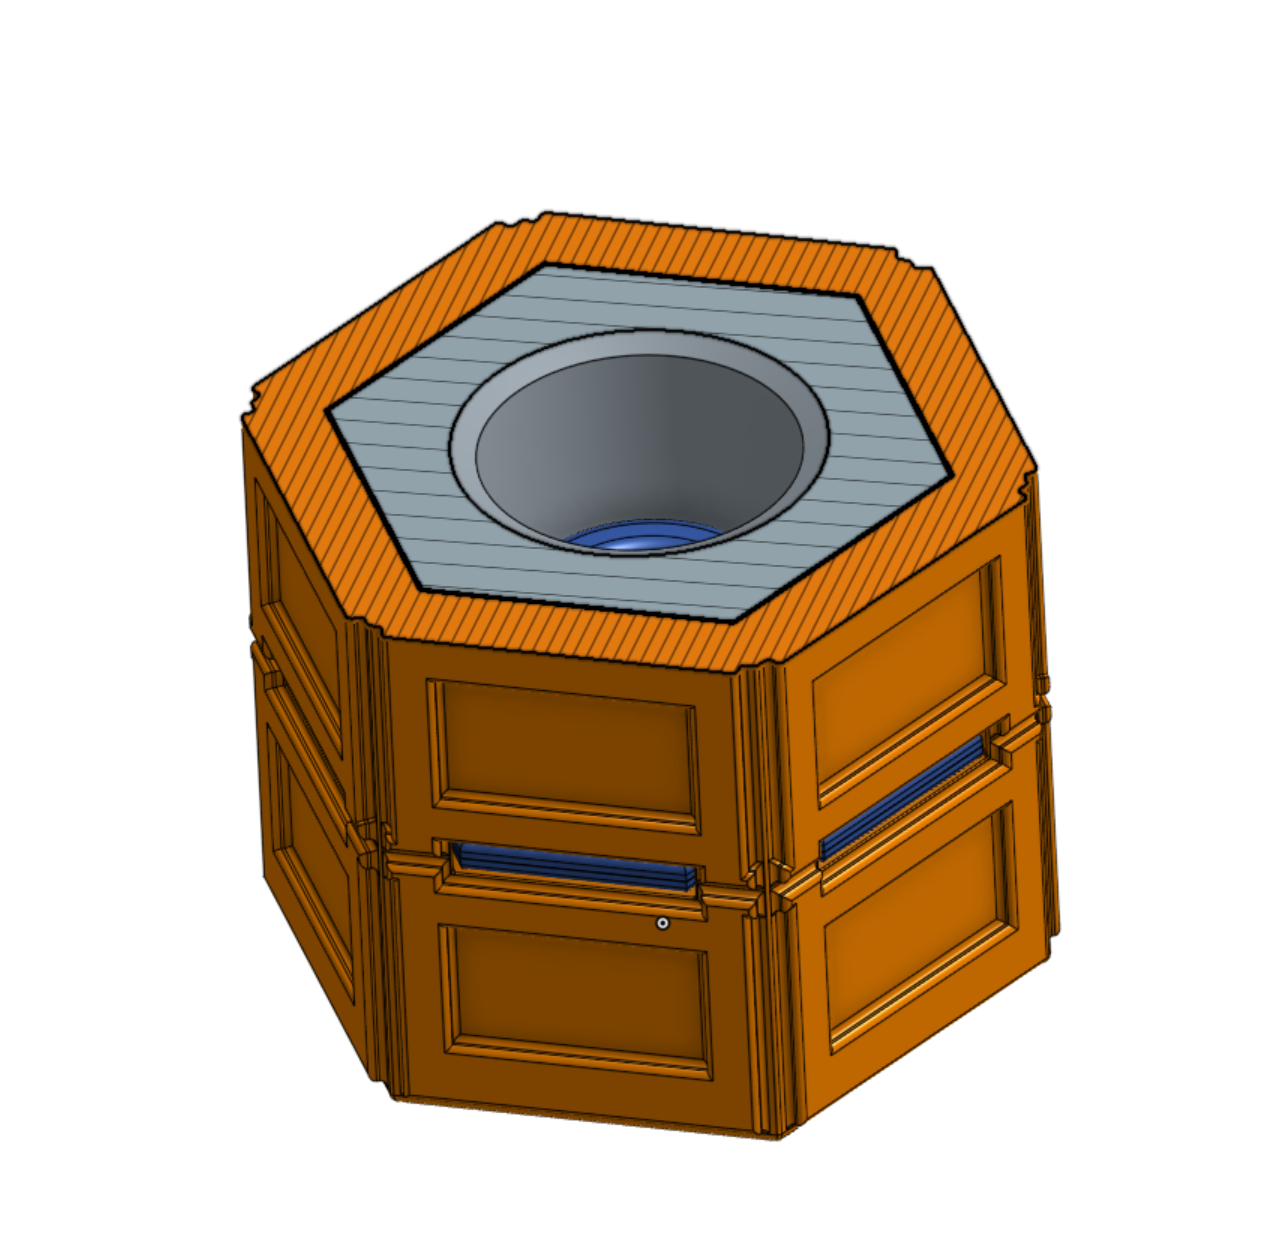
Finish the print, add the couplers.