
Artsy Organizer (Brush, pen or tool desktop stand)
Obliczymy ostateczną cenę na podstawie wybranego pliku. Sprawdzisz ją i zaakceptujesz przed płatnością.
Zapisane na tym urządzeniu.

Curvy and artistic organizer to have your creative tools or brushes ready on your desk - scaled to exactly your needs!
- Ocena
- 5 / 5
- Polubienia
- 69
- Pobrania
- 257
- Wydruki
- 2
- Wyświetlenia
- 1026
- Oceny
- 2
Aktualizacja u źródła:
Informacje o modelu
- Źródło
- Printables
- Kategoria
- Organizers
- Licencja
- Creative Commons — Attribution — Noncommercial — NoDerivatives
| Welcome to GlennovitS3D. Join the Club on Printables.com to support creation of new models, get access to exclusive models, and get commercial rights, to sell prints. Join today - GlennovitS3D - or check out my model collection or my popular models |
This desktop organizer is great for you creative needs. Brushes seperated however you like, while painting - or pens sorted by color - use this in the way you work.
It comes in multiple versions with more or less sections. And it’s possible to scale it to your exact needs.
Overview
There are 3 versions of this organizer - they come with 4, 5 or 6 sections or ‘arms’. Which one do you like the most?
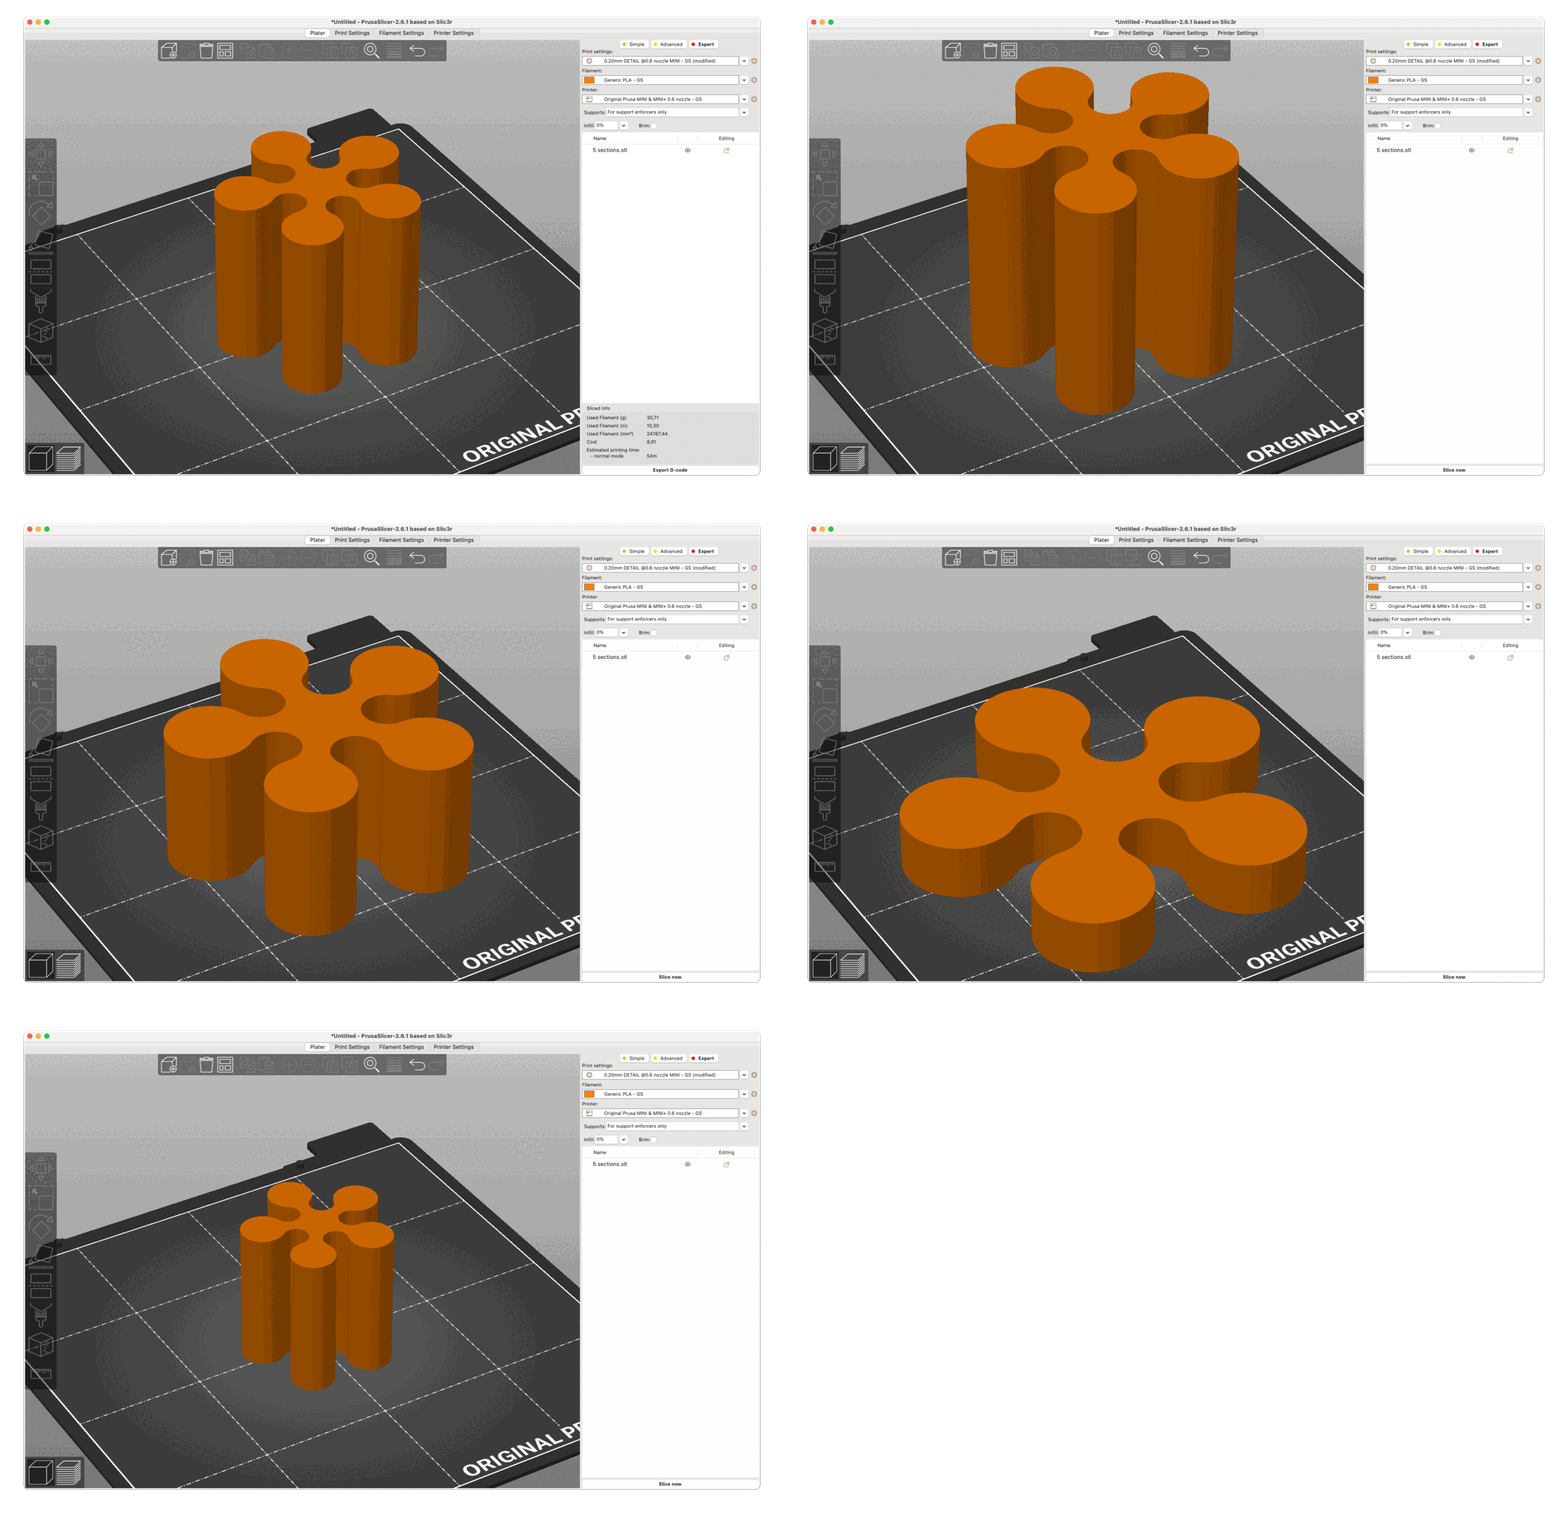
The one on the images is the 5 arm version. And the white one is the default size (roughly 67mm wide and 60mm tall). If you want a bigger or smaller one, simply scale it like shown below!

Scaling
You can scale this to be just as wide as you need, and just how tall or low you want. I would love to see your makes, and be inspired by what you will use this for!
To scale it, simply import it into the slicer (fx. Prusaslicer) and do the following:
- Select the model
- Scale the X and Y in the percentage (%) field, and scale them equally (to maintain the proportions. You can always look at the size field to see the final width and height, or adjust the percentage again)
- Scale the Z value in the size (mm) field, to the exact height you want.
| More practical prints? I got you covered! Check out this collection of practical models - everything from tools to storage solutions. |
Print instructions
- Infill: 0% (to make the model 'empty’)
- Top layers: 0
- Bottom layers: 3-5
- Perimeters: 2-3 (try out different combinations - less perimeters = quicker and more filament friendly - but more perimeters = stronger)
- Layer height: As big as possible to save print time (0.3mm for 0.4 nozzle - or 0.4mm for 0.6 nozzle)
Happy printing!