Turnable (Pivot) Tray Tower IKEA Skadis made with OpenSCAD
Obliczymy ostateczną cenę na podstawie wybranego pliku. Sprawdzisz ją i zaakceptujesz przed płatnością.
Zapisane na tym urządzeniu.
A turnable Skadis Tray Tower for the IKEA Skadis Wall made with OpenSCAD
- Ocena
- 5 / 5
- Polubienia
- 54
- Pobrania
- 111
- Wydruki
- 2
- Wyświetlenia
- 932
- Oceny
- 2
Aktualizacja u źródła:
Informacje o modelu
- Źródło
- Printables
- Kategoria
- Organizers
- Licencja
- Creative Commons — Attribution
Parametric Turnable (Pivot) Tray Tower for IKEA Skadis
This is a tray tower for IKEA Skadis, which i designed because i wanted to use the space of the pegboard as good as possible. The top and bottom trays are fixed, the other trays are turnable and to keep them closed there is a clamp on the back of the trays (so called rabbit bar).
There is a space behind the trays, so you can turn them more then 90 degrees. You don't need a extra rod, each tray has a little rod on top. For those who are afraid of supports there is a version for the T - Nut - System from 6d6178 as alternative to the normal hook system, which can be used for the bottom tray, the top tray and the rabbit bar, the other trays are the same for t-nuts and hooks (they don't need a hook). T-Nuts can be found at the T-Nut-System or you use other T-Nuts like e.g. the ones i designed (T-Nuts).
The trays are 96mm wide and 60 mm deep in the prebuild stl - files and available in six versions, but you can easily change the dimensions and the dividers via the OpenSCAD customizer. If you need help with this or you are in need of other dimensions, feel free to get in touch with me, i will upload them here. Prebuild available trays are:
- plain tray (1x1)
- tray with divider in x-direction (1x2)
- tray with divider in y-direction (2x1)
- tray with divider in both directions (2x2)
- plain tray with hexagon bottom
- plain tray with hexagon bottom and open front
Assembly:
You need at least:
One bottom tray
One top tray
One mid tray (at least three recommended)
One rabbit bar
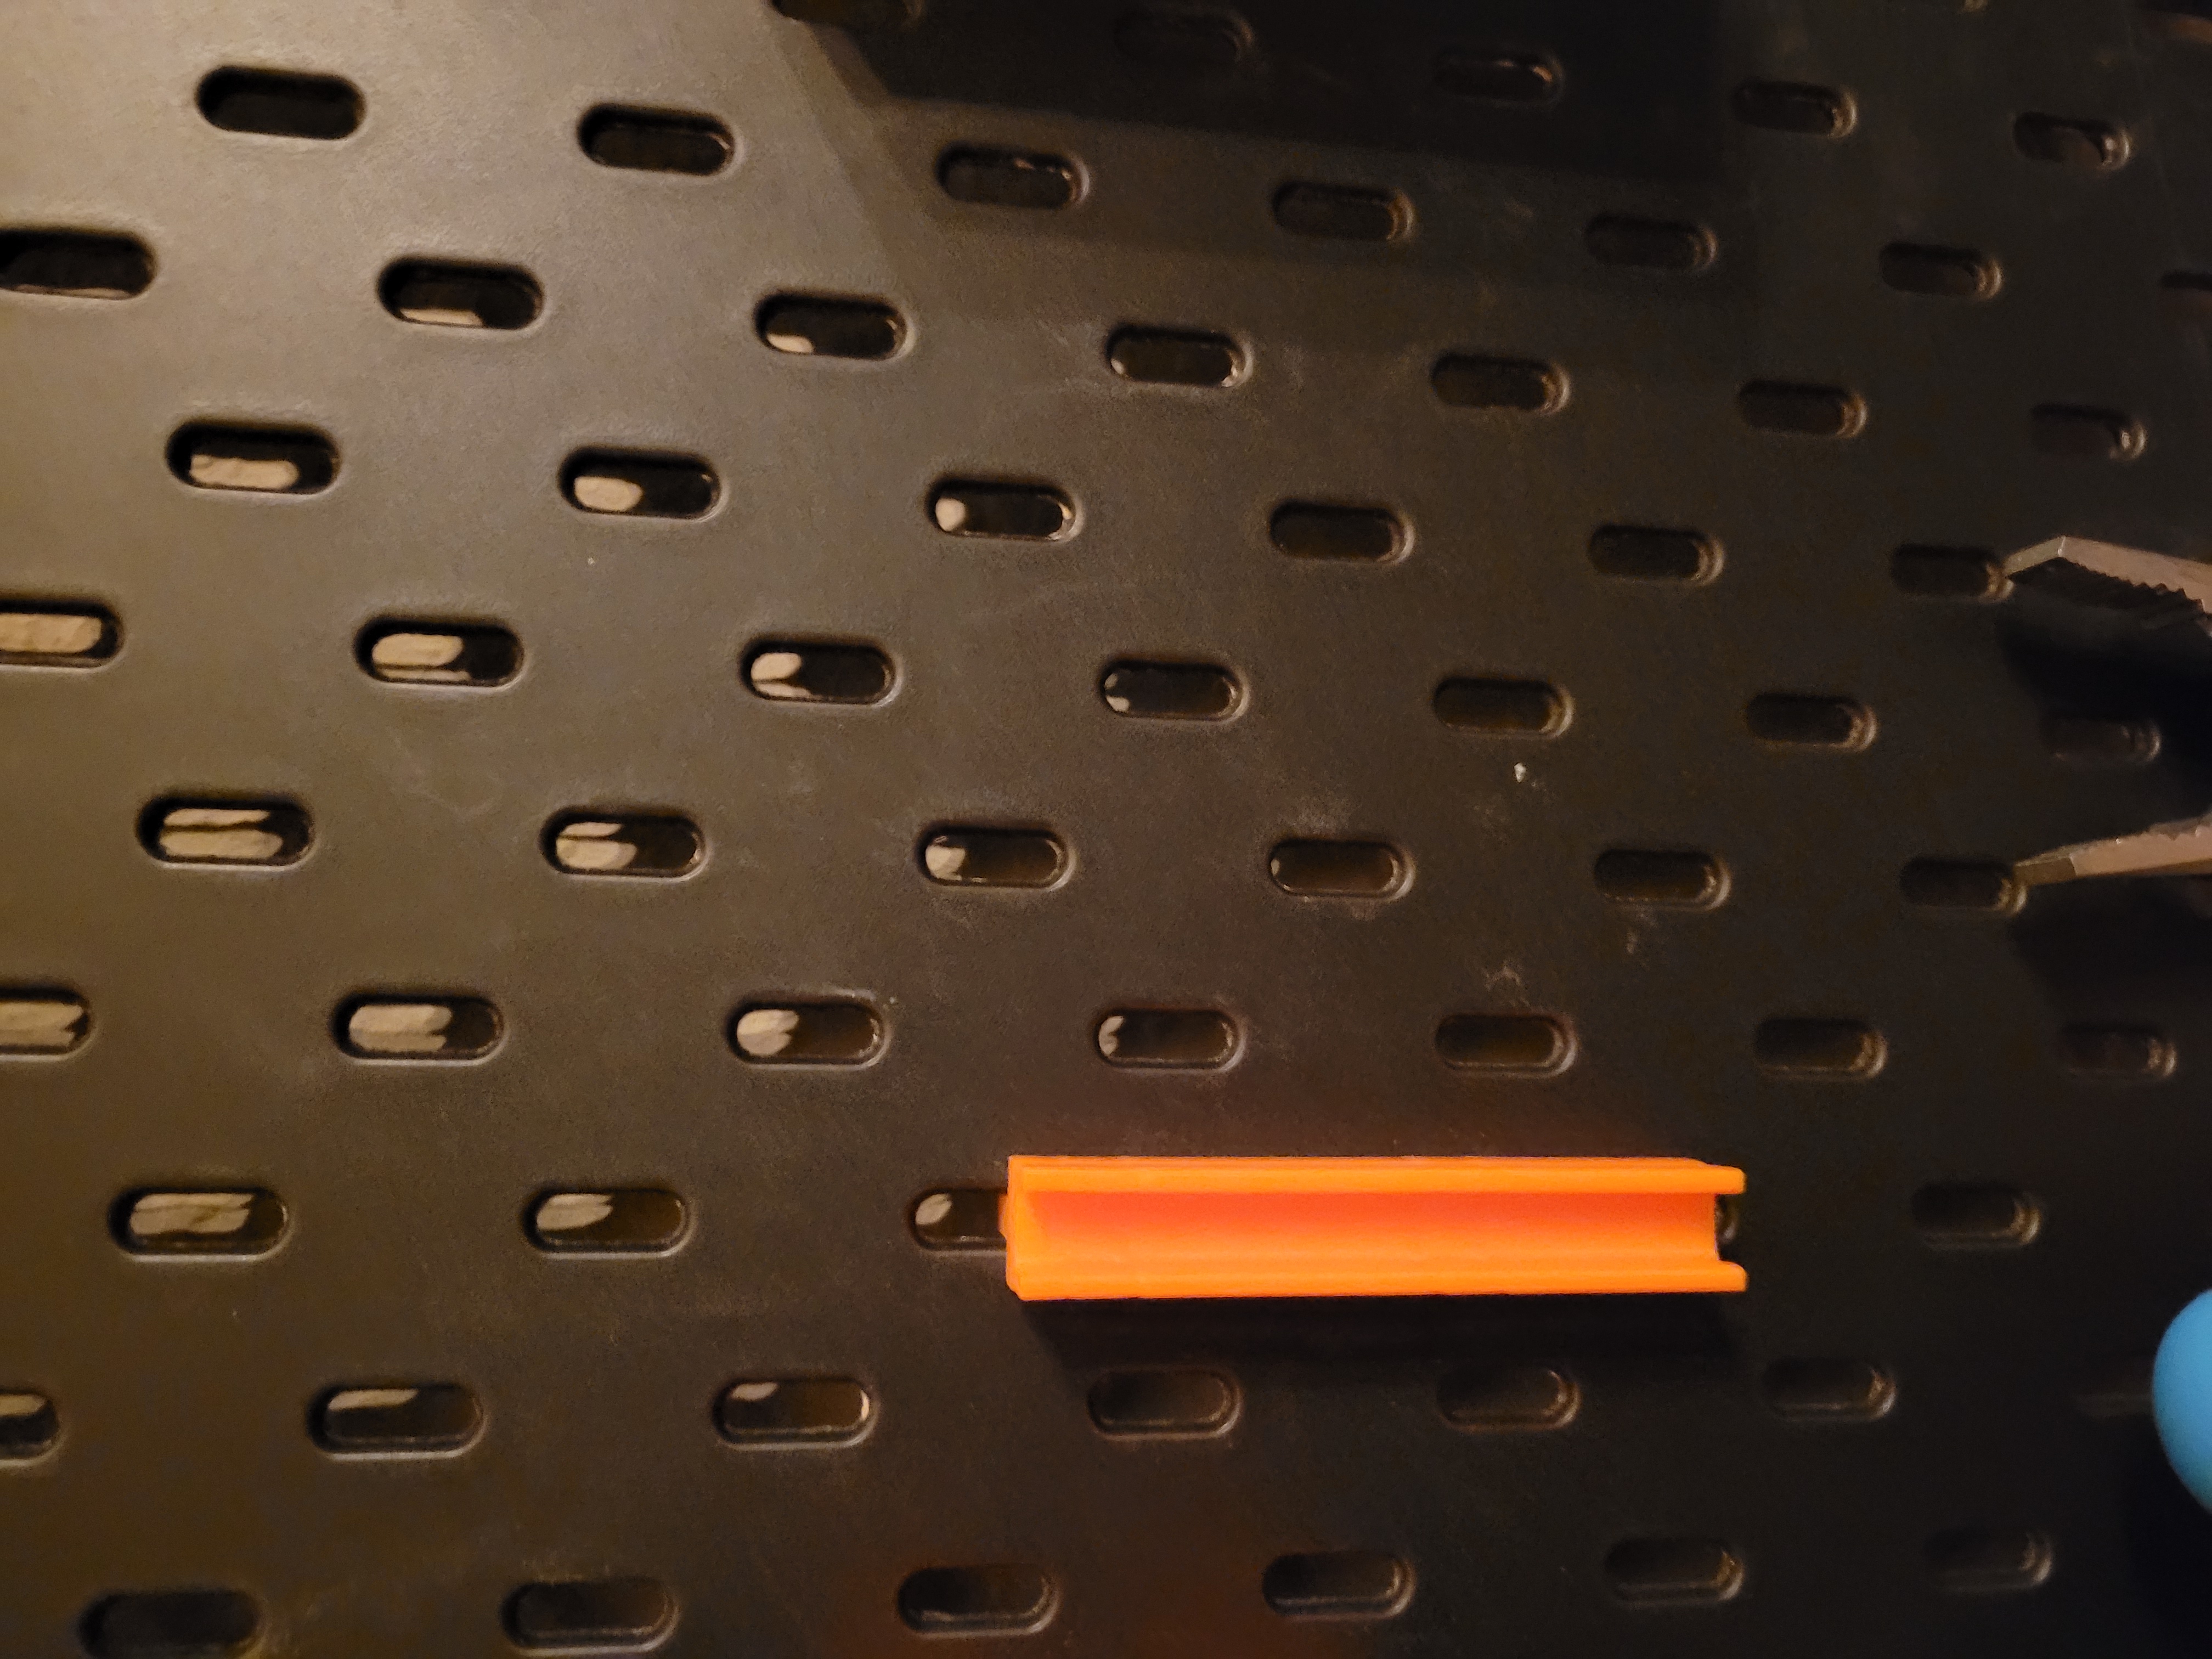
First install the rabbit bar(s)
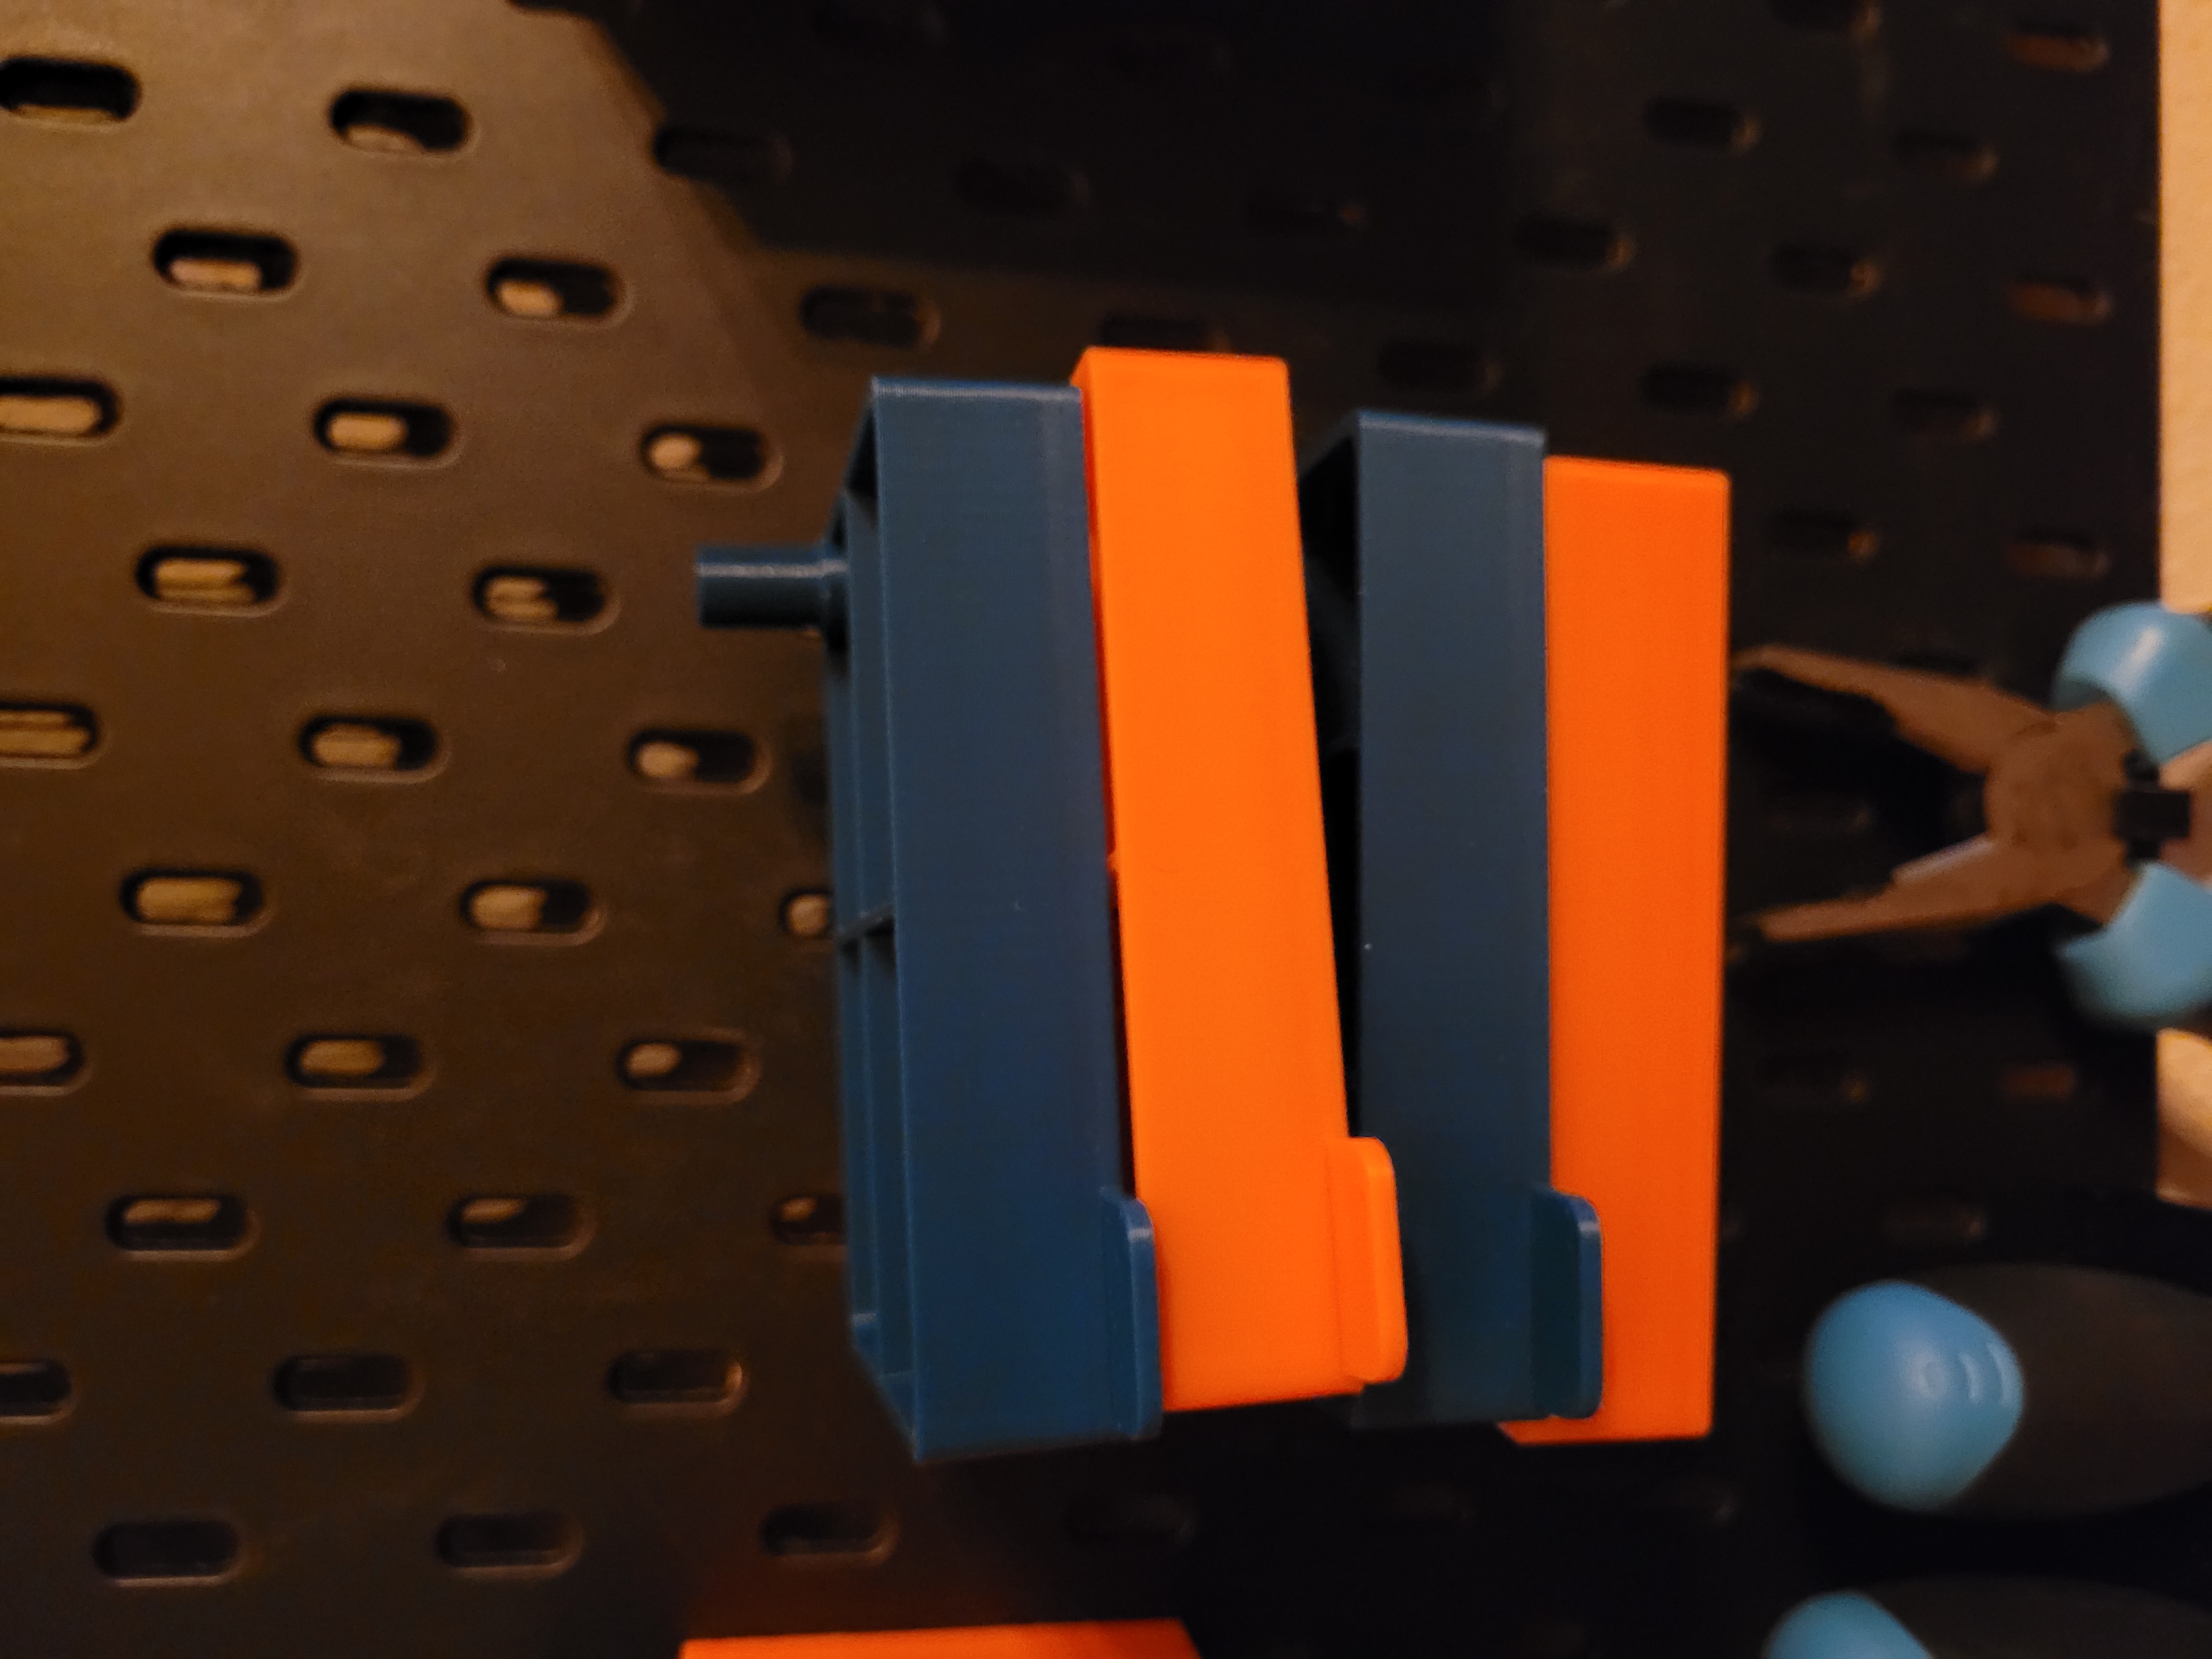
Install the bottom tray

Get the mid tray(s), i used up seven with two rabbit bars
Install the top tray
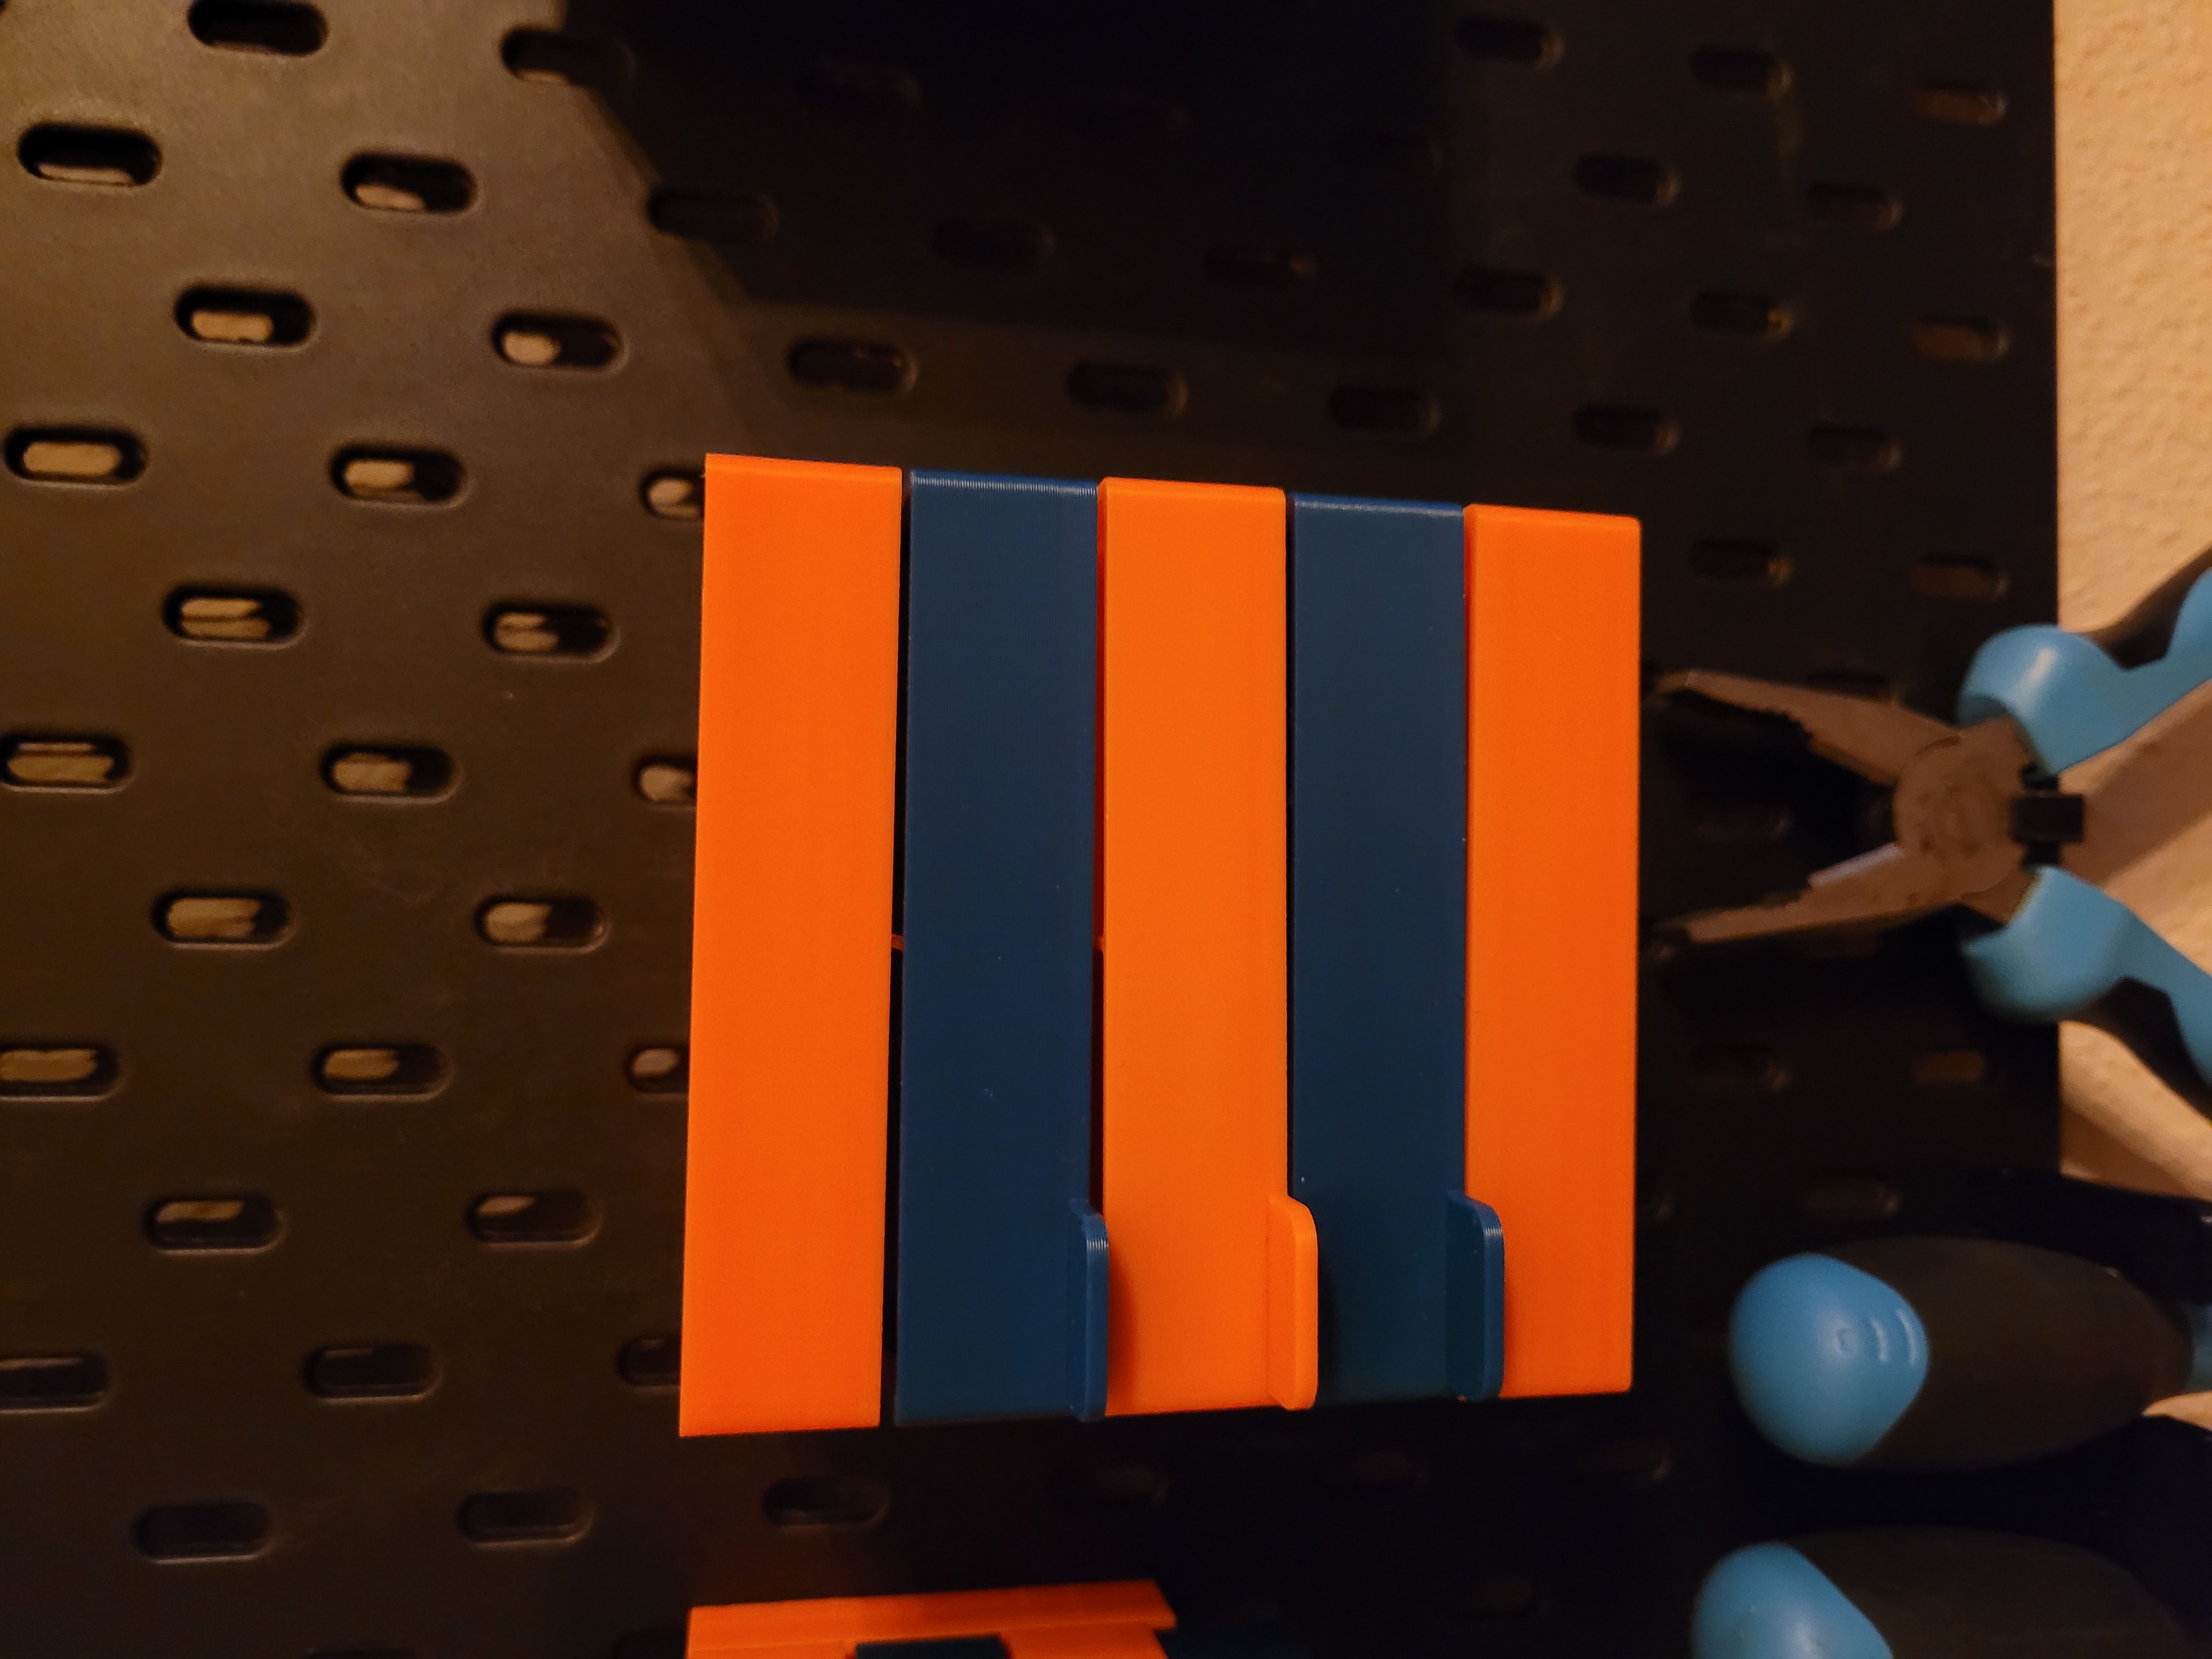
Done - Have Fun
Customizing:
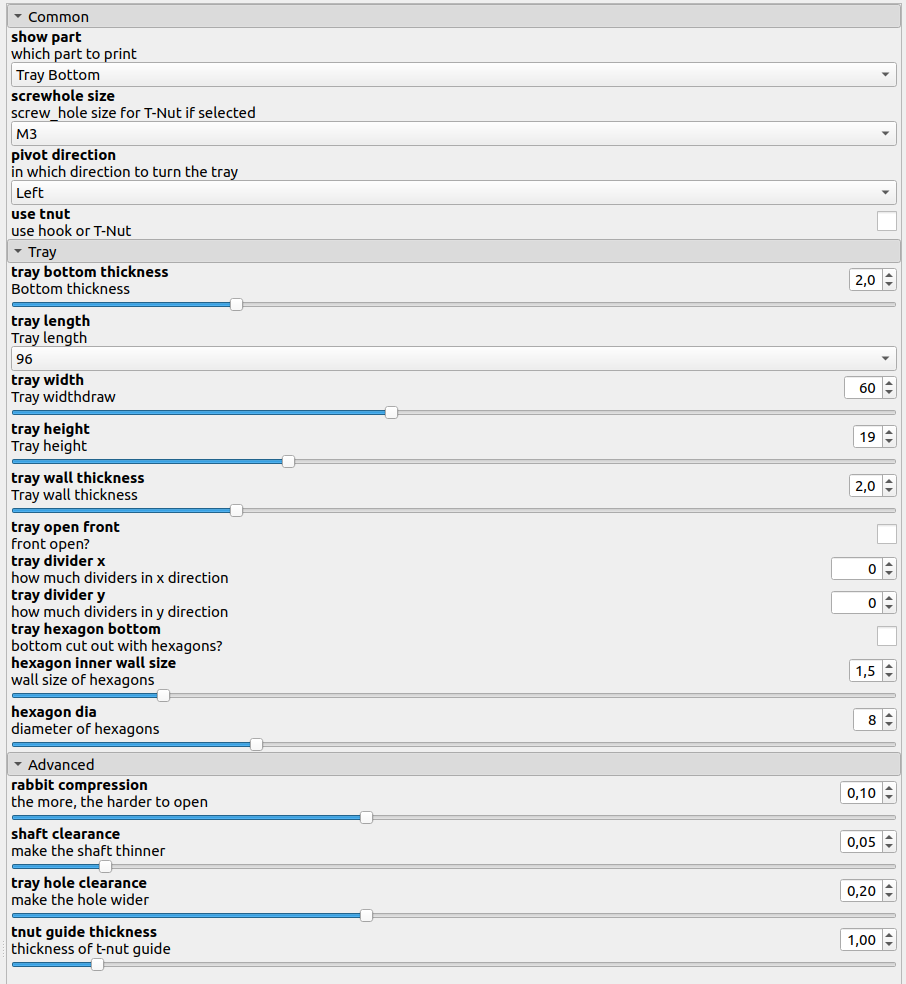
Dimensions, clearances and features can be easily customized in OpenSCAD. I made heavy use of the powerful BOSL2 OpenSCAD library, you will need this in addition to OpenSCAD to do the customizing.
Printing:
- PLA (recommended) or PETG
- 15% infill
- 3 perimeters
- outer brim for the trays and the rabbit bar depending on your bed adhesion
- aux cooler recommended because of the hooks, not needed with T-Nut-version
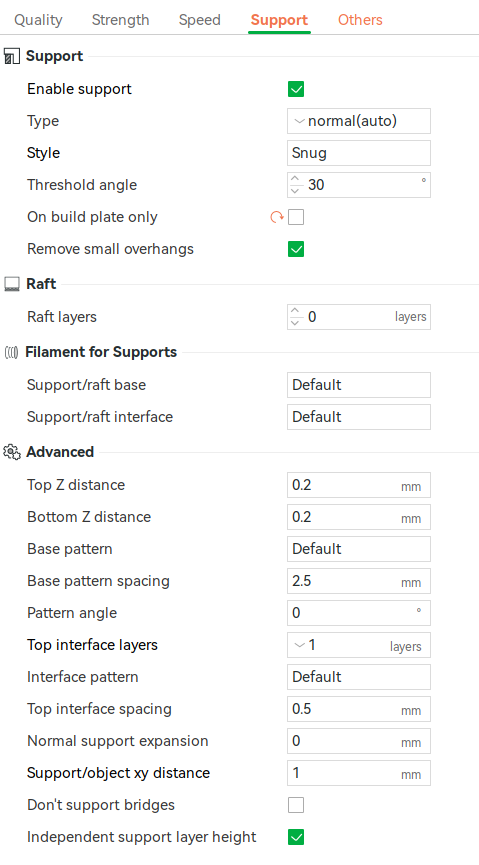
- i use the support settings shown in the picture below in the bambu lab slicer (support → advanced) so can easily remove the supports even from the holes at the bottom of the trays. Other slicers should have similar settings. It works also with the standard settings, but then it's harder to remove the supports, it could even work without any supports, but this depends on your printer and settings. The T-Nut-version doesn't need any supports.