
Voron StealthBurner Mod for Prusa MK3
Obliczymy ostateczną cenę na podstawie wybranego pliku. Sprawdzisz ją i zaakceptujesz przed płatnością.
Zapisane na tym urządzeniu.
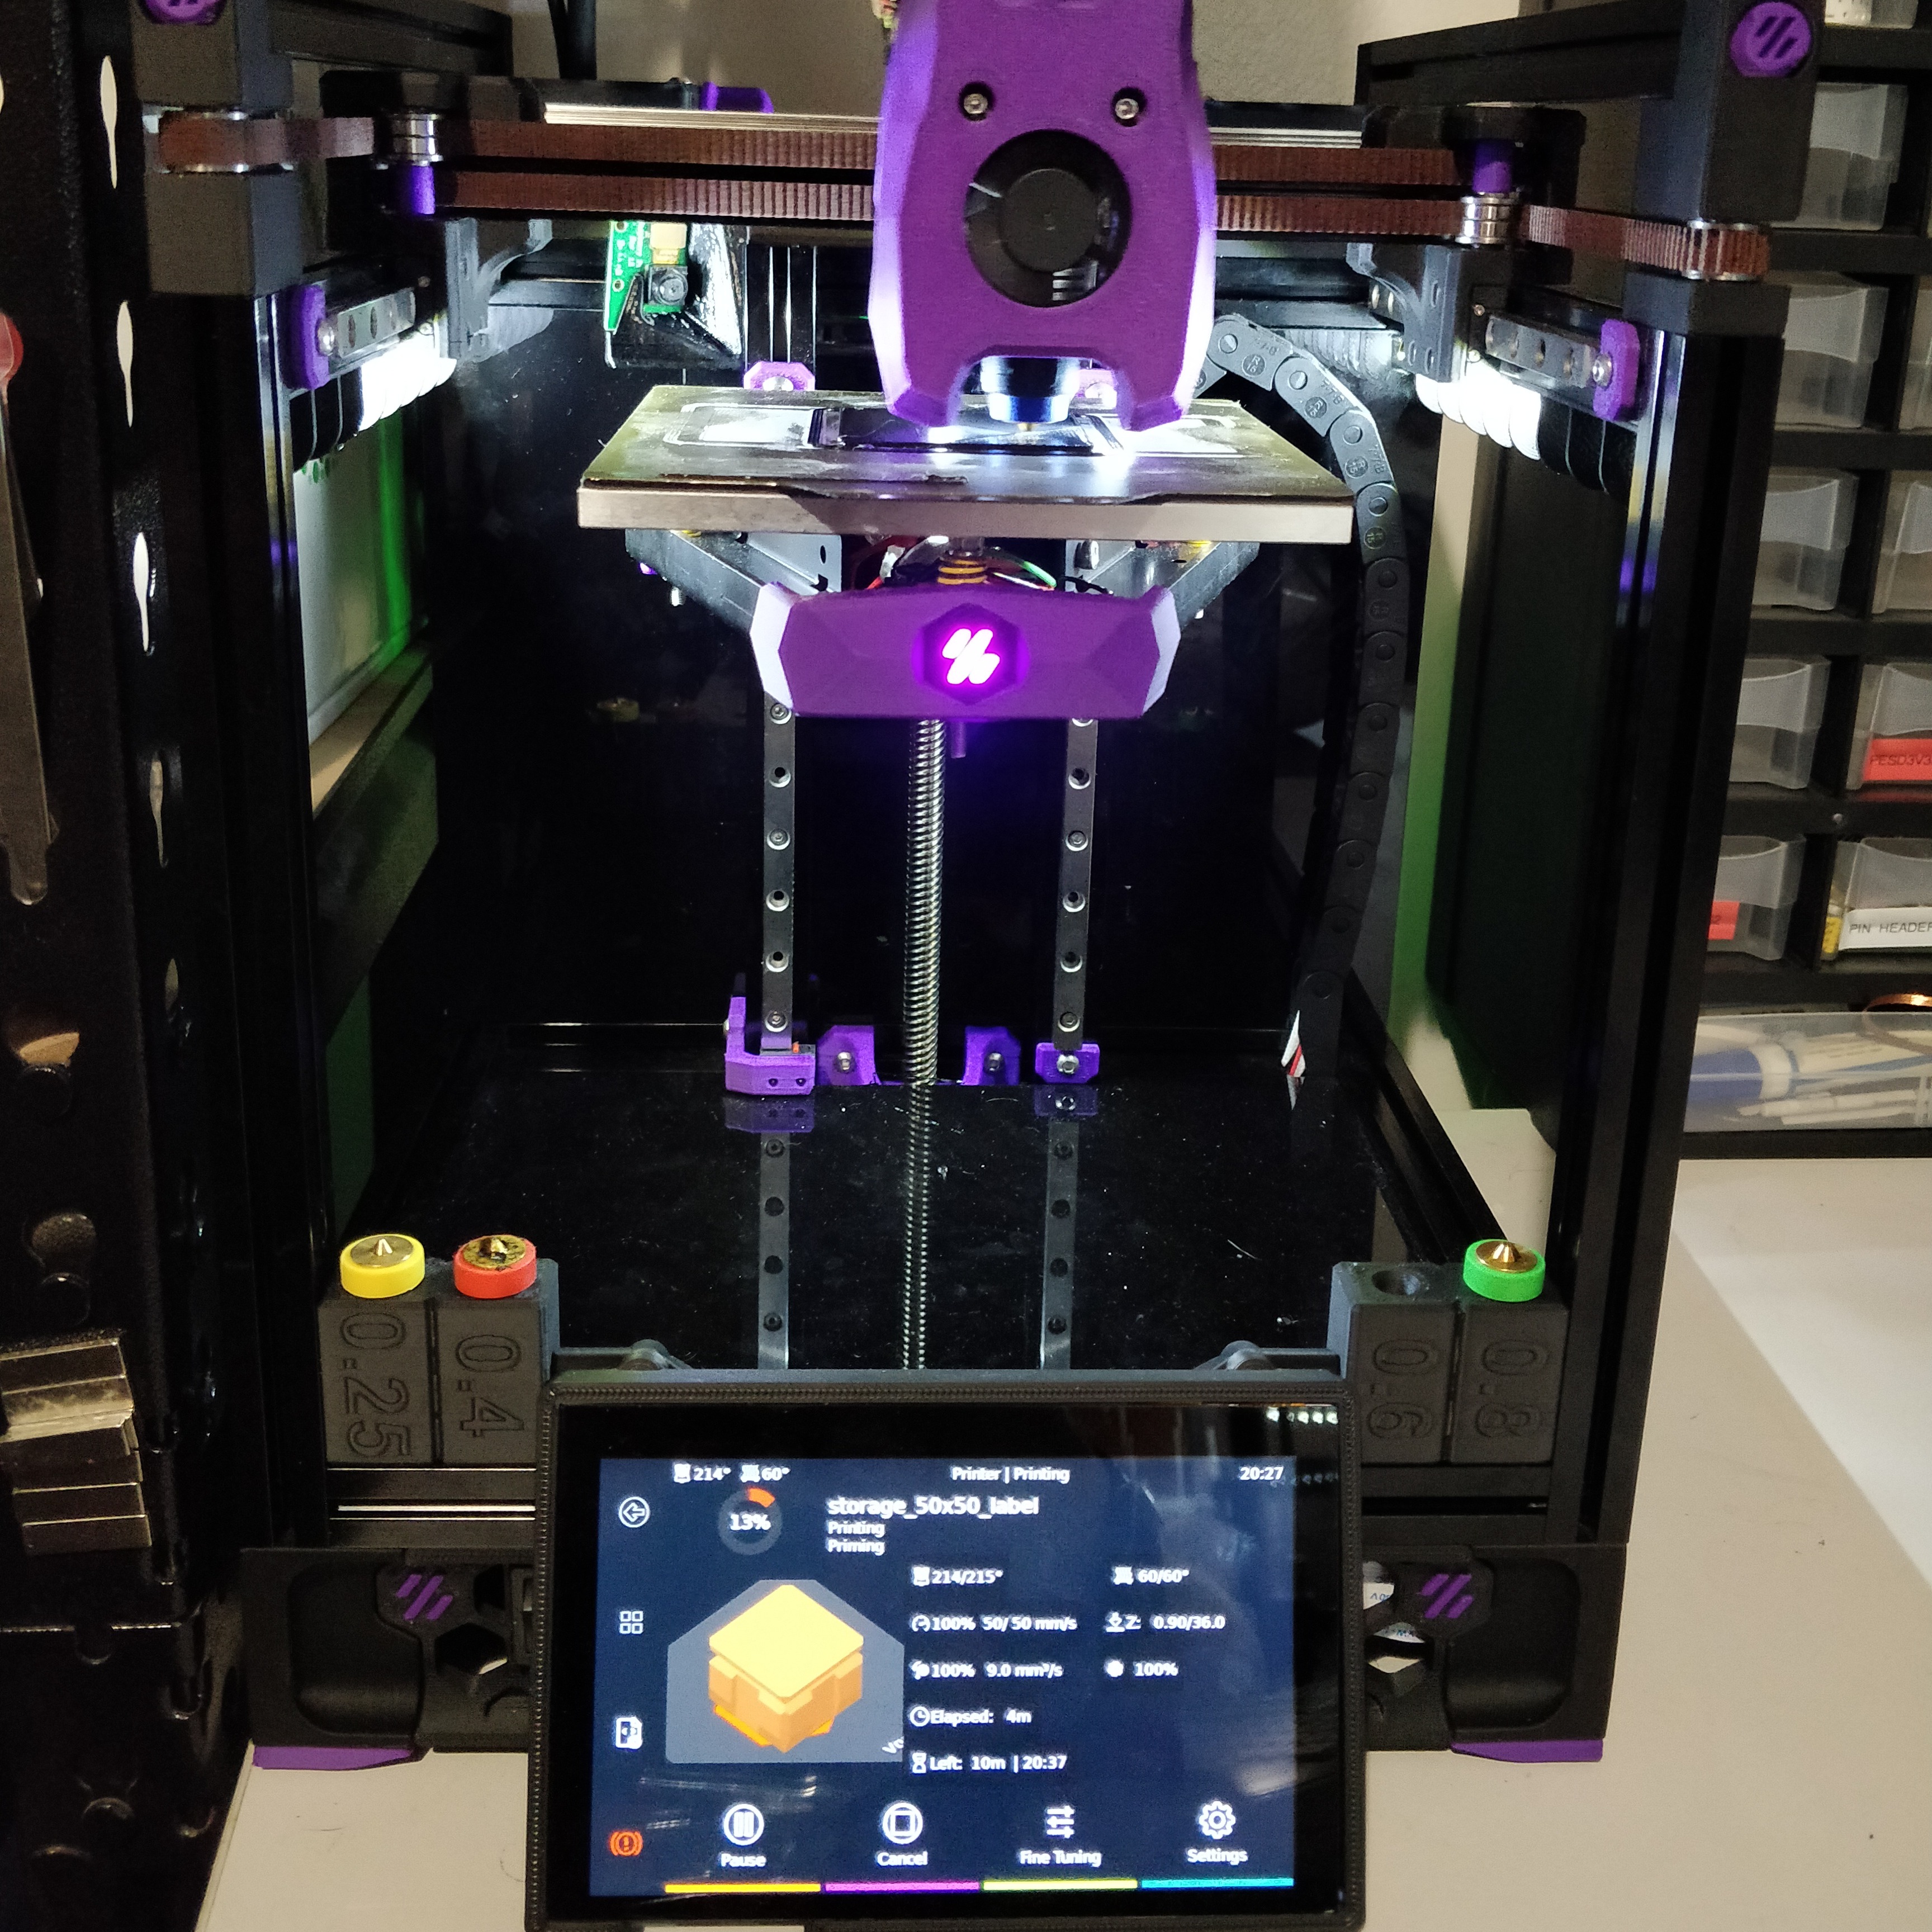
X & Z axis mods to accommodate the Voron StealthBurner
- Ocena
- 4,333 / 5
- Polubienia
- 75
- Pobrania
- 448
- Wydruki
- 2
- Wyświetlenia
- 4300
- Oceny
- 3
Aktualizacja u źródła:
Informacje o modelu
- Źródło
- Printables
- Kategoria
- Prusa Parts & Upgrades
- Licencja
- GNU General Public License v3.0
Mount a Voron StealthBurner to a MK3, because why not.
To get this working I designed a whole new X axis carriage that holds the Pinda probe and StealthBurner. I also modified a couple of the StealthBurner parts to stop it colliding with the X axis ends and Z axis top. The look and feel of StealthBurner was maintained and honestly the changes were very minor and hardly noticeable.
To make the StealthBurner stop colliding with the X- end a couple cuts were made on the left side. To stop it colliding with the X+ side the motor mount and cable door were changed to use 6x3mm magnets rather than an m3 screw. These changes are optional and are only required to maintain the full X axis travel. Without them you will loose ~5mm on the X axis.
The MK3 Z axis top mounts also collide with the StealthBurner. I have included some custom Z axis top mounts that mount from the back of the printer.
Print the Voron parts and the probe clamp in ABS and everything else in PETG.
For the X carriage will need the folowing hardware.
12 M3 heatset inserts (D=5 H=4)
2 M3x6mm Cap Head screws
2 M3x10mm Cap Head screws
4 M3x16mm Cap Head screws
1 M3 Hex Nut
For the StealthBurner mods you will need 2 6x3mm magnets as well as the standard StealthBurner BOM.
I dont know if this would work with Prusa Firmware as I am using klipper, but if you can change the probe position offsets everything but the LEDs should just work (the X axis calibration may fail though).
I used the existing 5v fans and wired the LEDs into PK0 (the filament sensor pin).
The new probe offset is
X axis: 0
Y axis: 12.4
Set home position for the X axis to 0 (-X).
The front part of the X carriage requires supports, but not everywhere, see image of painted supports
I have 2 MK3 clone frames. 1 is 6mm thick and the other is 6.5mm thick. Pick the Z axis print for whichever suits your frame.