
Rolling Balls Puzzle Game
Obliczymy ostateczną cenę na podstawie wybranego pliku. Sprawdzisz ją i zaakceptujesz przed płatnością.
Orientacyjna cena wydruku pliku
14,40 € – 17,60 € netto (bez VAT)
Dla pliku: DontPrintJustInfoForTime.gcode
To wstępna wycena jednego pliku. Dokładną cenę poznasz przed zamówieniem.
Plik i założenia wyceny
Plik użyty do wyceny
Średnia wycena orientacyjna: 16,00 € netto (środek widełek).
- Masa podana przez autora
- 187 g
- Czas druku podany przez autora
- 16,64 godz.
- Materiał u źródła
- PLA
- Materiał wyceny
- PLA
- Drukarka wyceny
- Bambu Lab P1S - 0.4 nozzle
- Proces wyceny
- 0.20mm Standard
Orientacyjna wycena wyłącznie wybranego pliku, oparta na masie i czasie druku podanych przez autora. Warianty plików nie są sumowane. Ostateczna cena zostanie obliczona po analizie pliku.
Zapisane na tym urządzeniu.

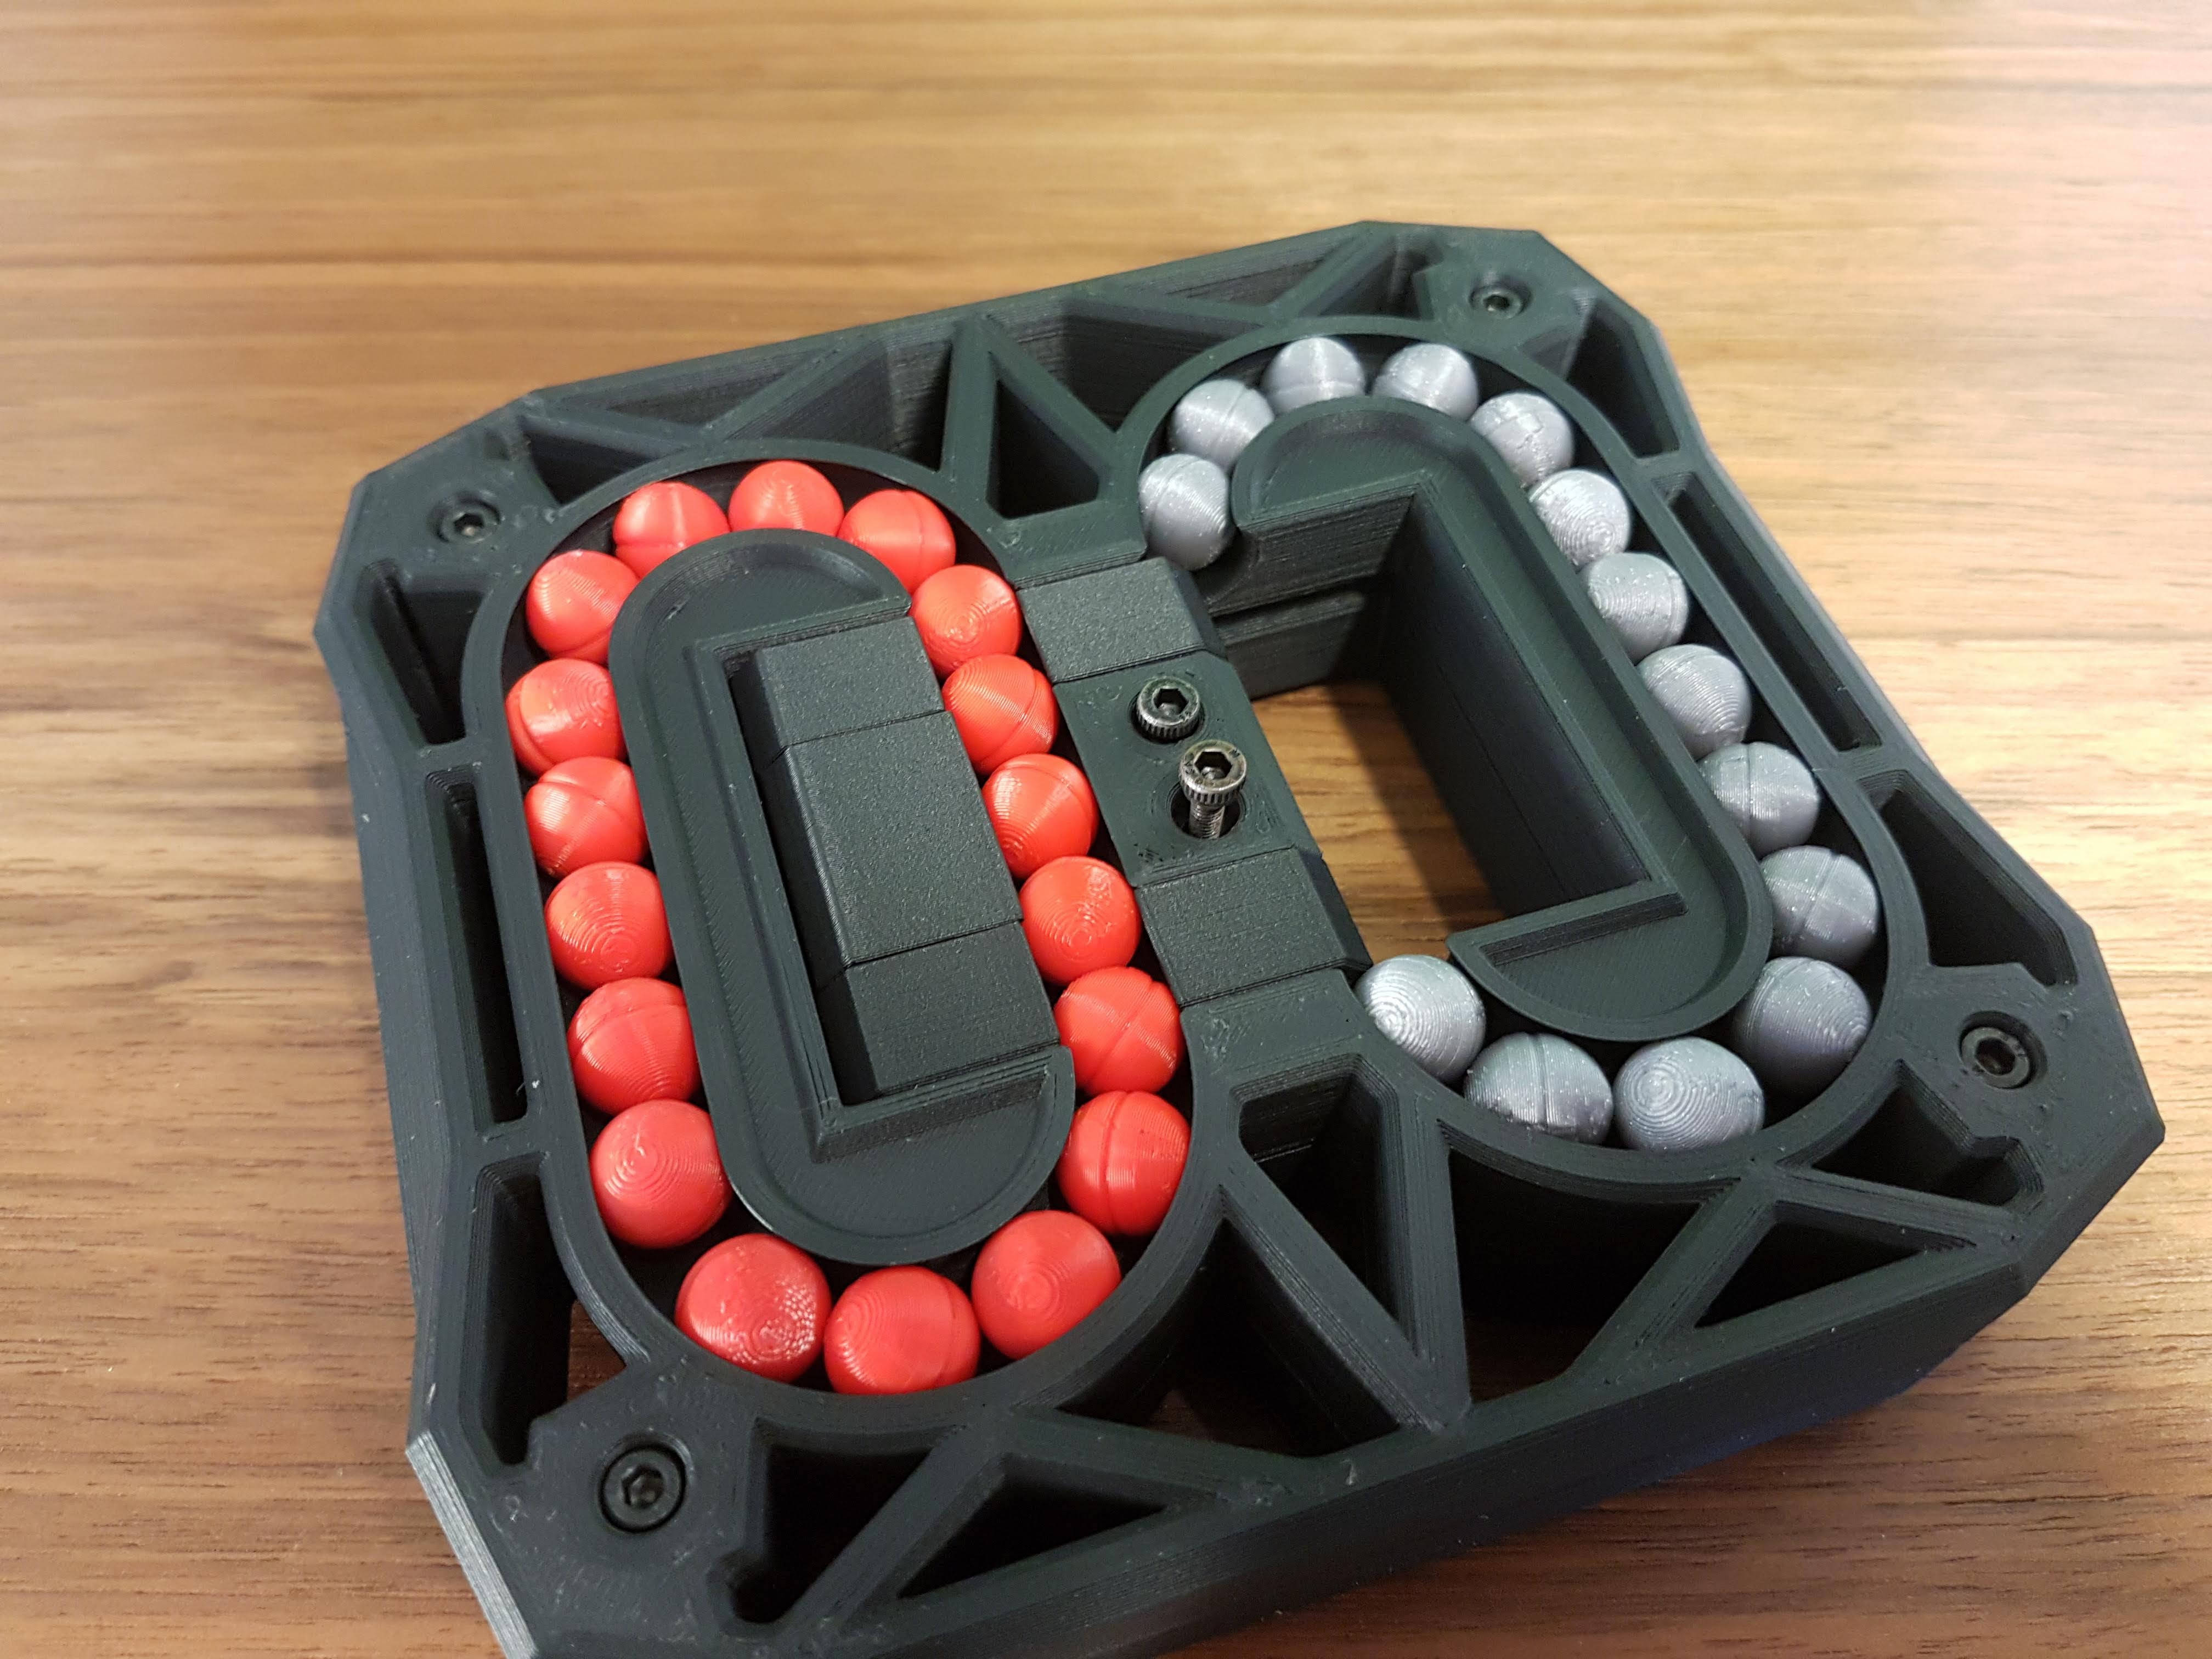
Try to sort all balls by color!
- Ocena
- 4,8 / 5
- Polubienia
- 248
- Pobrania
- 681
- Wydruki
- 6
- Wyświetlenia
- 4734
- Oceny
- 5
Aktualizacja u źródła:
Informacje o modelu
- Źródło
- Printables
- Kategoria
- Puzzles & Brain-teasers
- Licencja
- Creative Commons — Attribution — Noncommercial — Share Alike
The goal of the game is to sort all balls by color.
The game has the same structure on the front and back, thanks to the middle piece, the balls can be transported from right to left and from front to back.
You need 4 screws M3x16-20 and 2 screws M3x6-18.
Also superglue to glue the balls together.
Since the balls have to be very round, I recommend printing the multi-part balls. If you have a resin printer or a very good component cooling, you can also print one of the two alternative balls.
The front and back parts have built-in support structures that are simply removed by hand after printing.
Assembly instructions follow below.
Dimensions: 134x125x30
If you like check out my other designs too!
Assembly:
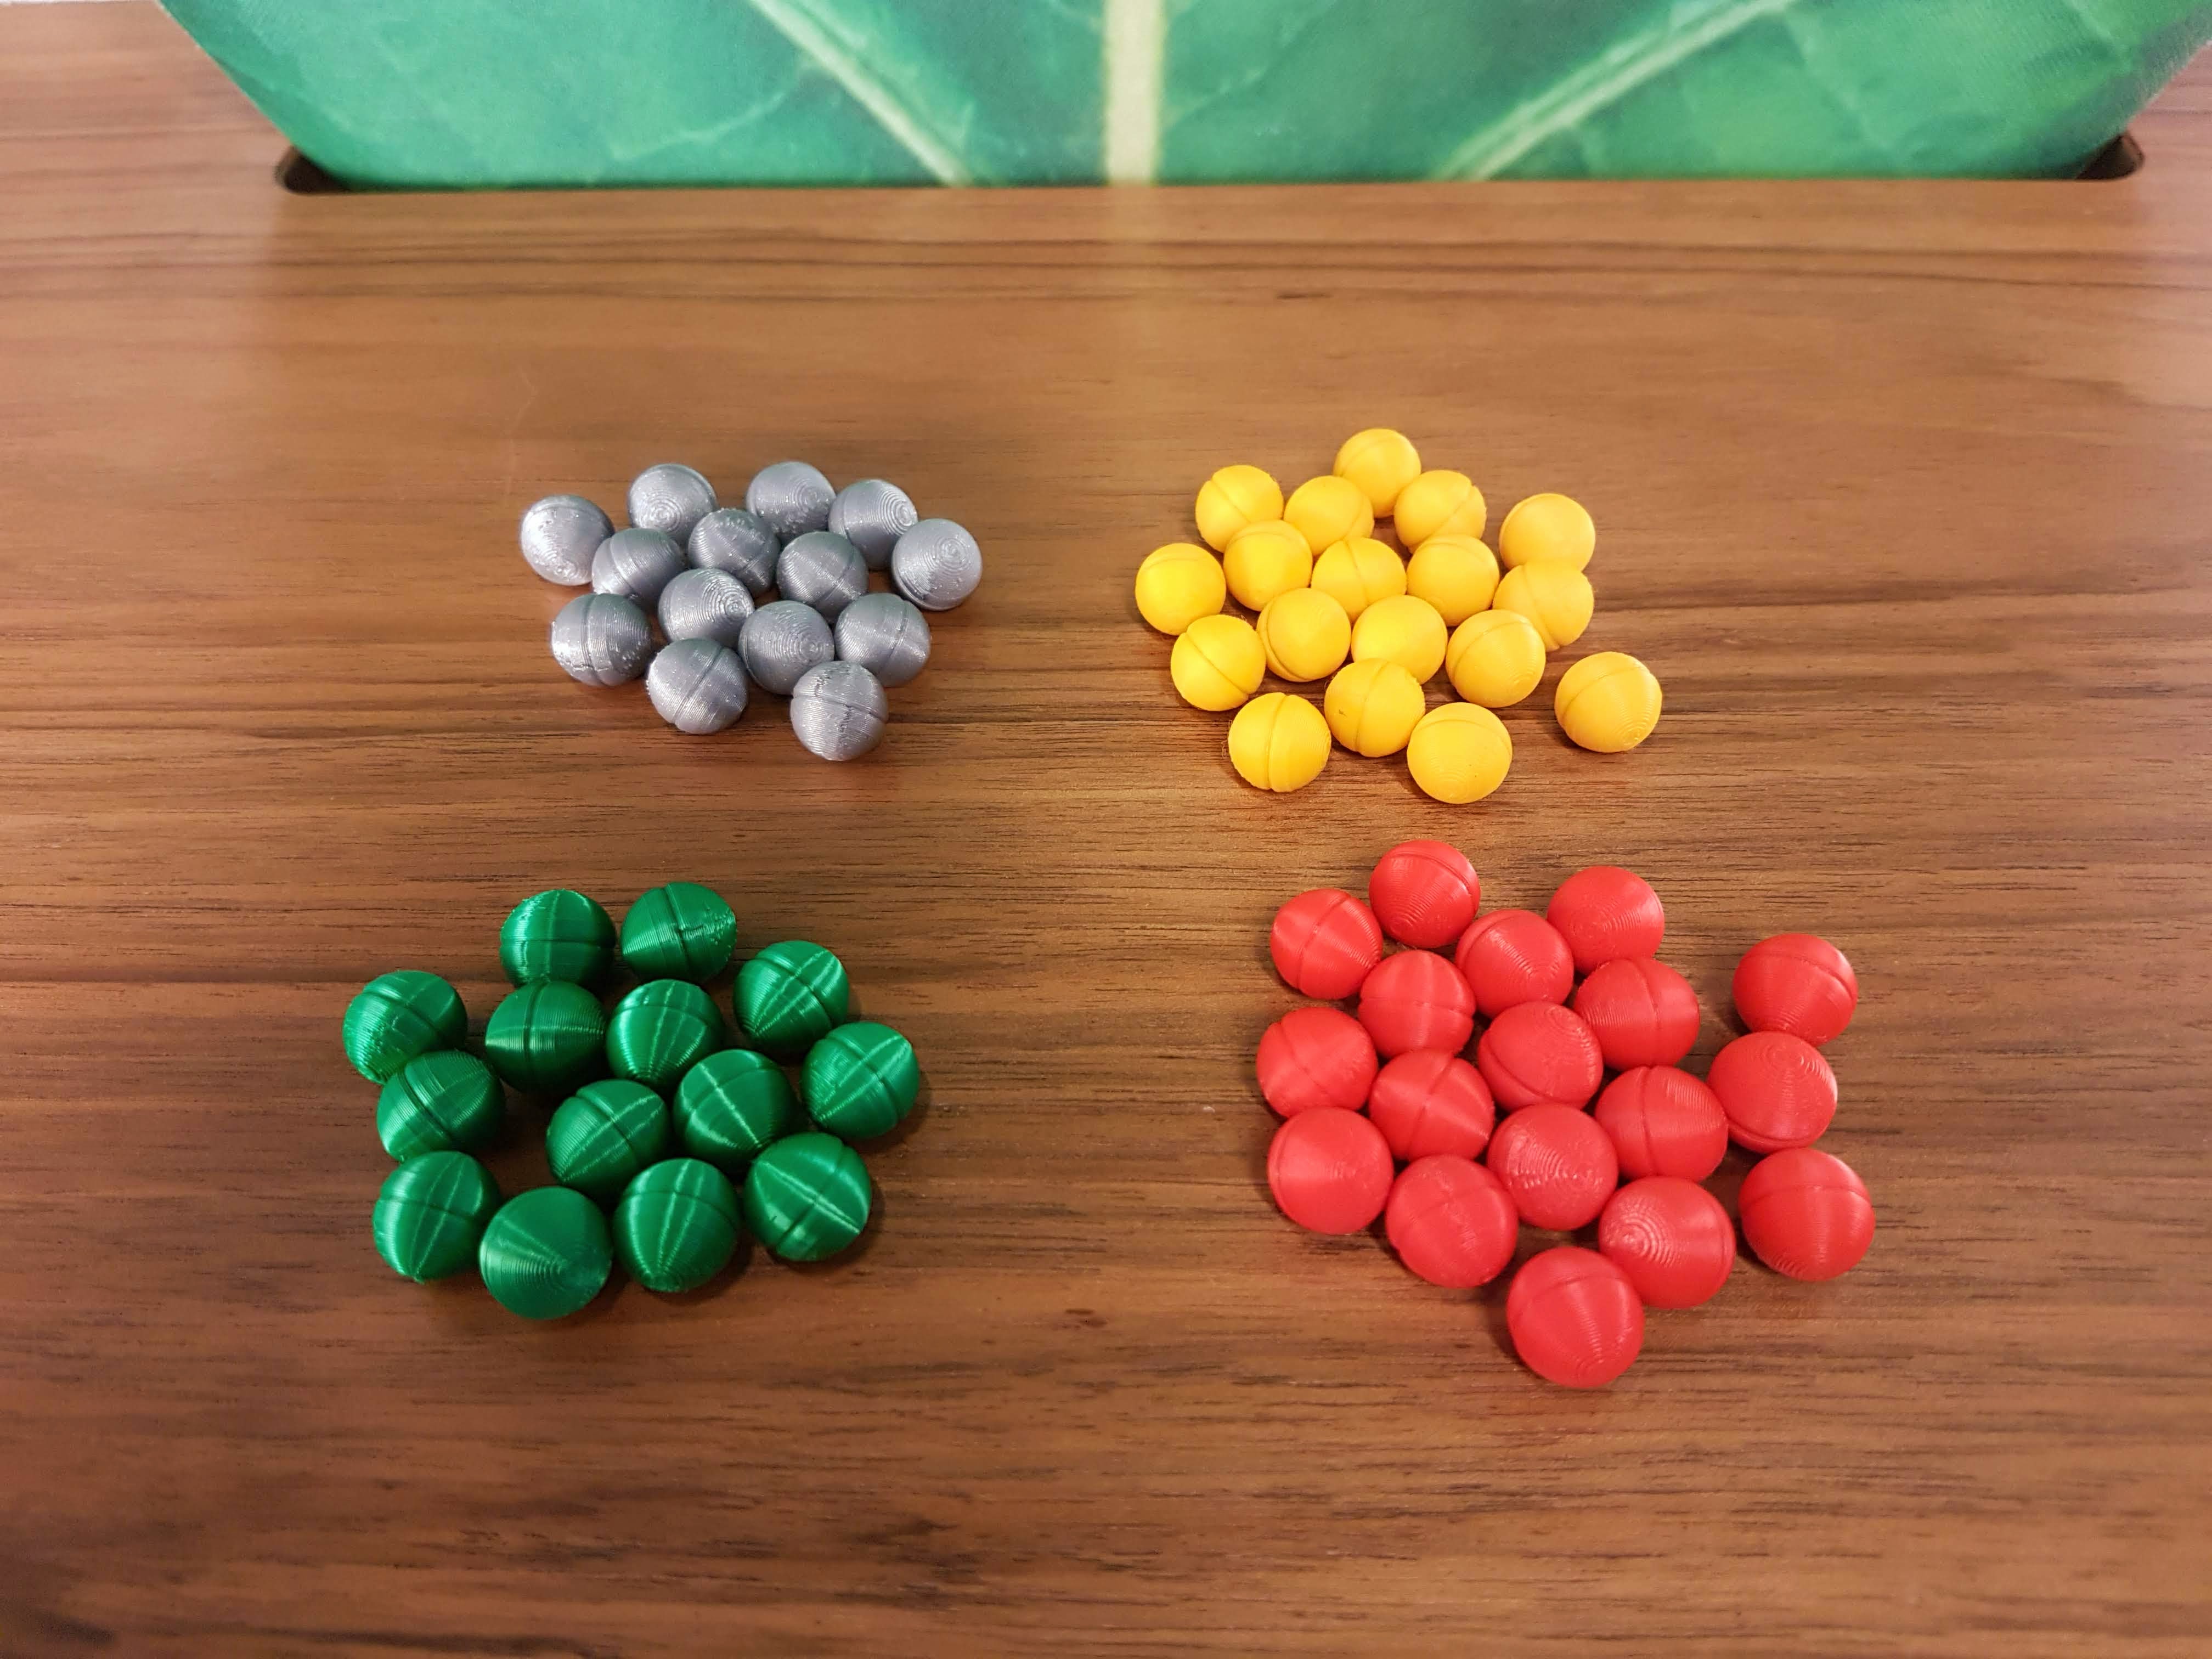
You need a total of 2x 14 balls and 2x 18 balls.
It is advantageous to build up the puzzle in its solved form. Therefore, the group with a total of 18 balls should be on the left, front and back.
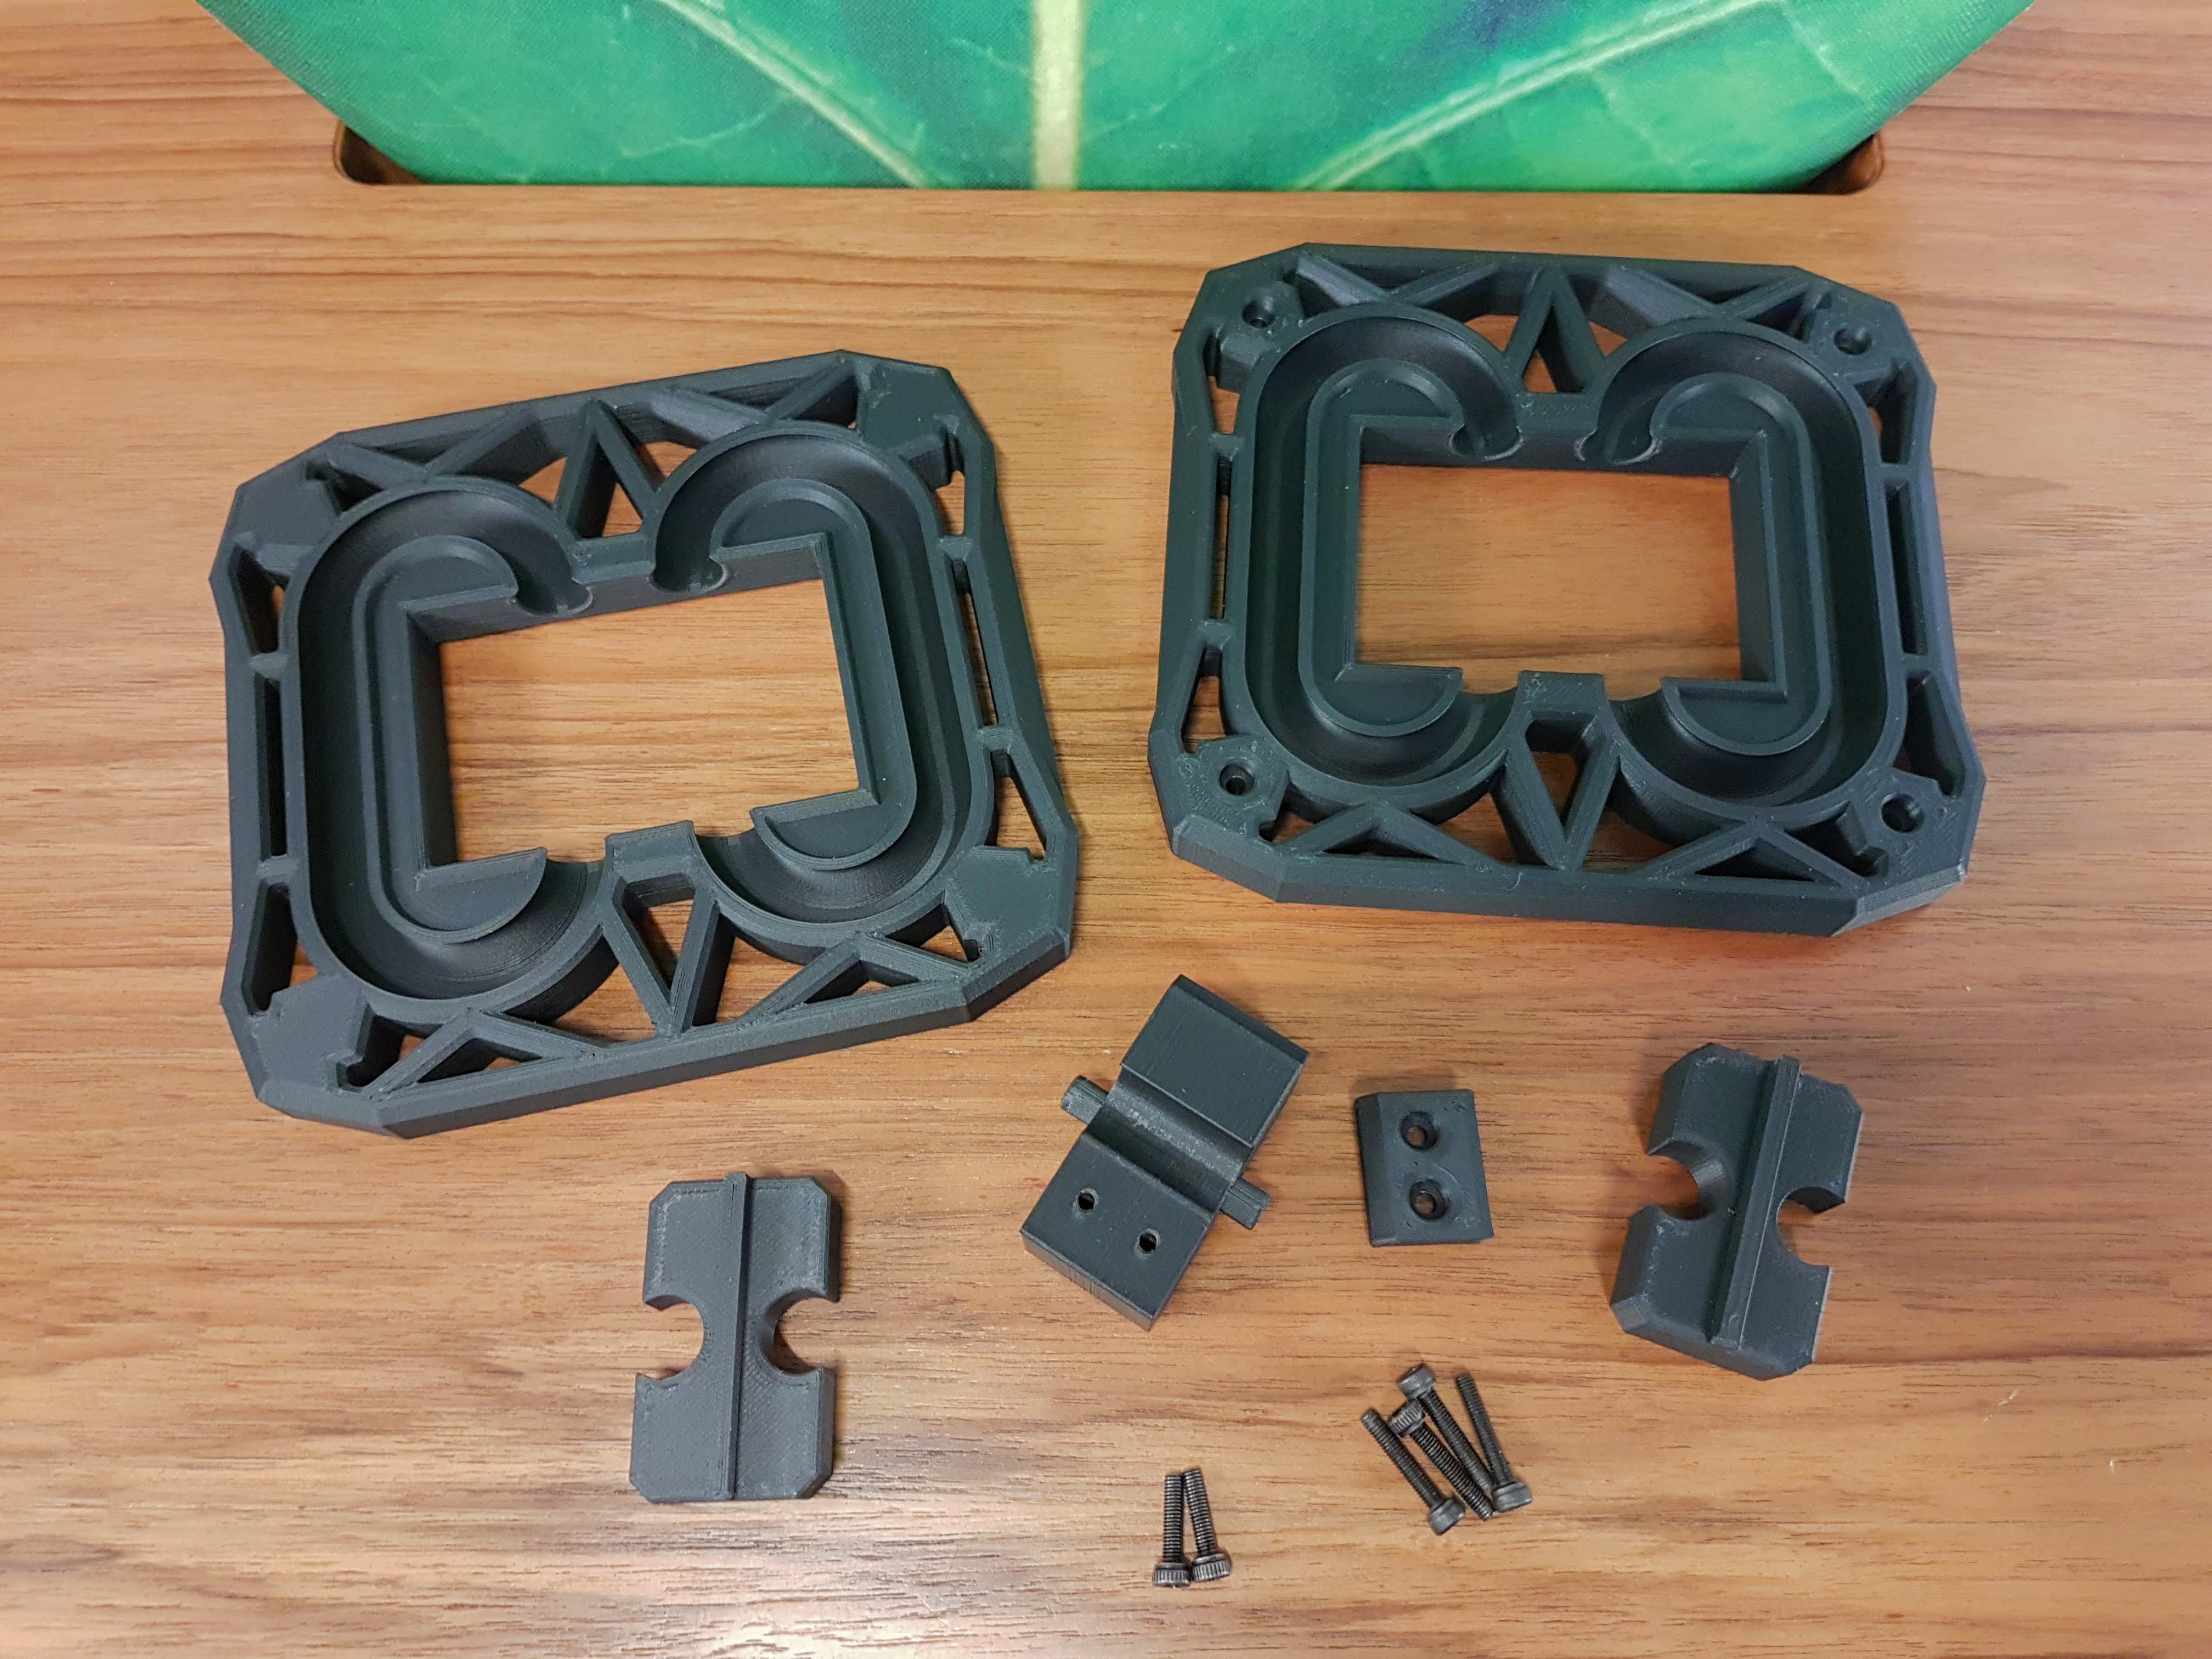
Remove the support structures from the front and back parts and insert the axle into the middle part.
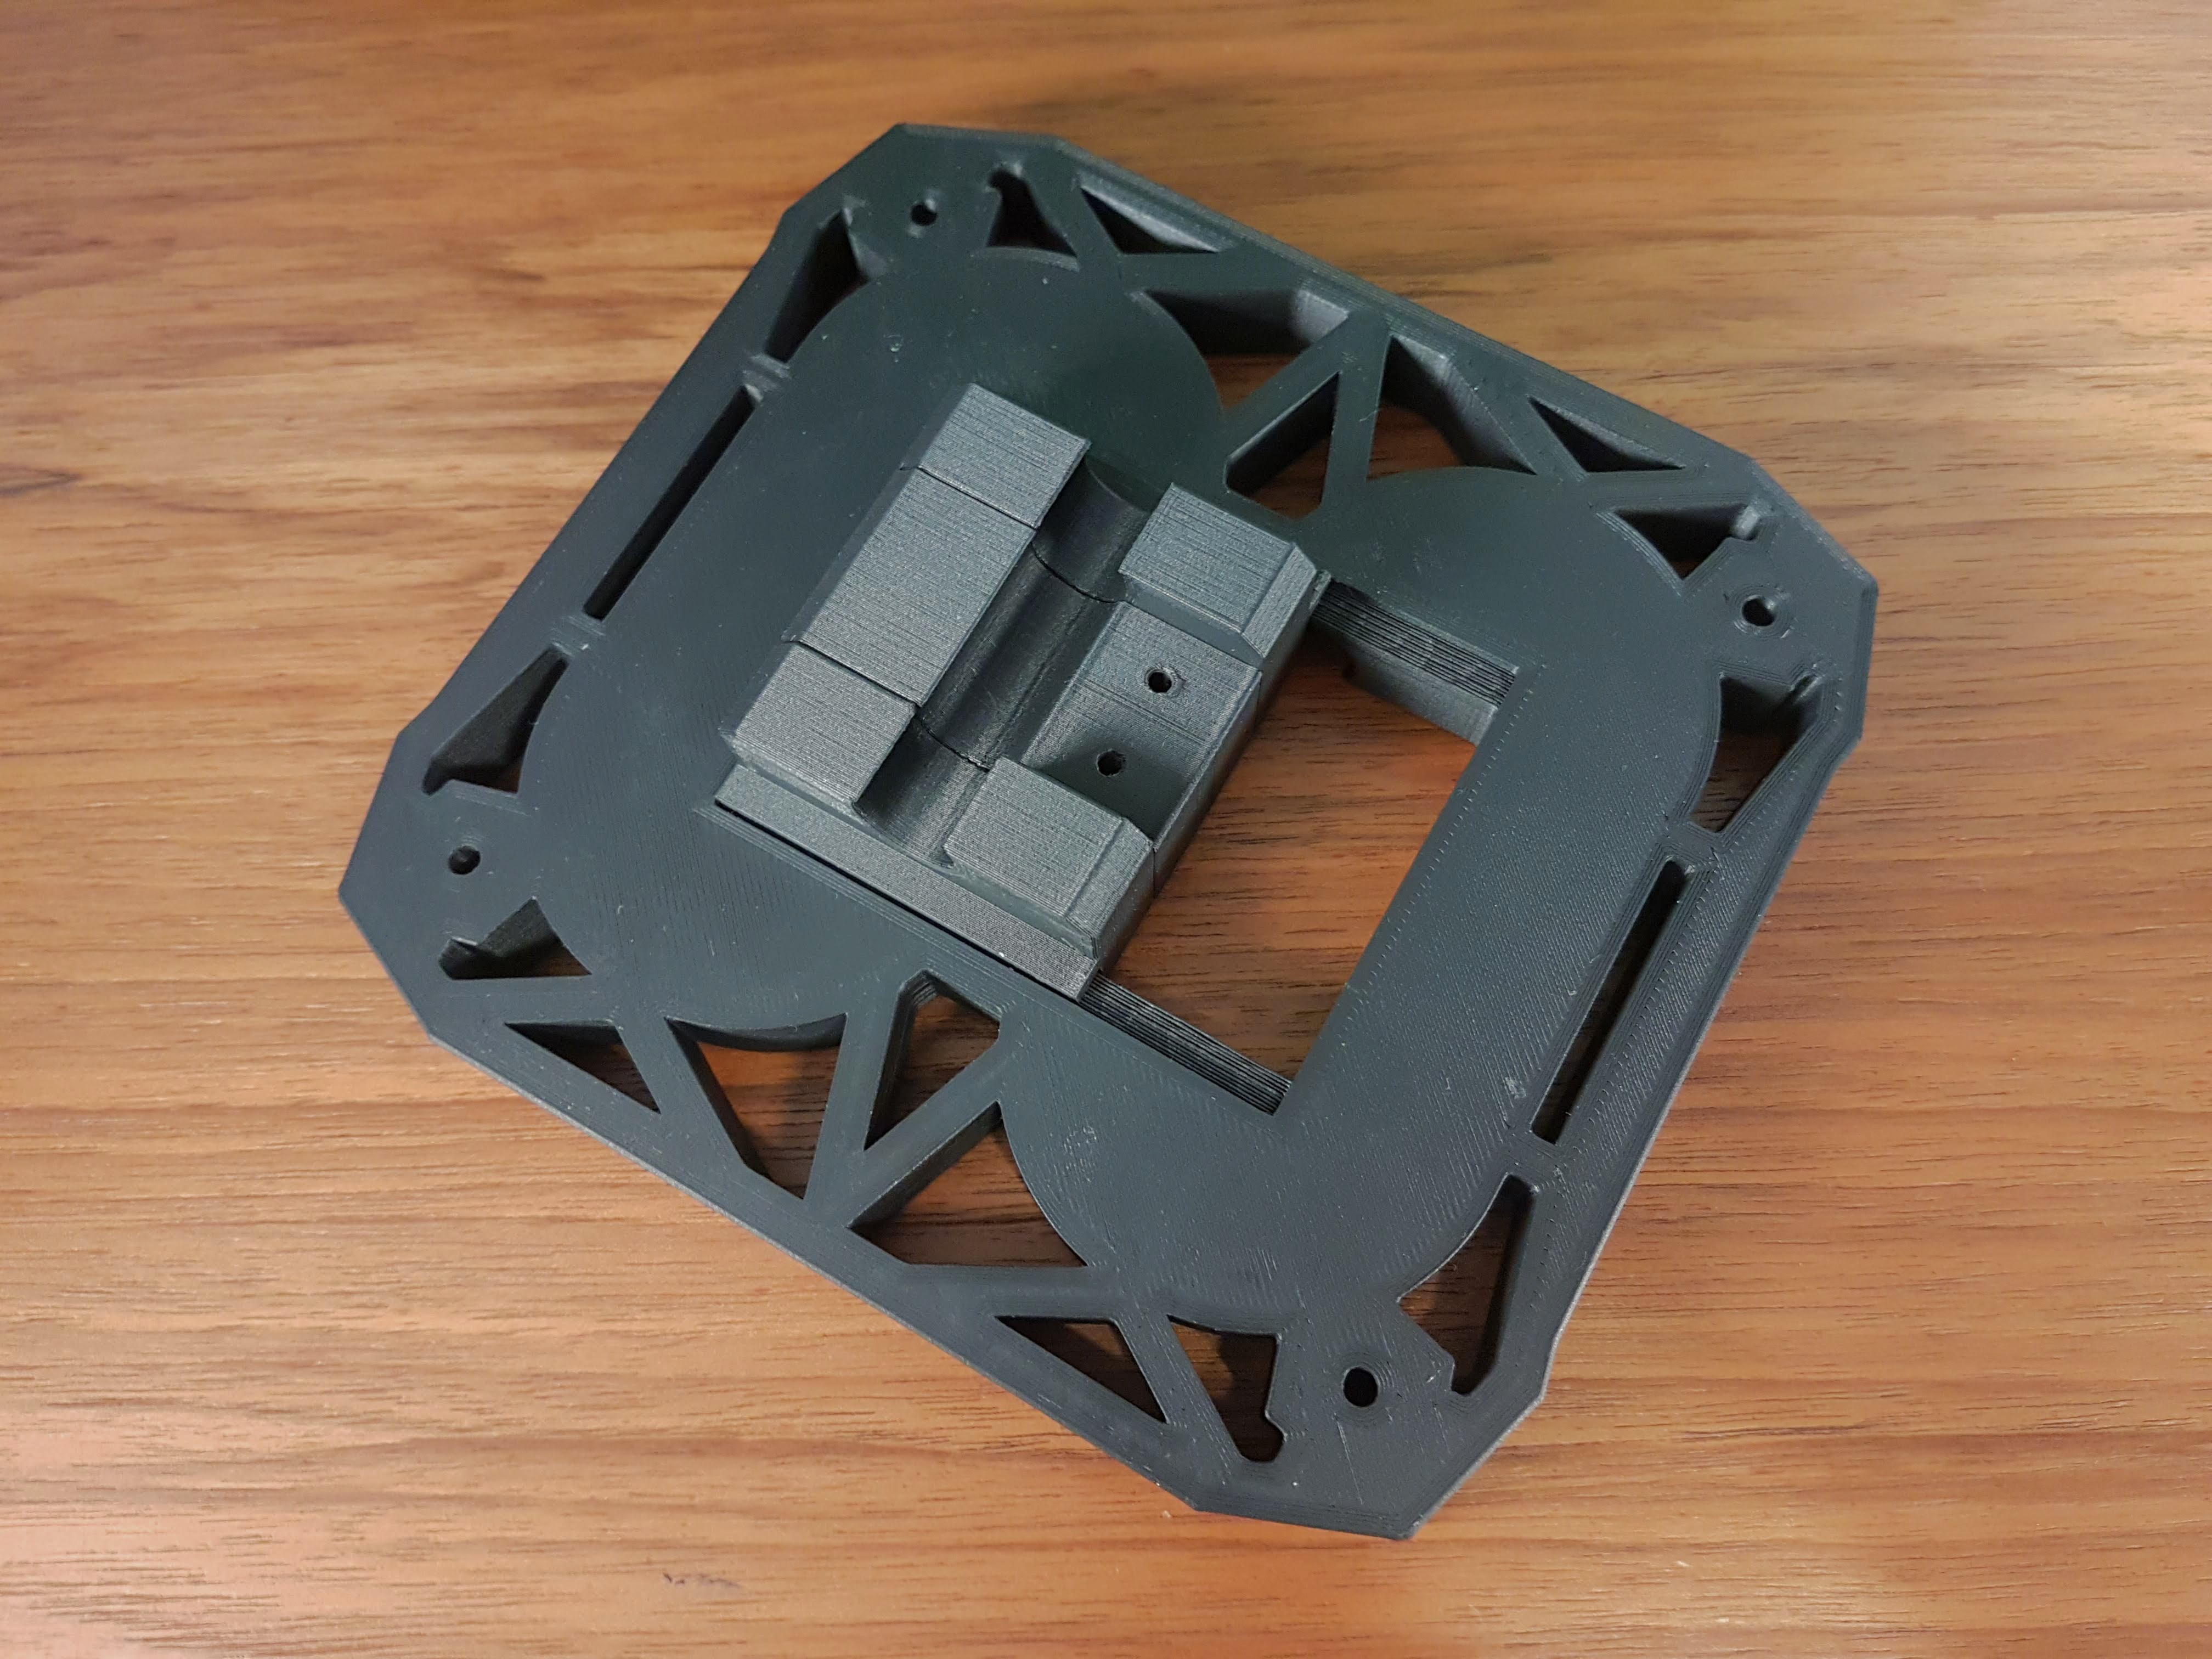
Now screw the front and back parts together with the middle parts. Do not install the "Cap" part yet.
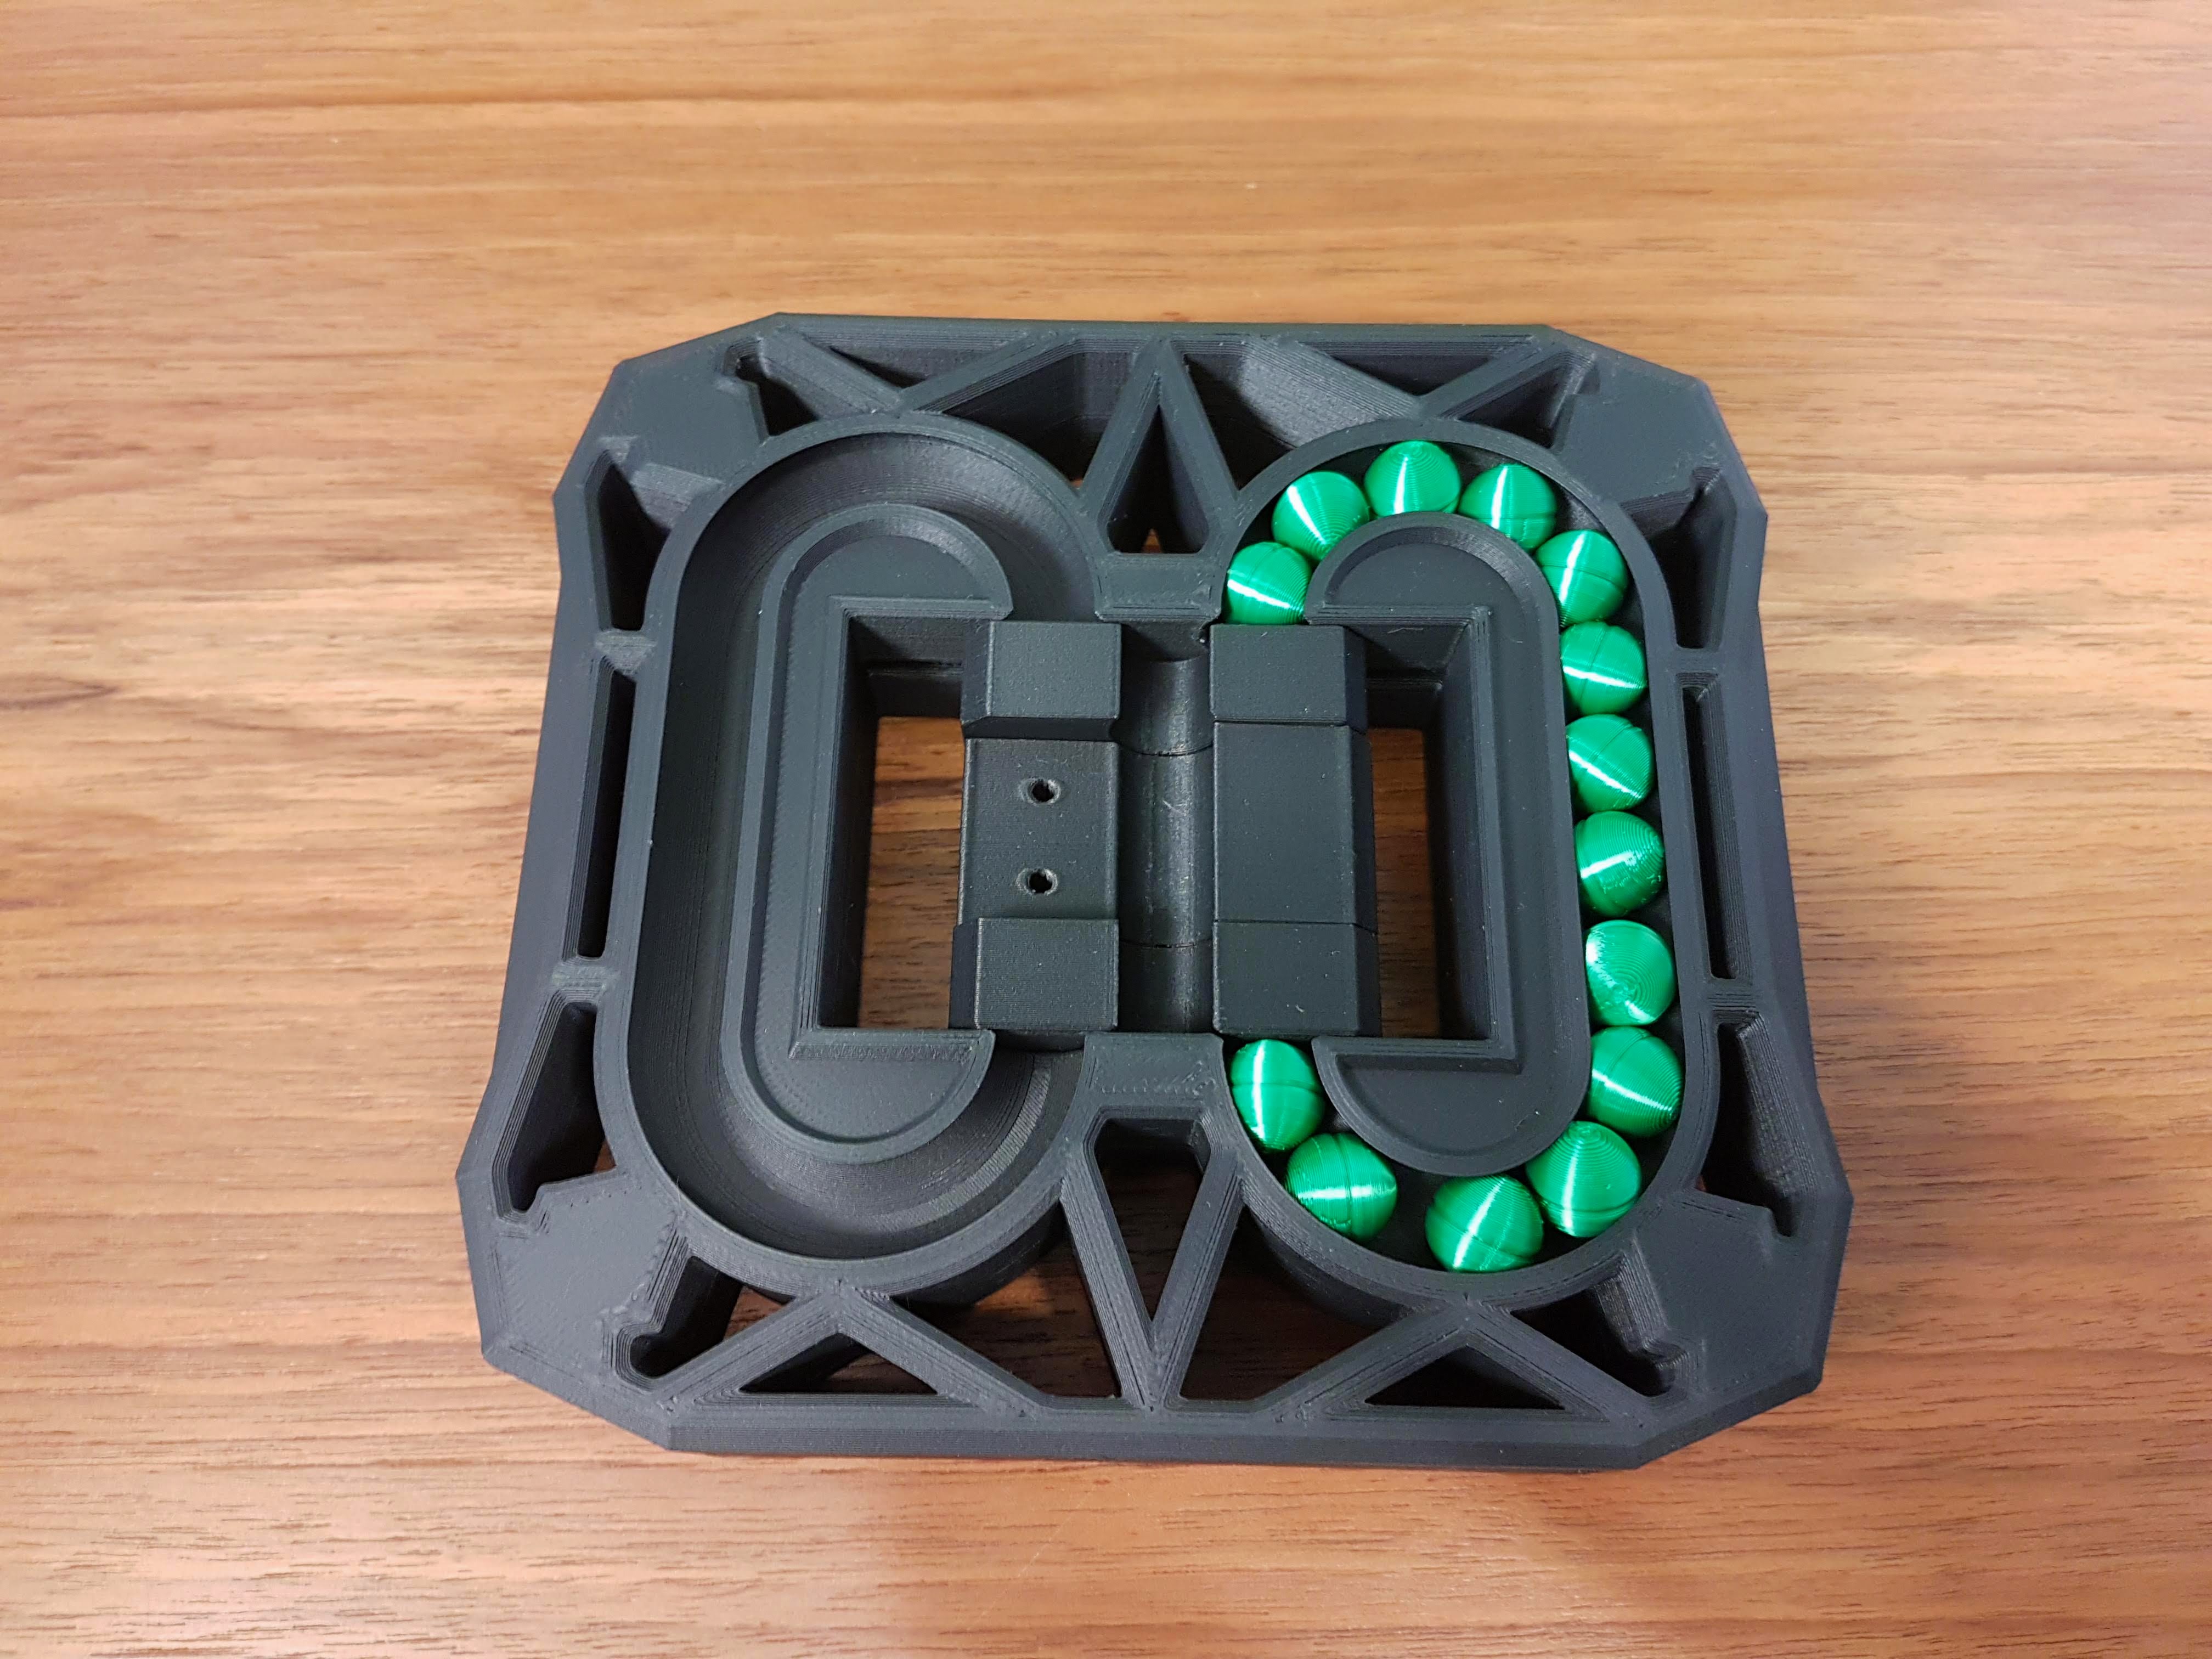
Fill the puzzle in the same order as in the pictures. Pay attention to which side the puzzle is on the pictures (screws to see or not, middle part rotated or not)
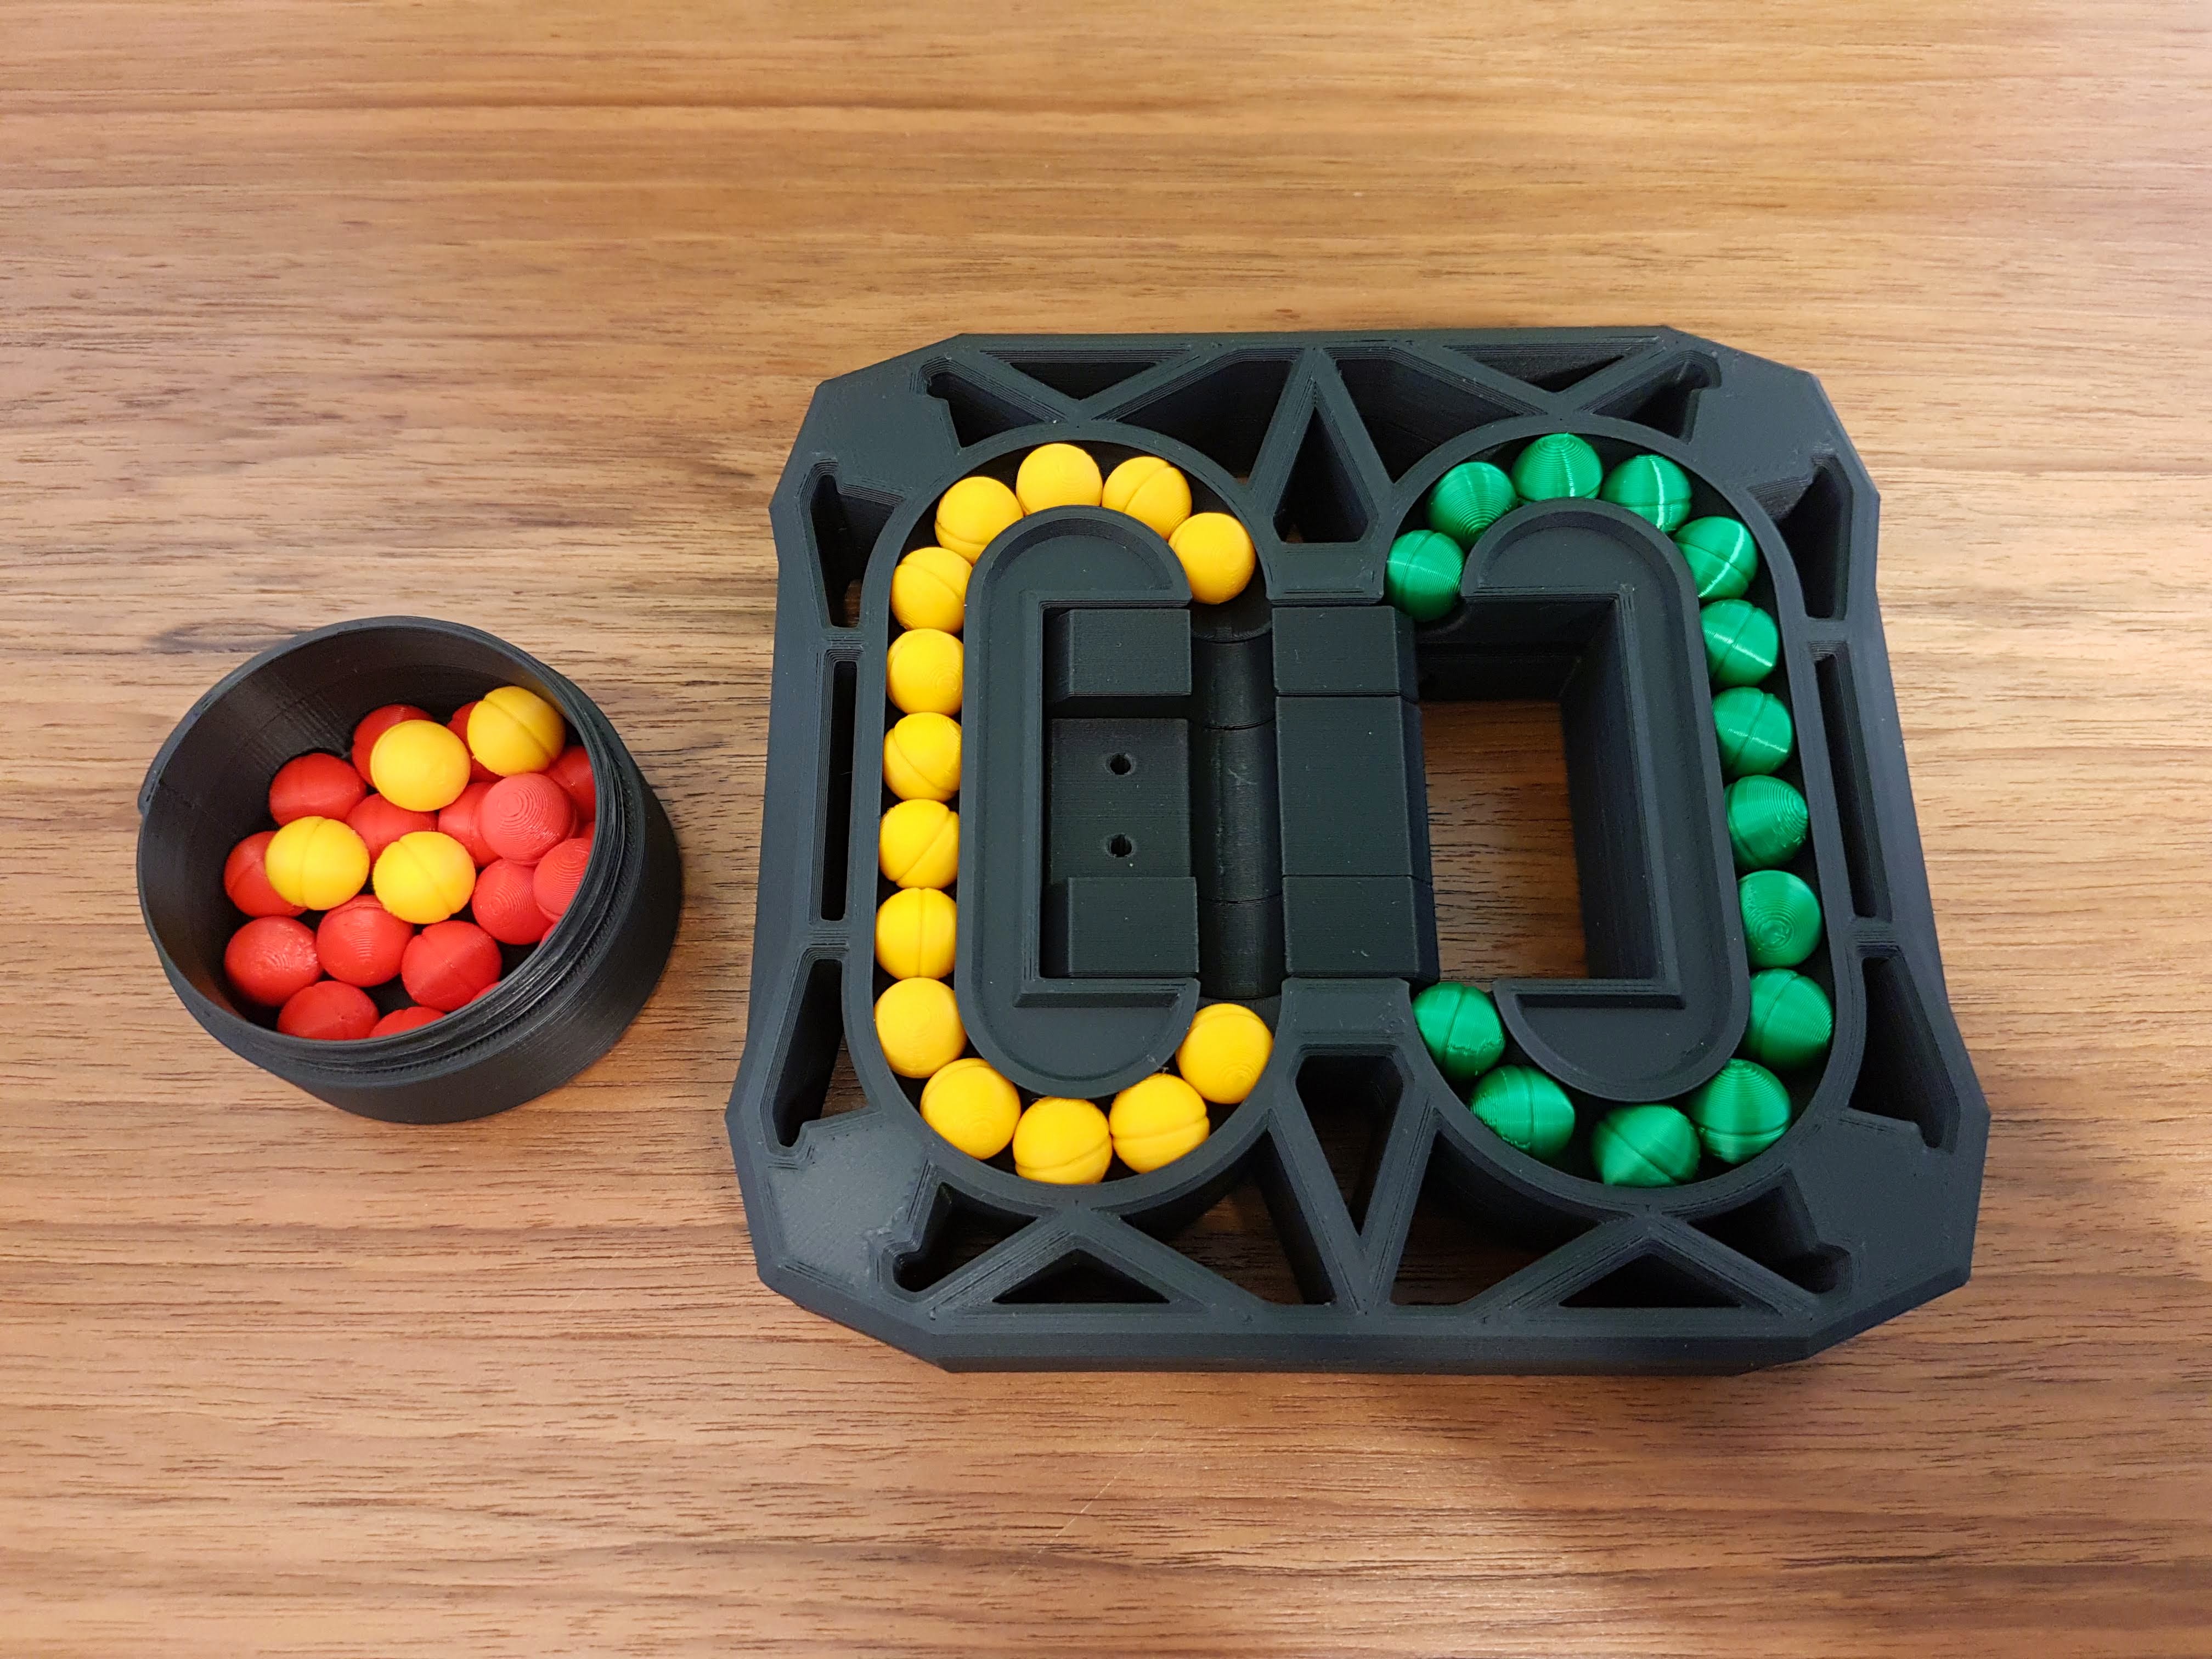
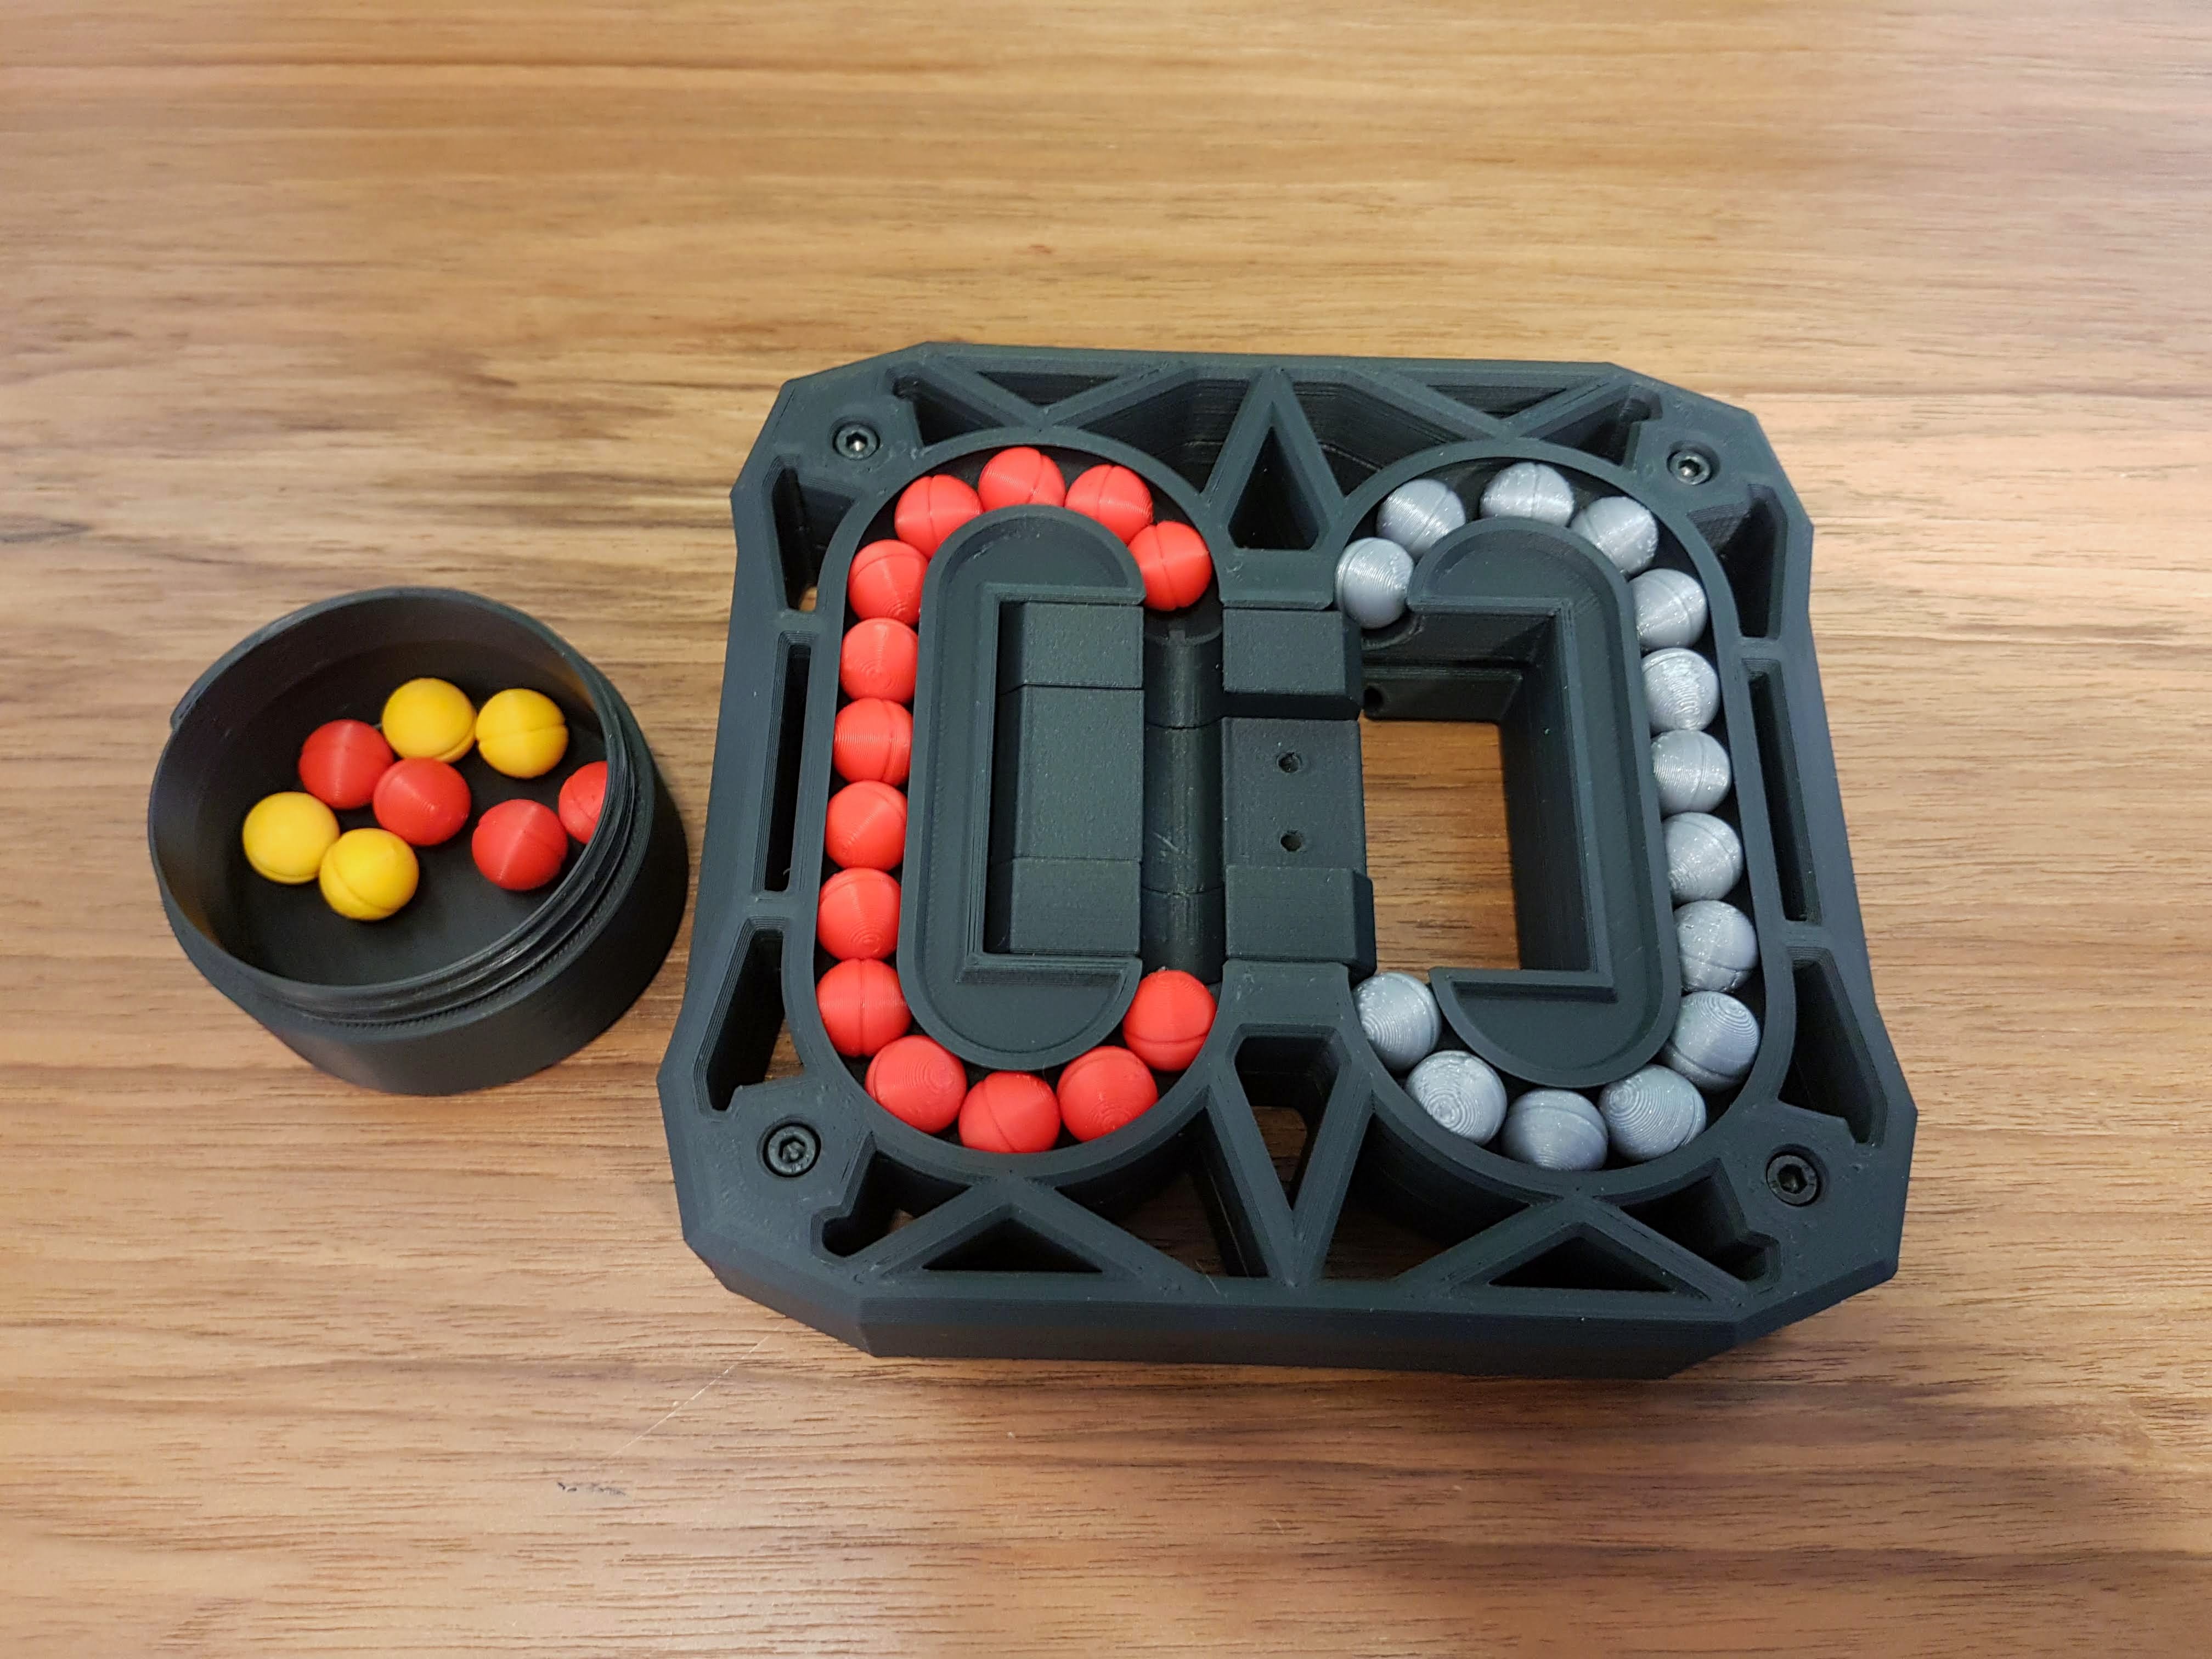
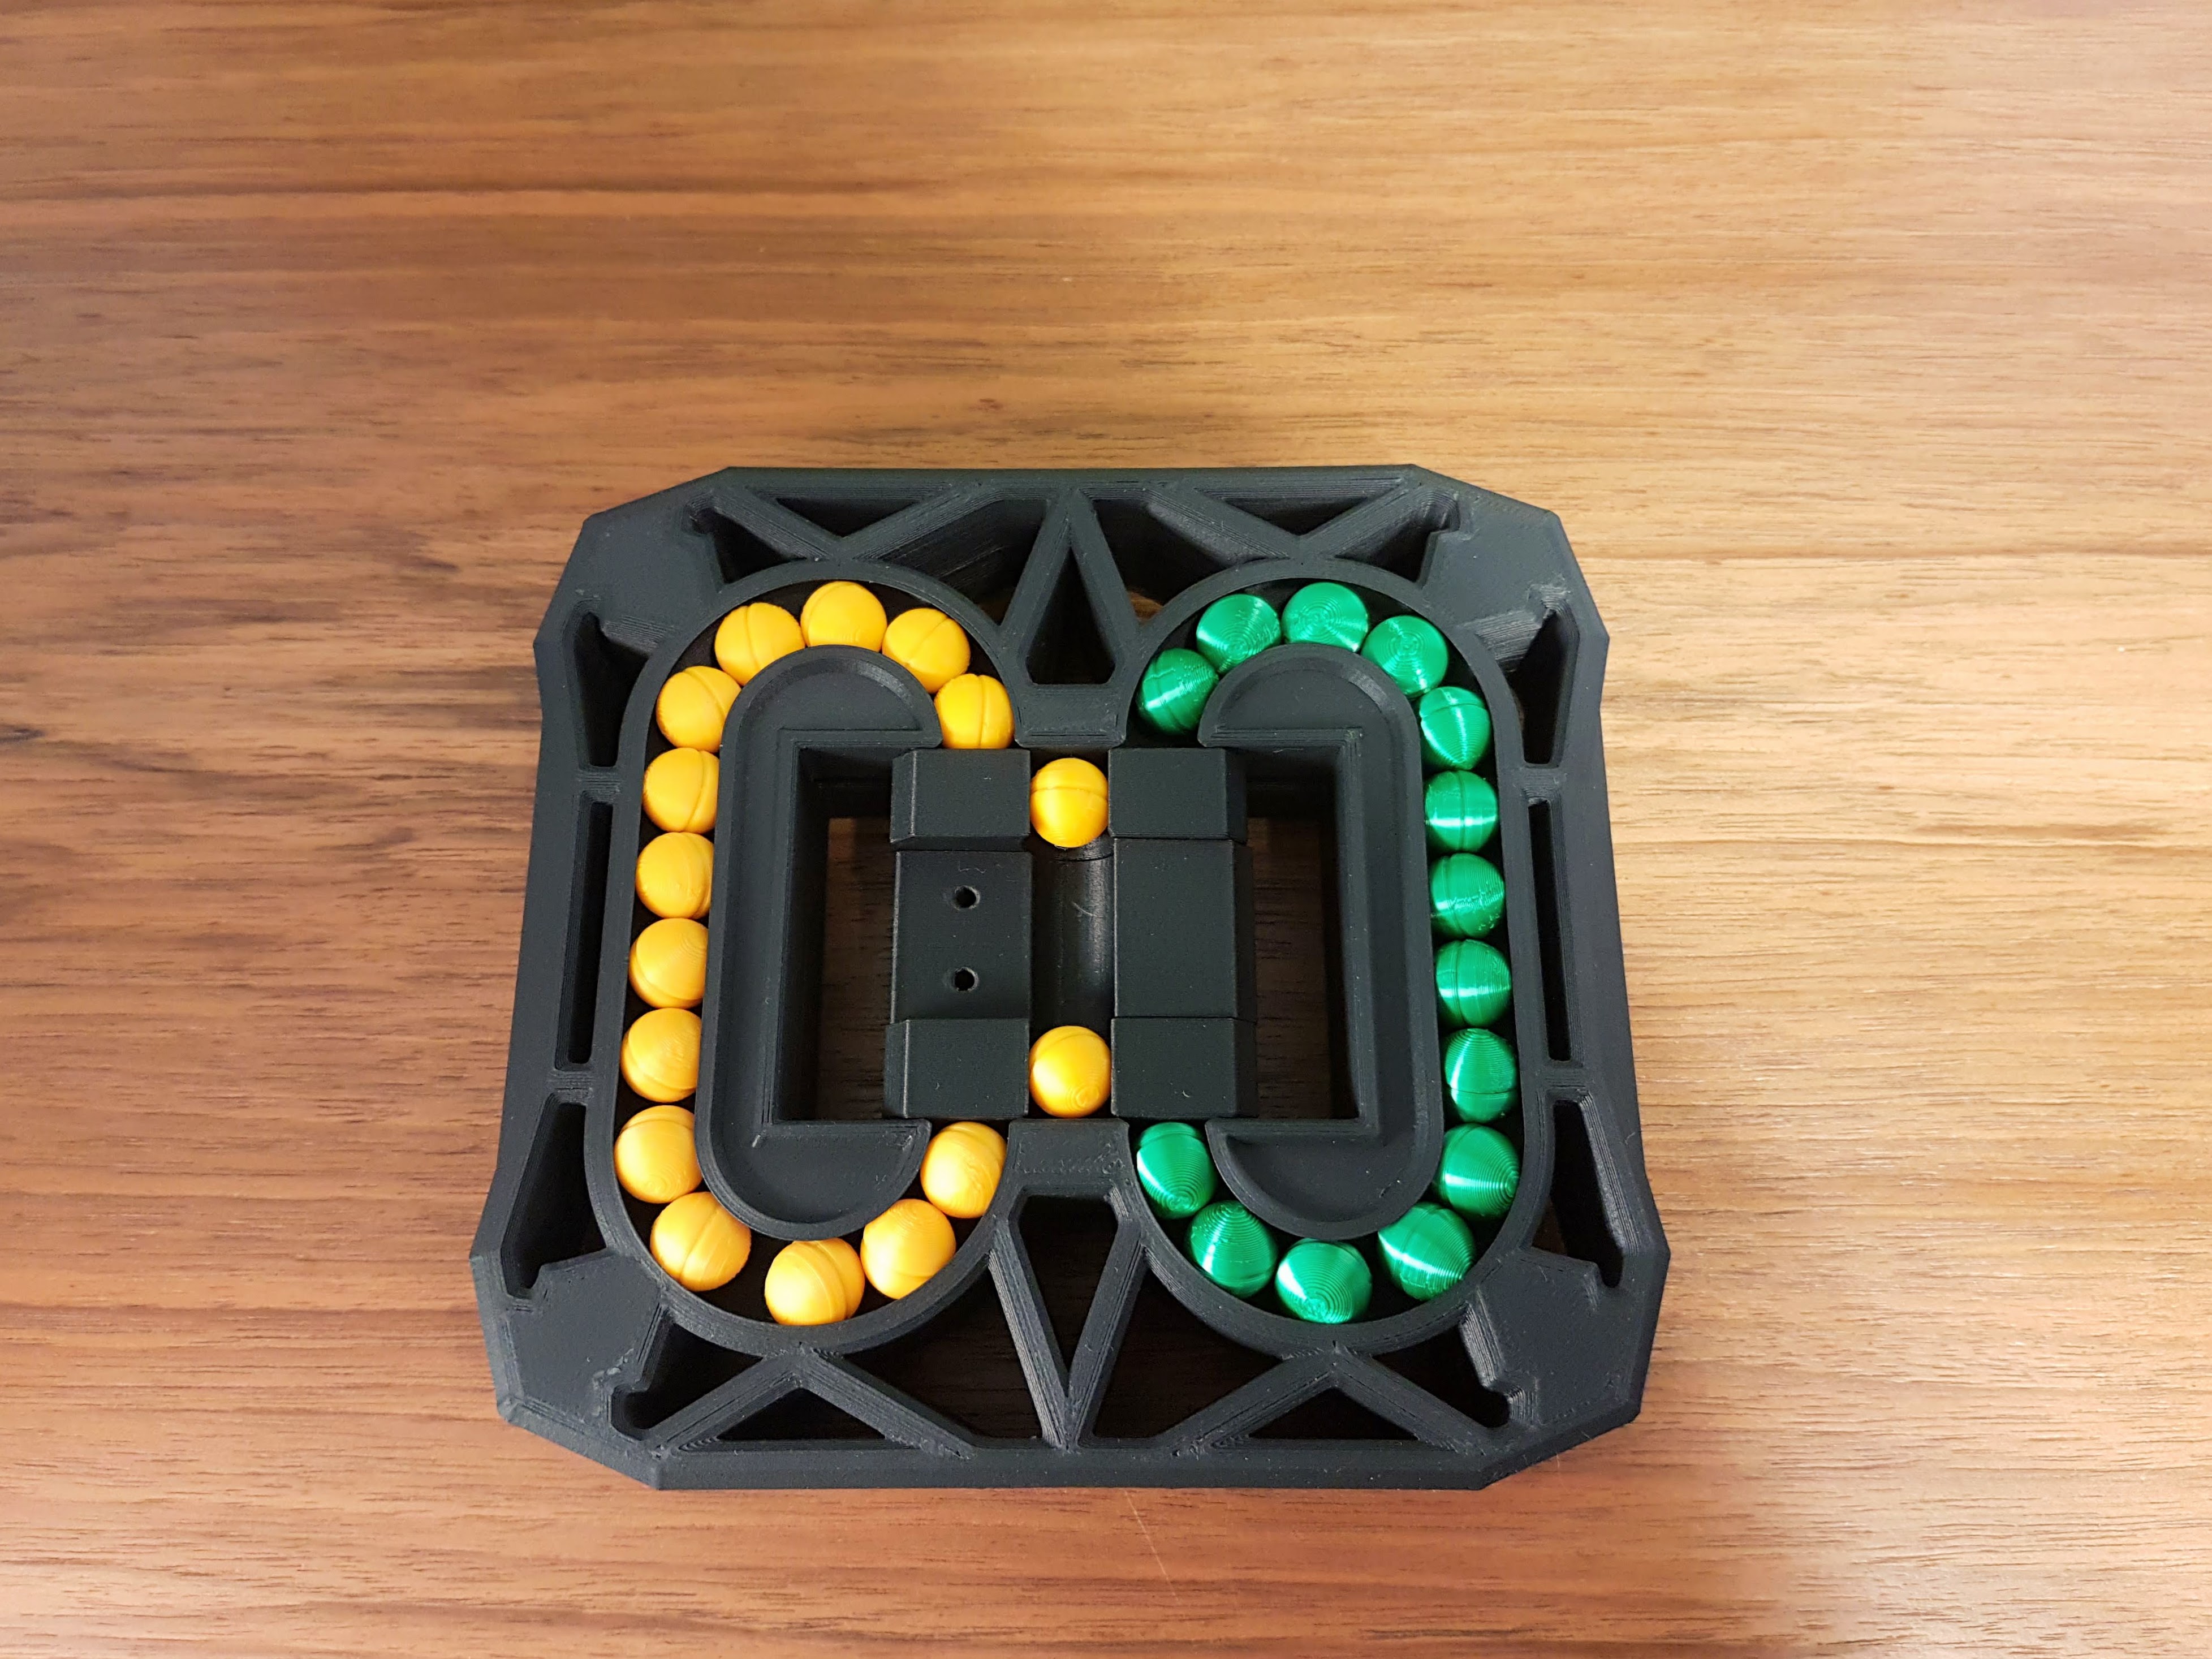
This is the next important step:
Insert the two balls as shown, then turn the middle part and push the balls into the middle. Turn the middle part back and insert the two balls at the top and bottom again. Then you can turn the middle part again and fill the other side.
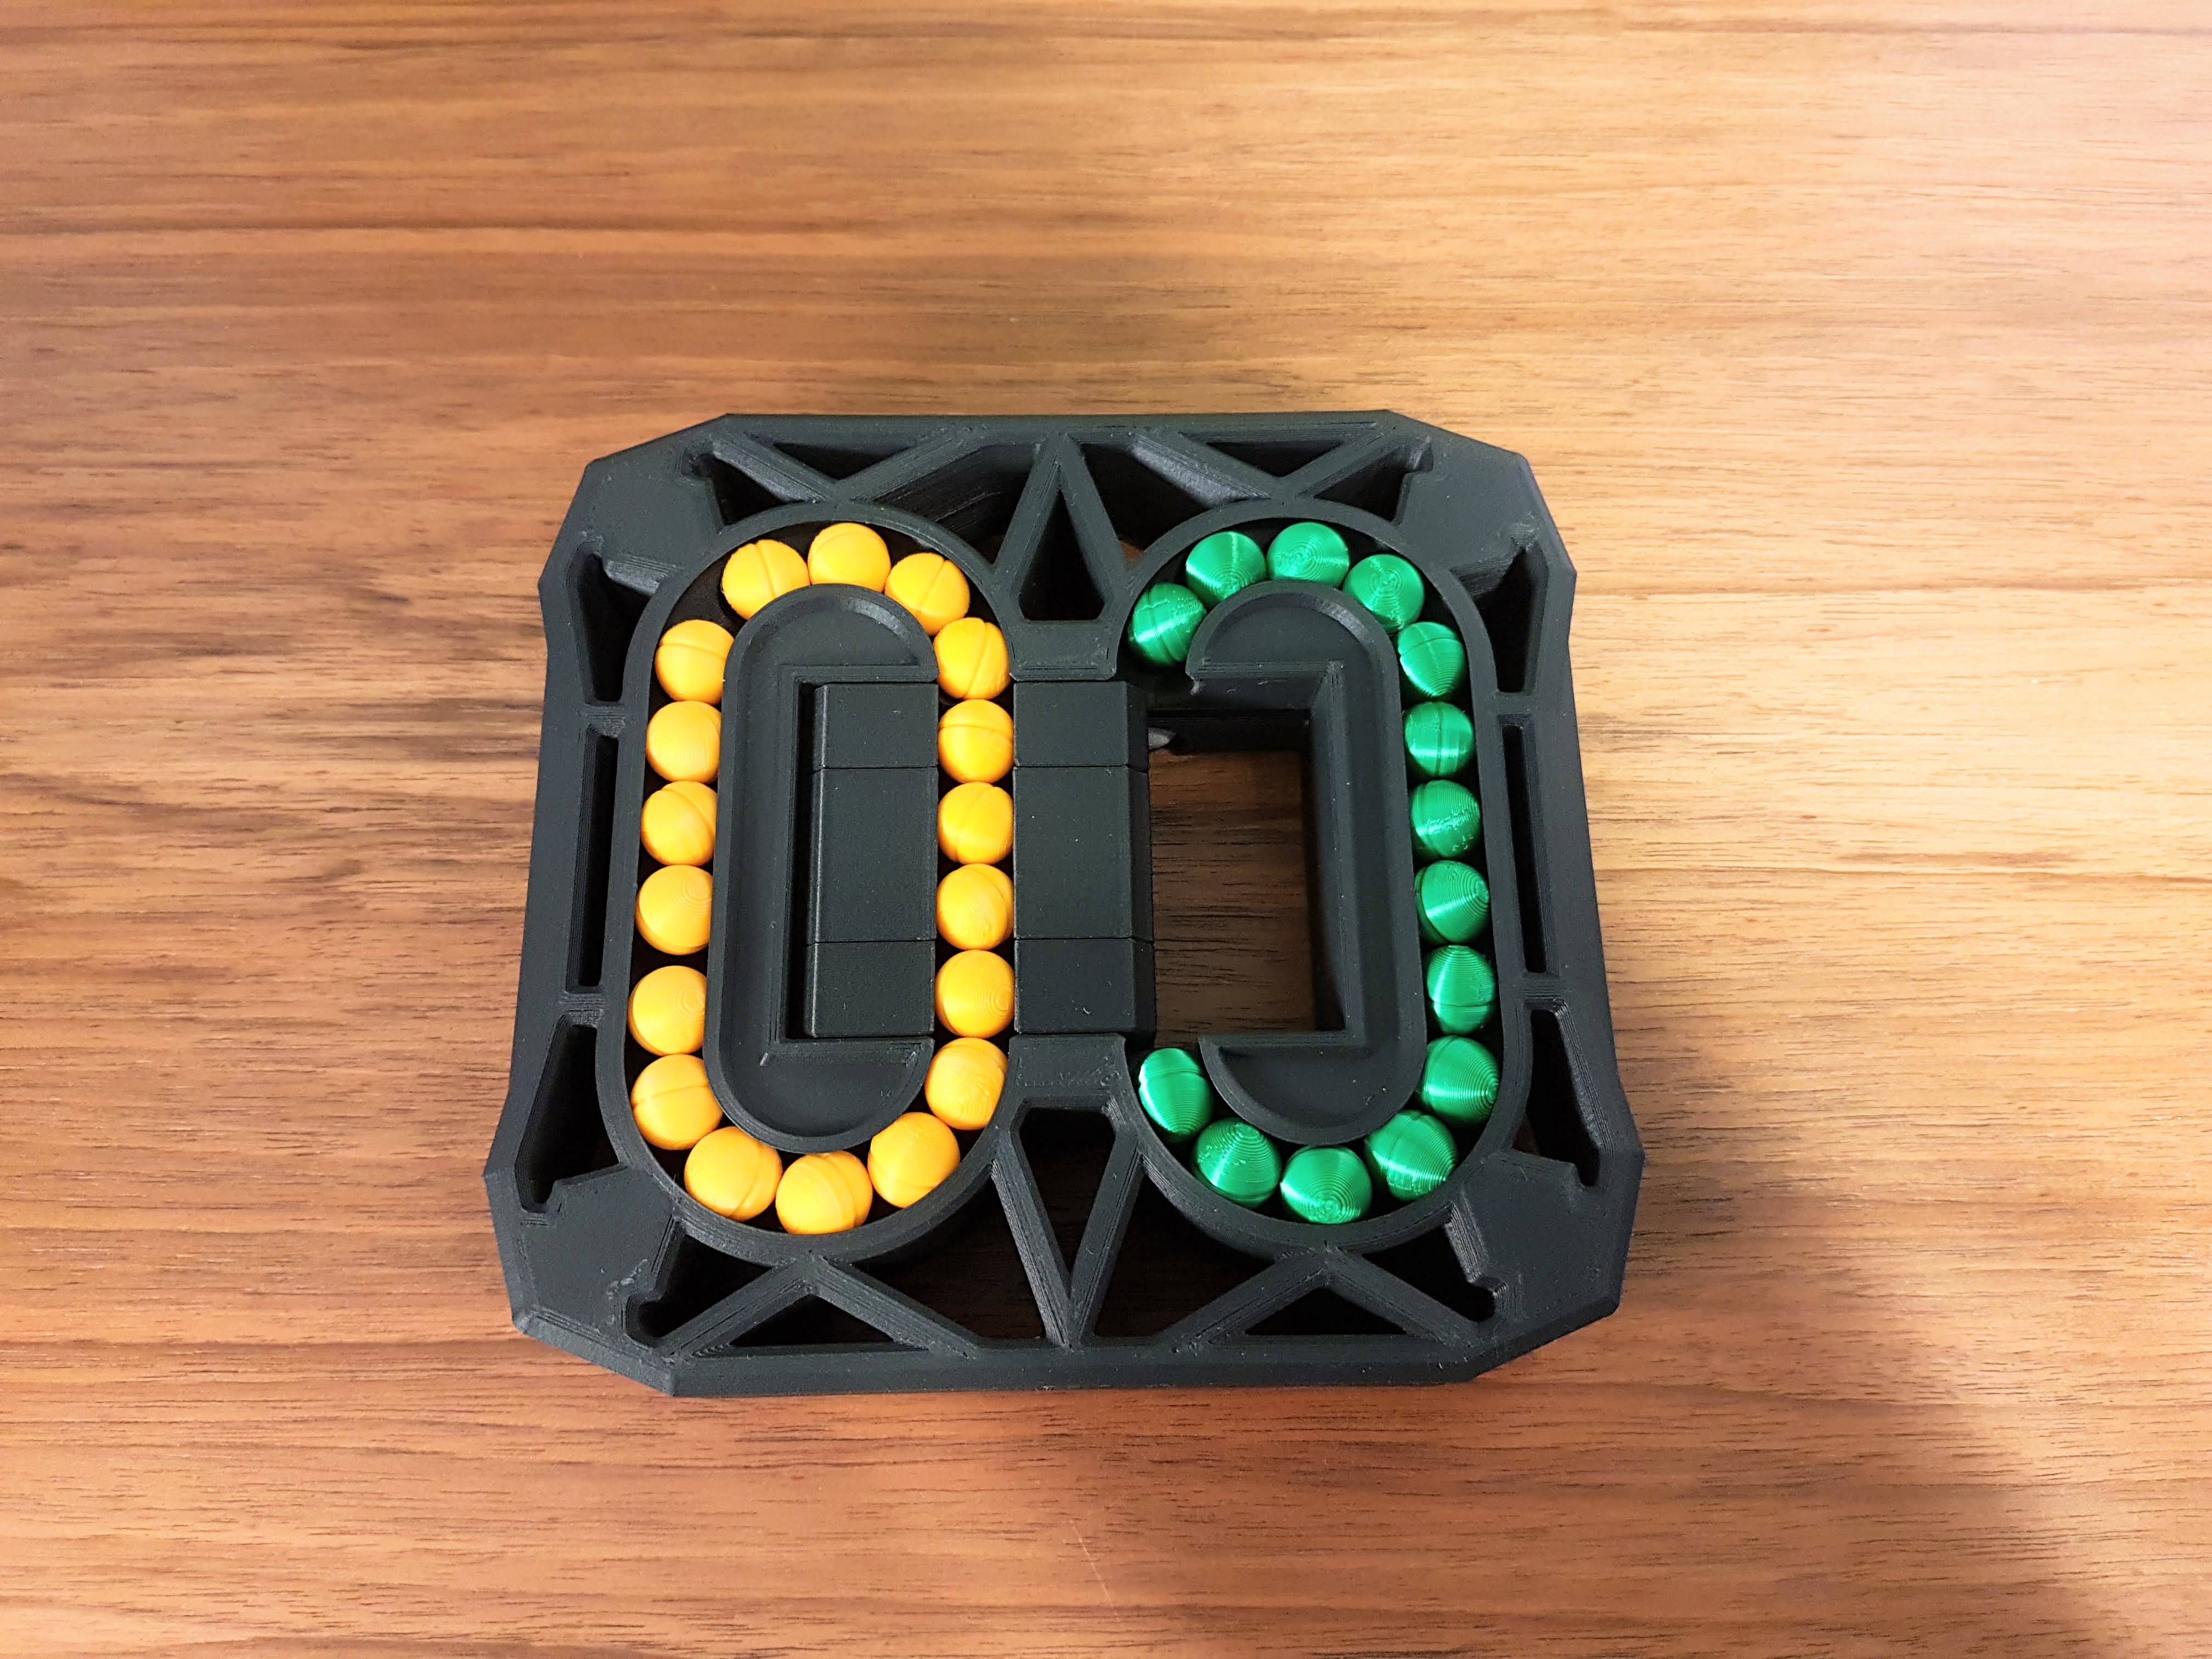
Screw the cap on and you're done!