
Spotter / Flag Box 8x8 LED Matrix
Obliczymy ostateczną cenę na podstawie wybranego pliku. Sprawdzisz ją i zaakceptujesz przed płatnością.
Zapisane na tym urządzeniu.

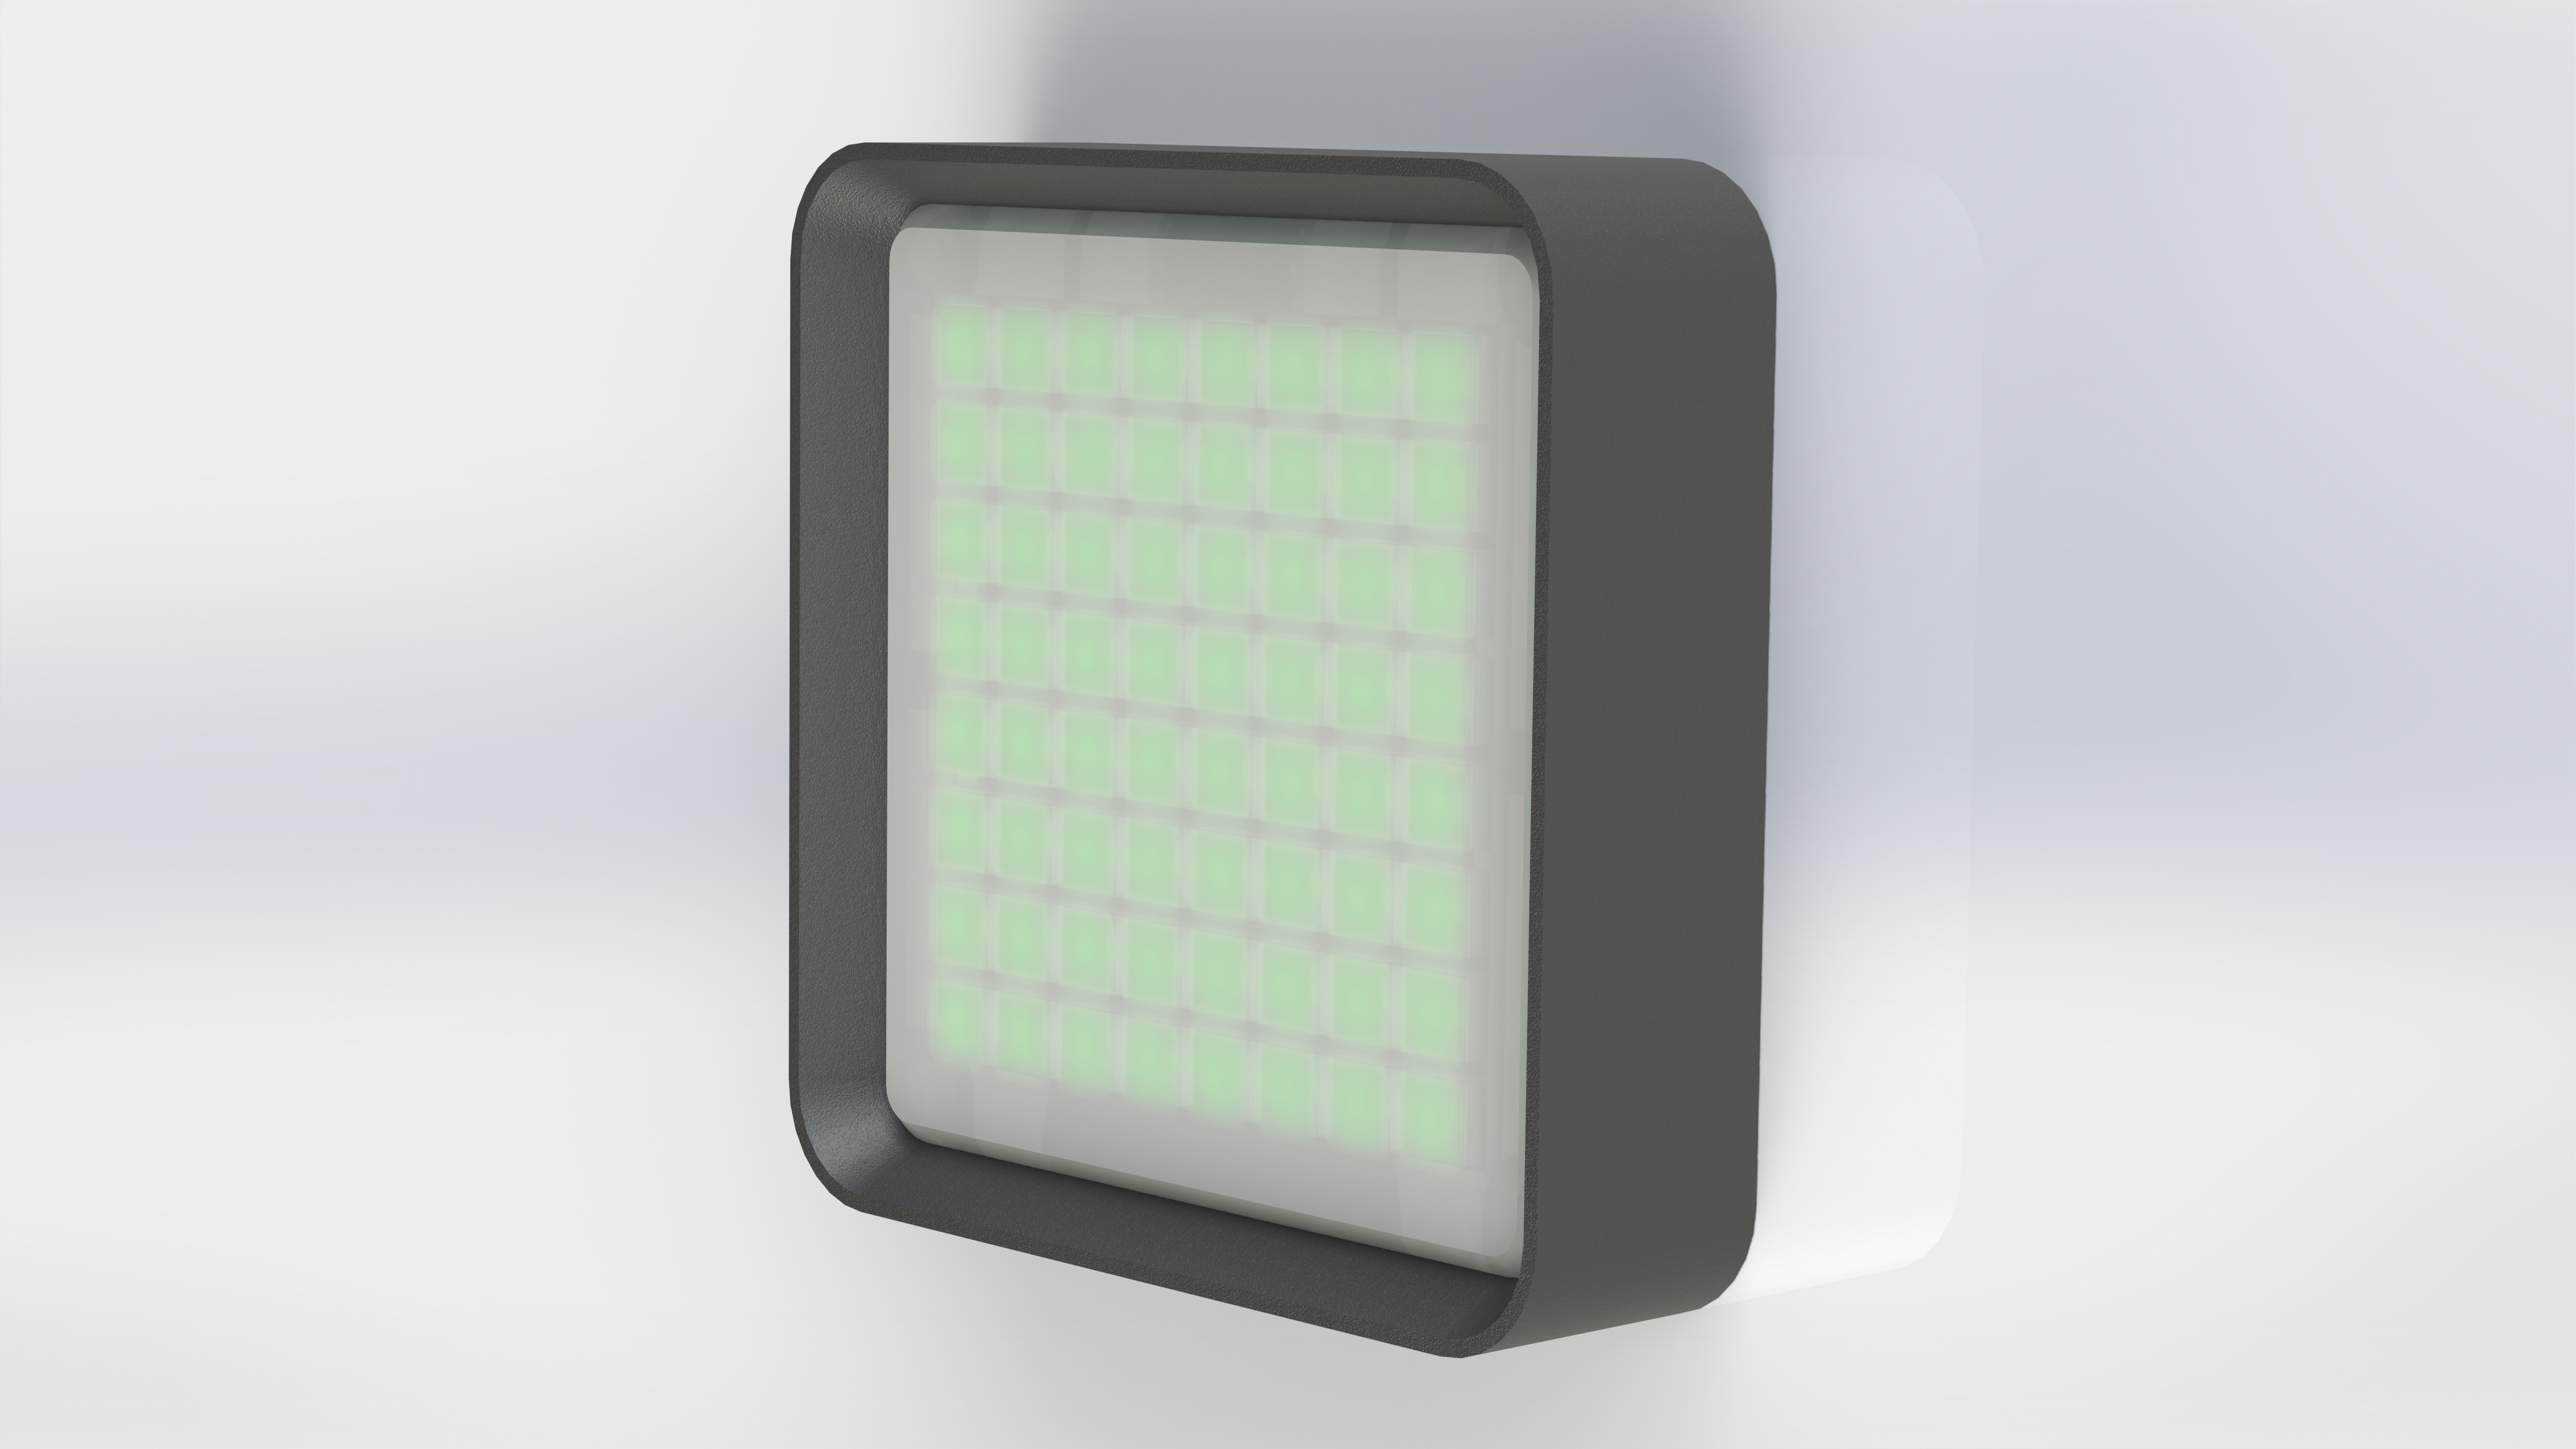
Slim Spotter / Flag for your Simrig, using 8x8 Matrix and Arduino Nano
- Ocena
- 4,778 / 5
- Polubienia
- 134
- Pobrania
- 1003
- Wydruki
- 8
- Wyświetlenia
- 5726
- Oceny
- 9
Aktualizacja u źródła:
Informacje o modelu
- Źródło
- Printables
- Kategoria
- Video Games
- Licencja
- Creative Commons — Attribution — Noncommercial — Share Alike
You need
Arduino Nano Example link
8x8 Matrix Example link
6x m3 Thread Inserts, outer diameter 4,2 mm. (if you want to use 5mm threads, there as a alternative Glas Part
6x m3x12 Lens Head Screws
White Filament for the “Glas”
Dark Filament for the Grid
Filament of your choice for the rest
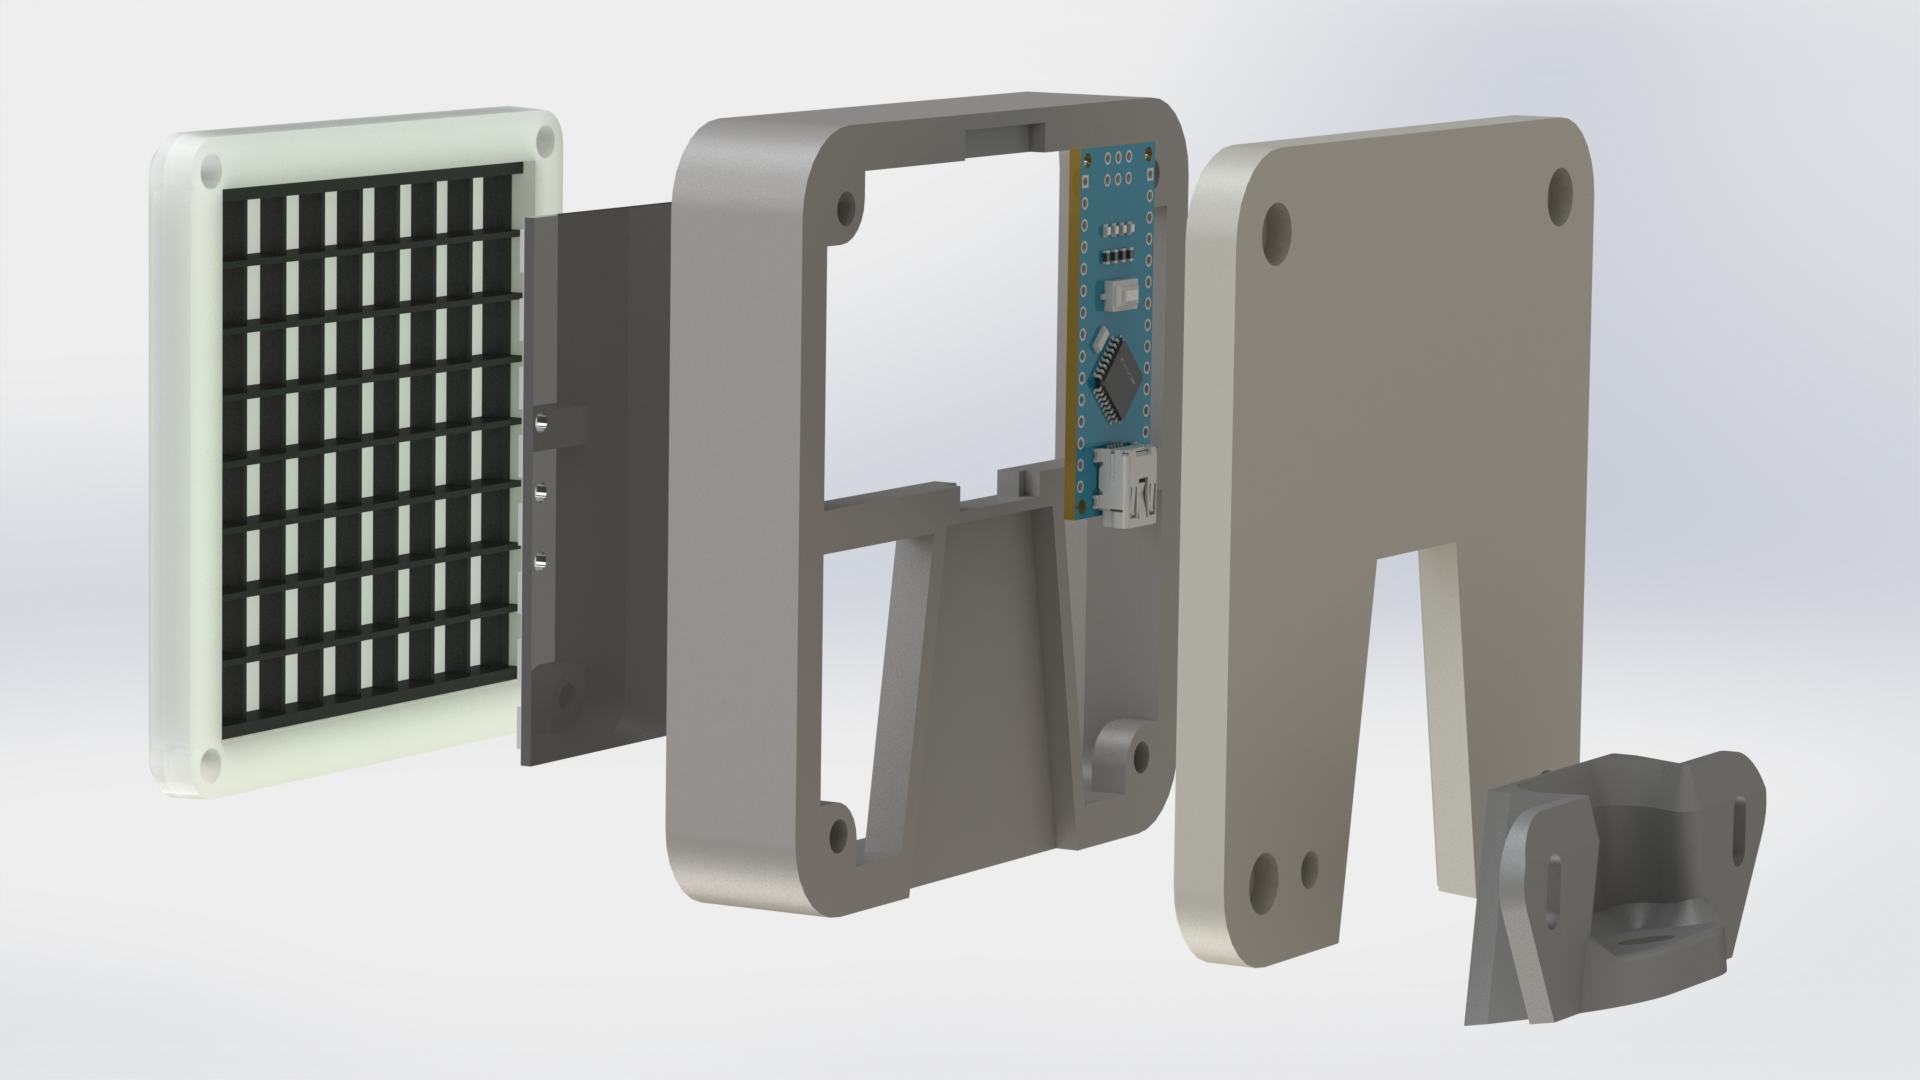
Glas
Print in white for best diffusion. Do it slowly and in best quality you can.
Put in some m3 Thread inserts with a small torch and screw, or soldering iron.
Grid
Seperates the LED's from each other, so no bleed through could happen.
This part just slides into the glas. Whatch out for the electronic parts on your 8x8 matrix, you only can mount it on to in specific orientation
8x8 Matrix
Wire up the Matrix with the Arduino.
Put in on to the two front parts.
Arduino Nano
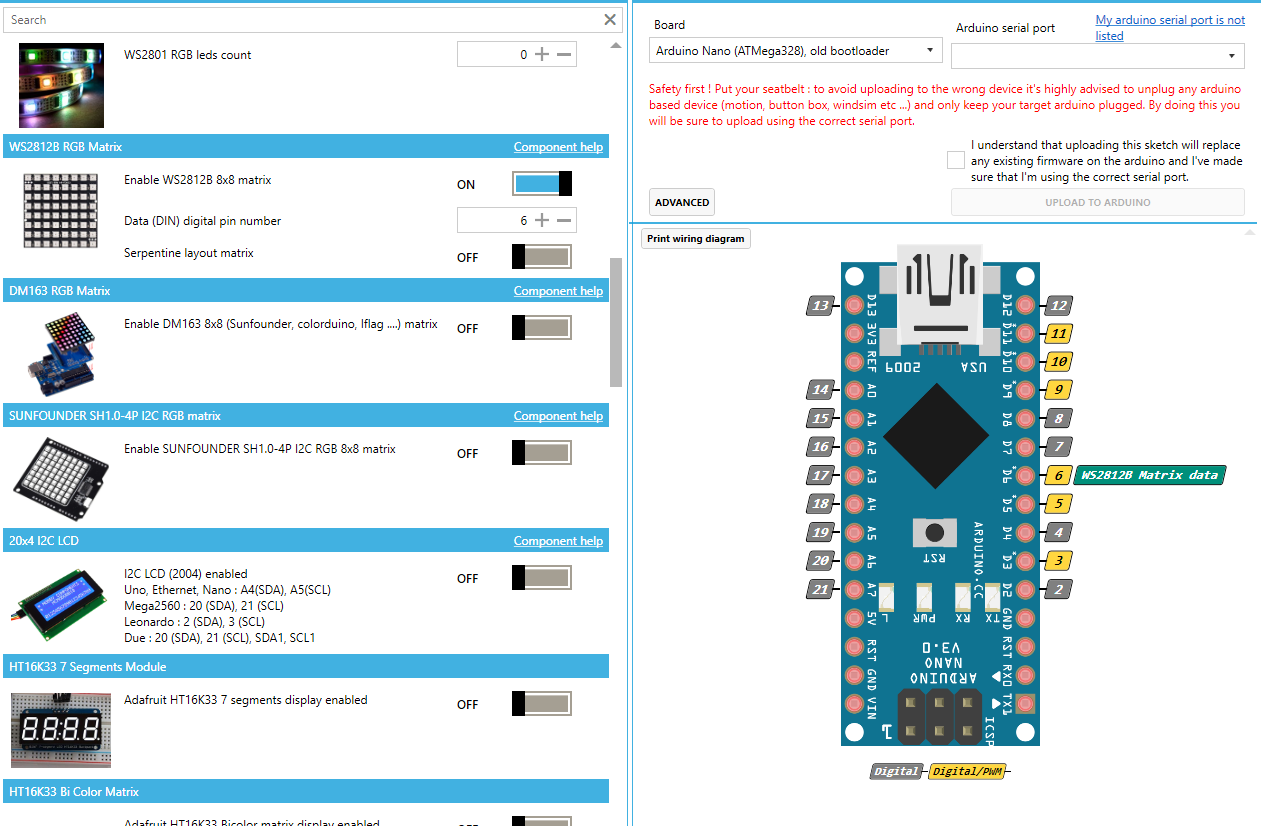
Setup the Arduino in Simhub under the Tab “Arduino” - “My Hardware” - “Open arduino setup tool”
Start from Scratch
Chose your board and serial port
Check WS2812B RGB Matrix on the left
Chose your Data pin, normaly 6 as shown in the picture
tick “I understand….” and upload to your arduino
Now you can use whatever effekt within simhub. Look out for tutorials on youtube or the simhup page for further information.
I can recomend the profiles from Daniel Newman Racing

Hard to take a sharp foto of the LED's
Frame
Print in 0.2 or lower to get some nice surface on the front angled areas
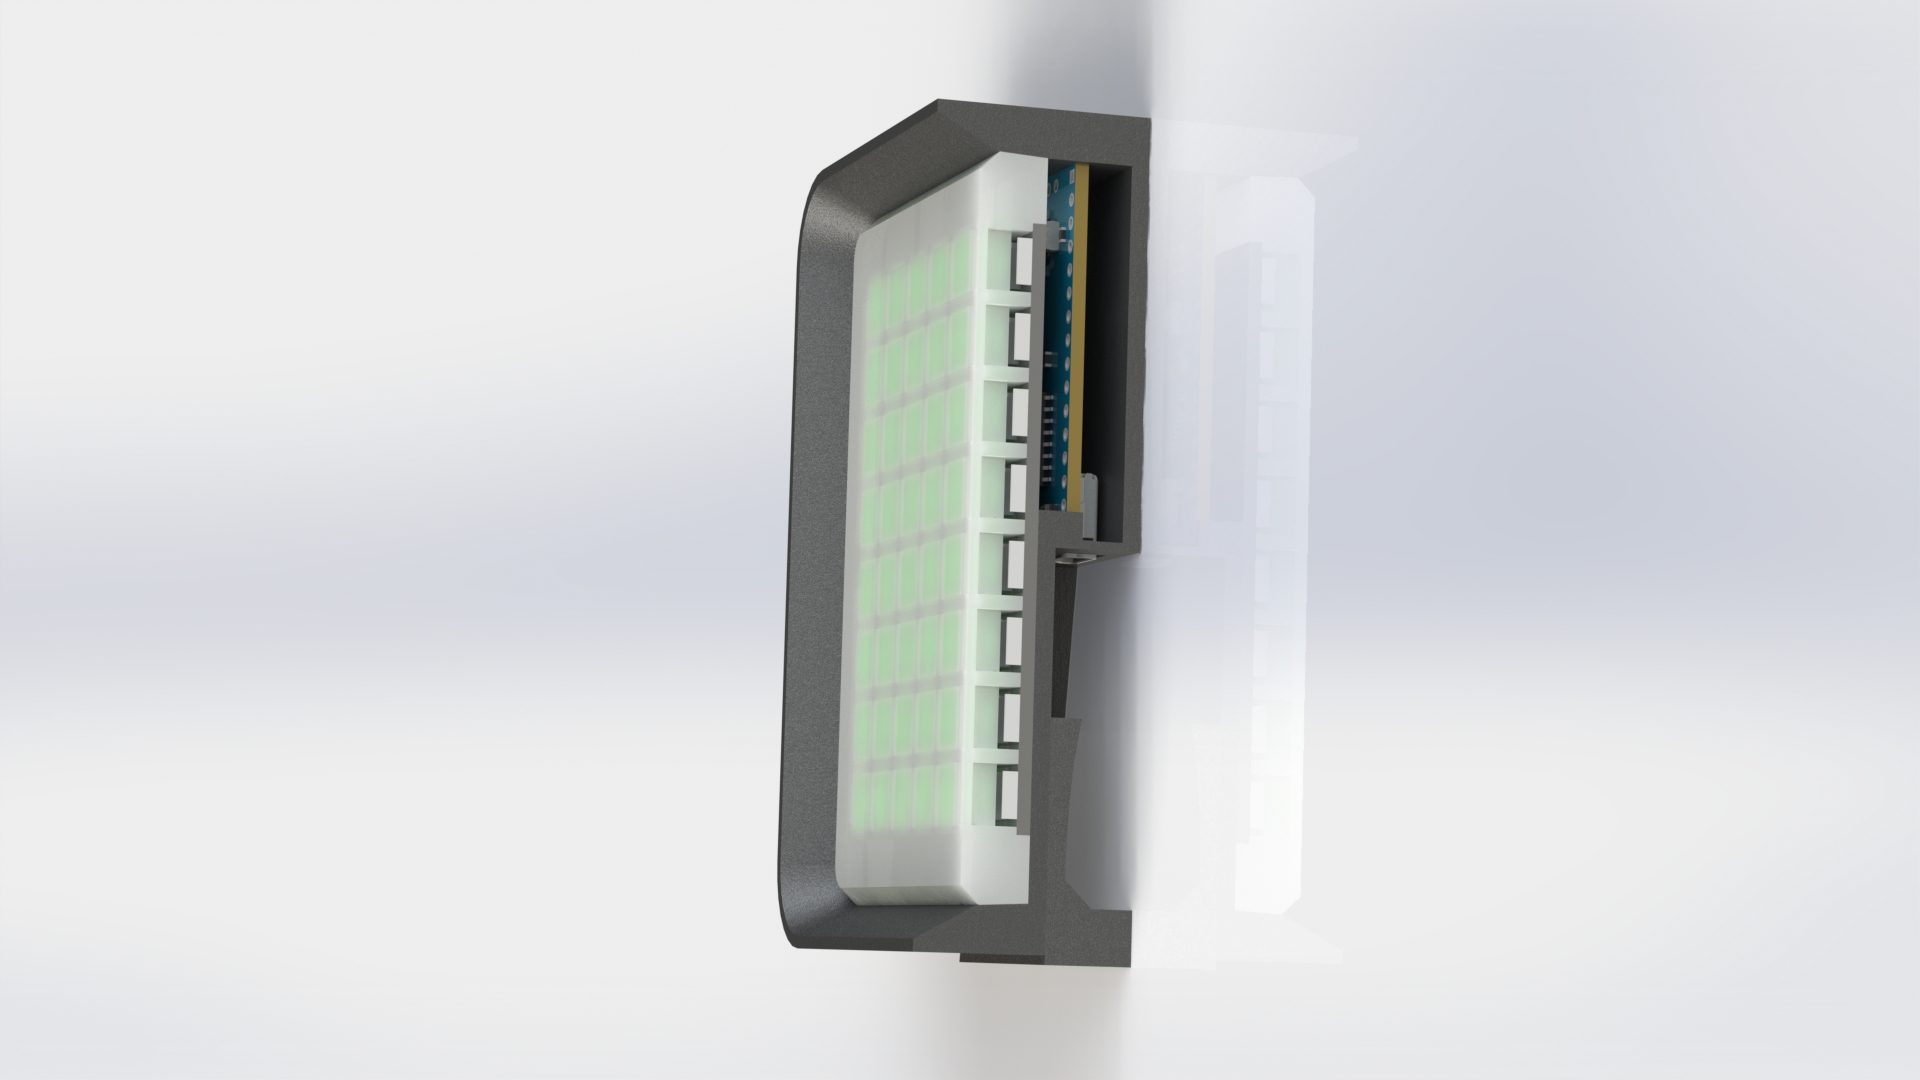
Take through the wired Arduino to the back and push the frontassambly just into the Frame. It should sit relative firm
Place the Arduino on the back of the Frame
Back
Put in two Thread inserts for the bracket
Place the Back onto the Frame and screw together all parts using four m3 x 16 / 18 screws
thanks to @_Cor_ for input to lead the wires → updated to v3

Bracket
Mount it on your rig and push your Spotter / Flag on top of it.
Screw the part together to hold it save in place with two m3 x 16 screws.
You should build two of these spotters, so you have support for left and right ;)