P
PrintablesFeral Engineer

Creality Ender 3 v3 se lightbar
Print the center parts with brim so they don't fall over. I used PETG, but PLA should work. Install video here:
- Pobrania
- 424
- Polubienia
- 126
- Ocena
- 4
Liczymy pasujące modele…
Print the center parts with brim so they don't fall over. I used PETG, but PLA should work. Install video here:
You'll need the following: (2) M3 x 12mm long stainless button heads to replace the existing ones: https://amzn.to/3Ffz7mF (2) M3 washers: https://amzn.to/3gUPNq1 (2) M3 nuts: https://amzn.to/3Up5yTQ (2) M3 brass inserts:…
This part allows the use of the Z axis screw supports that come with the Creality Ender 3 dual Z screw kit on your Elegoo Neptune 3 or similar, with smooth faced extrusions. Link to kit - https://amzn.to/3Cd28hc You need 400mm screws for…
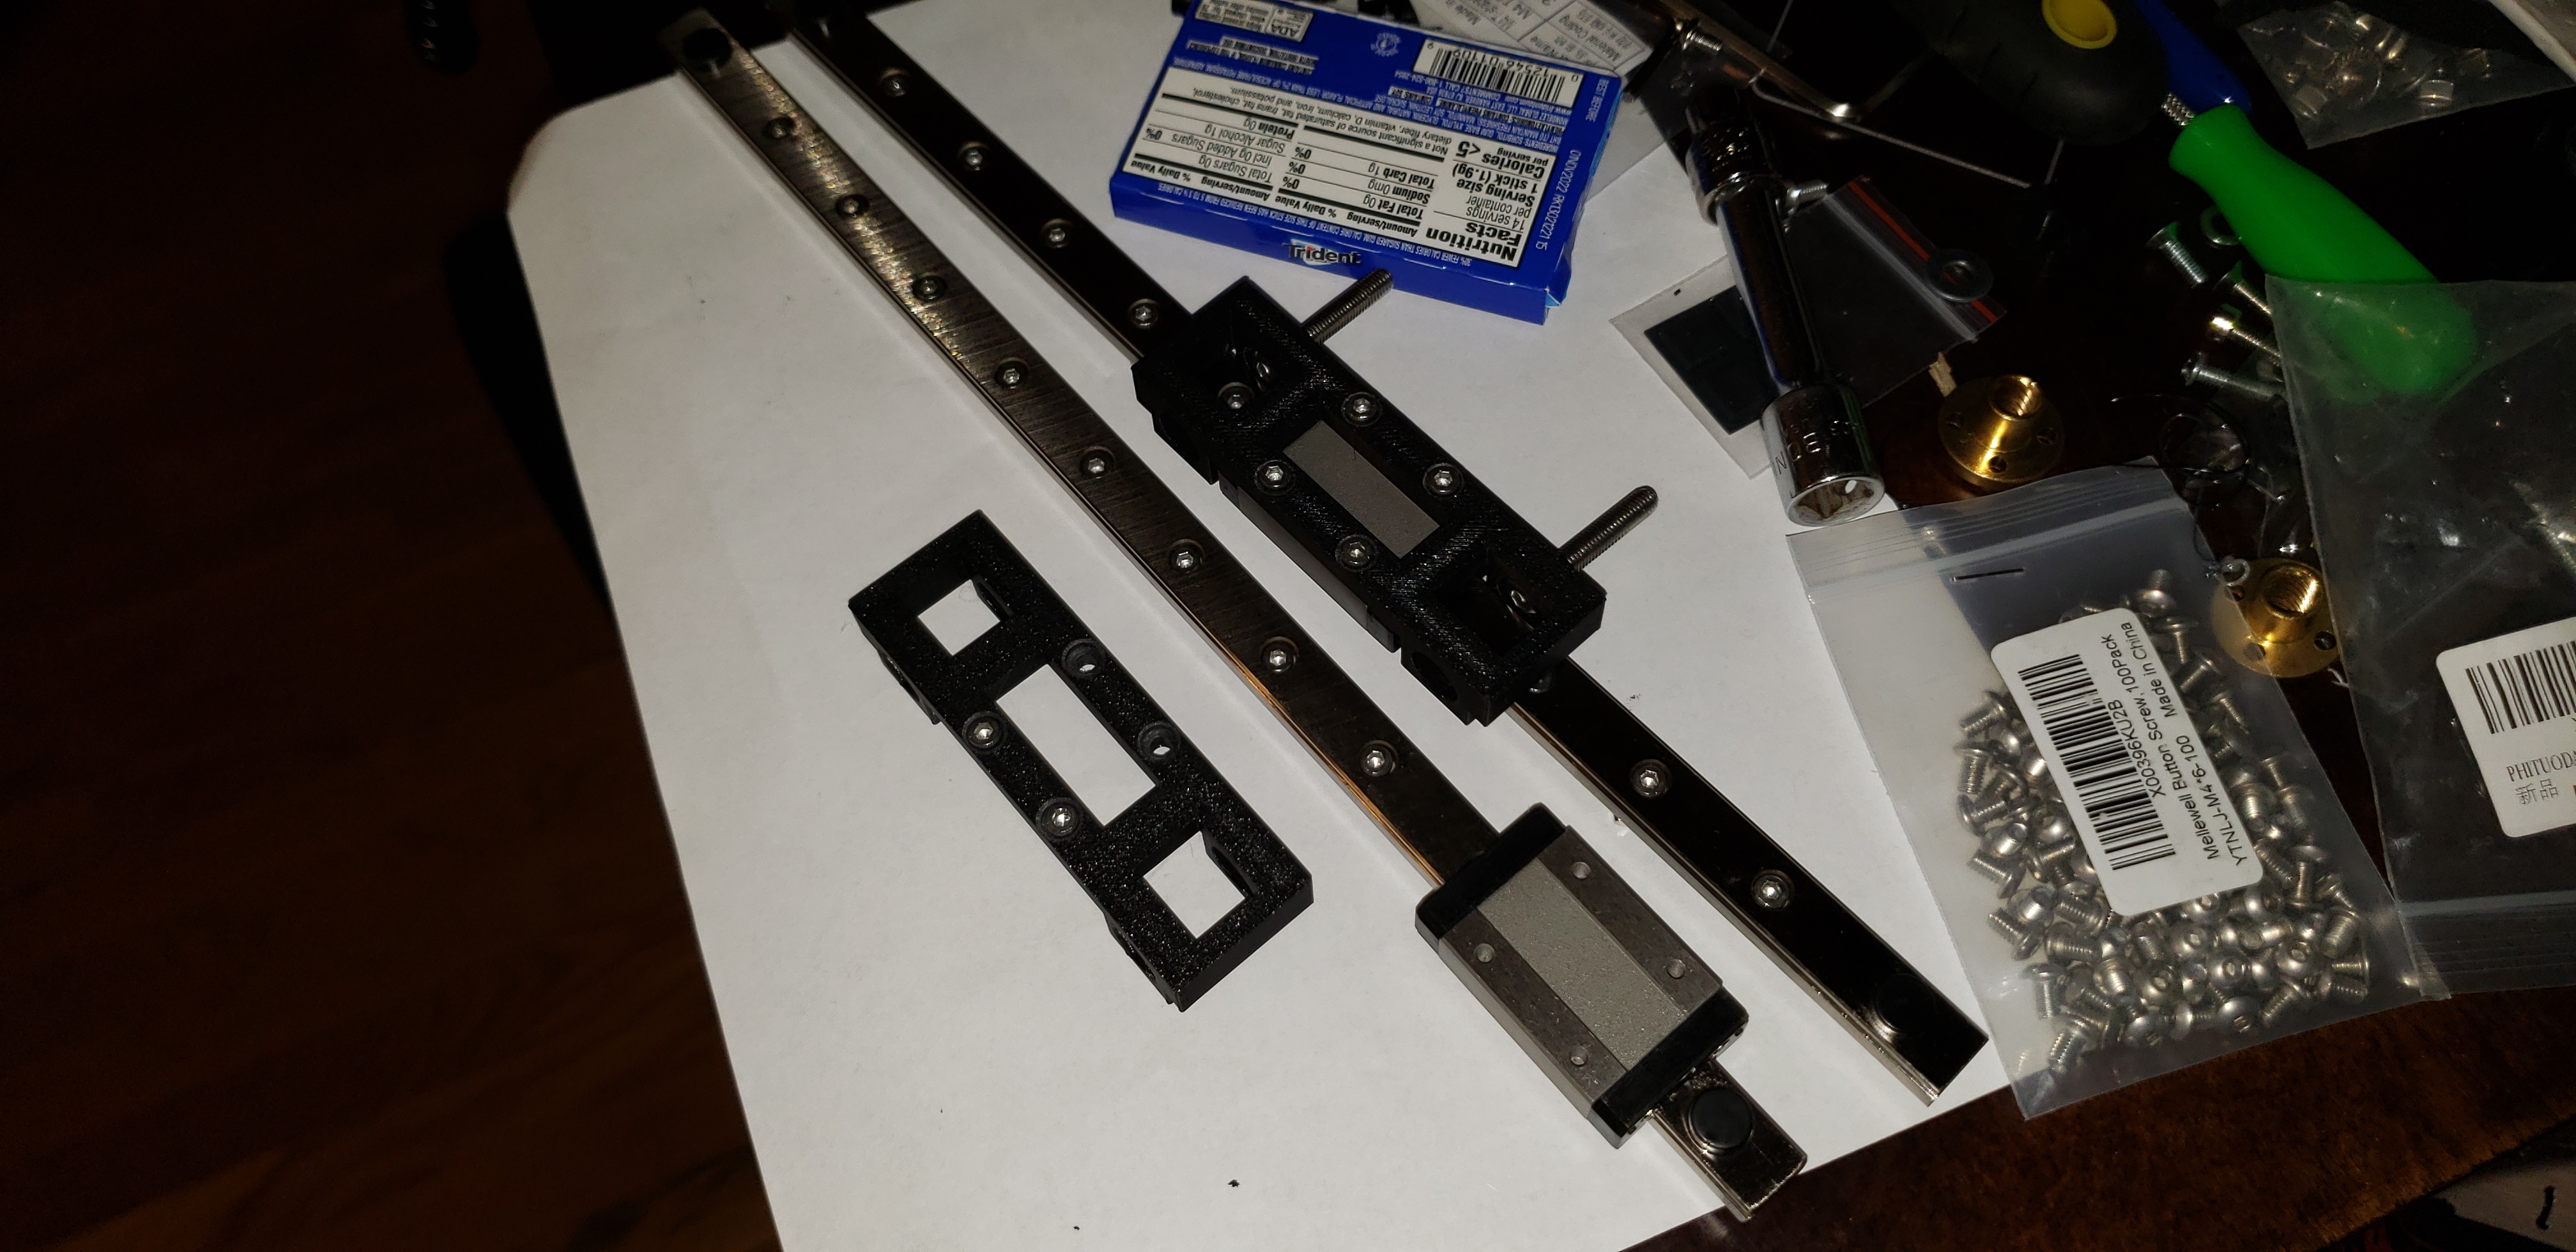
I designed these parts to mount linear guide rails on the Y axis of my Elegoo Neptune 3. This kit could be used for any 235x235 machine with 4040 Y axis extrusion. The linear rail adapter is universal left and right, which is why it's…
This bracket replaces the handle on the Neptune 3. To use it, screw the spool holder into the front of the arm (it will screw in from the front, you just have to do it carefully). You'll need to extend your filament sensor cable to use…
This part allows you to mount the included bracket from the Ender 3 Dual Z axis kit on your Elegoo Neptune printer (or similar) On the PSU mount, you'll need M4 x 8mm button head screws and the T nuts that come with the creality kit (you…
There are two printable parts to this assembly, the X axis linear rail mounts and the X axis carriage/truck mount. You need 3 of these and one of the other part. Mounting hardware for these will be: MGN9H linear rail assembly, 300mm…
This part requires the following hardware: (2) M5 brass inserts: https://amzn.to/3XNjz0r (4) M3 brass inserts: https://amzn.to/3FfUIv1 (2) M5 x 8mm stainless steel button head screws: https://amzn.to/3VnR1cj (4) M3 socket head cap screws:…
I made this for running Klipper firmware on my X3 Plus using the Bigtreetech BTT Pi ( https://shrsl.com/422y4 ). There's a small cutaway on the bottom for an HDMI cable (Left angle https://amzn.to/3wXwkN4 ) to run to an HDMI5 (or HDMI7)…
There are two printable parts to this assembly, the X axis linear rail mounts and the X axis carriage/truck mount. You need 3 of these and one of the other part. Mounting hardware for these will be: MGN9H linear rail assembly, 300mm…
This model is designed to be mounted using the shorter POM wheel spacers that are included with the Sprite SE extruder. They are designed to be a snug fit around the spacer to provide a little extra rigidity in the assembly. You'll need…
board mount for Manta E3EZ. Please note that none of the ports stick out of the existing openings, but who cares? It's running Klipper via wifi anyway.
The Elegoo Neptune 2 didn't come with any type of filament guide, so I designed one to work with the metal extruder from the Neptune 2S/Neptune 3 (I had an extra from a DD conversion). It's also designed to use the U604ZZ bearing from the…
Thanks, SpeCterMK, for the remix :D
The Elegoo Neptune 2 had two variations of the X axis carriage plate. One had swept radii across the top, one had 50 degree angles. This is for the swept radii version. The other version I uploaded is for the angled plate. Installation…
You'll probably have to swap the center wires of the included cable to make this work, but otherwise, it runs great after tuning E steps. Check my youtube channel for a video on installation with the Neptune 2 (almost the same machine,…
Use this with my linear rail truck mount to fit a Creality E-fit extruder to your Elegoo Neptune 3
raises the Creality E-Fit extruder high enough to clear the X axis carriage to fit the Elegoo Neptune 3
To wszystkie aktualnie dostępne wyniki.