
Minimal Stand - Tablet, Laptop, Books and Anything In-between.
We calculate the final price from your selected file. You review and accept it before payment.
Saved on this device.

A minimalist stands for anything that will fit.
- Rating
- 4.857 / 5
- Likes
- 1,536
- Downloads
- 2,550
- Makes
- 22
- Views
- 20,851
- Reviews
- 21
Updated at source:
Model information
- Source
- Printables
- Category
- Office
- License
- Standard Digital File License
It's a minimalist stand, with a customizable width. Perfect for anything.
Need More Slots?:
Prints this Divider separately. Have all the slots you want!

Adjust The Width:
You can stretch the base model in z-direction in the slicer for a thicker item like a laptop or a book. (Don't forget to adjust the pegs too.)
Macbook Air M1 - 17mm (provided)
IPad Air 4 - 13mm
Prints Settings:
Supports: Tested with no support.
Layer height: Tested with 0.2mm.
Infill Pattern: 3D Honeycomb.
Infill Percentage: ≥5%
Pegs Adjustment:
The provided model comes with +0.07mm tolerance for the hole and -0mm for the peg.
You might have to adjust the scale of the peg according to your printer. The peg should have some friction but still be able to be pushed through the hole.
It's IMPORTANT to adjust the seam position to be at the end of the peg using seam painting. This is to prevent the seam blob from increasing the peg size.

Slicer Settings For Better-Looking Prints:
For better-looking prints, set the seam position to be at the bottom of the base of the wall and use variable layer height to smooth out the curve


(Left: applying variable layer height to the wall model, focusing on the high slope section of the model.)
(Right: seam position on the base of the wall model.
Assembly:
Push all the pegs through the base, positioning the base to be at the center of the pegs.
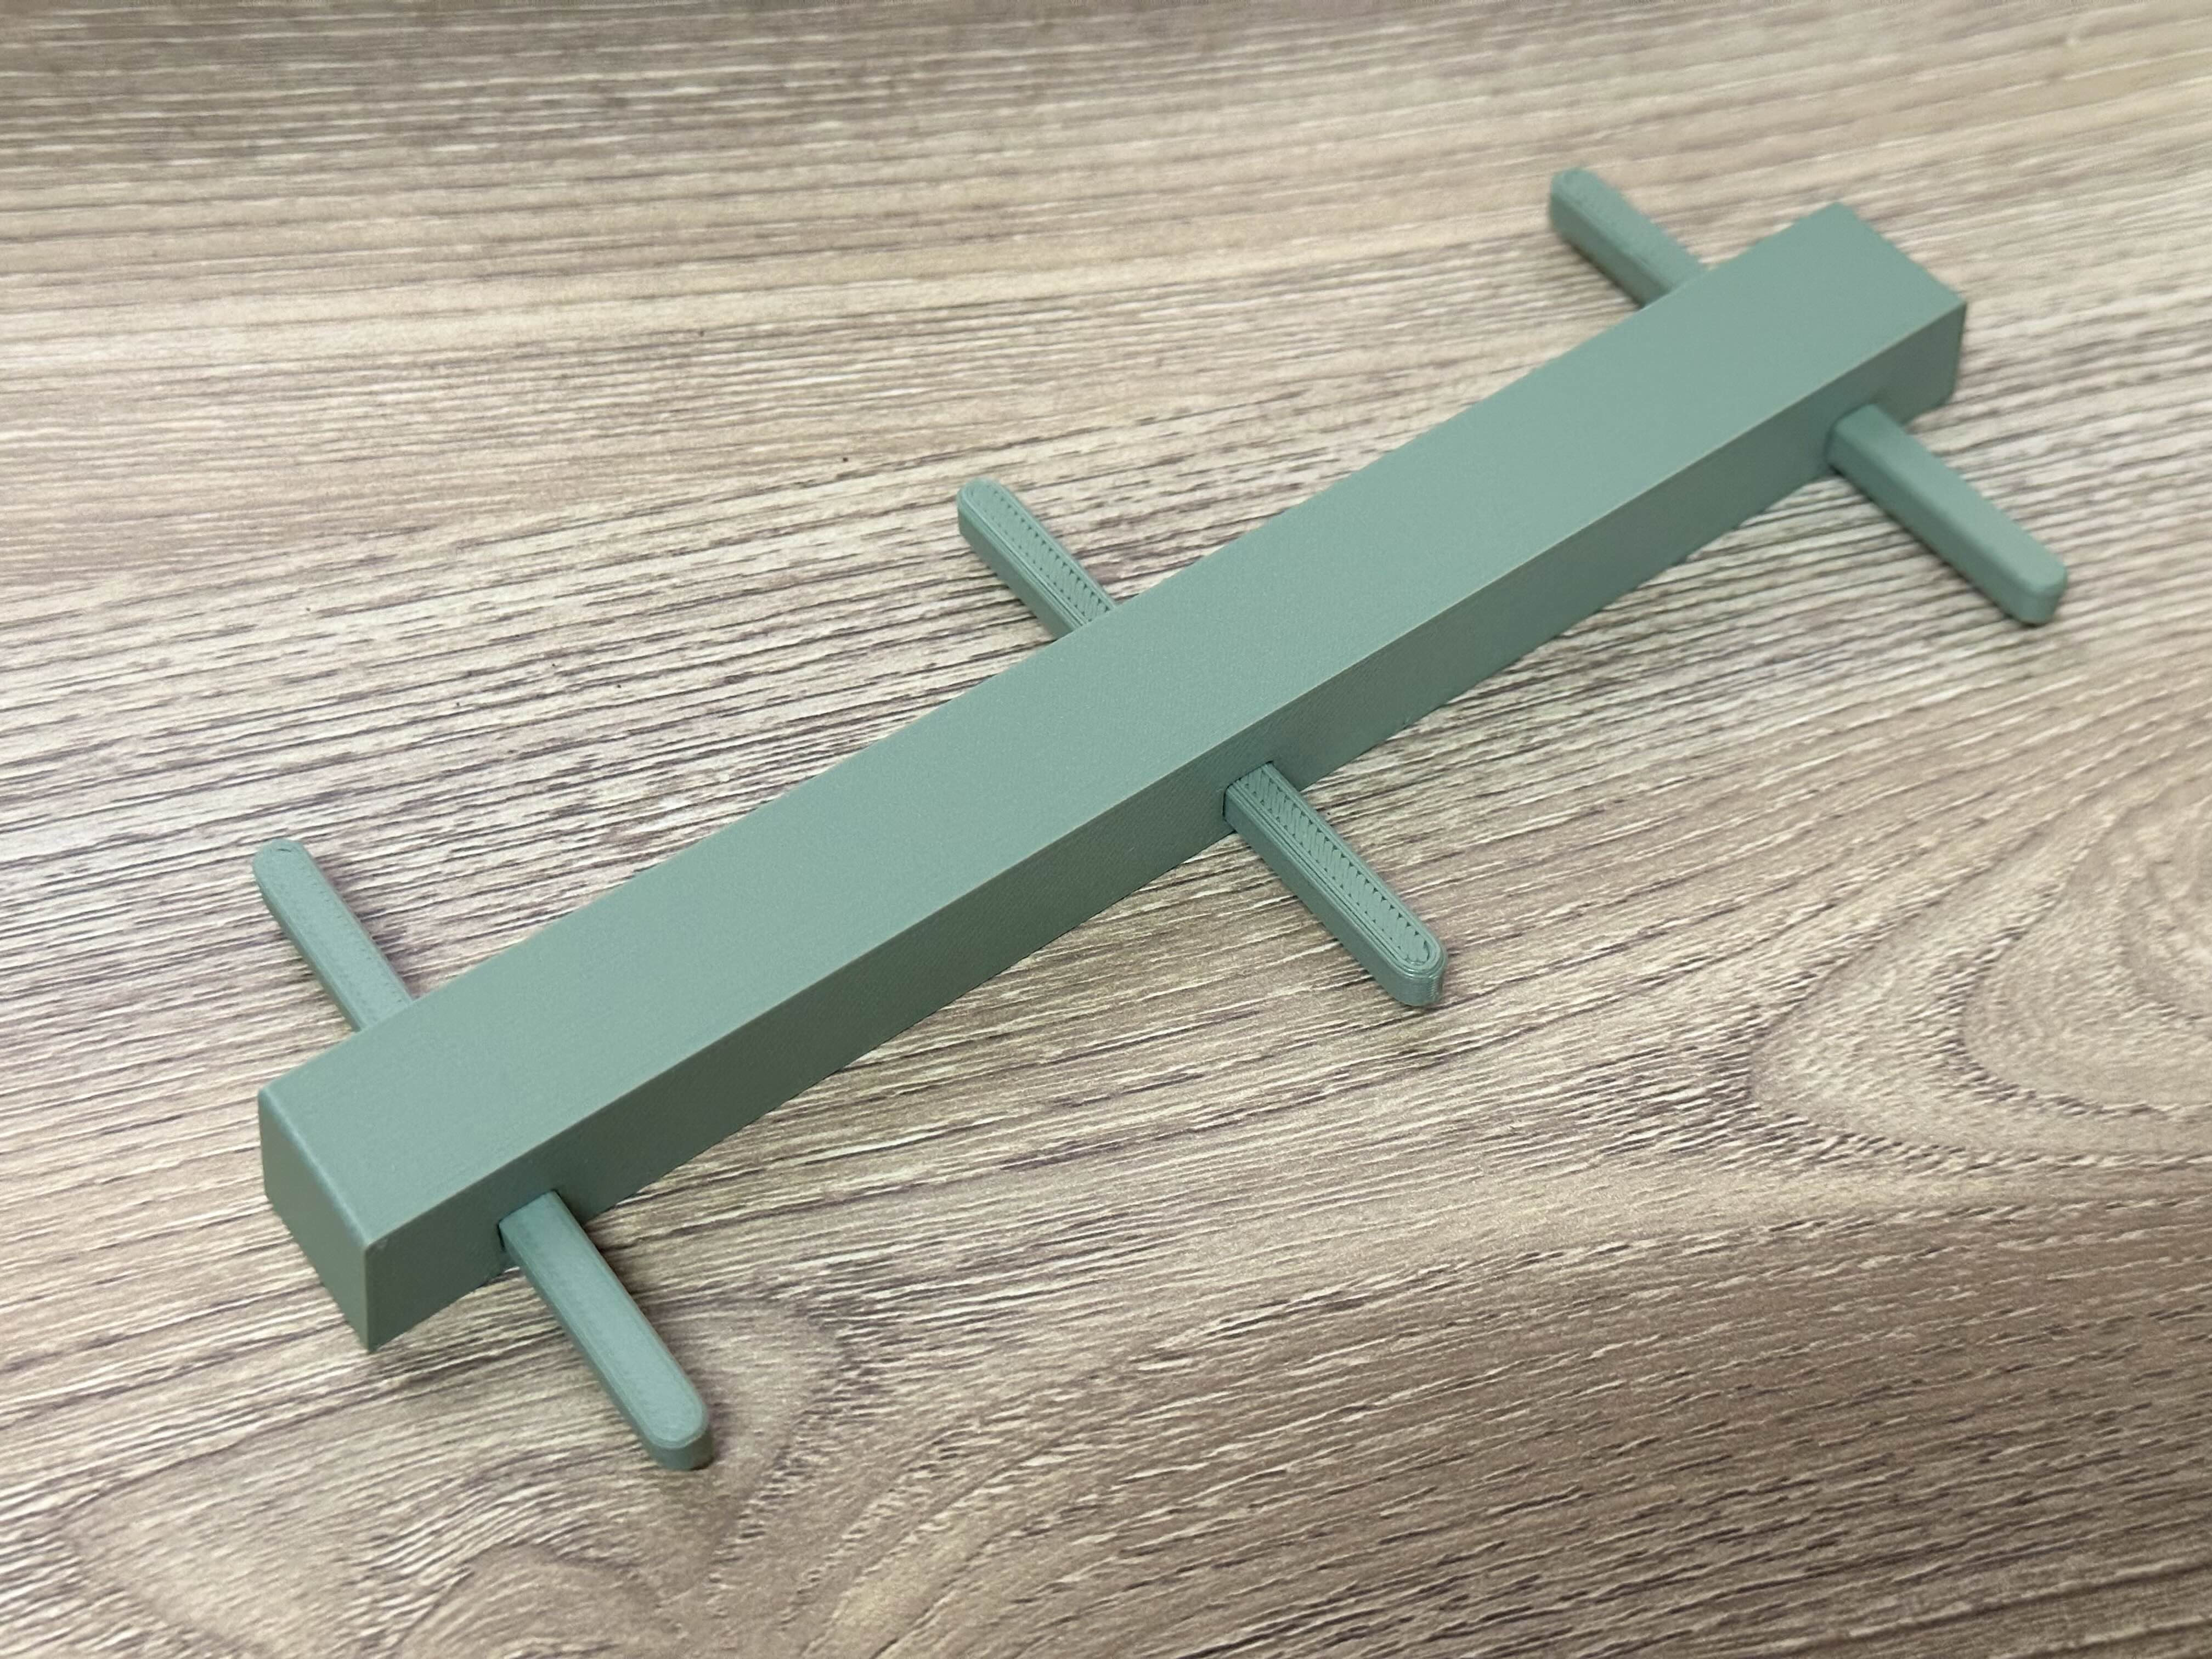
Align both of the walls with the pegs.

Use both hands to slowly push both walls together to meet the base in the middle. While pushing, make sure to apply an even force to all the pegs and not allow one peg to go further than the other. The angled peg can punch through the side of the hole, so be careful.

Feel free to post your results. I'd love to see how it goes!
Happy Printing!
Consider Supporting!! Your support will allow me to continue sharing my design.
buymeacoffee.com/supanut.tho

Edit (19/11/24): Increase tolerance from 0.05mm to 0.07mm